Guitar 1201 Creeping Toward Completion
September 15, 2021
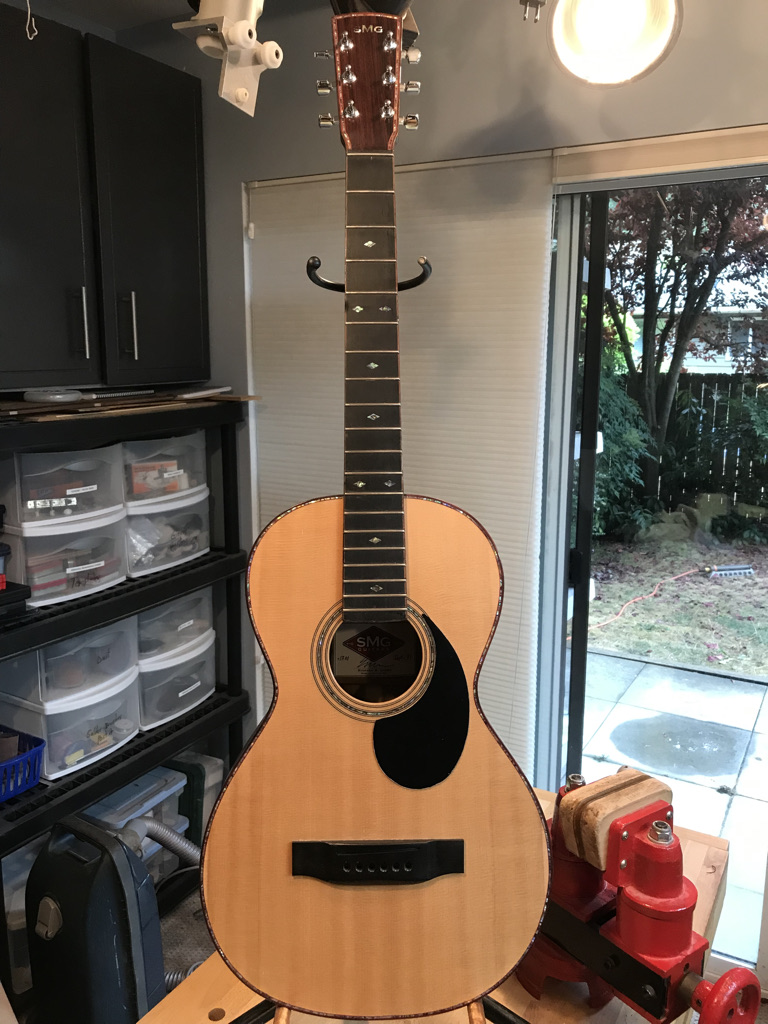
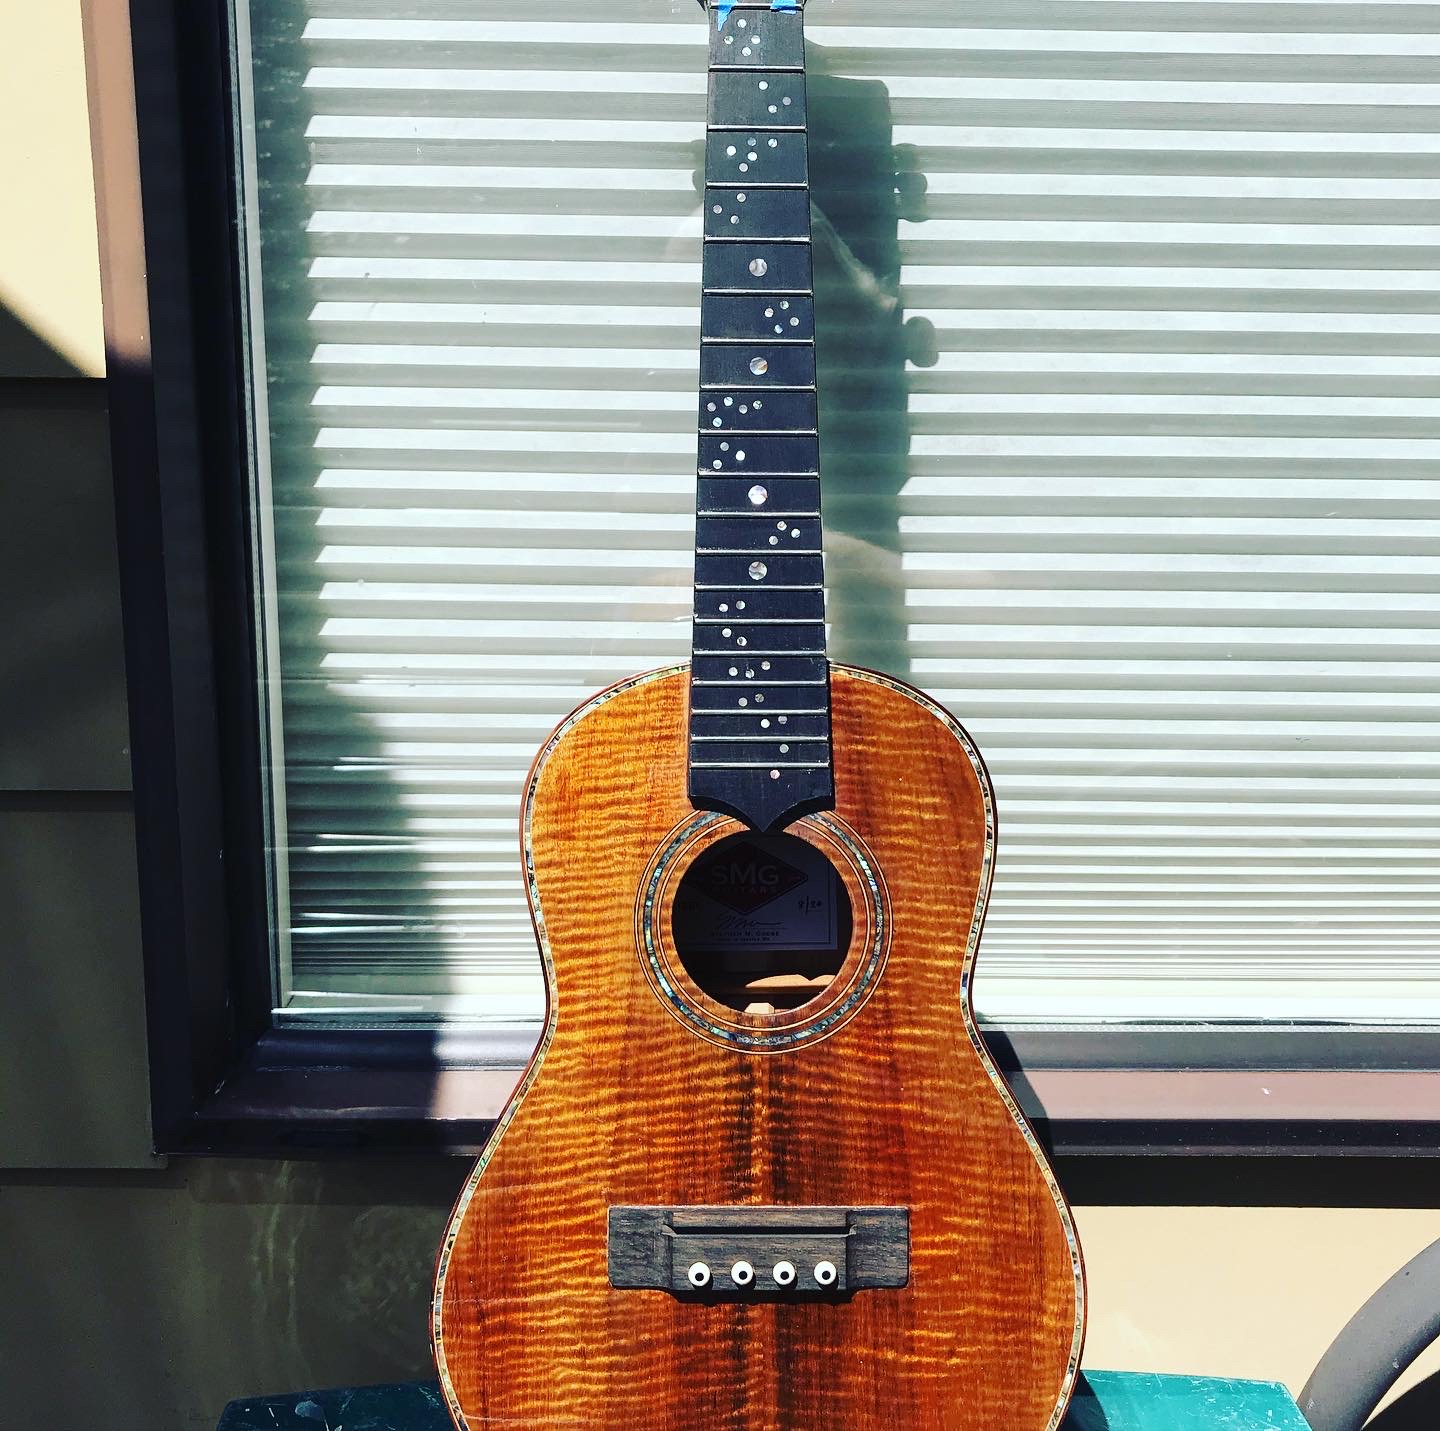
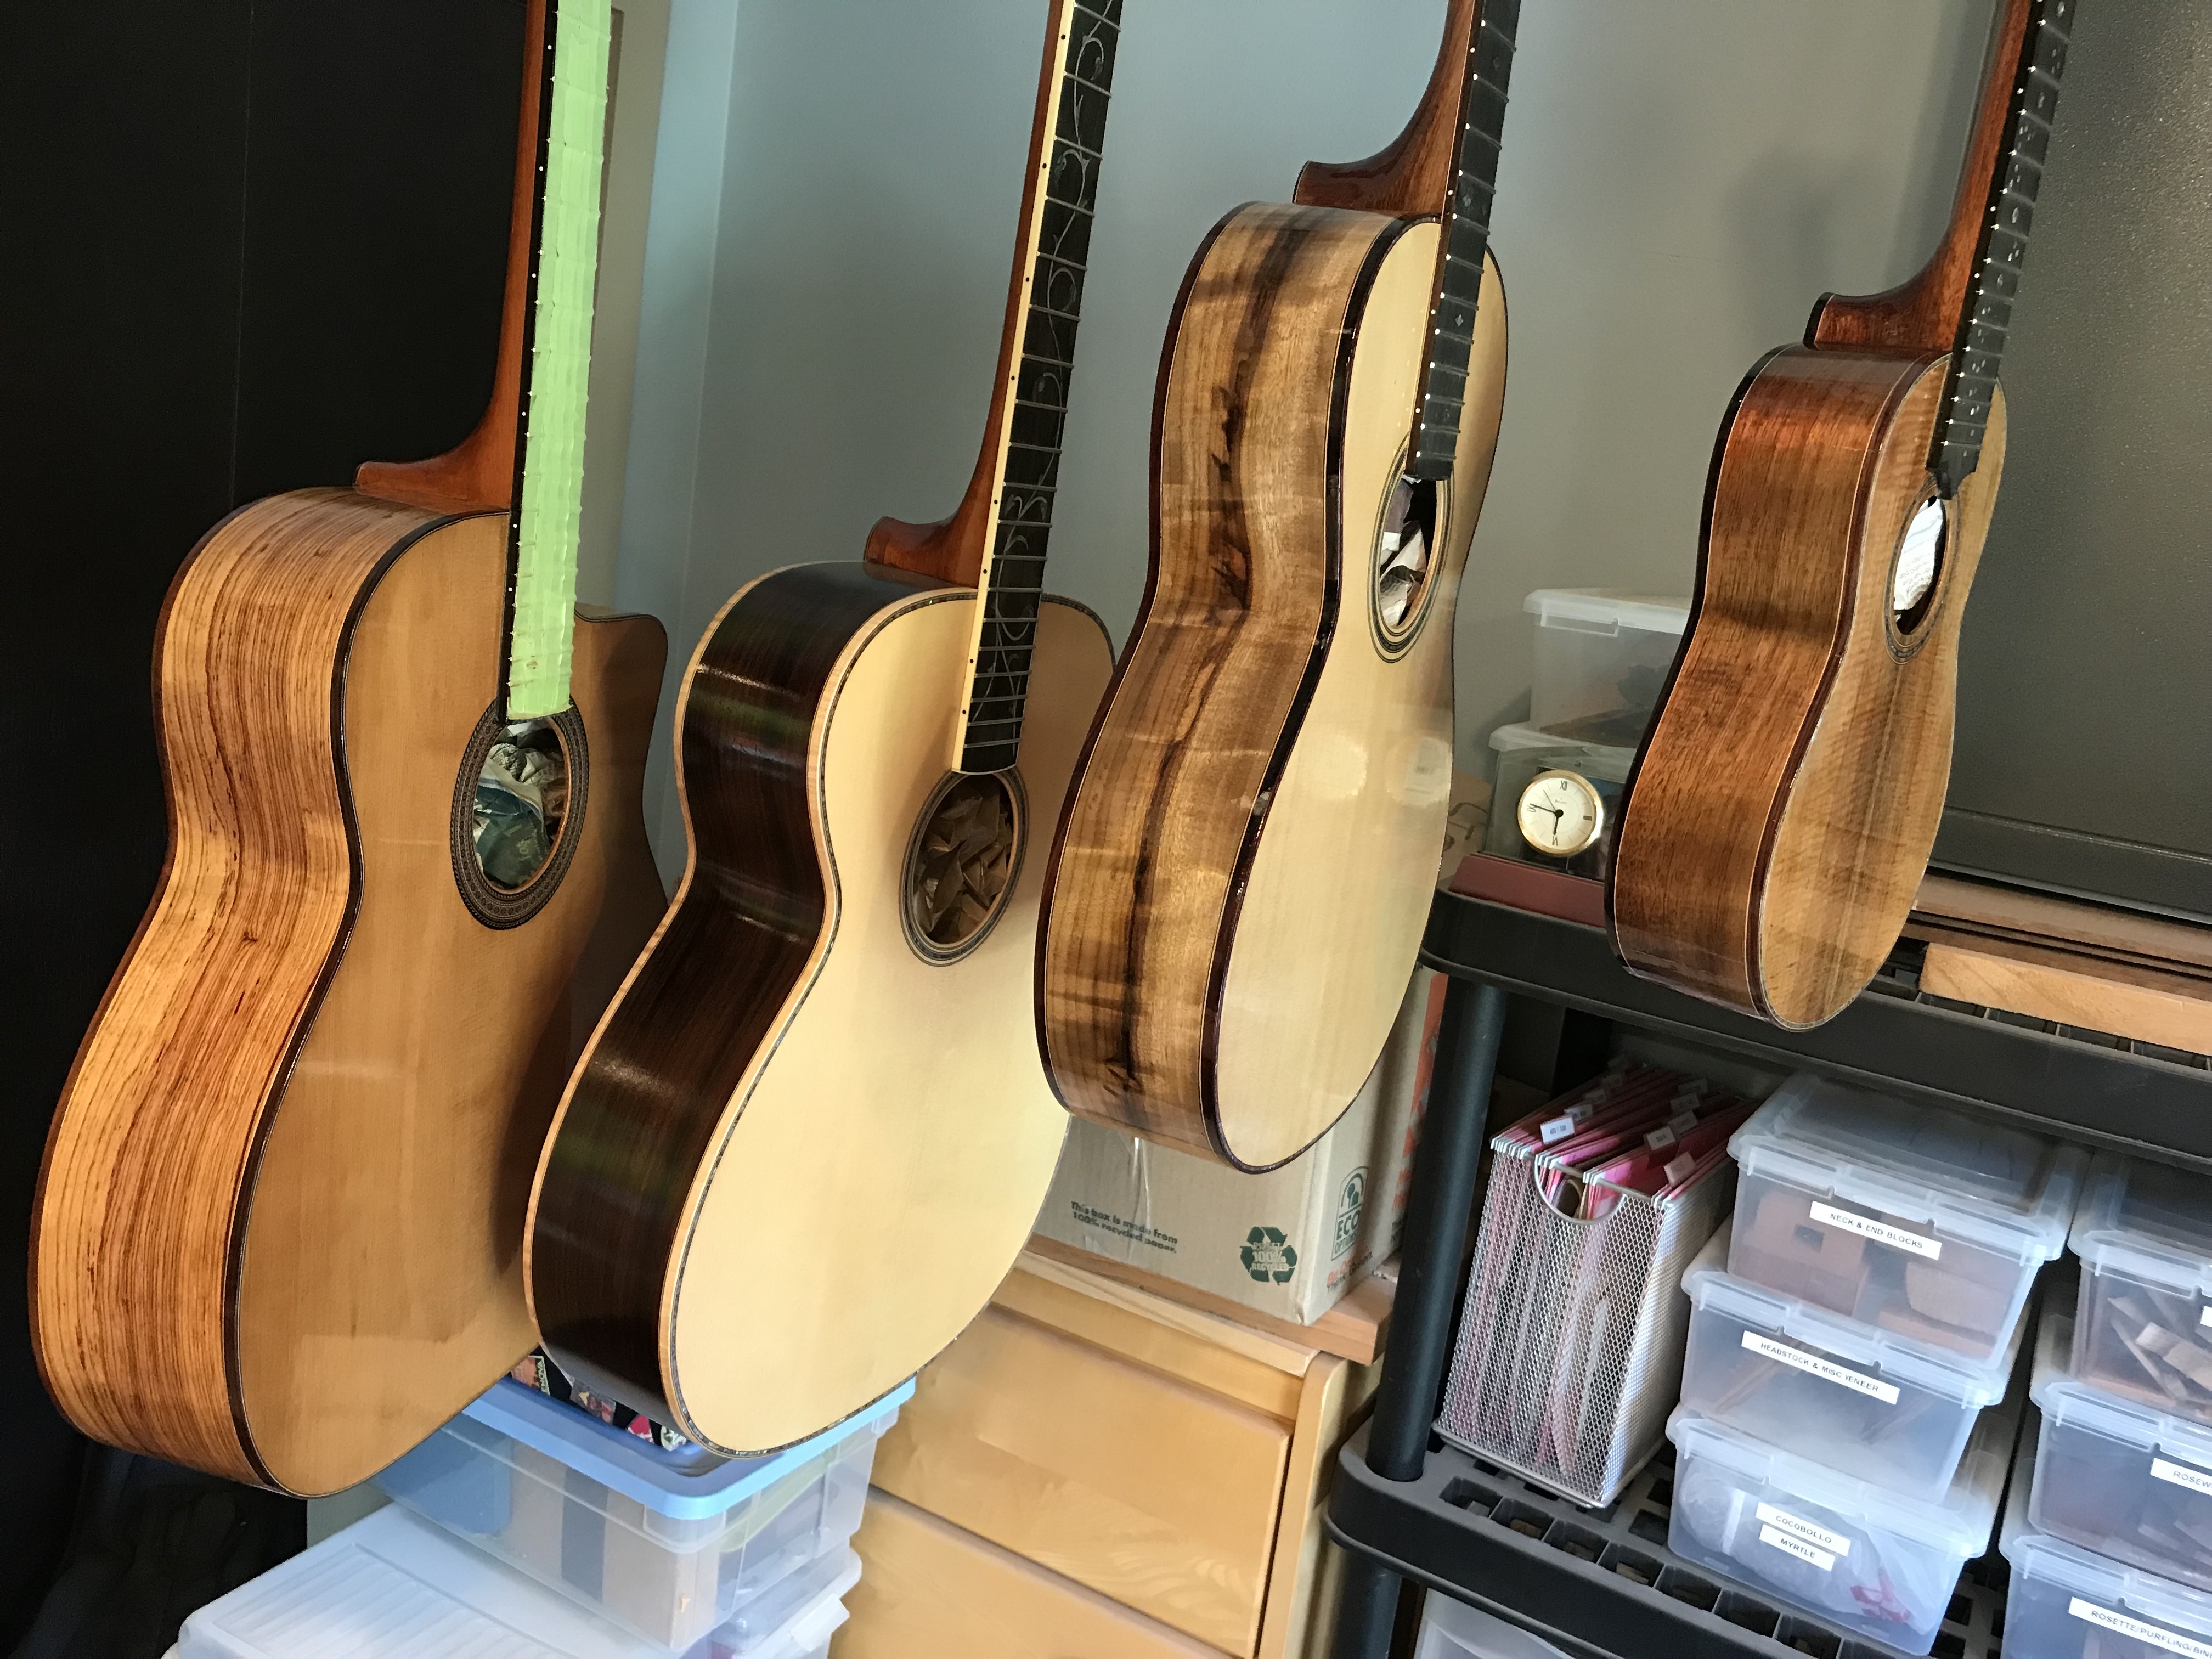
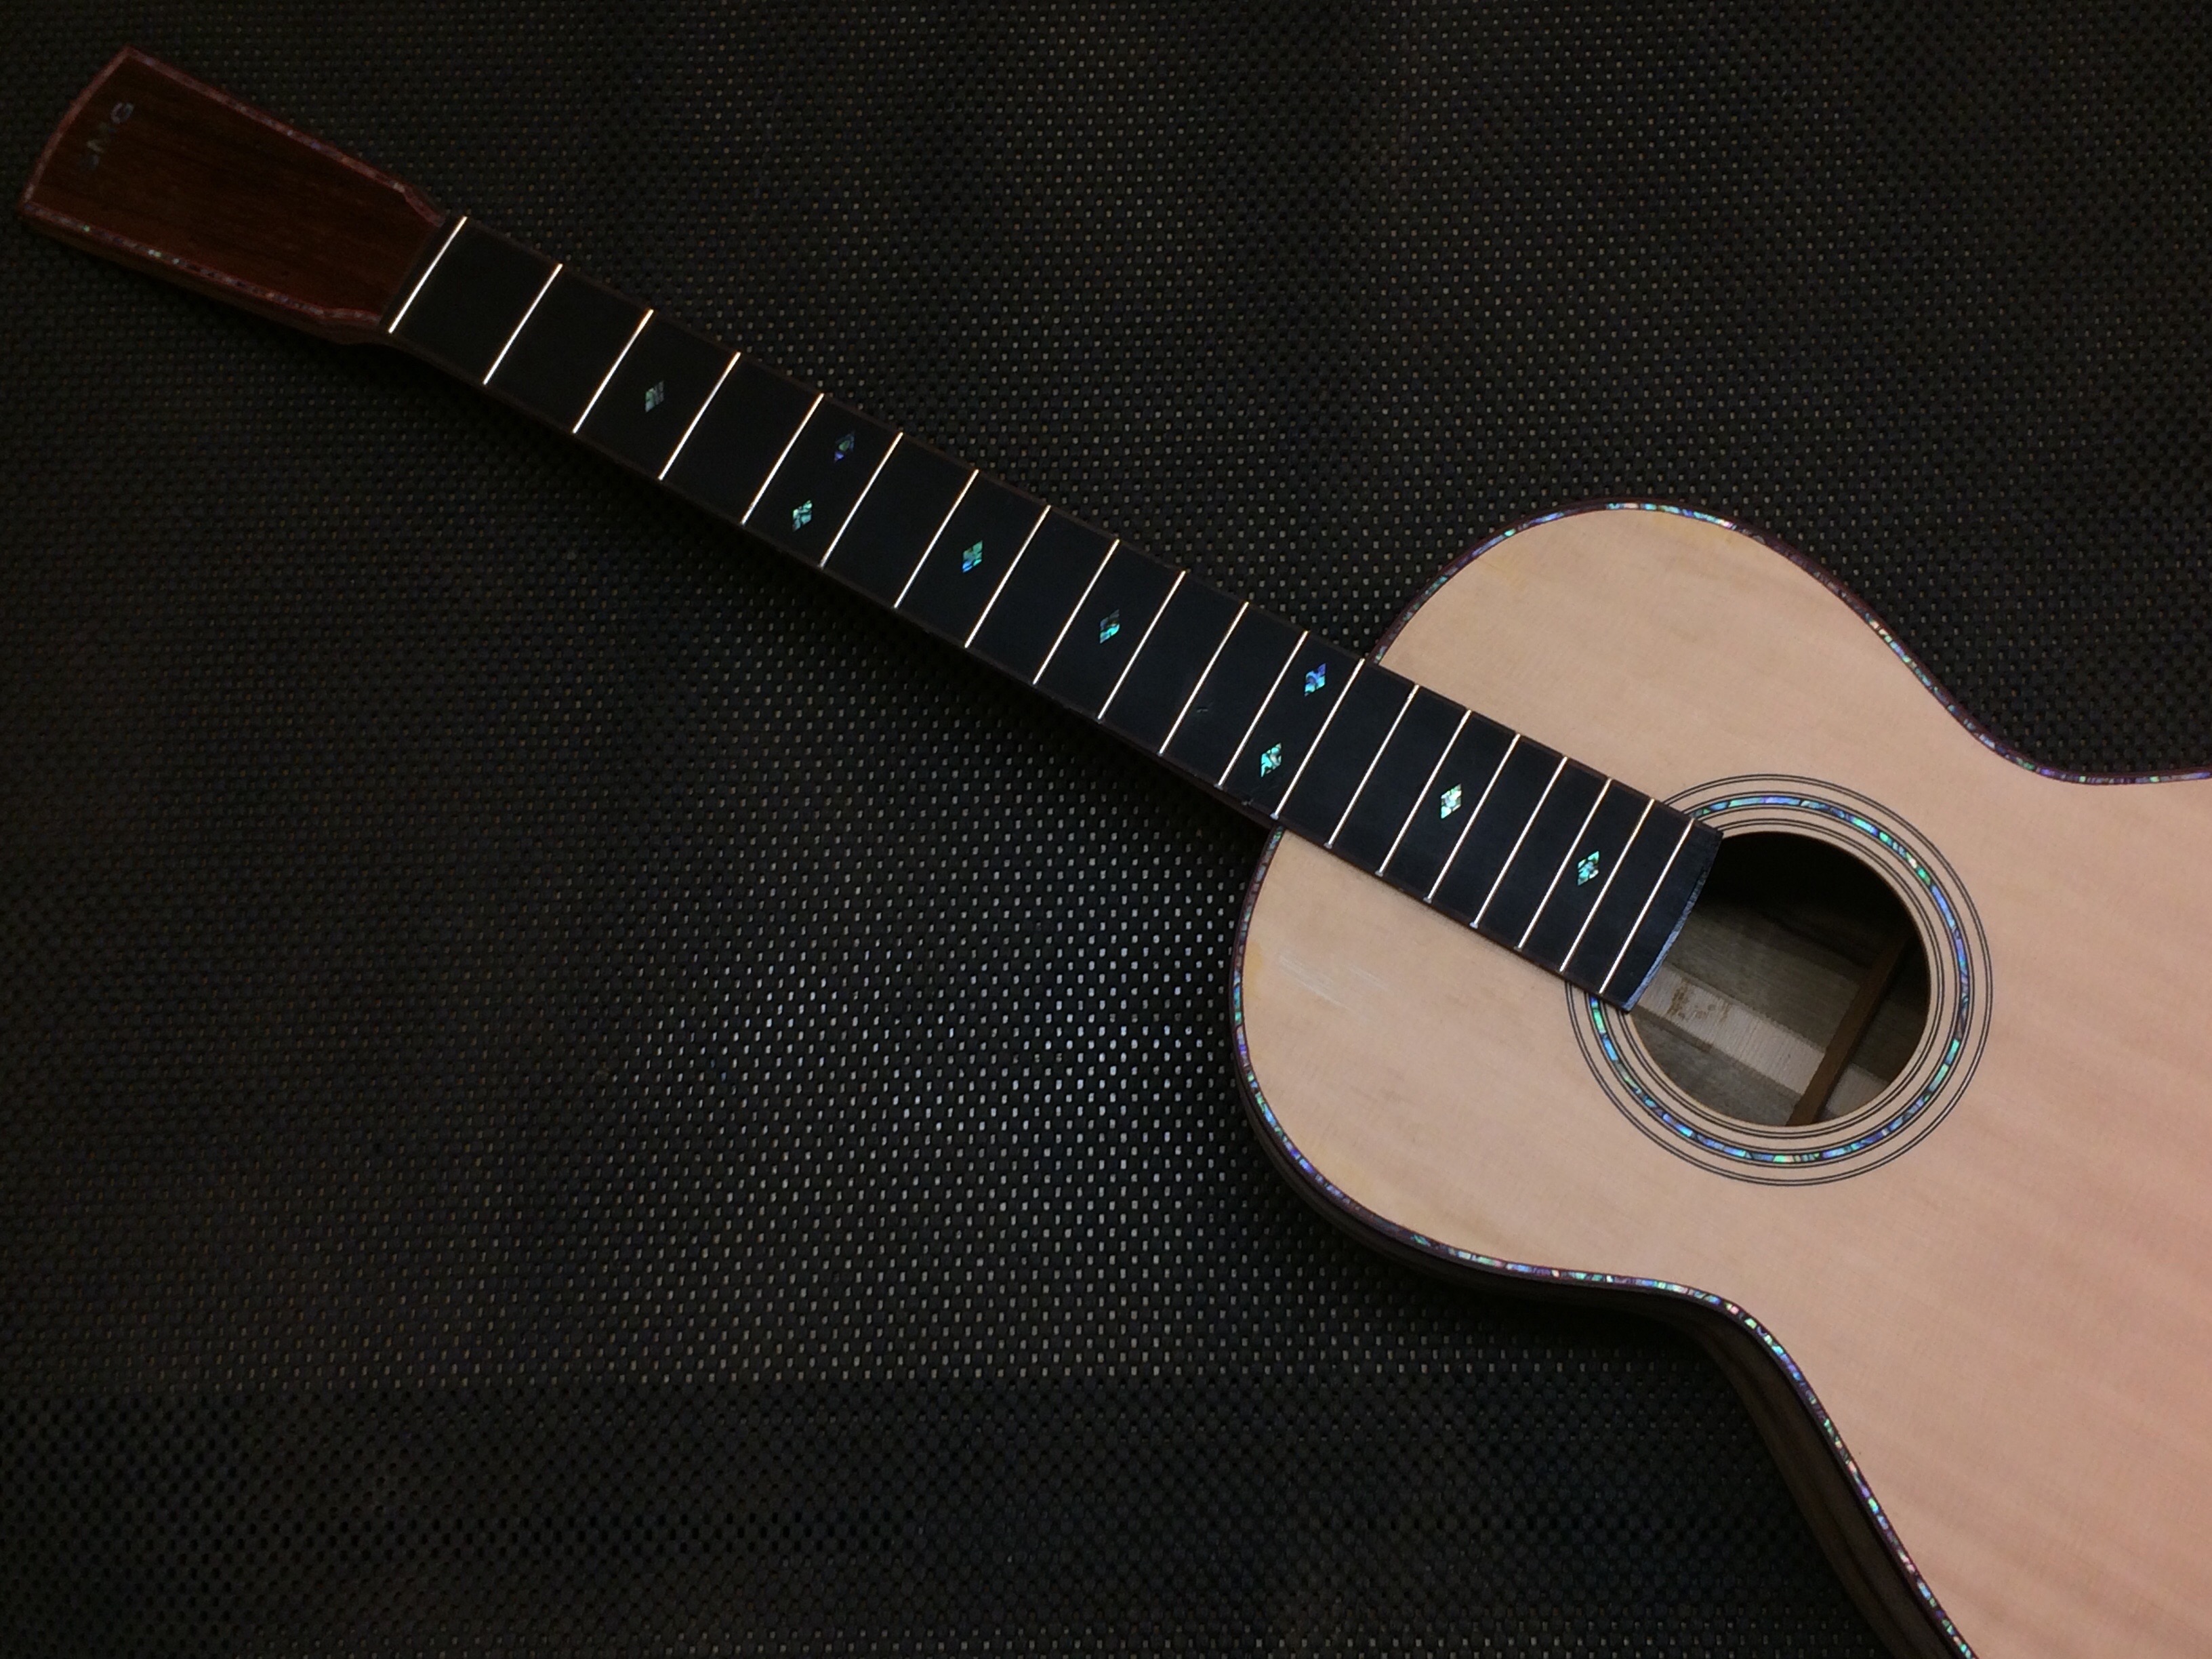
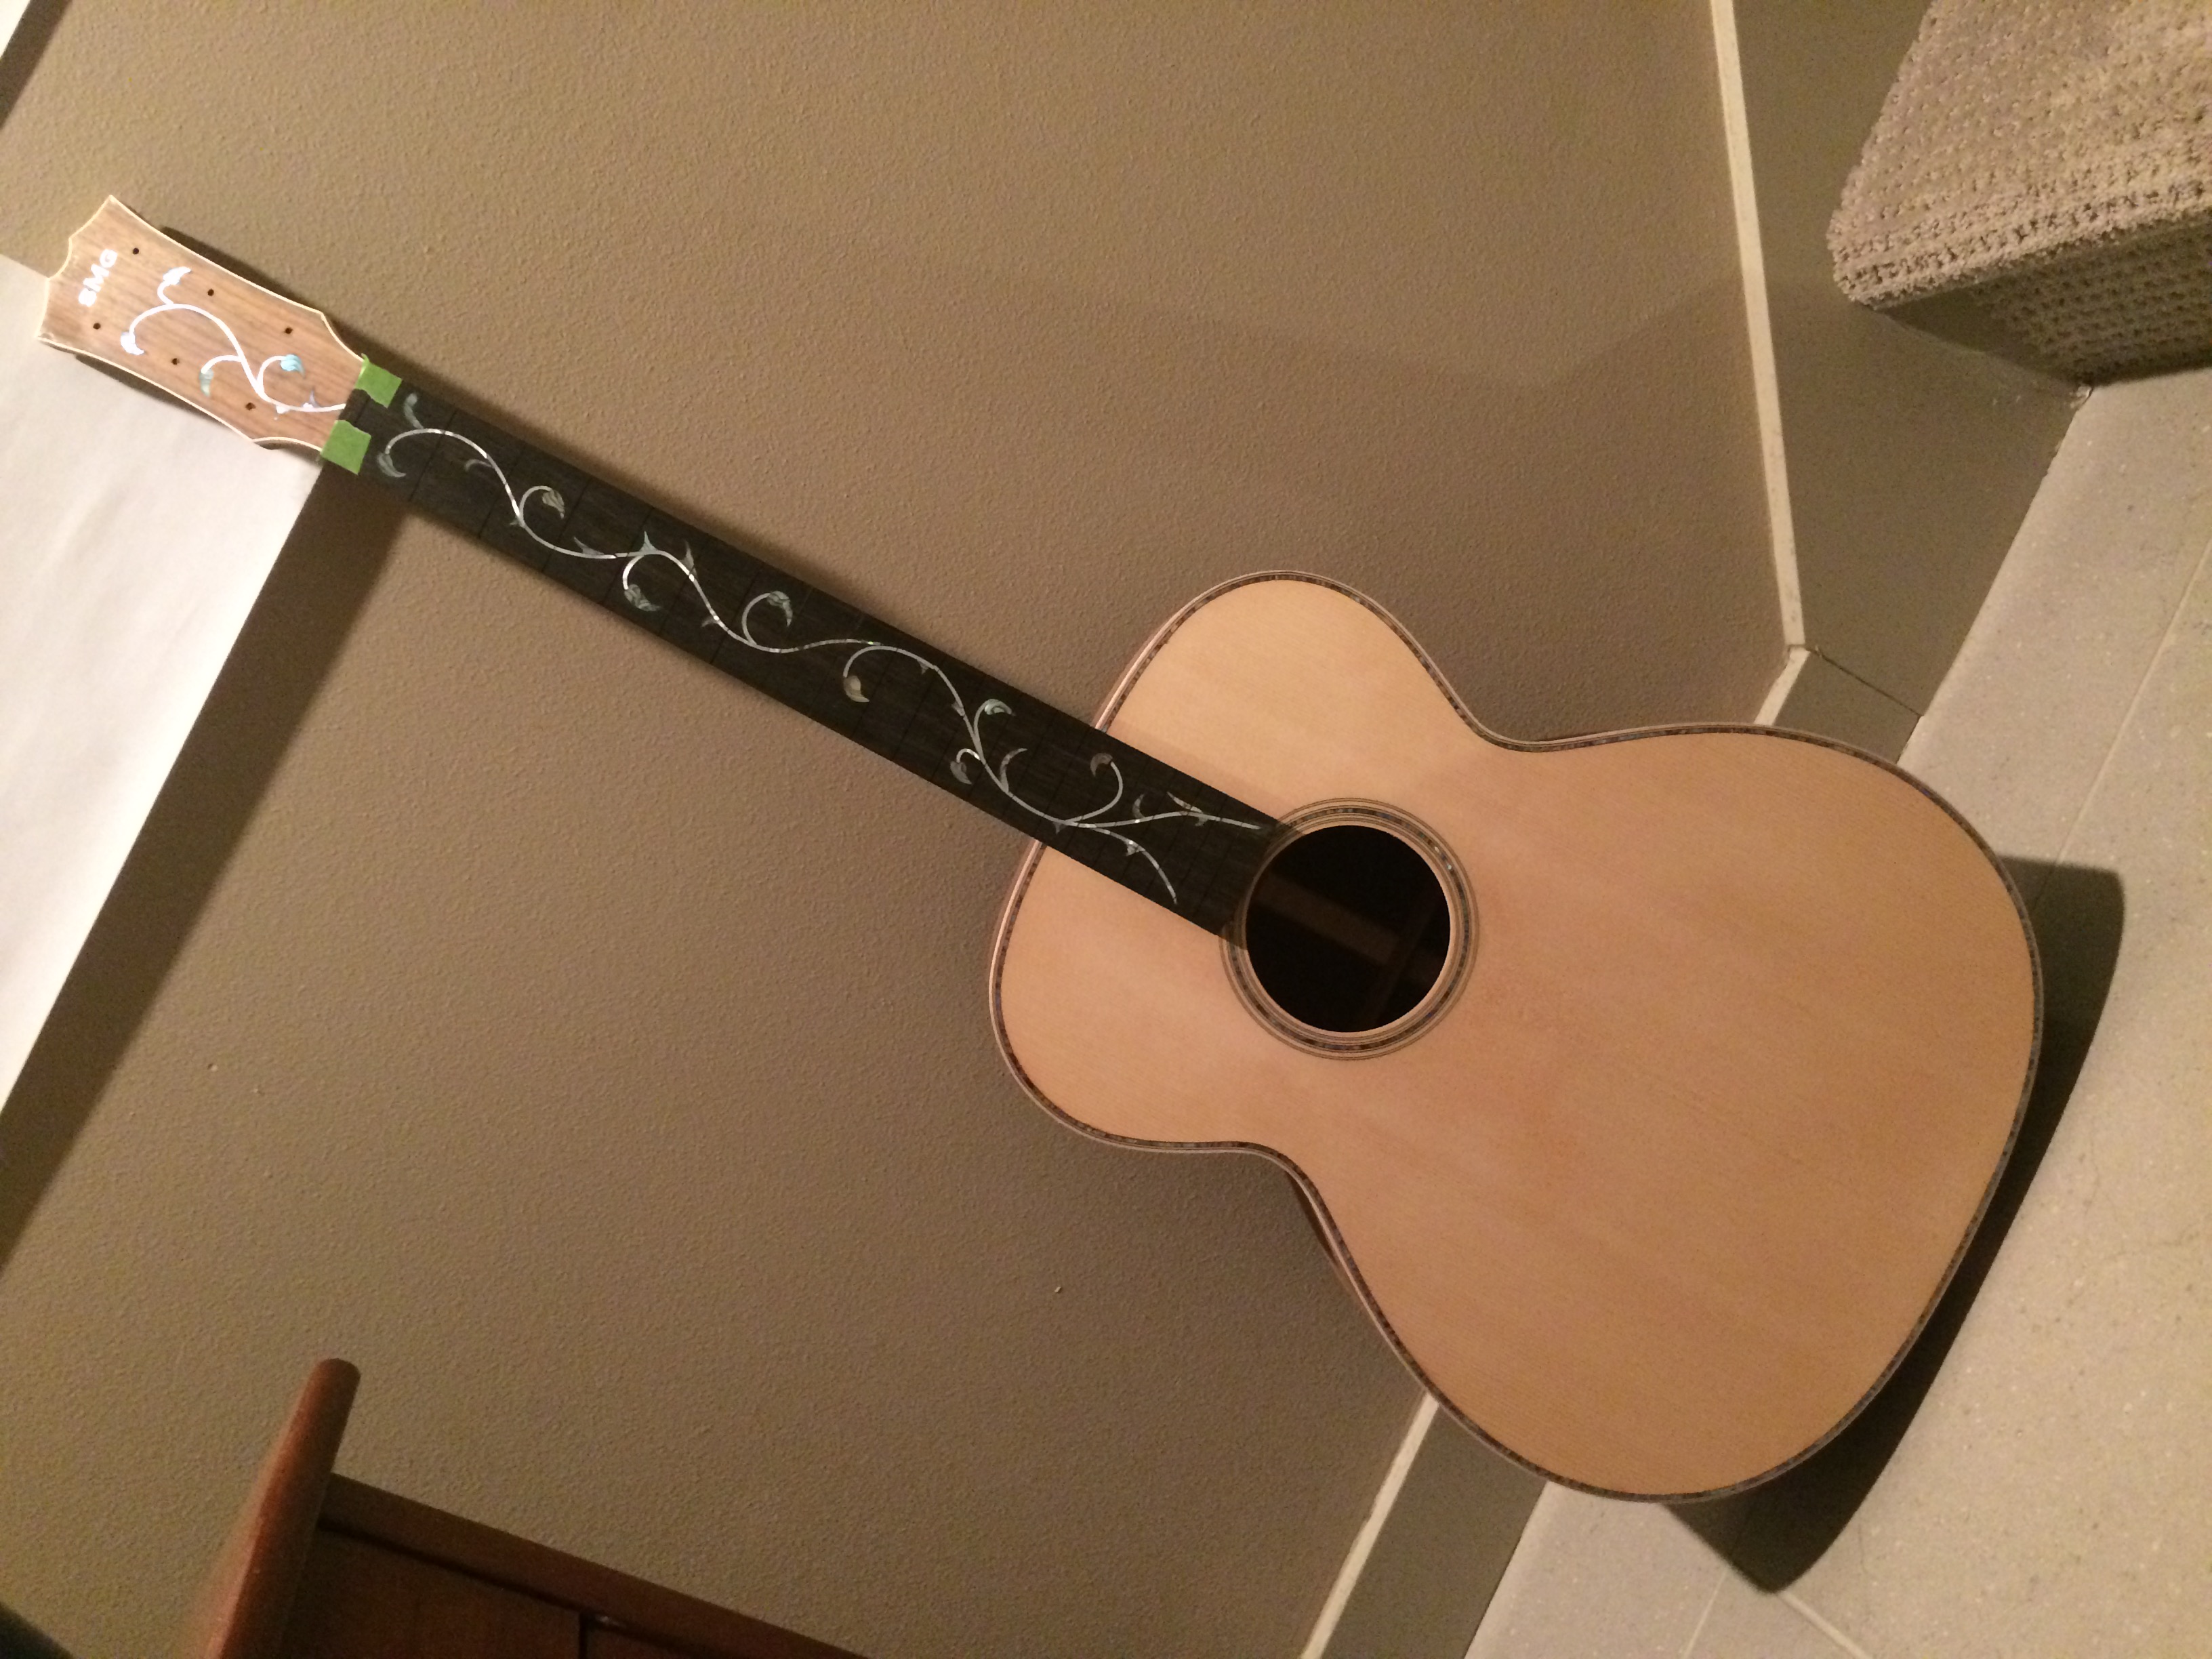
Guitar 1201, Myrtle or Yew, parlor for my daughter. Coming to a close.
September 15, 2021
Guitar 1201, Myrtle or Yew, parlor for my daughter. Coming to a close.
August 18, 2020
Yes, progress is crawling toward completion. The finish has been knocked down and buffed. The bridge has been installed. The saddle and nut are rough shaped and will be notched and installed after mail order strings arrive.
April 18, 2020
Yes, much time has passed since work in the shop as occurred. I am isolated due to the Corona Virus, and no good excuse exists for not making progress in the workshop. A Uke, a Parlor, an OM, and a Macaferee style guitar are all ready for final application of lacquer. I reacquired a compressor which will allow me to spray finish with lacquer and inch toward completion. I will document my progress as I go, and hopefully give you, my interested party, reports on the activity.
May 6, 2019
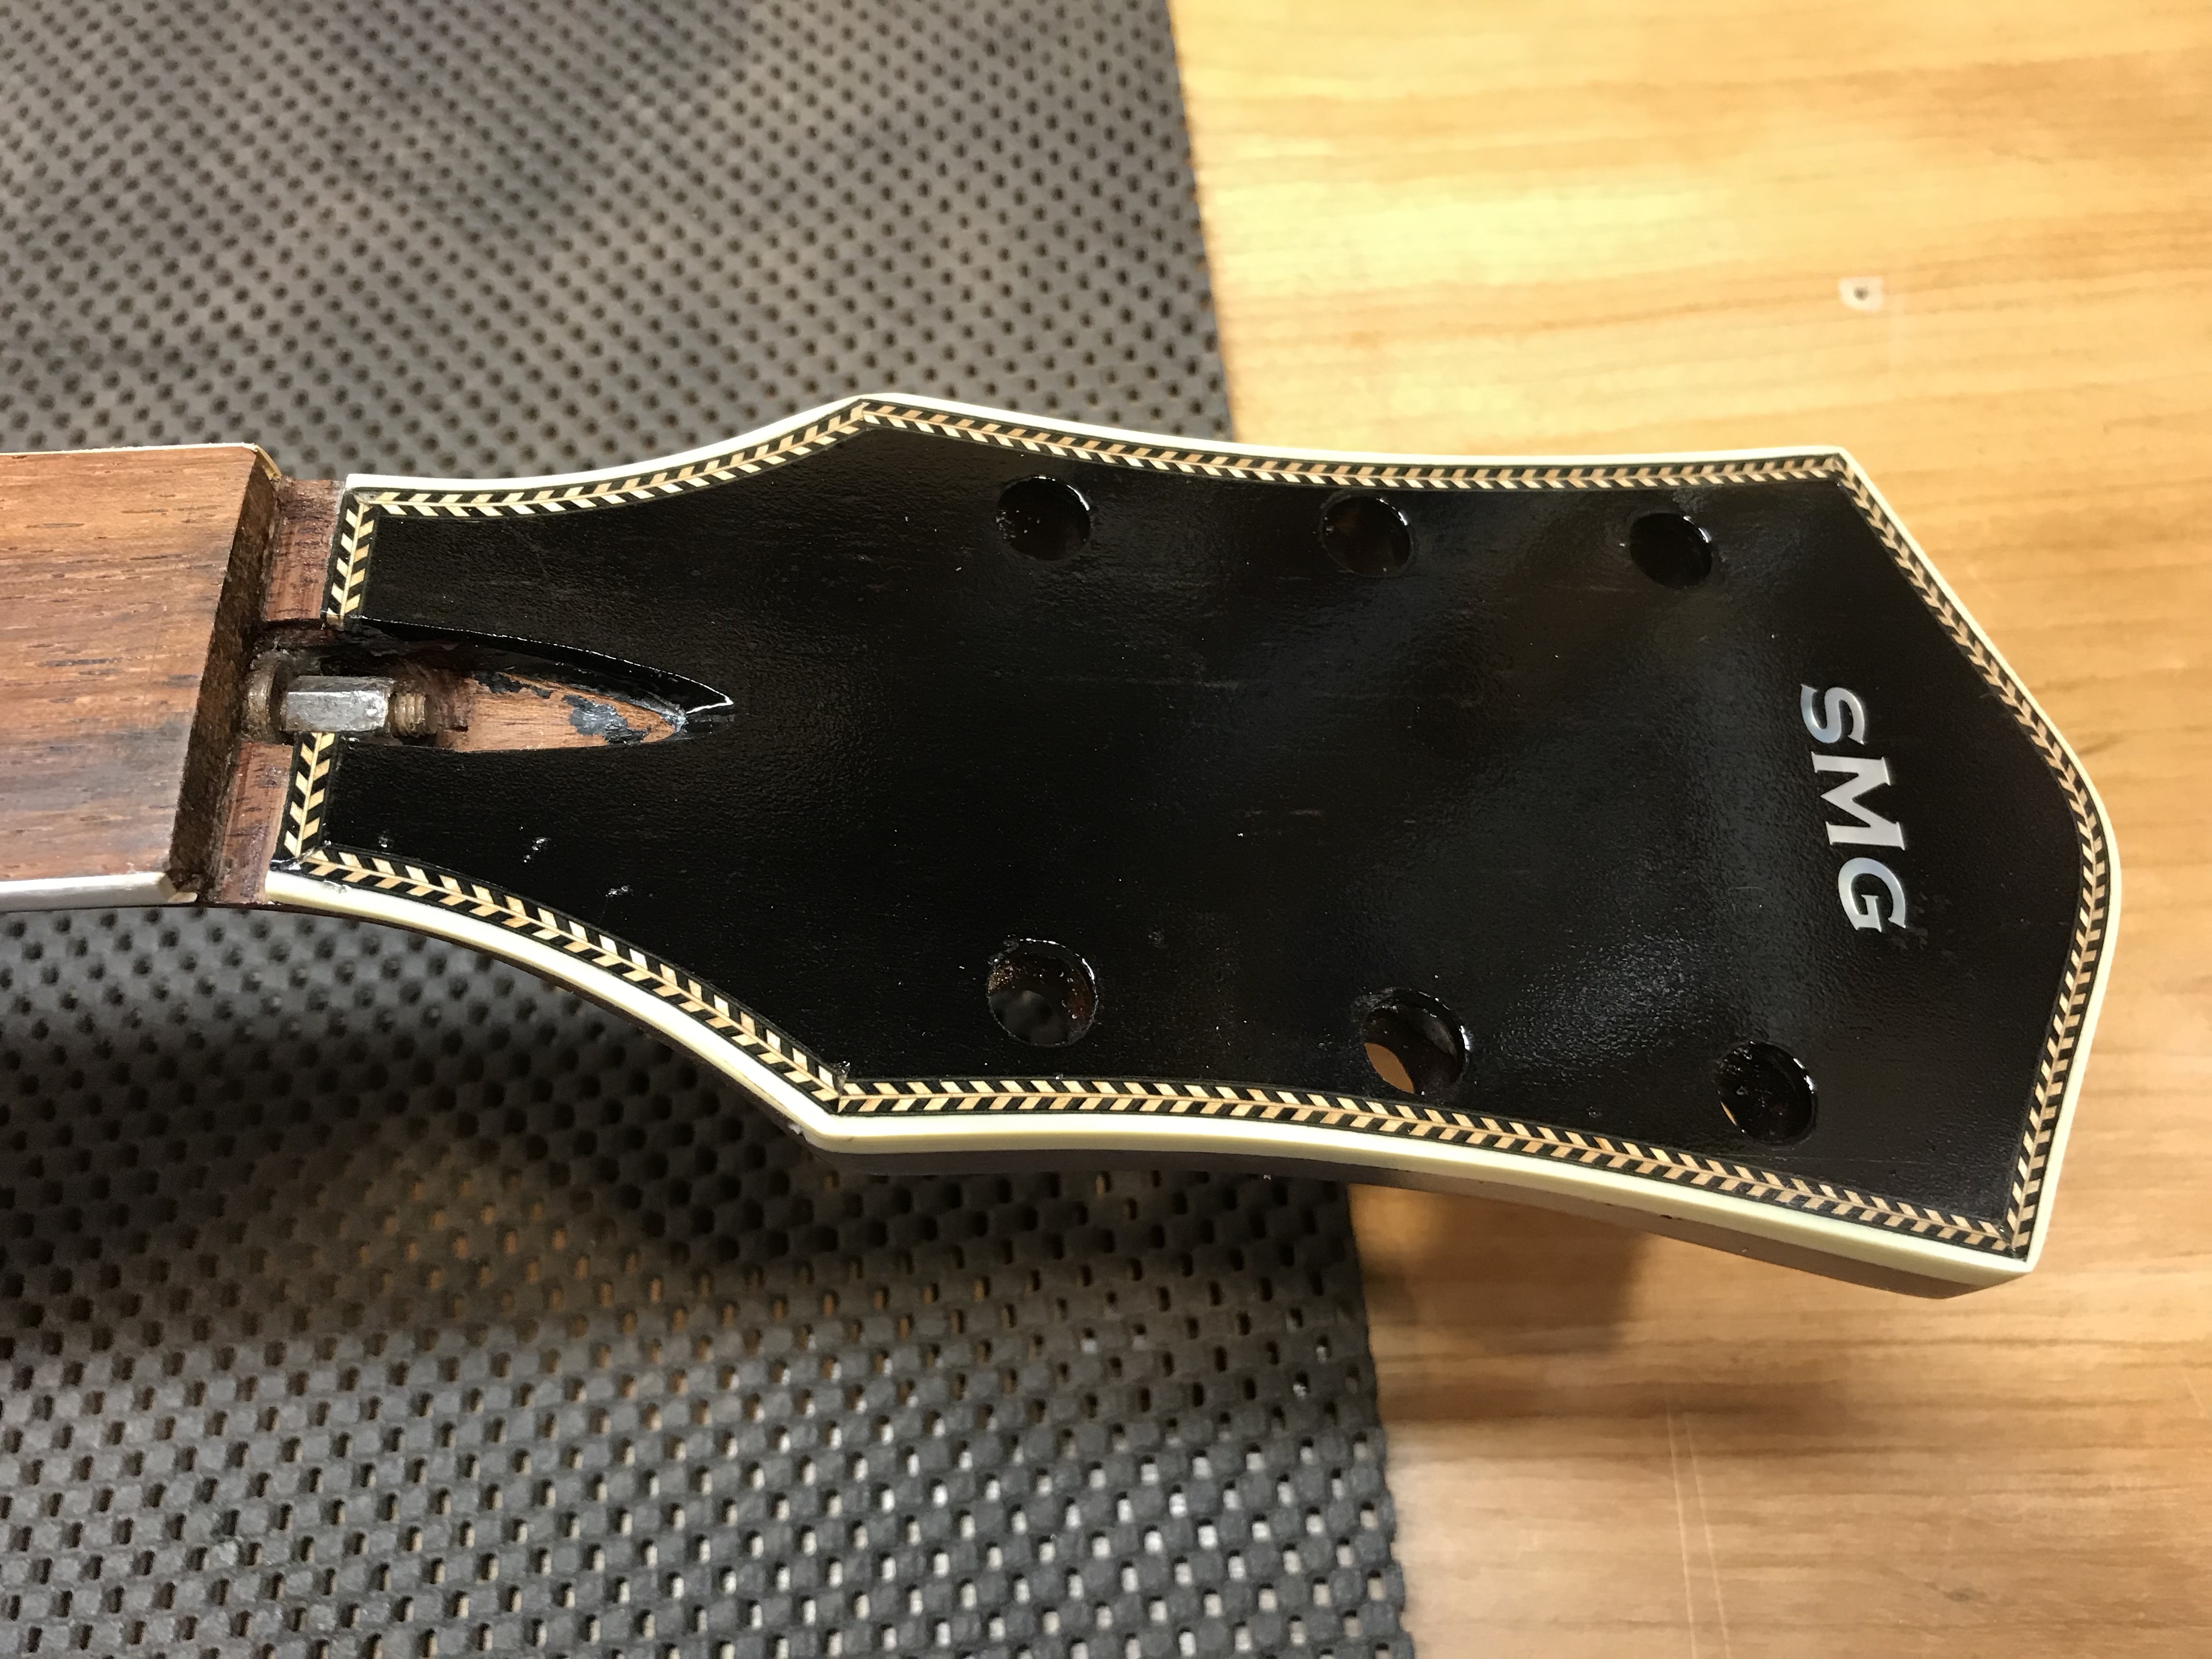
My amigo, David, presented me with a decapitated Harmony Sovereign. I was able to reattach and (from the suggestion of others) reinforce with one of my sMg headplates.
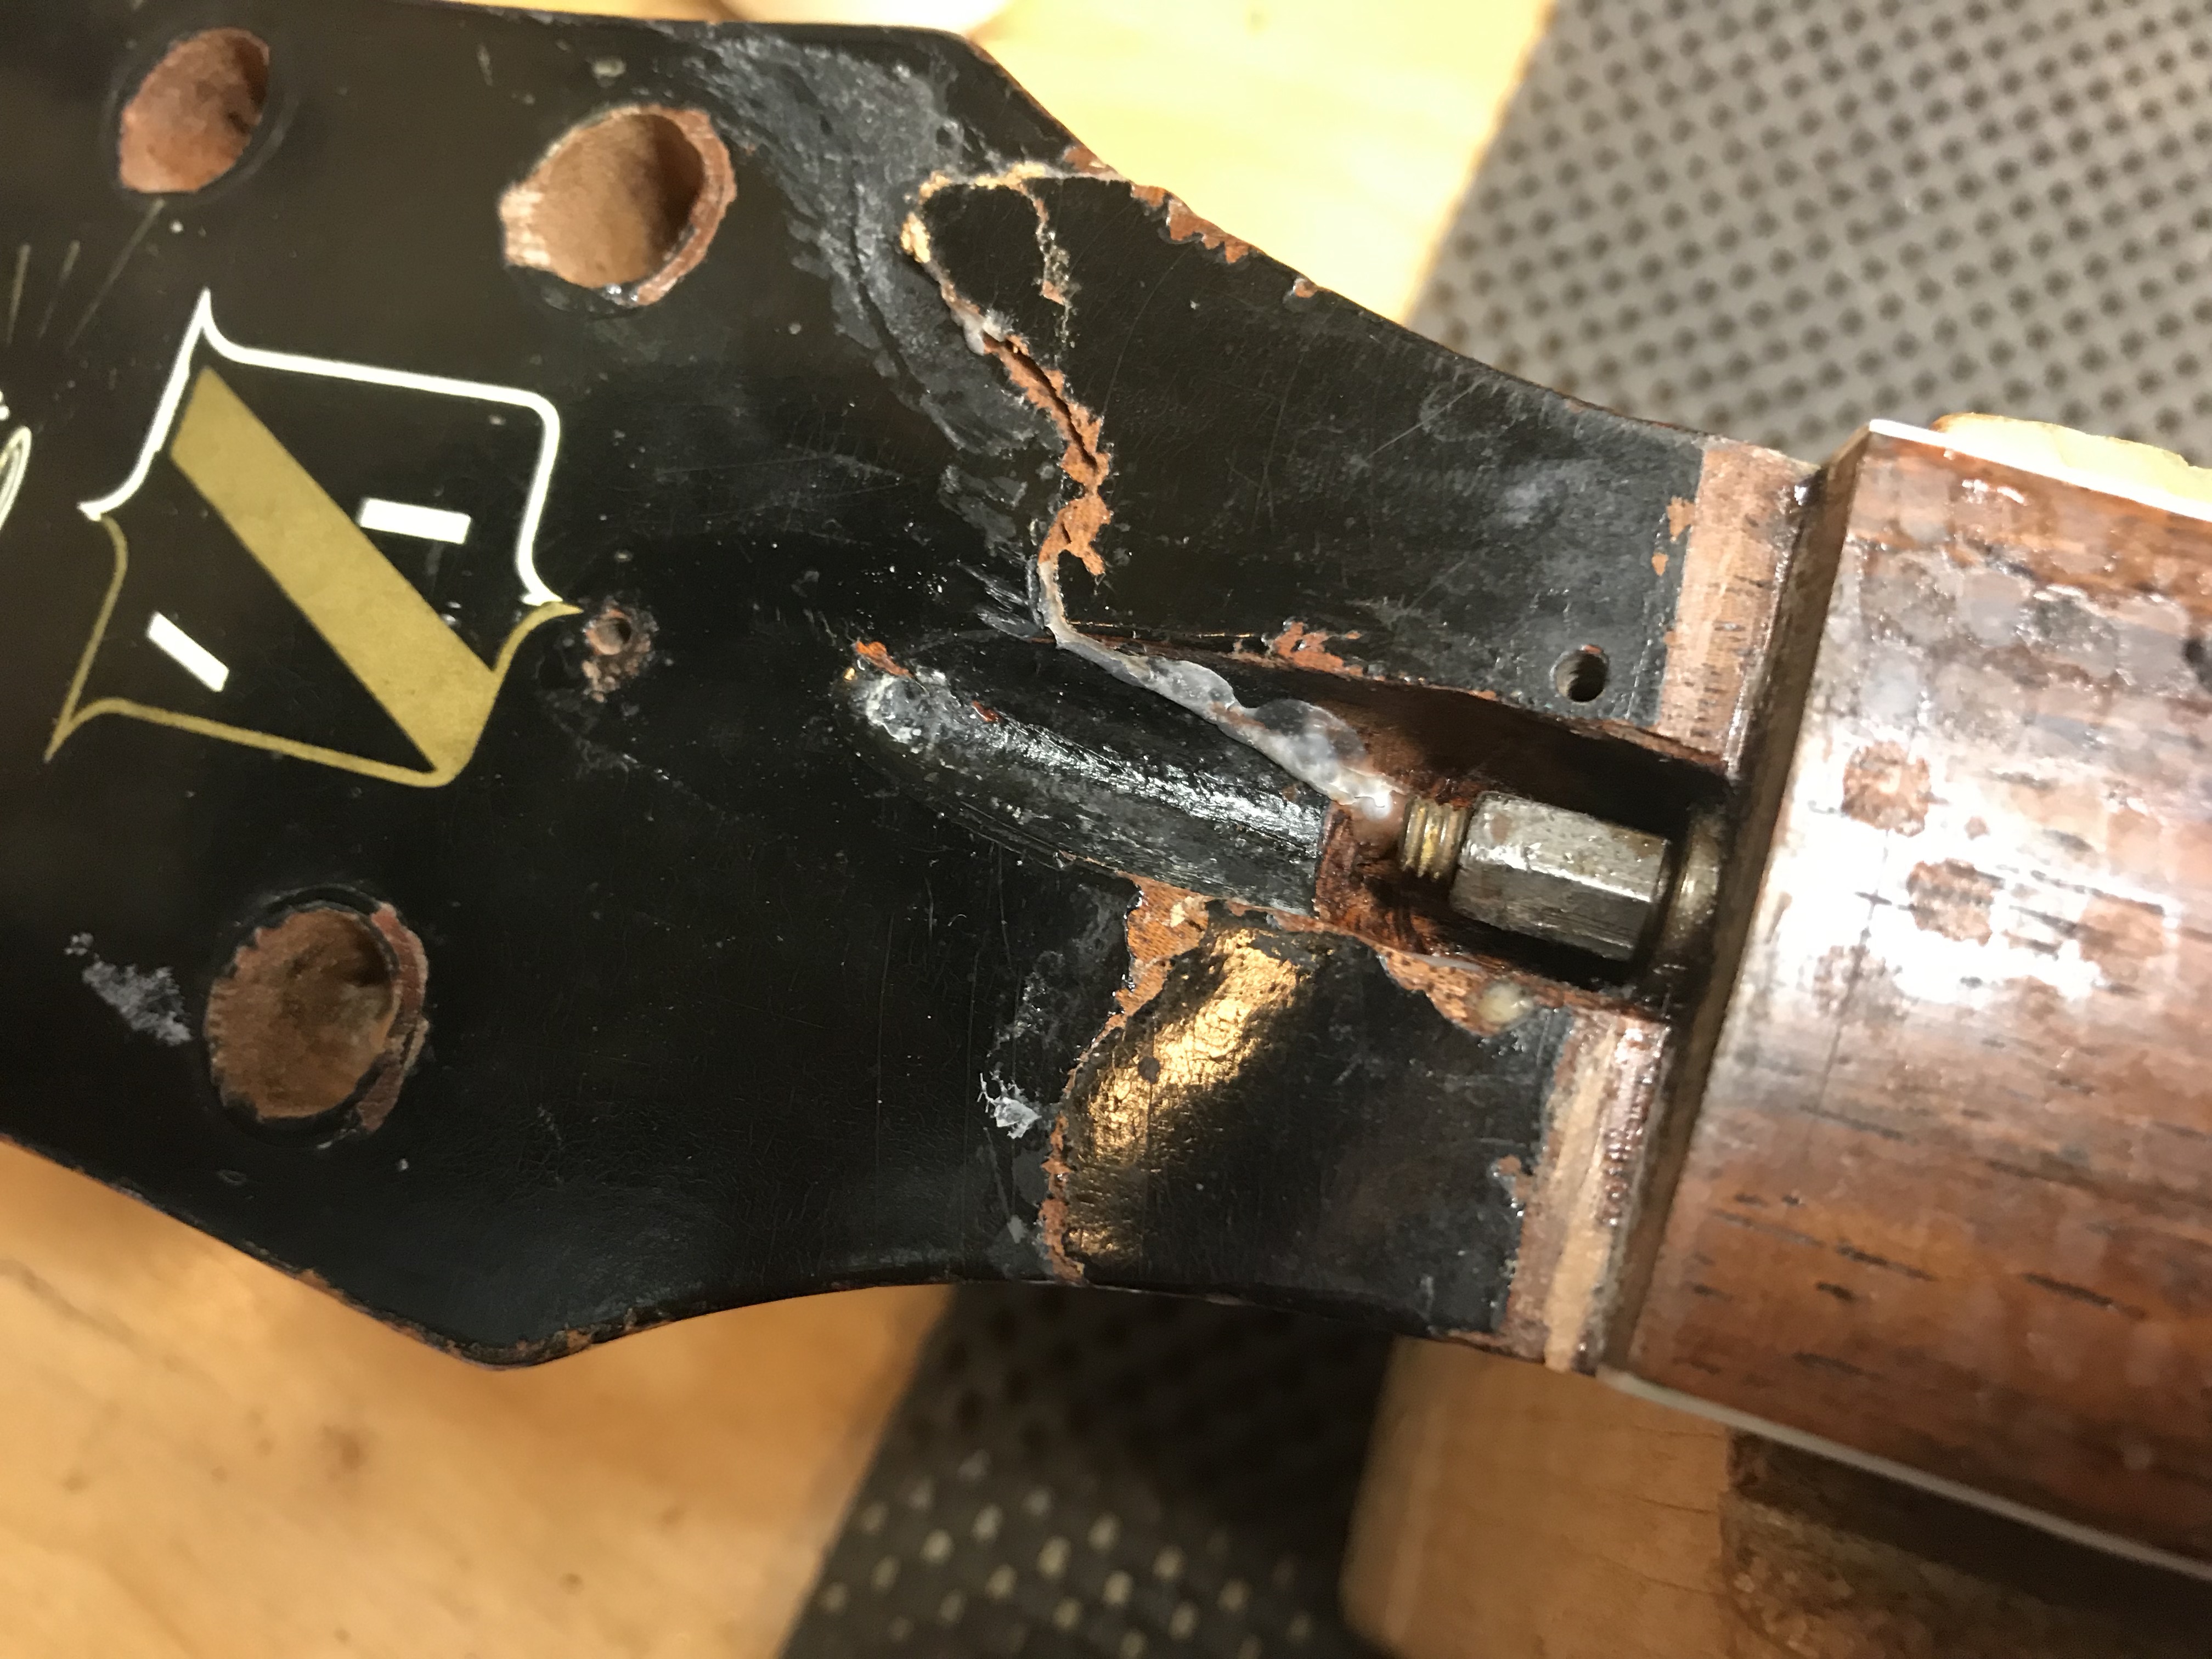
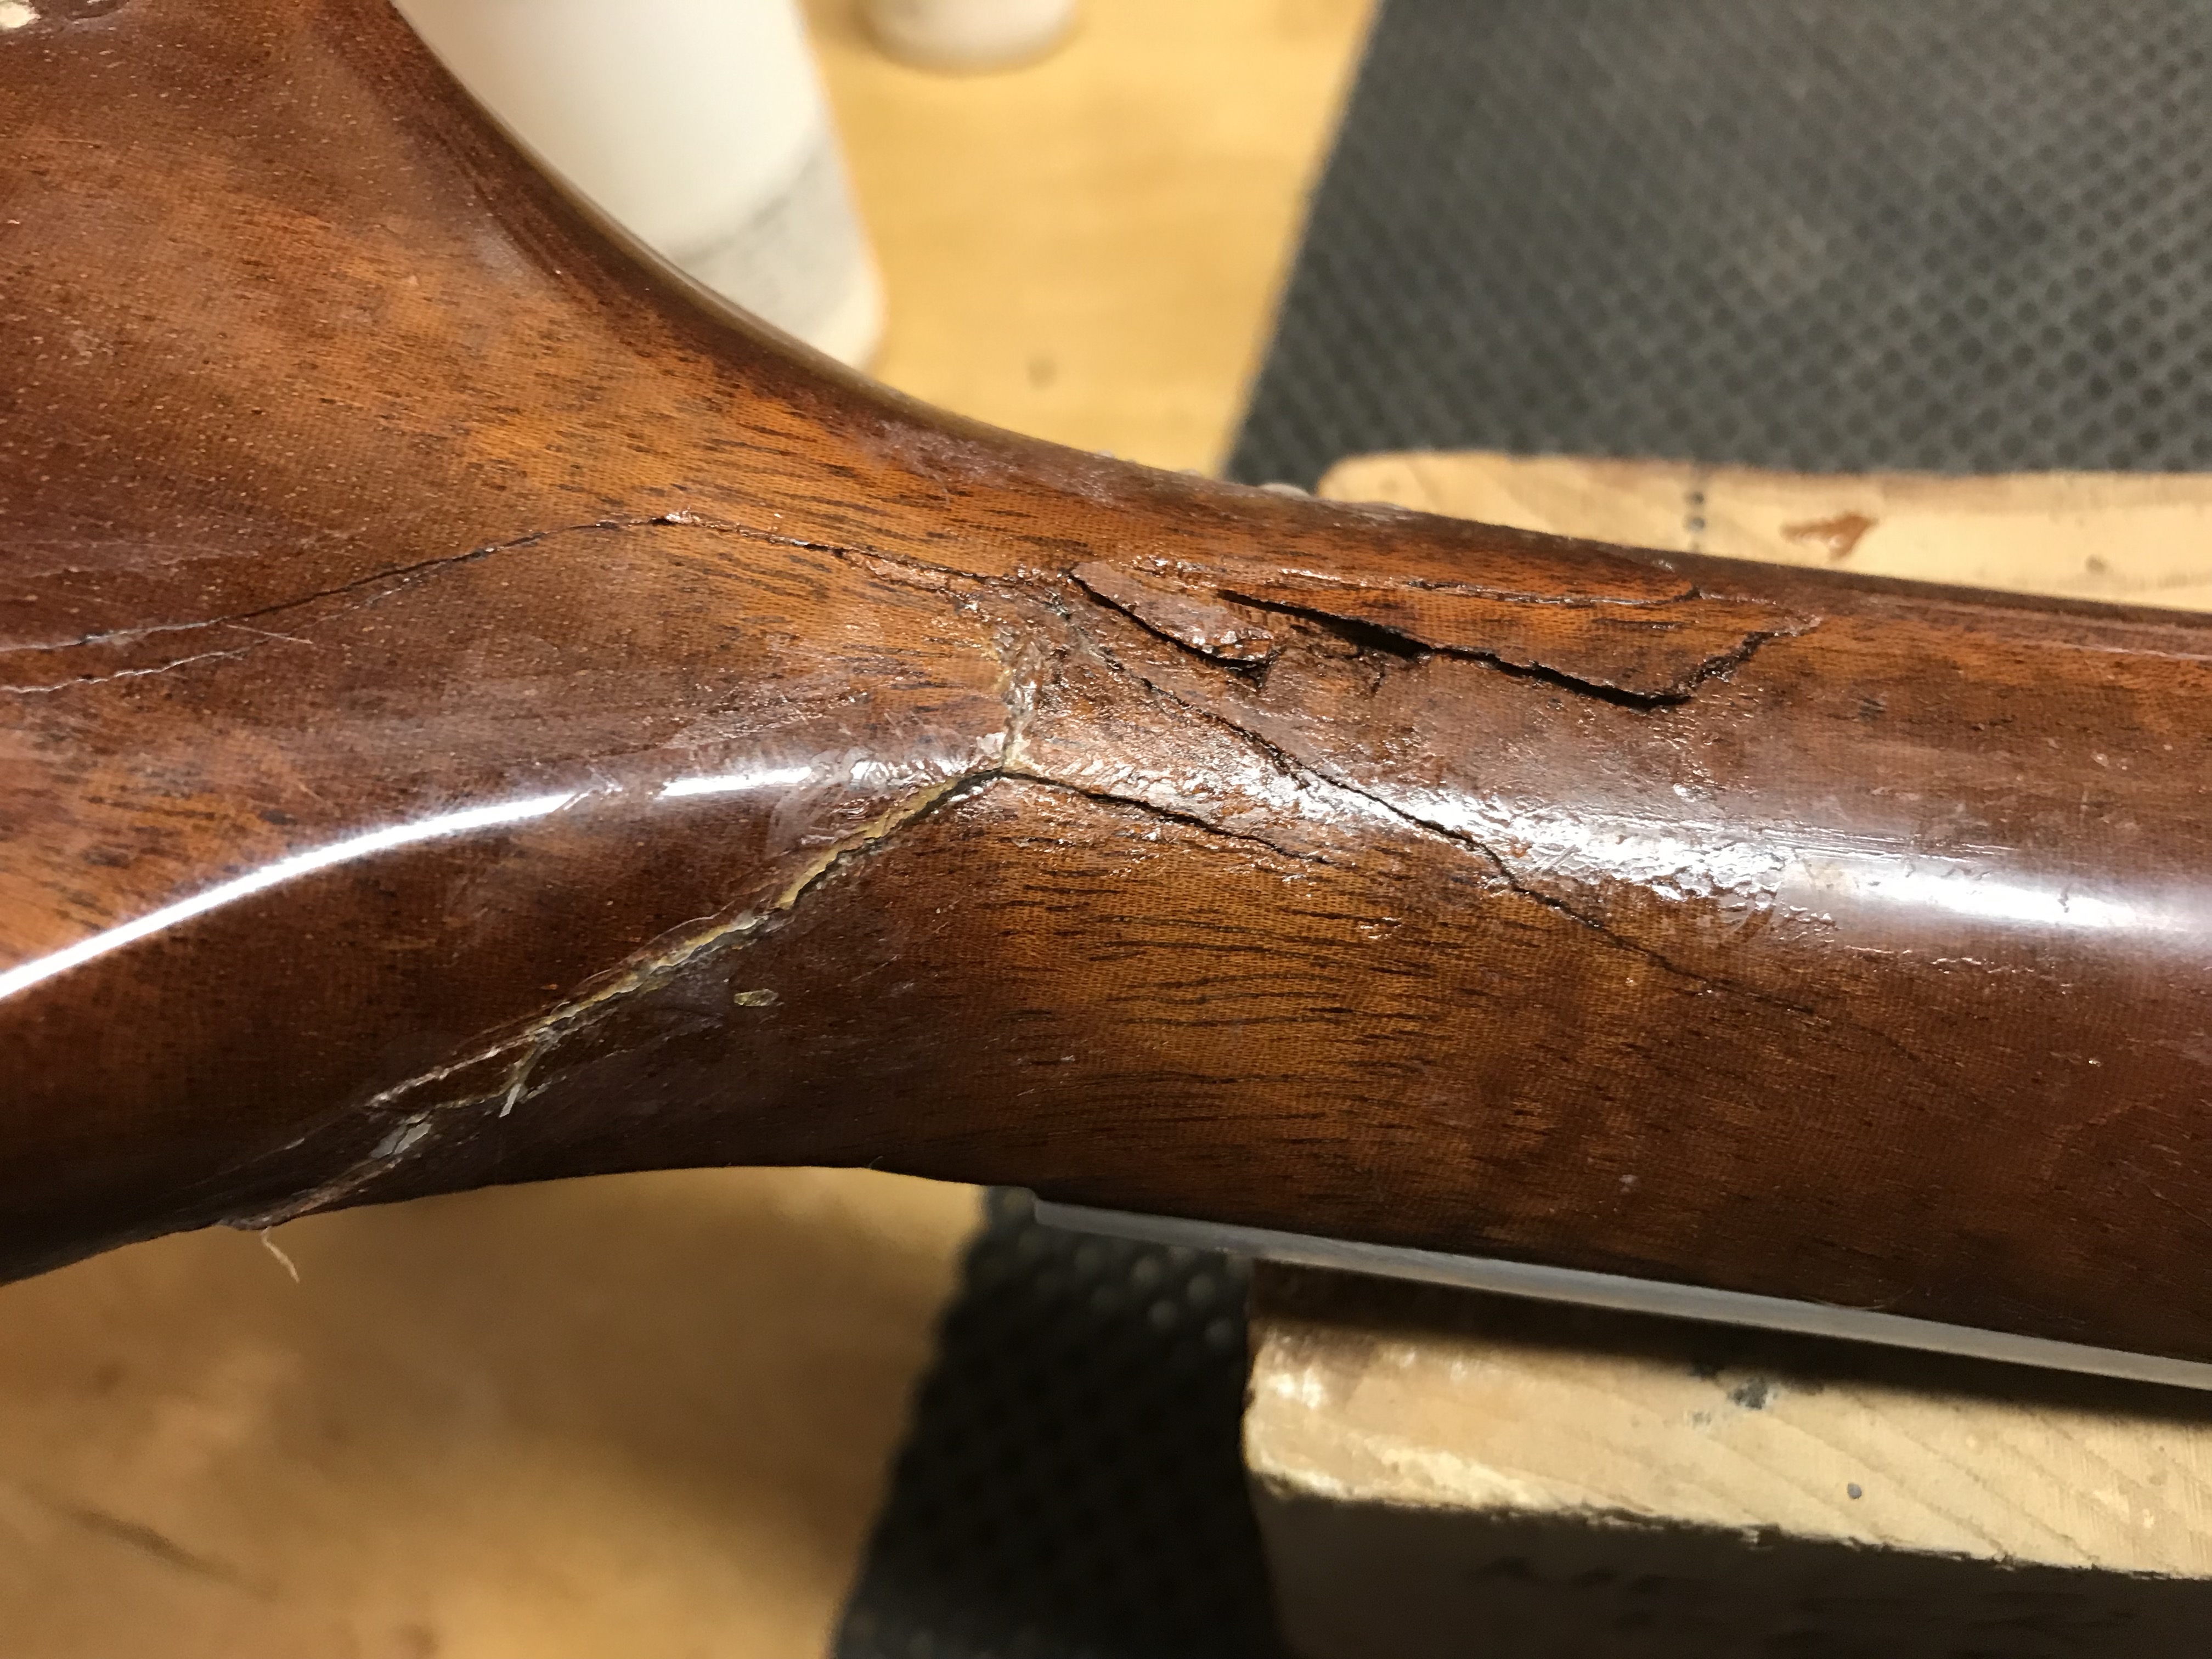
Photos showing fit (or lack thereof) of sheared headstock.

Note the high quality credit card cutout used as a truss rod cover.
May 1, 2019
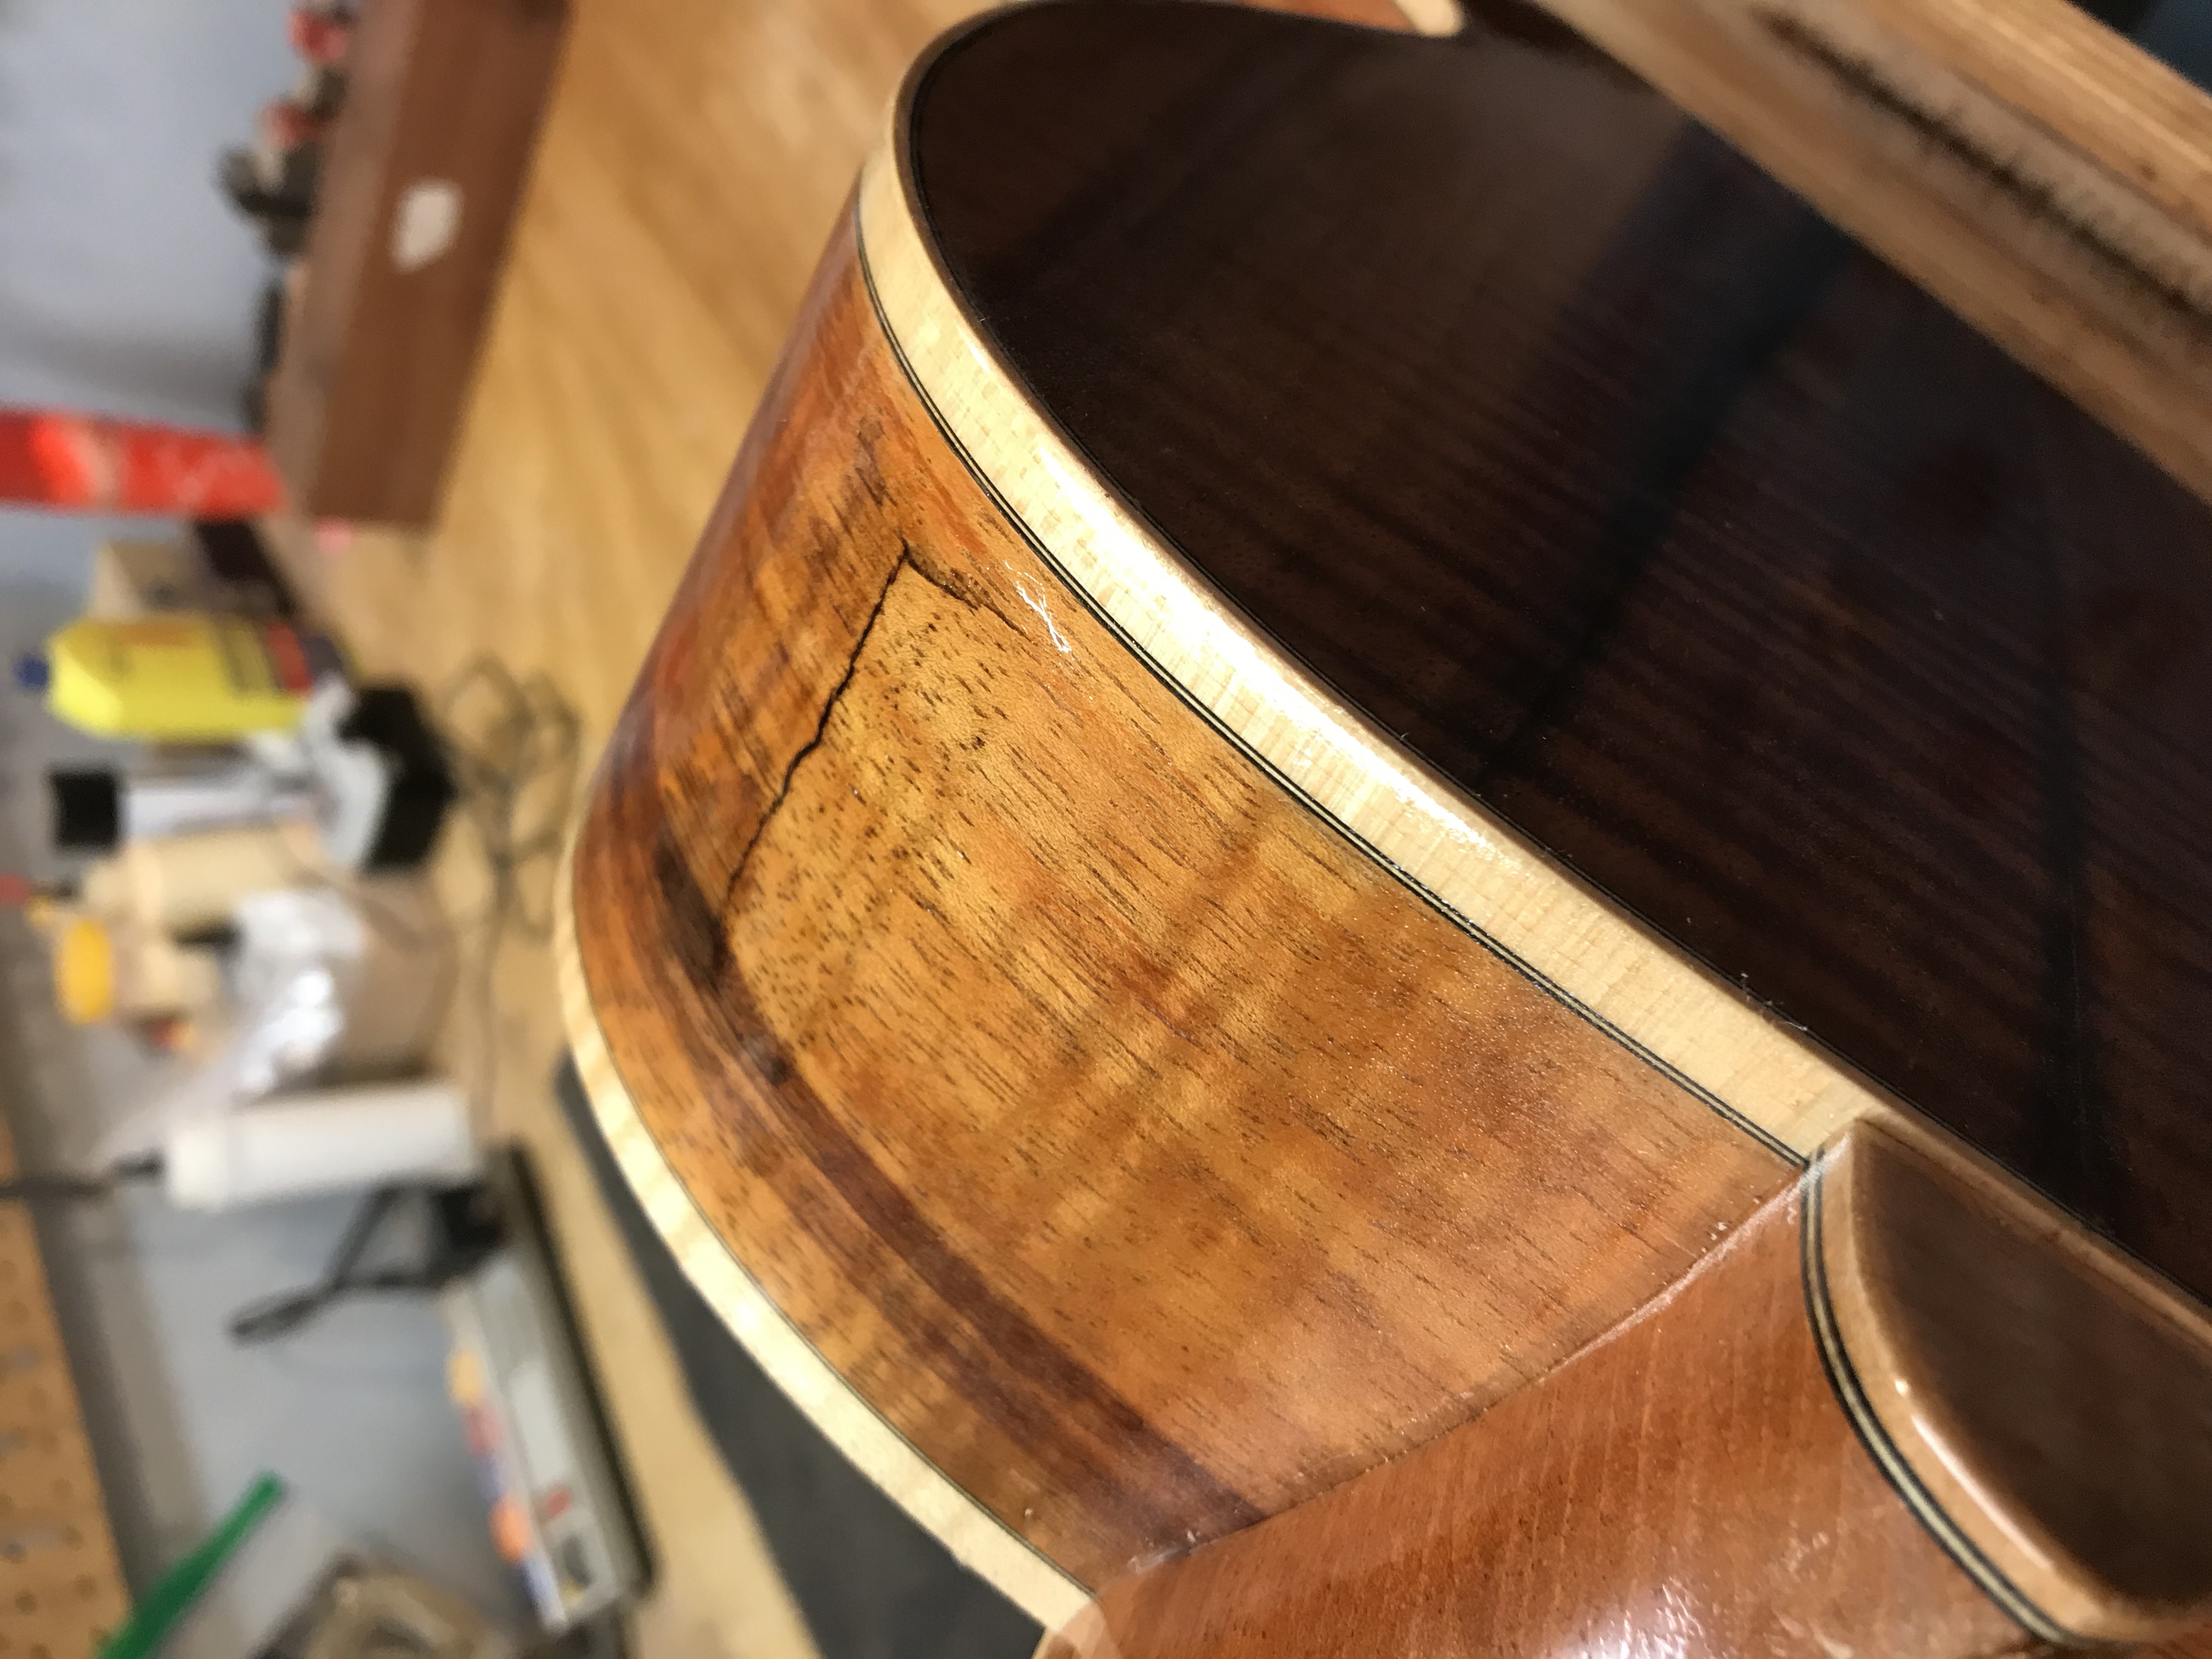
I am slowly, with caution, climbing back into building and repair. I have repaired one of my earlier guitars for a customer. The curve in the upper bout sproinged (technical term for separated).
I have also helped a friend reattach a sheared headstock on his Harmony Sovereign.
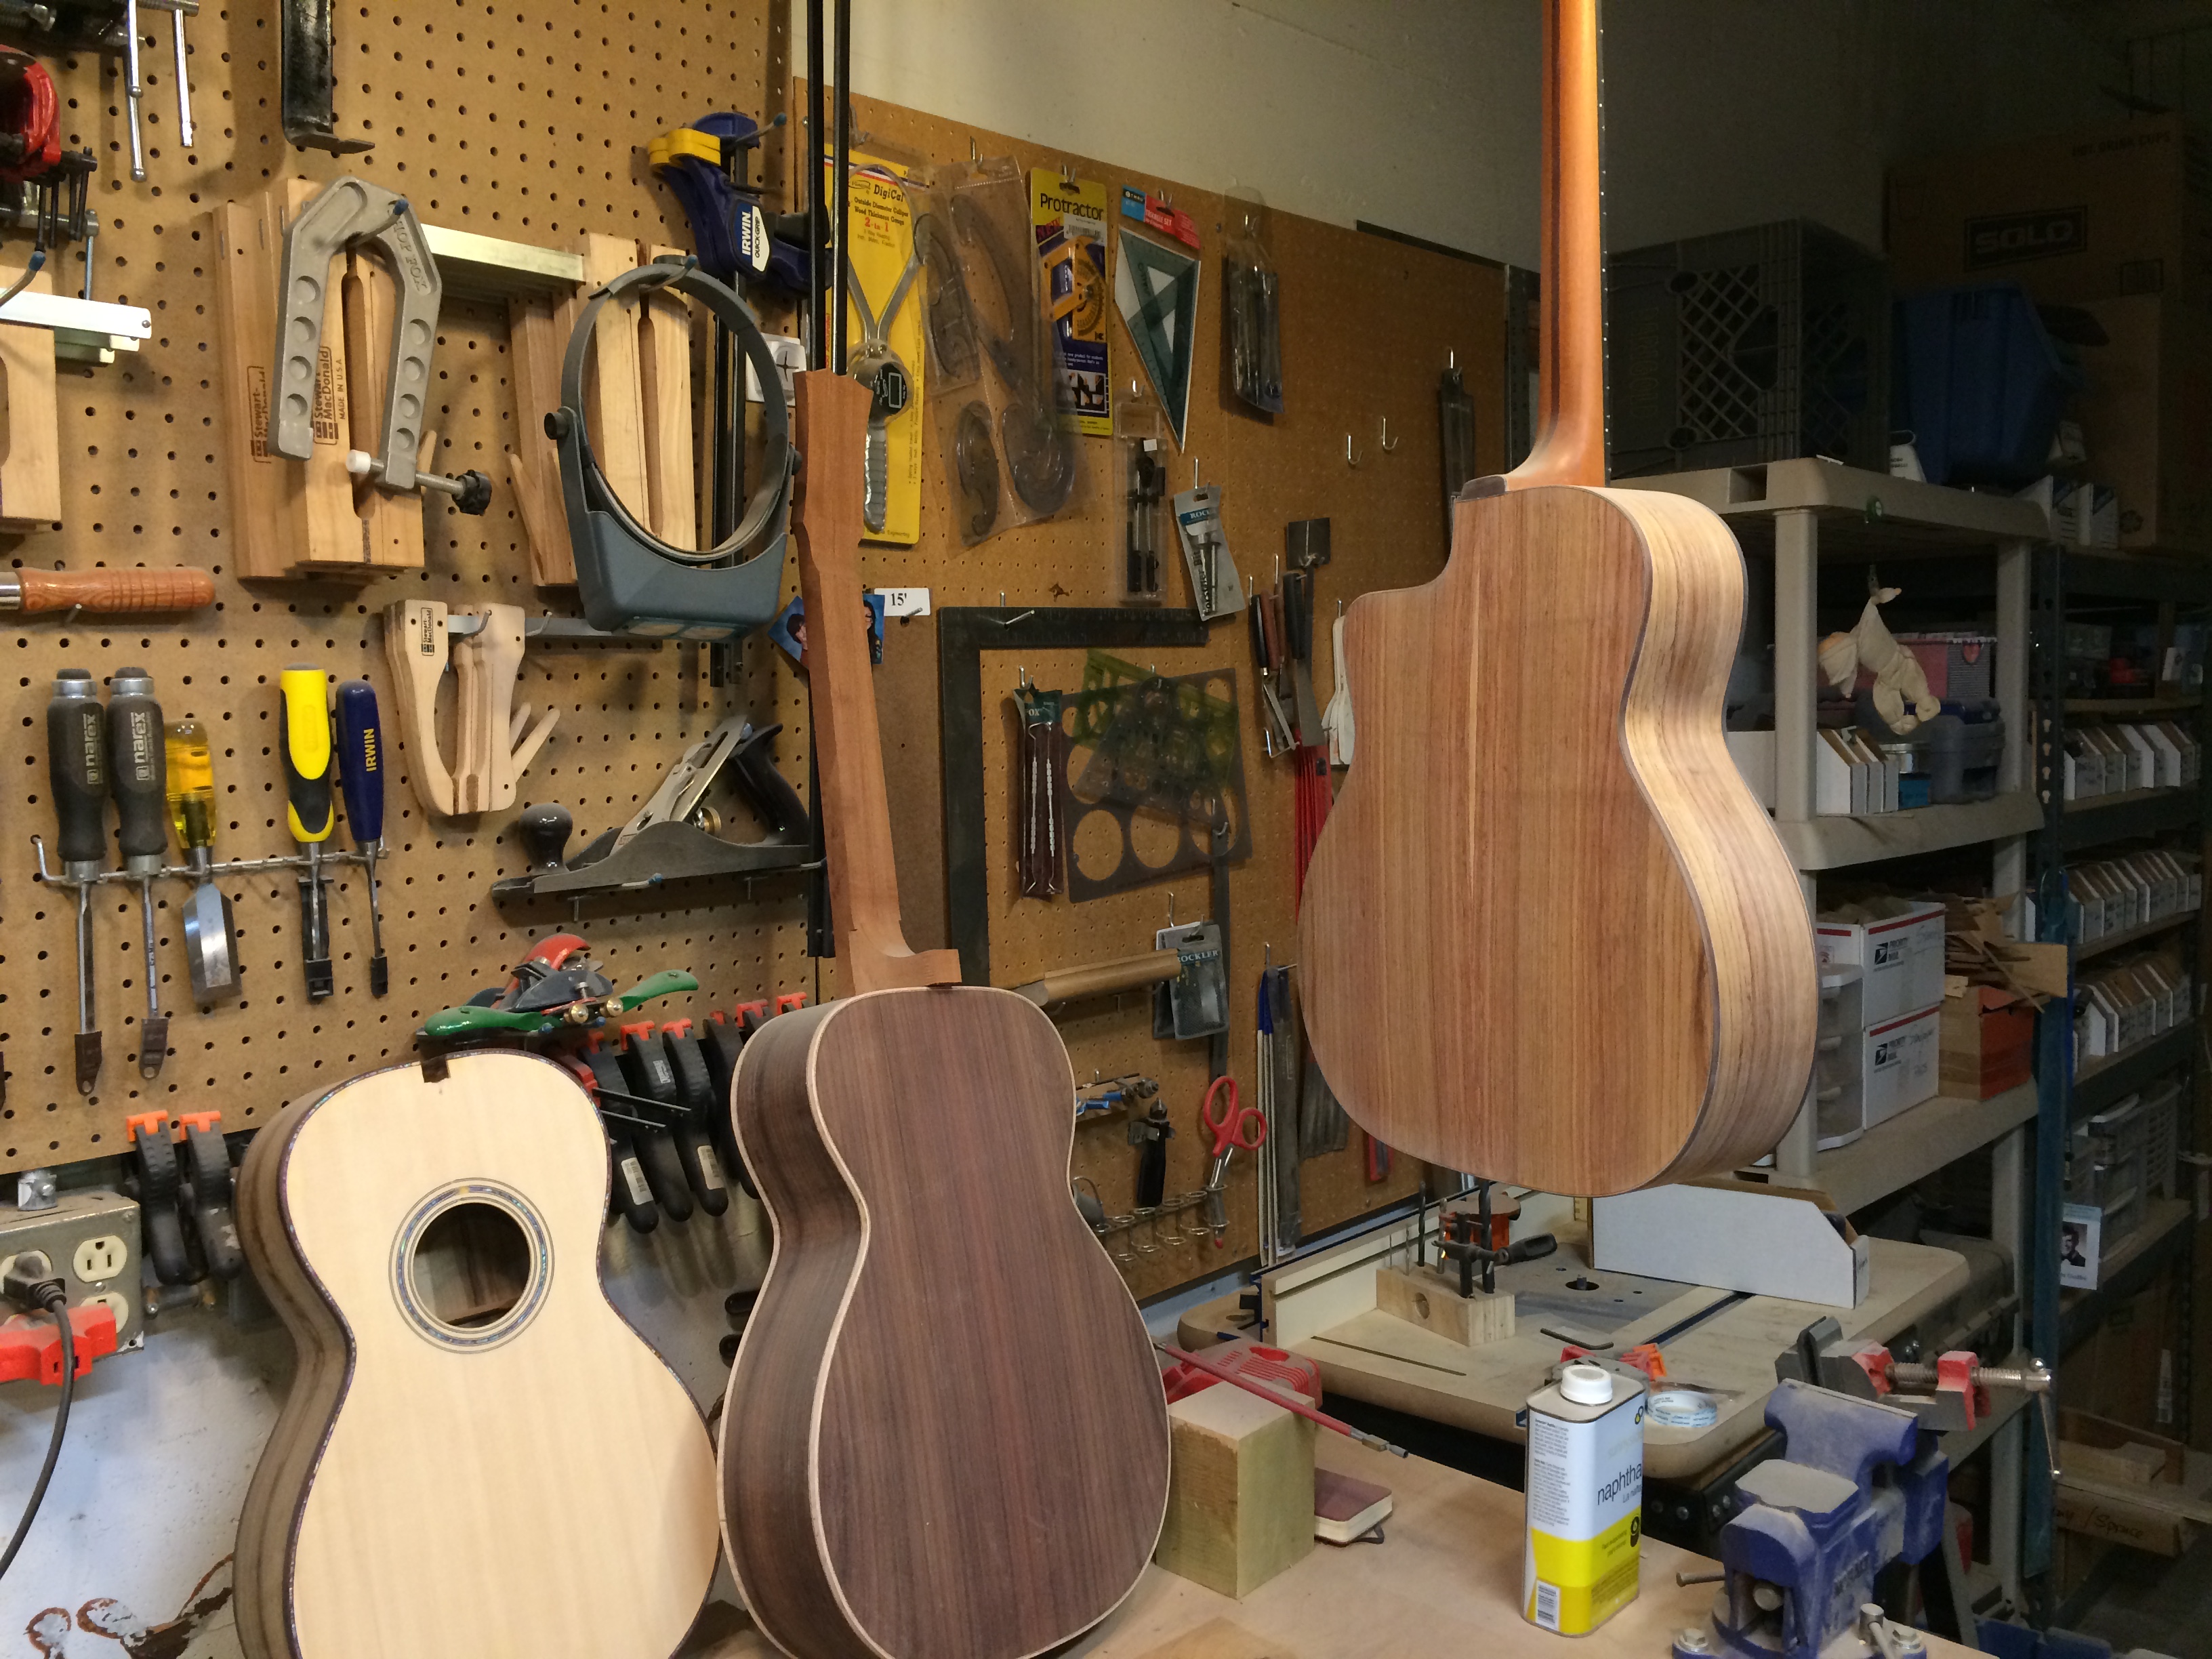
In the wings are the finishing (as in lacquer) of a koa Ukelele, Rosewood OM, and Myrtle Parlor, and Palo Escrito Macaferri.

December 2, 2018
OK, it’s been a year since last post, and you can imagine that this lack of communication indicates lack of progress. You have a great imagination. All guitars (3) and a uke have slouched toward the wrap up step of lacquer application. Plans are in place for completion.
October 30, 2017
I have completed neck shaping, fret installation and fretboard attachment for both the Parlor and OM (1201 and 1202).
Next steps are fine sanding, gap filling, neck adjustment, fret levelling, then pore filling prior to the finishing process (which I abhor).
October 22, 2017
I have officially resumed building. I retired in June from teaching and have ministering to the health care and benefits schlmazel that was necessary to make the transition from employment. Now that I am enrolled in Medicare and supplemental insurance, I can get care for any workshop mishaps with sharp tools (both power and hand).
I have a parlor, an OM, a ukelele, and a Macaferri style guitar in the final stages of production. I’m also mentoring my son, William, on the construction of a Stew-Mac faux Stratocaster.
The parlor (aka 1201) and the OM (aka 1202) have experienced recent neck shaping and fretboard binding. Most of my recent efforts have been relocating the materials, tools and jigs I use. Mostly an effort in remembering where everything lives (which bin, which cupboard, which whatever?). Example: Last week I remember stumbling on a headstock template which I could use for 1202, yet, where is it? I put things down, make a mental note, then have great difficulty finding my mental note in my mental cabinet and subsequently spend time swearing at myself.
The upcomming challenge is to reset the neck for 1202 to remove the 14th fret bulge. This will require careful chisel work. I must confess my chisel work is still rudimentary; not at the skill level to which I aspire.
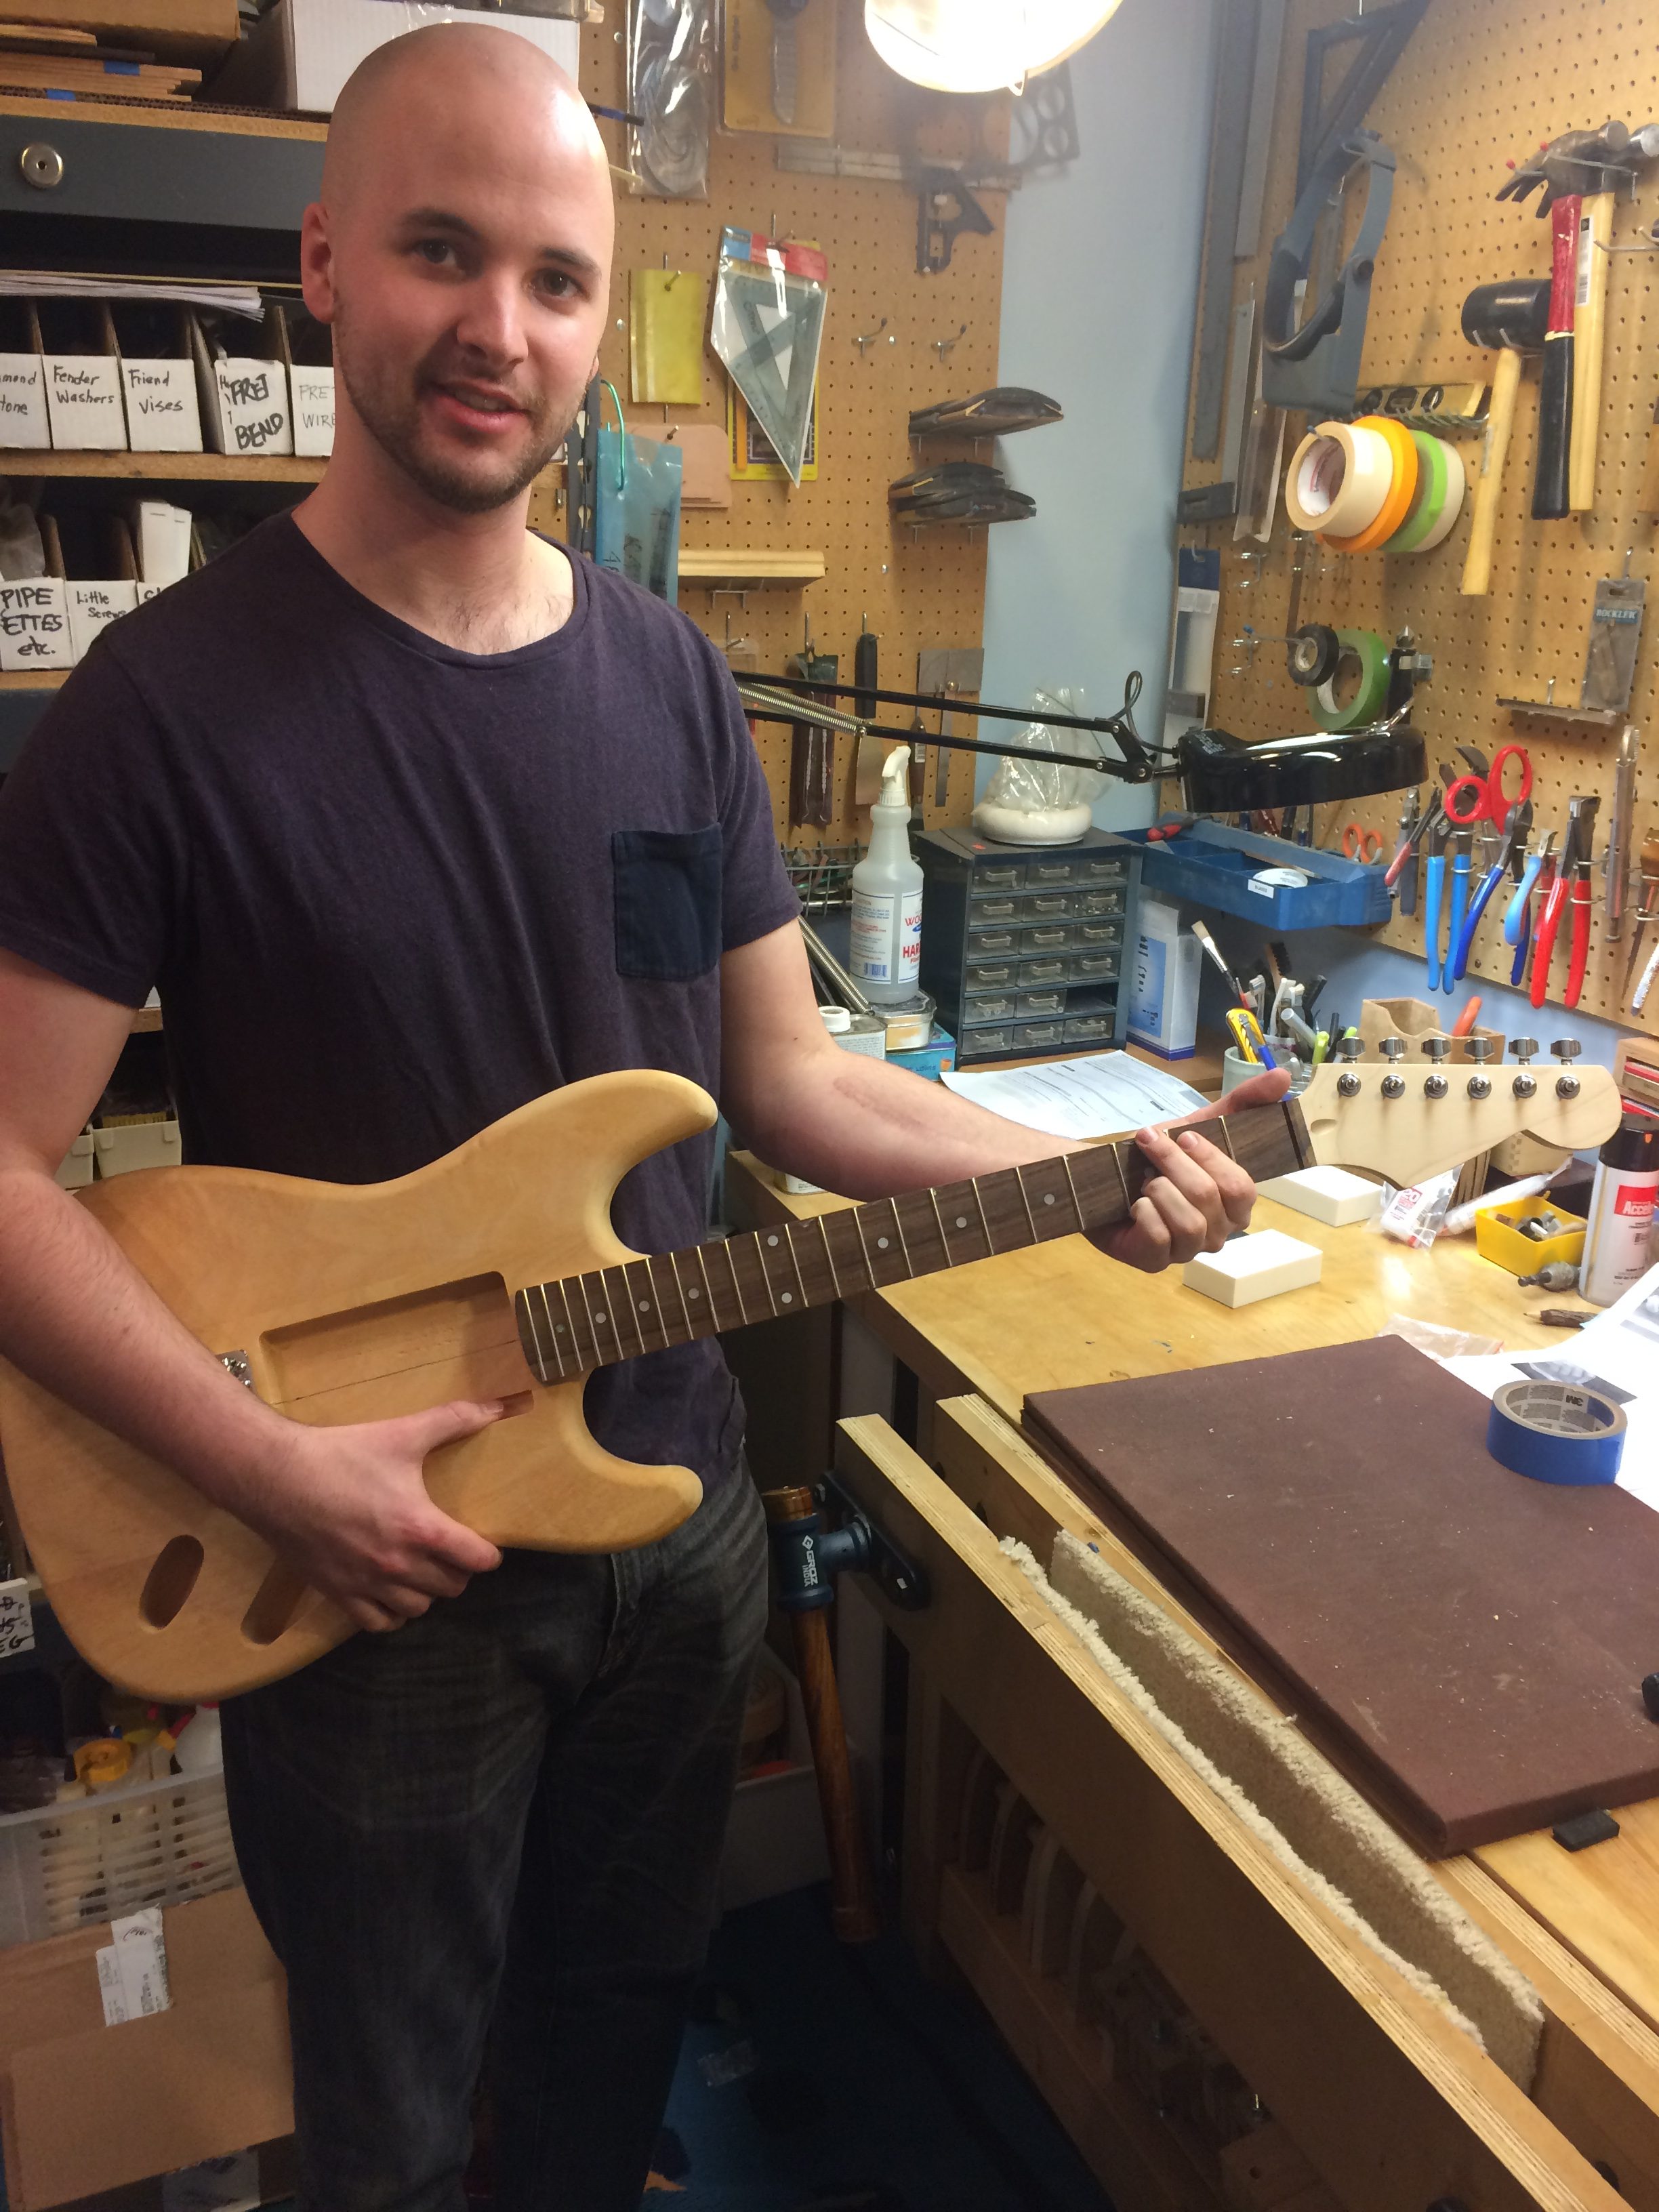
William and his Stew-Mac Stratocaster
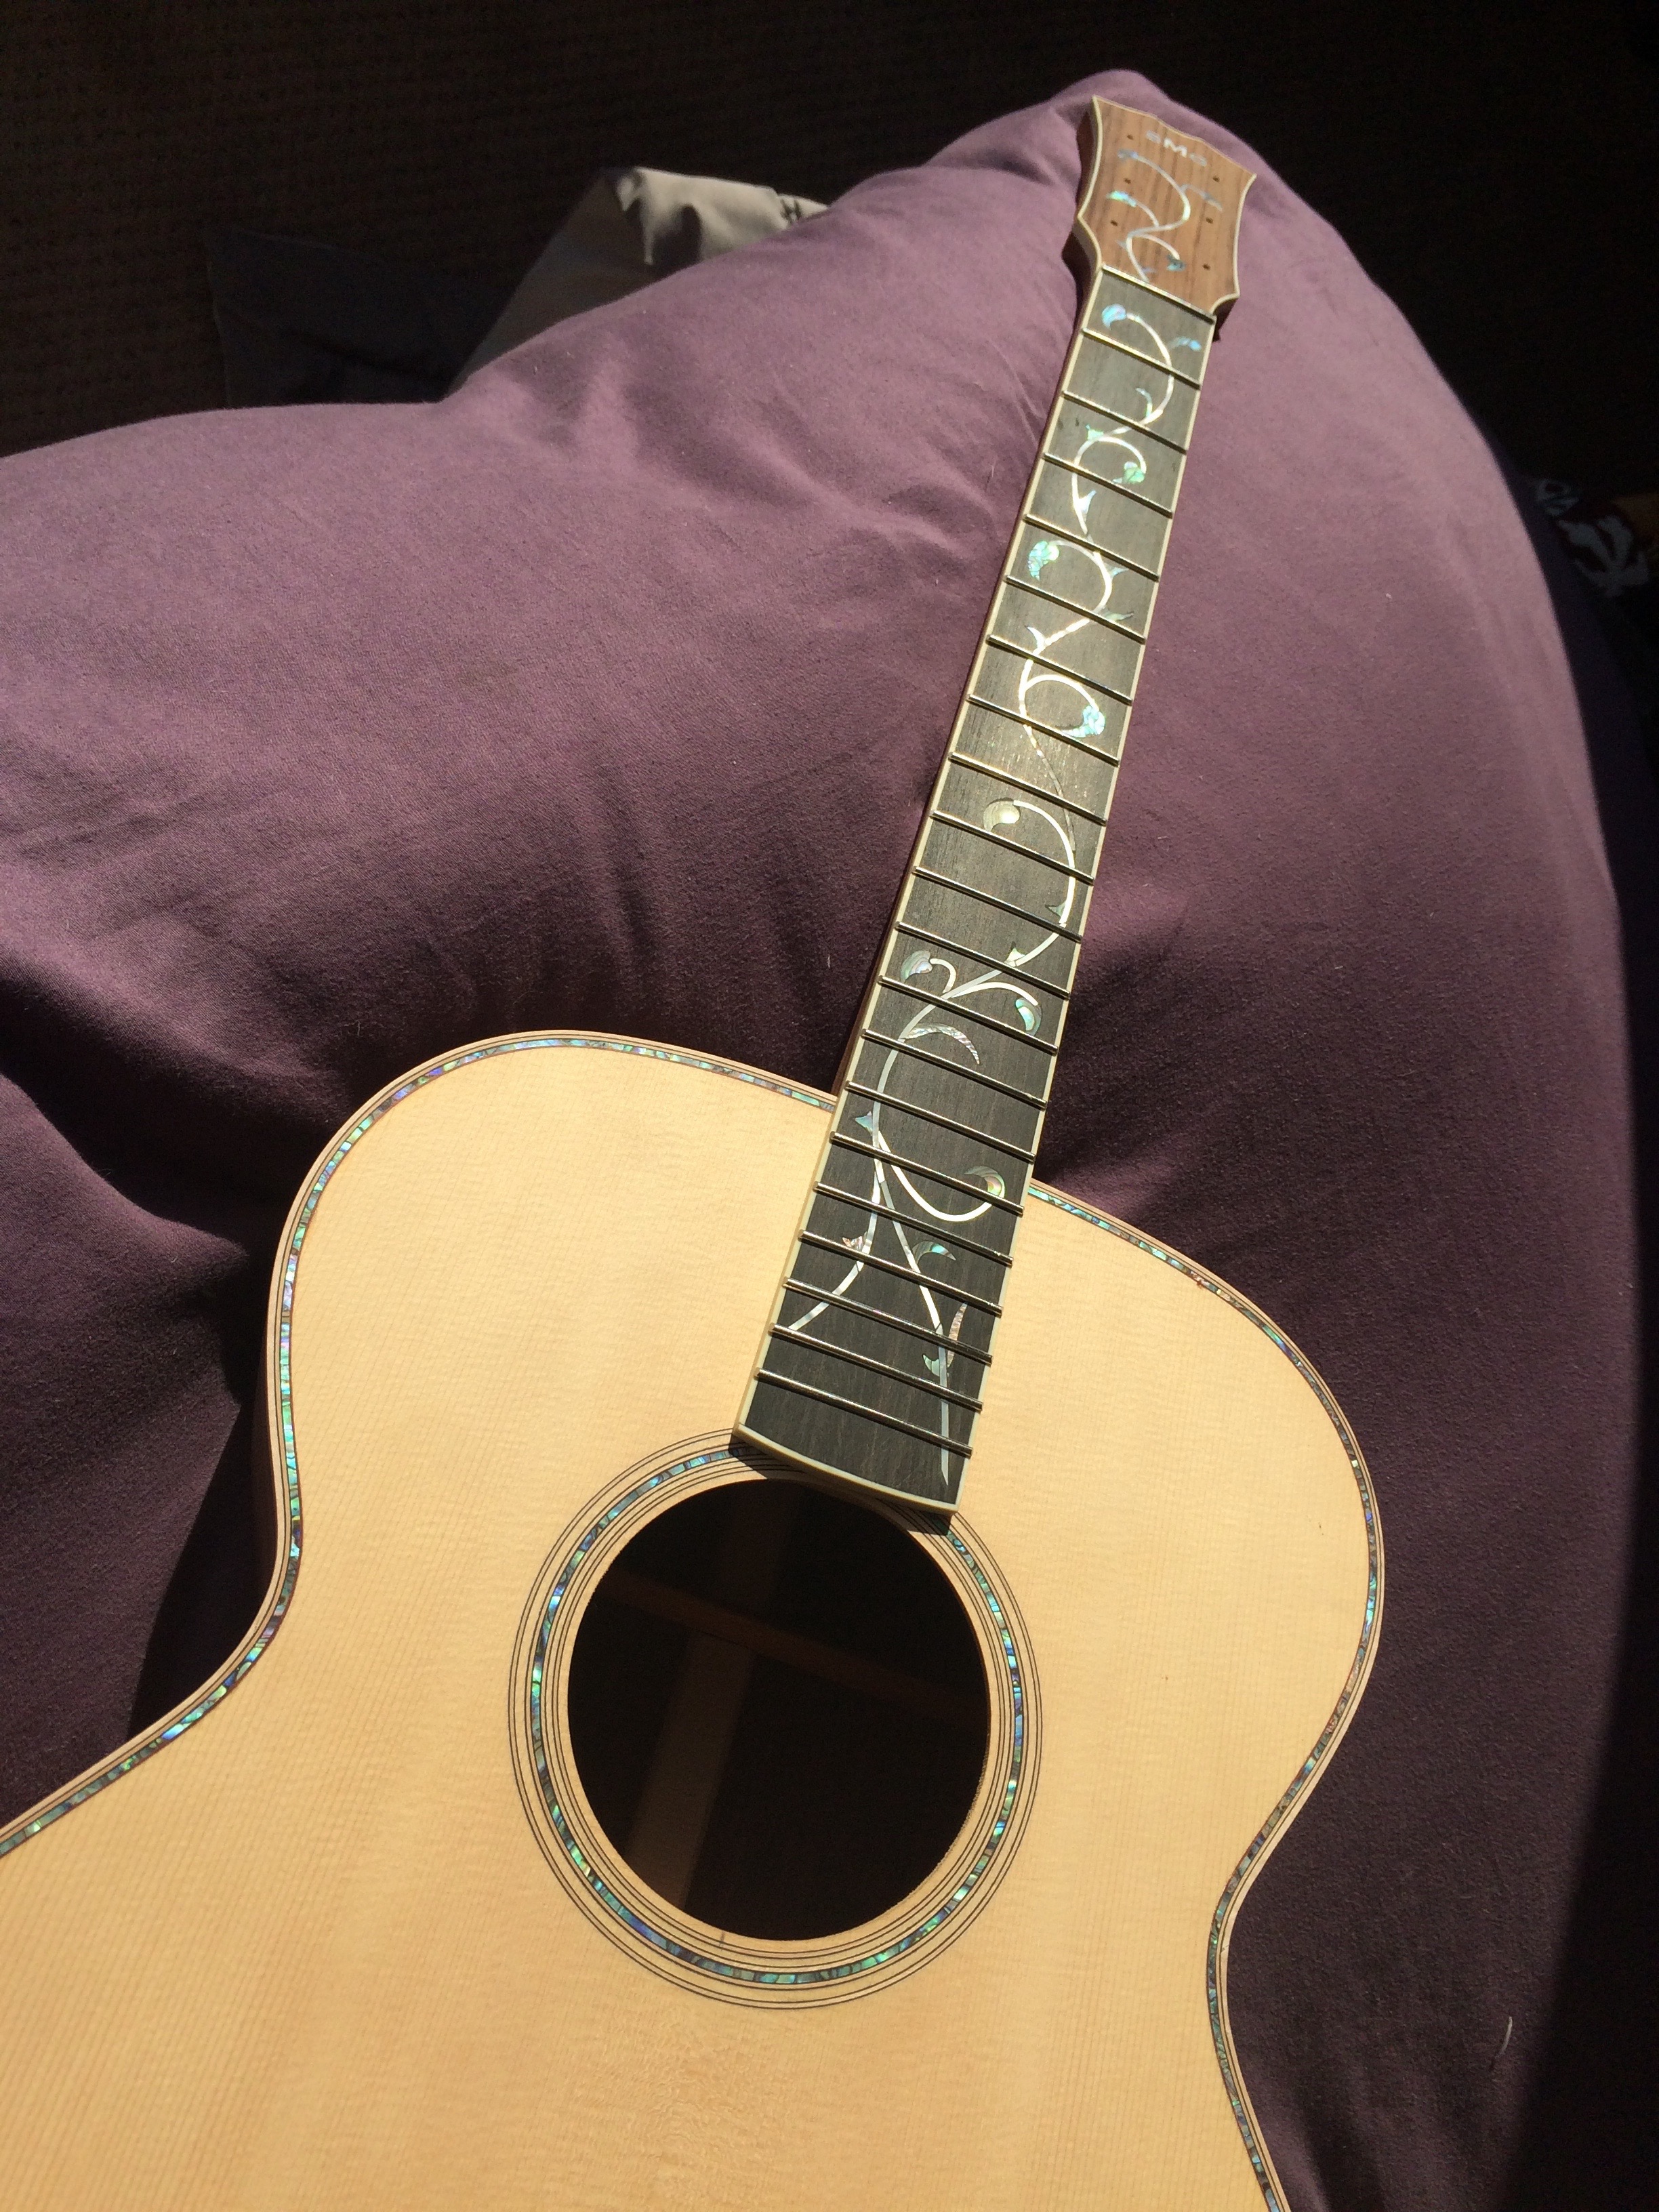
1202: Rosewood OM with Vine fretboard inlay
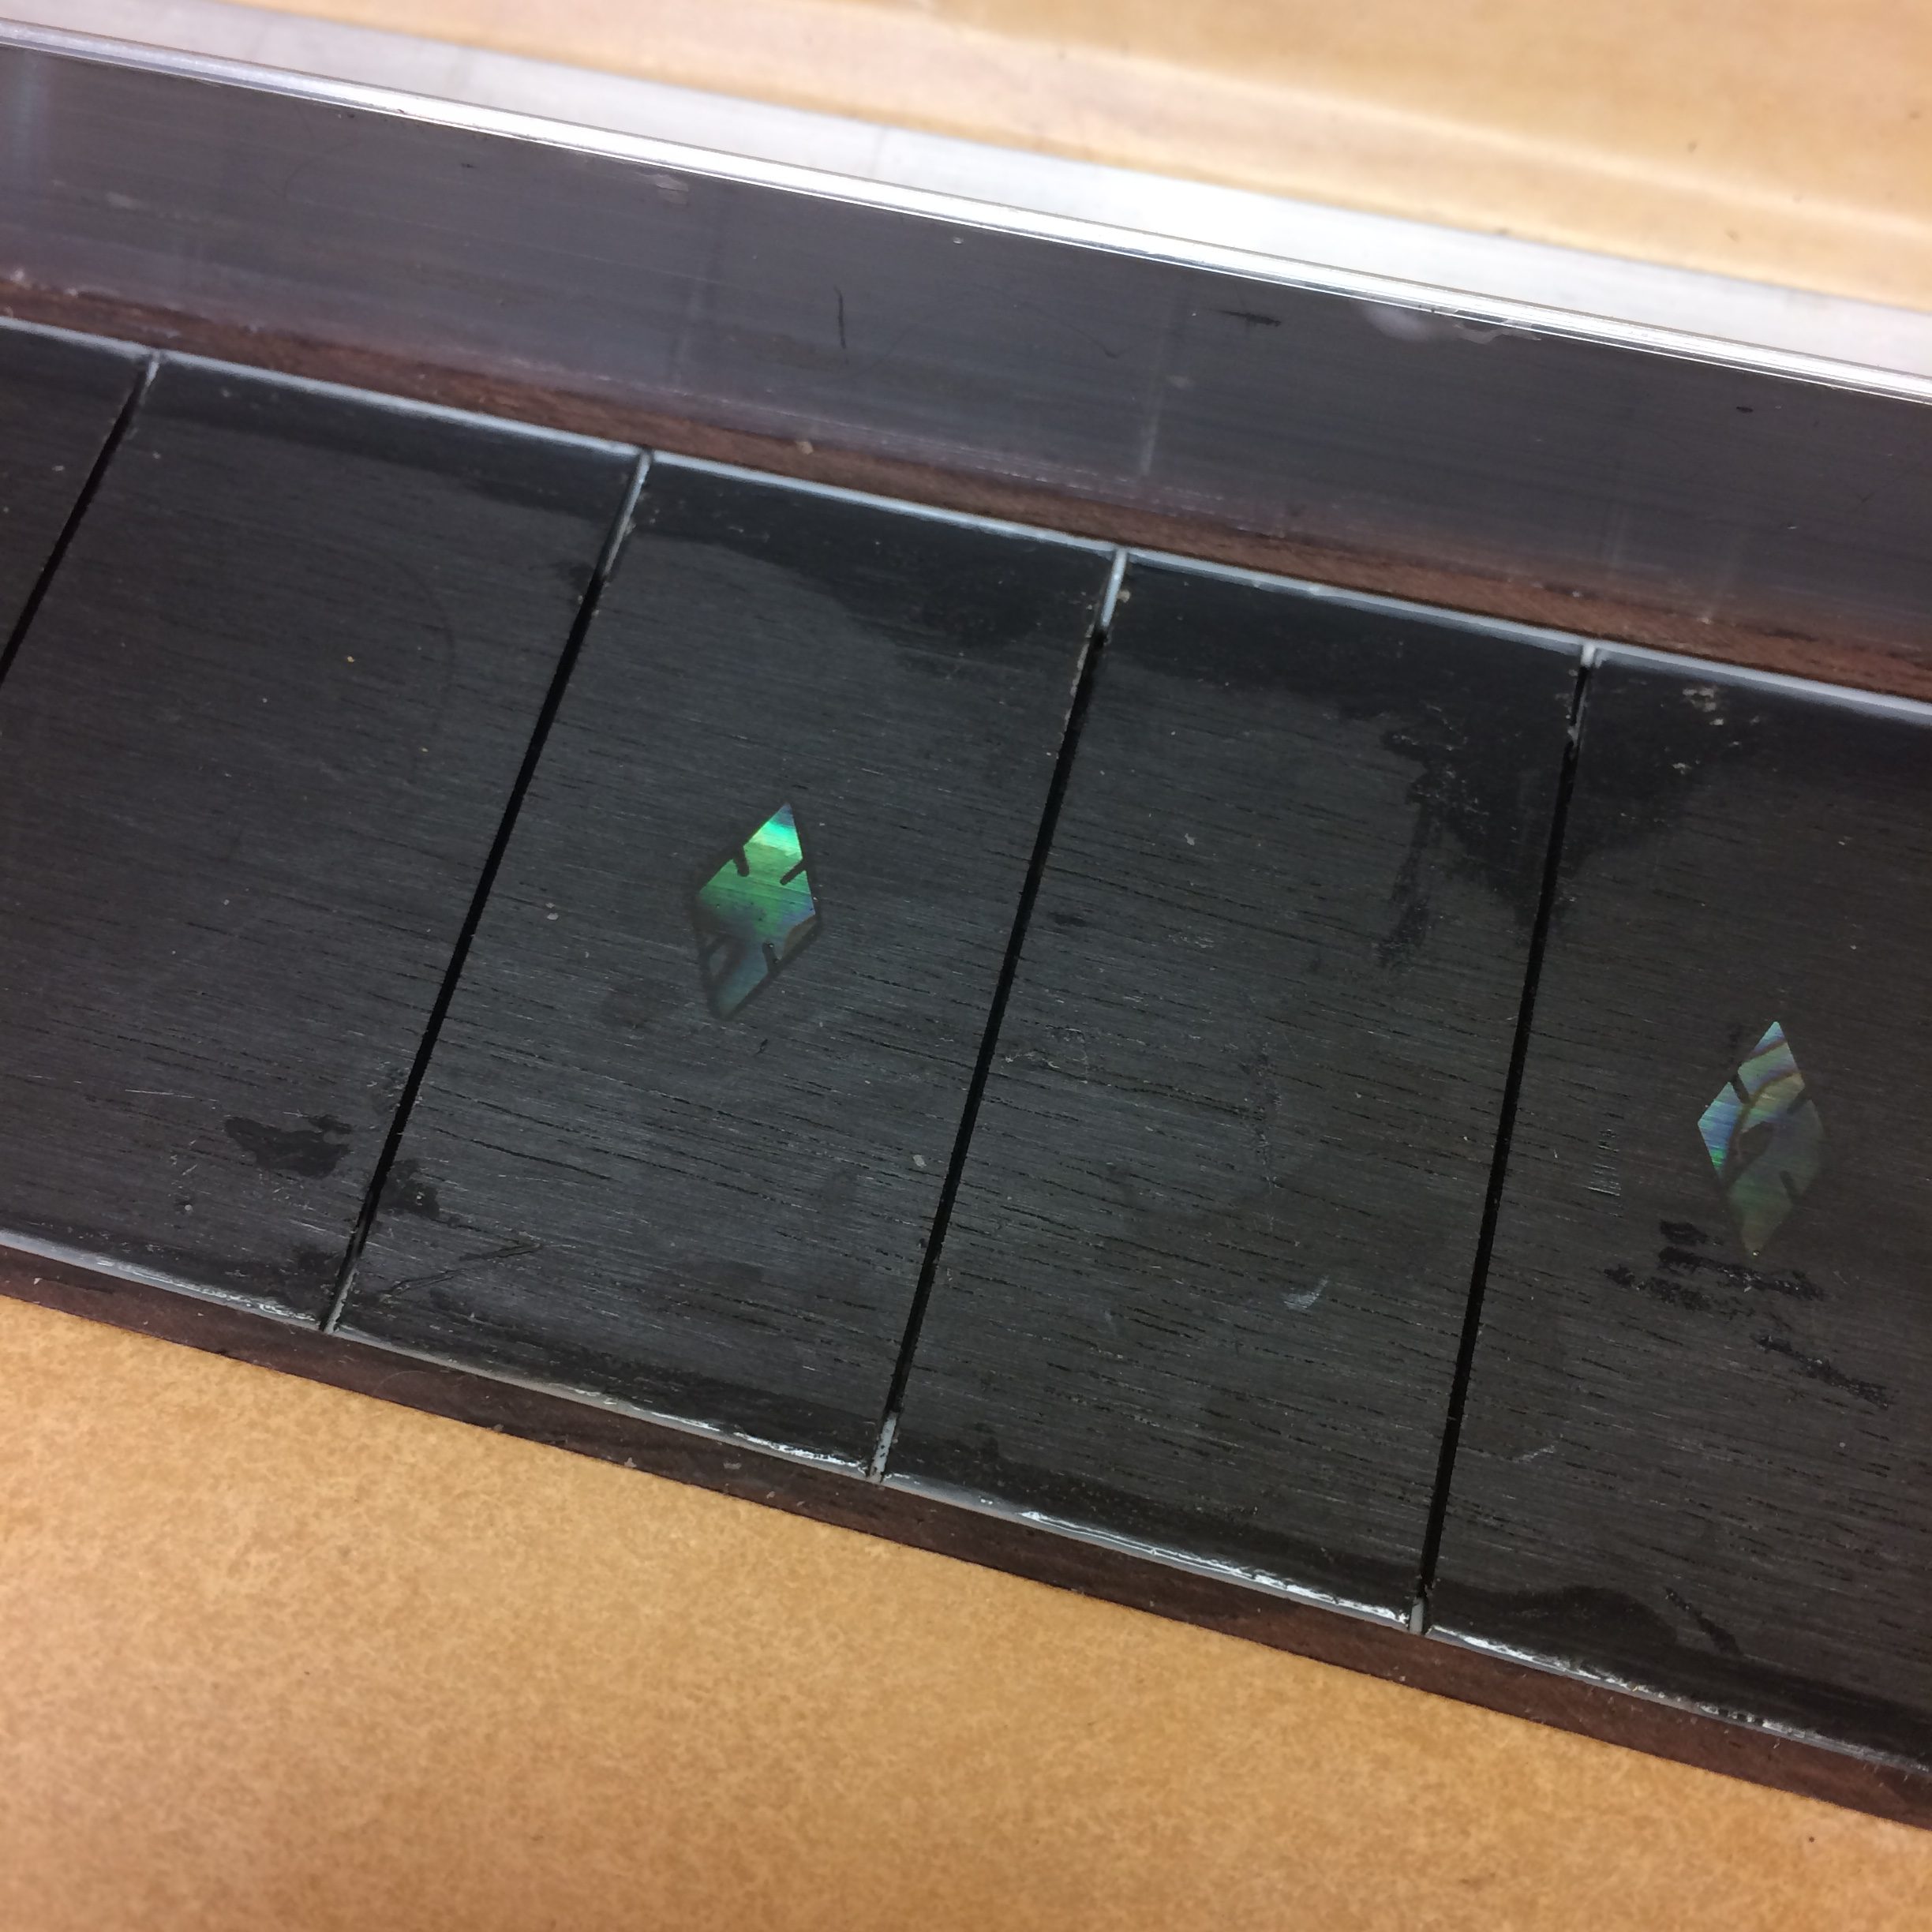
Rosewood binding on fretboard for 1201
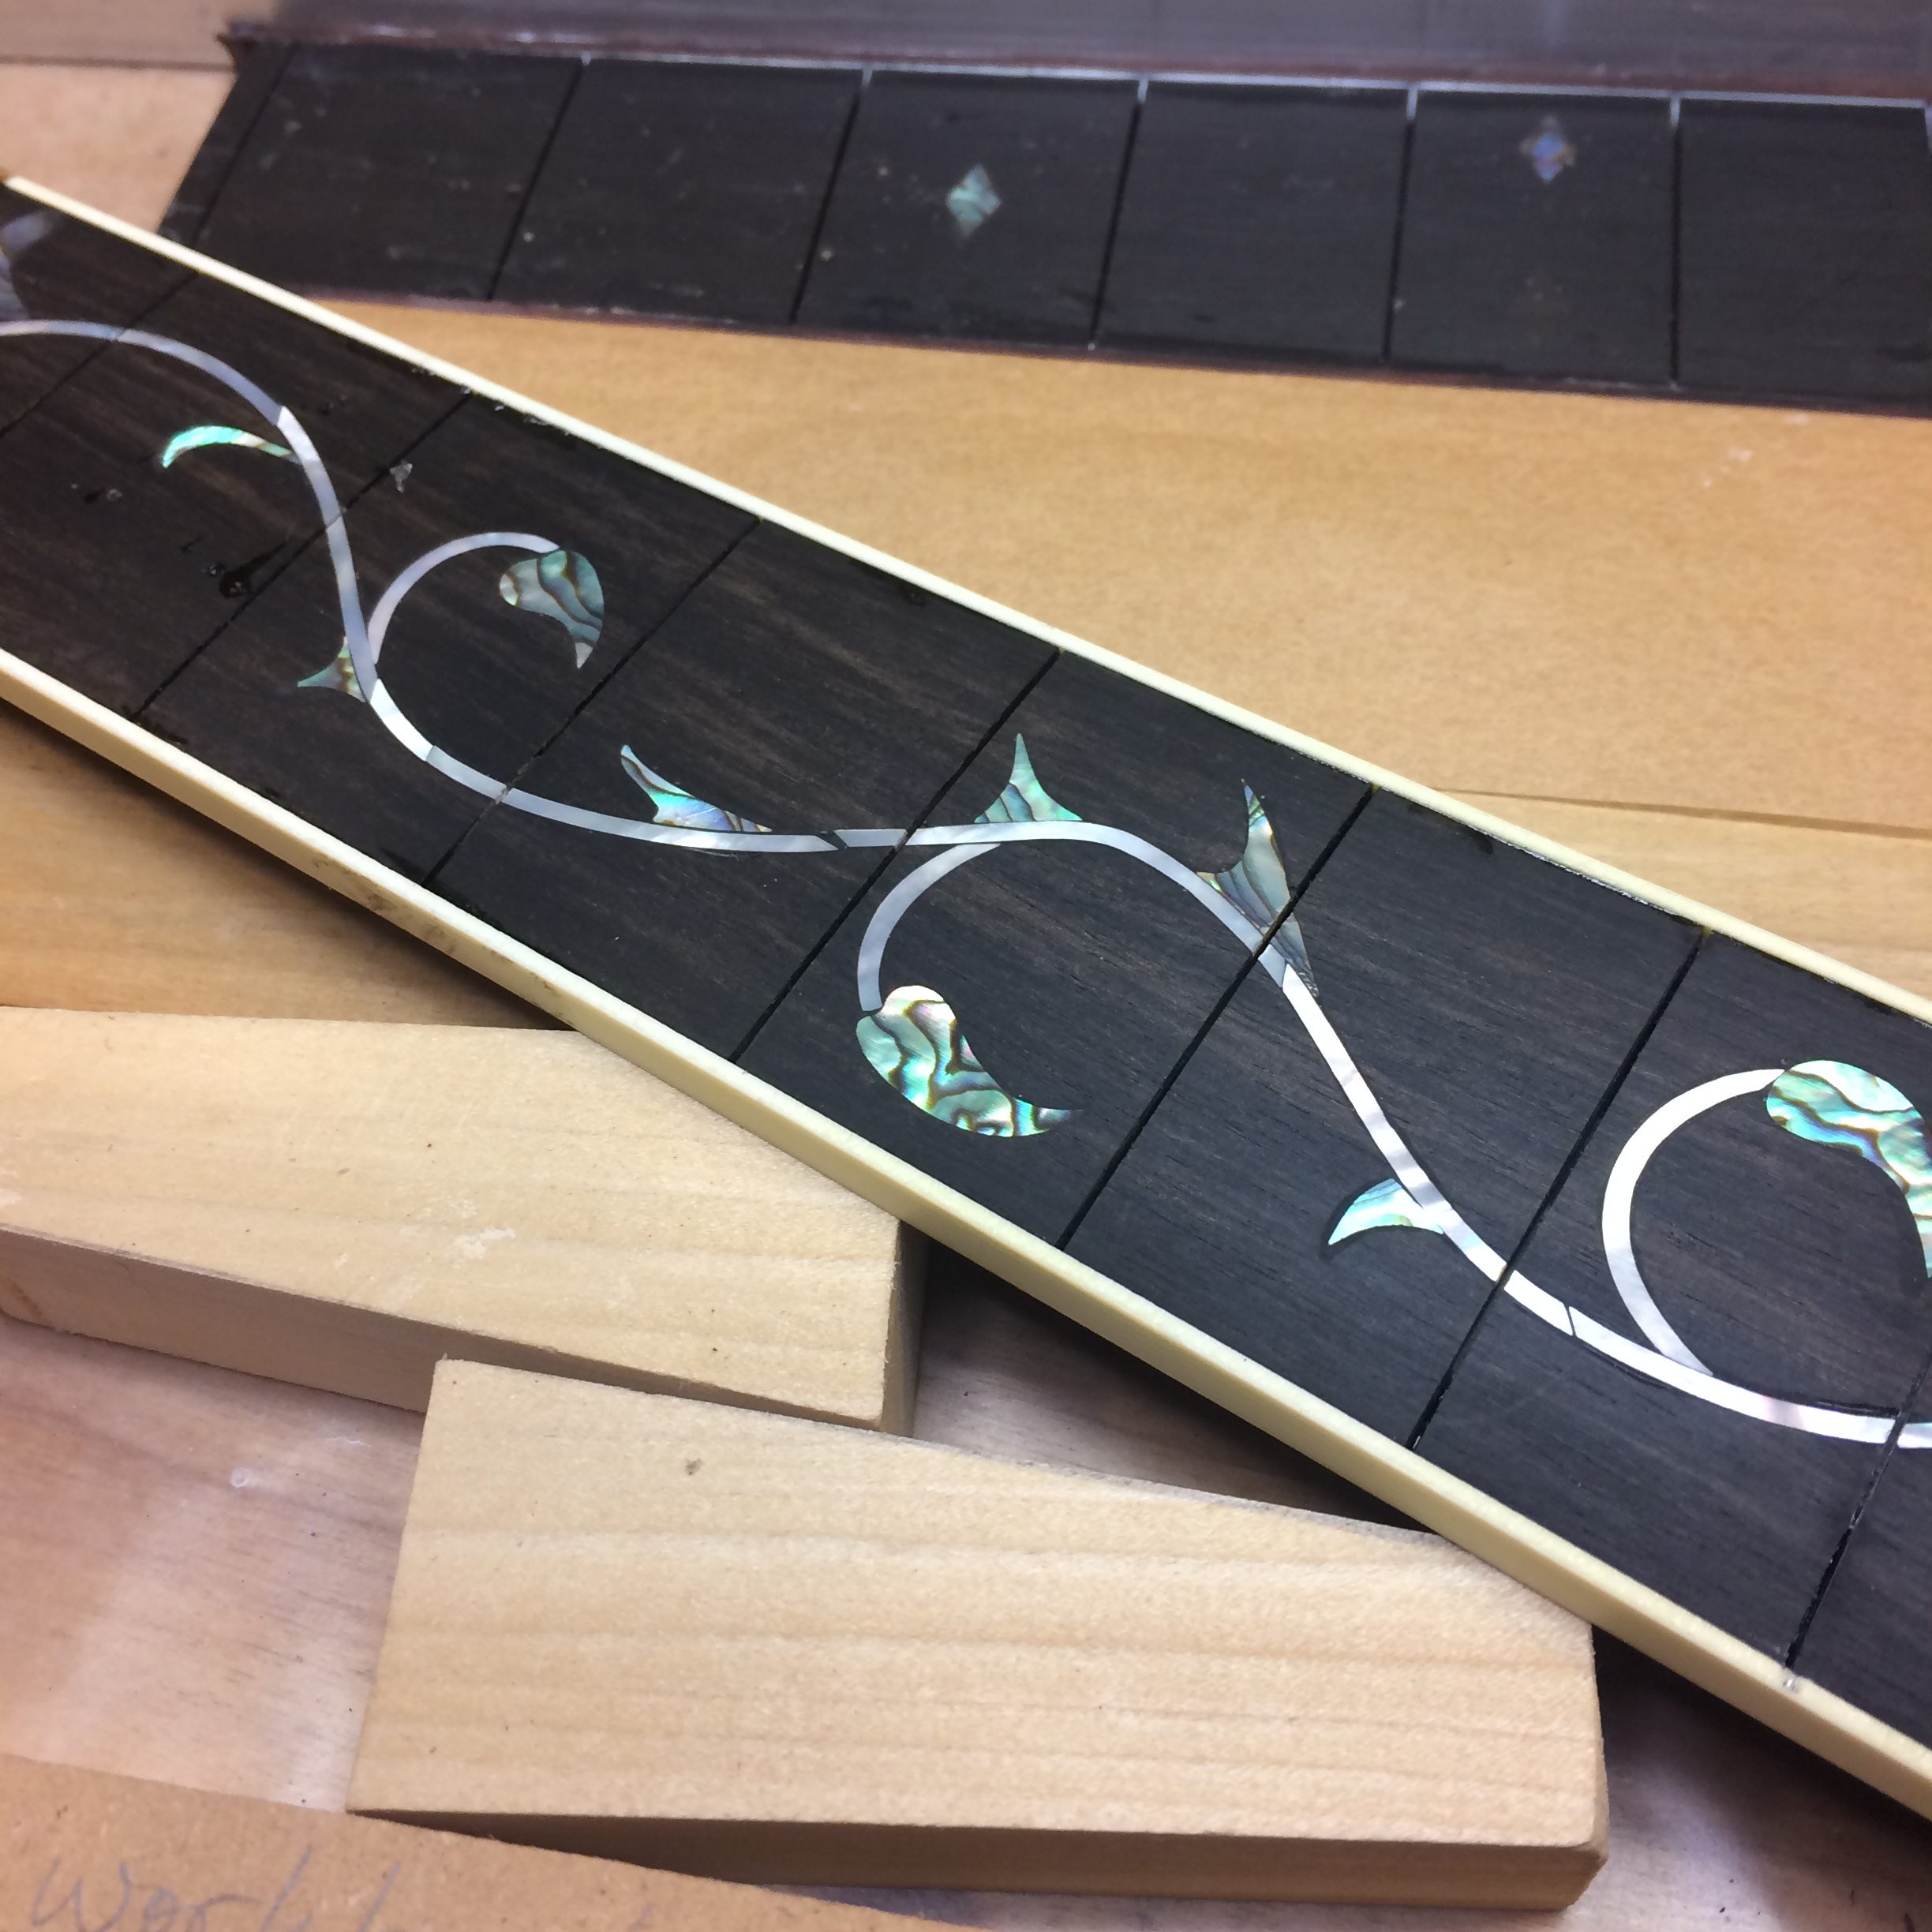
Ivroid binding for fretboard of 1202.
July 23, 2015
Yes it has been way too long since I’ve updated this site. Yes, I’ve made promises to myself to reestablish my guitar building activity. Yes, many things have happened in the intervening days since I last put chisel to wood. Yes, I’ve been dangerously close to abandoning building guitars and let that era pass. There have been many reminders; mostly spam posts chiding me on my content and spelling on this site from bots designed to toy with my ego and fall for the ploy that all could and should be improved if I would just get off my ass and care a whit about how I’m presenting myself to those who are actively judging me.
I have been without a nearby workspace for over 2 years. I relocated my shop to a rental space several miles away. When the shop was in my home, it was difficult to motivate myself to walk down 15 stairs and put myself in front of the project du jour. Imagine how that motivation waned when the shop got farther away from my recliner.
Saturday, upcoming, a bevy of beefy boys will assist me in moving the last of the power tools from the rental space into my newly concocted workshop in my newly procured home. I’ve been in my new home since November, and have finally devised a way to get my shop into the basement bedroom adjacent to the garage, where I will have all I need (sans a spray booth) to resume my “hobby”. There will still be 15 stairs between my recliner and the shop, but past experience has shown that more gets done in proportion to less distance between recliner and shop.

Phase One
The basement bedroom with pegboards and workbench installed.
For the past 2+ years I have barely held a dull chisel, powered up my defective drum sander, or applied health detrimental nitrocellulose lacquer. Life has interfered with craft. My workshop is located far from home and only gets visitation to pay the monthly space rental.
Today I put the gears in motion to buy a house. I’ve been renting since June 2013. In November, I will move to a new house which contains space for my workshop. When the muse strikes, I will only need walk down a flight of stairs to the workshop. Will that be enough to get me back in the saddle? It must. I have several commitments to complete guitars and ukes which I’m sure have caused some discomfort in those awaiting.
I need to take care in knowing the difference between dreams and reality. I will only know when it happens. November 15th?
UPDATE: I have made it so! I moved into my new home November 17th, and am working on converting the garage and downstairs bedroom into my workshop. This process should take about two months, before I can begin the resumption of my craft.
