Uke 1101 – Headplate Installed
April 18, 2011
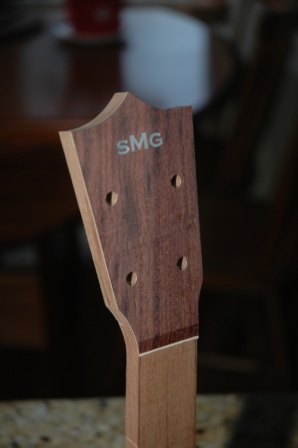
Over the past two days, the headplate with a contrasting maple veneer was installed and trimmed. Tuning machine holes were also drilled.
April 18, 2011
Over the past two days, the headplate with a contrasting maple veneer was installed and trimmed. Tuning machine holes were also drilled.
April 17, 2011
I always wanted to celebrate Dorky Day. So today, I am. See The Fan Man for more background.
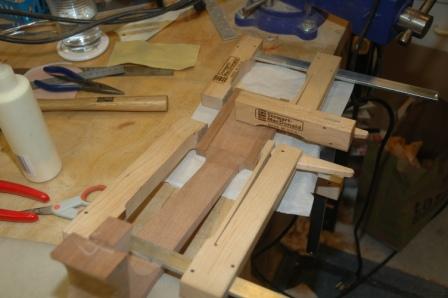
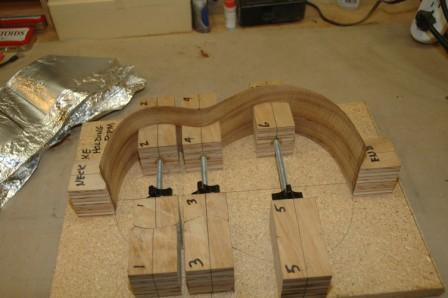
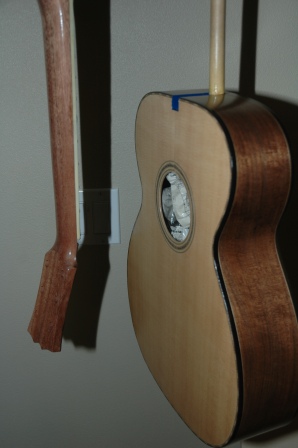
Anyway, aside from Dorky Day, today was work on the uke day. The mold for holding the sides is only that: a holder of the sides until ready to mount to the top and neck. I’m trying a little experiment, which may or may not prove worthwhile. Since I experienced a bit of cracking of the sides when I was inserting into the mold, I wanted to ensure that further cracking wouldn’t occur. I glued in the heel block and a “plug” on the neck end to hold the sides together as I pulled them from the mold to transfer to the workboard. The plug on the neck side is smaller than the width of stock I’ll need to remove to fit into the spanish heel slots.
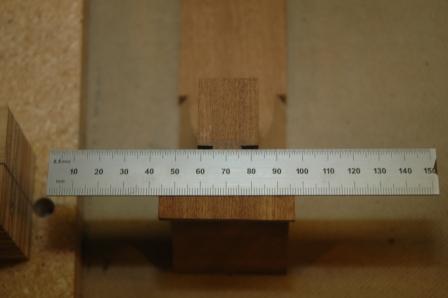
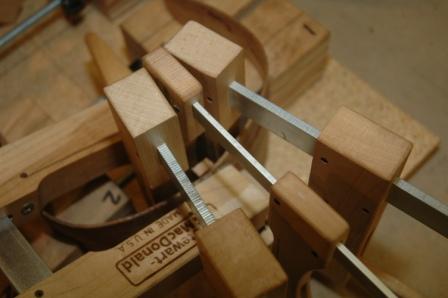
You can see the top of the plug insert sticking up between the clamps. This is glued to the sides. When I am ready to install the sides to the neck and top, I can use this plug as the guide for how much stock to remove before inserting into the spanish heel slots. And, it will hold the sides in place as I remove them from the mold.
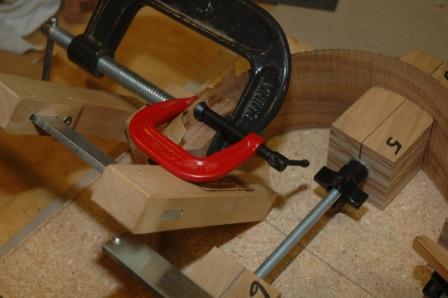
This holds true for the butt end as well. In addition to gluing in the heel block, I added a plug (or patch) to the sides not covered by the heel block.
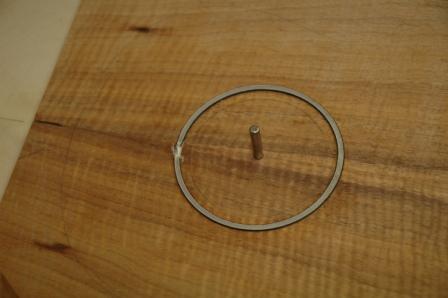
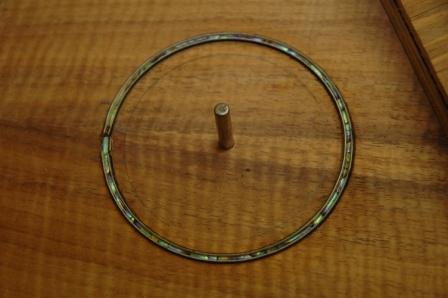
To kill idle dry time, I installed the rosette for around the soundhole. This is an example of using teflon strips which are removed after the glued purfling dries, then inserting abalam and flooding with CA glue.
I further tapered and shaped the neck in preparation for installing to the top, and added ears to the headstock to accomodate whatever shape I decide to put it in.
April 16, 2011
Using the same setup for planing the uke sides, I brought these sides down to .070″ in preparation for bending.
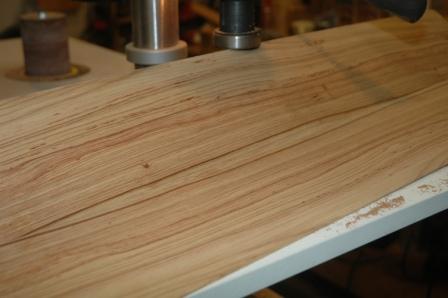
I’m tempted to thickness the cutaway side even more, as there is a sever bend in the upper bout. Both sides will go through the drum sander tomorrow to clean up the planer marks left behind from the Safetee Planer.
April 16, 2011
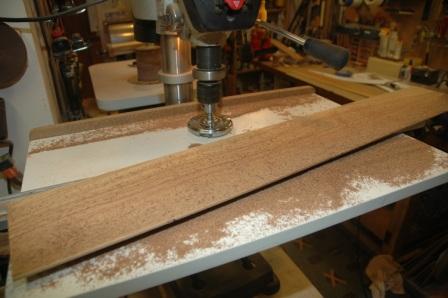
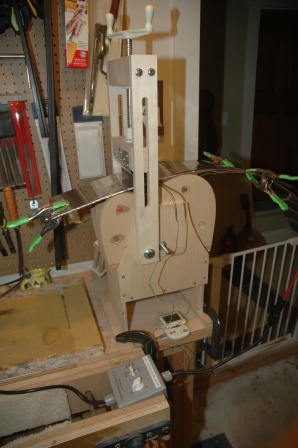
I use a Wagner Safetee Planer to thickness sides.
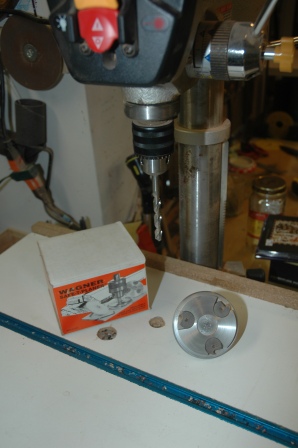
It’s used with a drill press. First thing is to calibrate the table it’s parallel side to side and front to back.
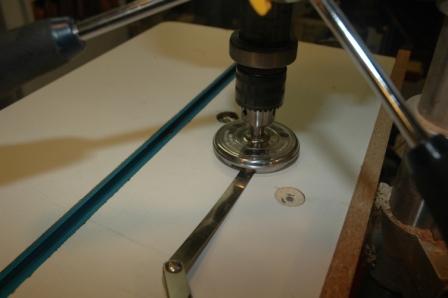
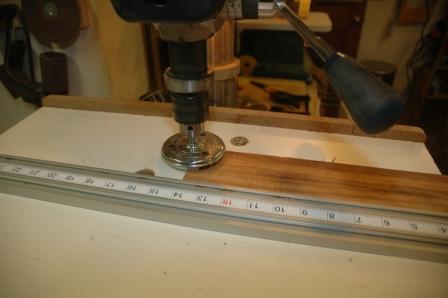
The sides are run through and taken down to .070″.
I practiced on a scrap piece to ensure all adjustments to the table were correct, then test bent the scrap to confirm temperatures for the koa. After planing the real koa sides, I used the new bending mold.
After bending a side, it was clamped into the holding mold.
Next side bend, then inserting into mold (ends were trimmed to butt flush).
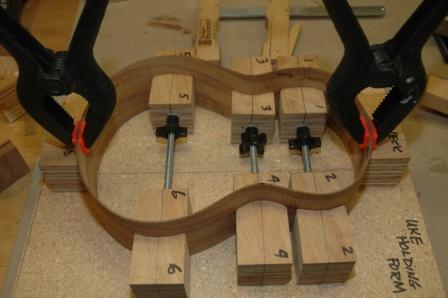
The bends were adequate if not tight enough. I have an electric bender which I can use to tighten up the bends on future ukes. It’s tricky to get both sides into the holding mold if the bends aren’t tight enough, and yes, I did crack both sides while inserting. The cracks were repaired with CA glue and won’t be visible once sanded and finished.
April 10, 2011
It’s time to take on the new uke. The first uke is curing, and will be completed in about two weeks. I’ve blocked up the neck, and sketched in the profile, taper, and heel cutouts.
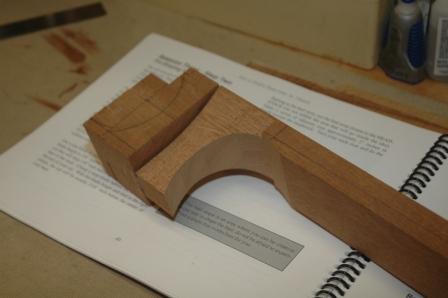
This pic shows the cutouts for the side insertion and the heel shaped with a nibbling jig on the table saw.
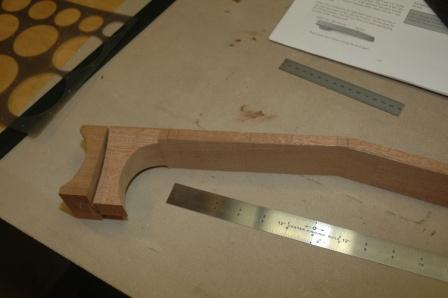
The heel block portion which is inside the uke has been shaped and trimmed. The headstock and neck have been trimmed to approximate thickness. Next step will be to taper.
April 10, 2011
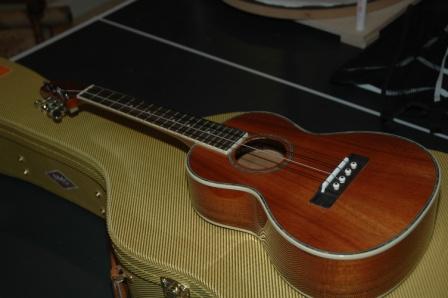
I’ve completed the bridge install for the “Fender” Uke. The experiment with using beads as string ends worked well. The strings are now fully stretched and stay in tune, and the intonation is quite fine, indicating I mounted the bridge properly.
I ordered three different mahogany neck blanks to see them side by side and hopefully arrive at a favorite.
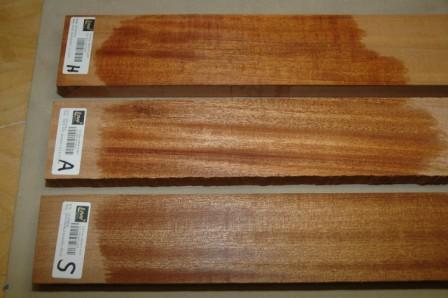
From top to bottom: Honduran, African and Sapele.
April 10, 2011
Guitar 903, the Walnut OM, and Guitar 1001, the Koa Dreadnought, have received their fair share of lacquer coats (12 to 20) and are resting for two weeks to cure.
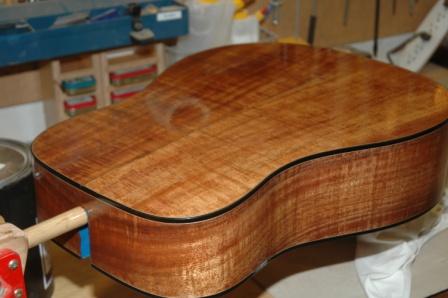
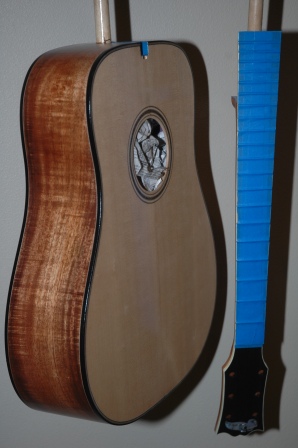
The lacquer needs at least two weeks to develop a hardness which is appropriate for the final knockdown and buffing. Neck install, bridge install and setup will finalize.
