Archive for May, 2011

Guitar 1001 – Knocked Down and Buffed Up

May 7, 2011

Happy Birthday Sister Cyndy!  In honor of your birthday, I did NOT work on your uke.  Rather, I finished knocking down and buffing the Koa Dreadnought.

The finish will get another buff after setup to bring on a real shine.  The lacquer under the fretboard extension was stripped off, and the neck was glued and bolted on.

110507clampneck

After setting, the end pin hole was drilled and the tuning machines were installed.

110507markendpin

110507neckmounted

The bridge location was determined using MATH!  The lacquer under the bridge was stripped in preparation for gluing.

110507stripbridgelacquer

The bridge was glued and clamped with the fancy bridge clamp from LMI.

110507bridgemount

Guitar 1001 – Knockdown Countdown

May 6, 2011

Spent several hours today knocking down the lacquer finish on the Koa Dreadnought.  A light first brush with 220 grit on the high spots, followed by a serious attack with 400 grit until NO shiny dimples remain.  A thorough dry sand with 800 grit leaves a very smooth flat surface without breaking through to the wood.

Tomorrow a quick wet sand with 1000 grit before the two stage buff on the buffing wheels.  The neck will be checked for fit and adjusted if necessary.  The lacquer on the top which is under the fretboard will be removed with Stryp-Eze then the neck will be bolted and glued in place.

Uke 1101 – The Naptha Preview

May 4, 2011

There’s a little known trick of the luthier (OK, everybody knows it).  It’s called the Naptha Preview.  Before final sanding and finishing with lacquer, you clean off the instrument with a naptha bathed cloth.  It brings out the color of the wood that will appear with lacquer application and points out any spots where there’s still glue that needs sanding (the glue spots won’t absorb the lacquer).

So before I set the uke aside to finish Guitar 1001, here’s the Naptha Preview.

110504napthaback

110504napthafront

Uke 1101 – Bound and Purfled

May 1, 2011

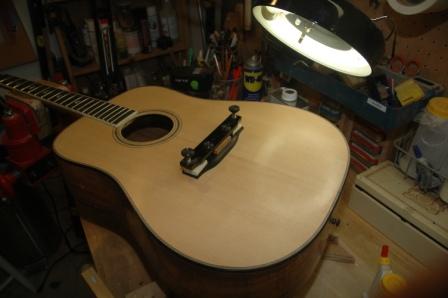
First thing this morning I took my little finger plane and smoothed the headstock down.

110501headscraped

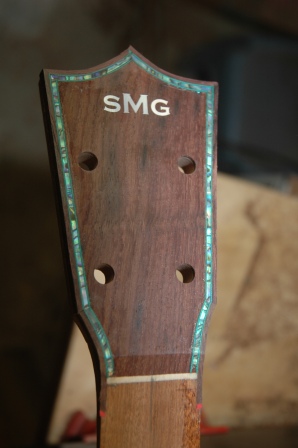
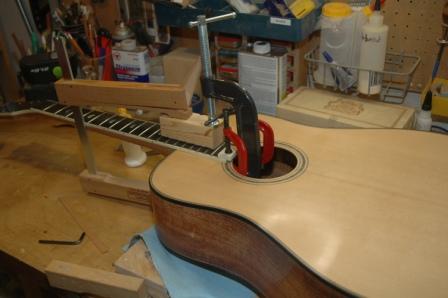
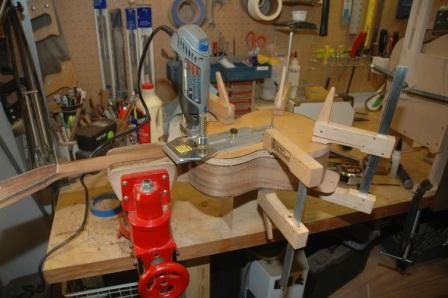
Since this little uke has a spanish heel, I need to route out binding channels between the top and the neck which can’t be reached by the bearing router bit.  I improvised with my dremel circle cutting jig mounted on a plate clamped to the body.

110501bindingjig

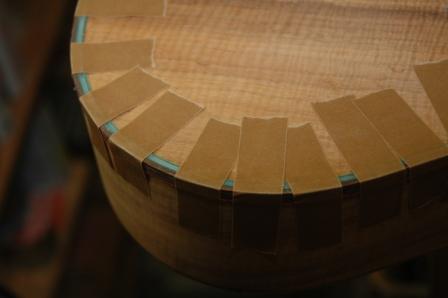
This worked well, and I proceeded to install the binding and purfling.  The bent binding came out of the bending machine almost perfect.  I only had to add a little more bend via the bending iron before proceeding.

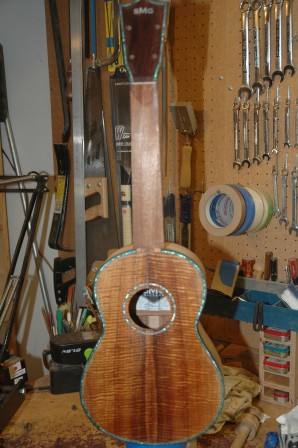
First, the top binding and purfling was installed.  This side will also have abalam purfling, so the initial install uses teflon to create the channel to accept the abalam.

110501topteflon

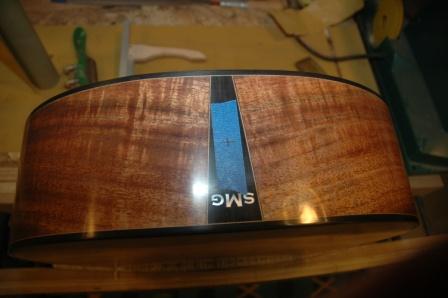
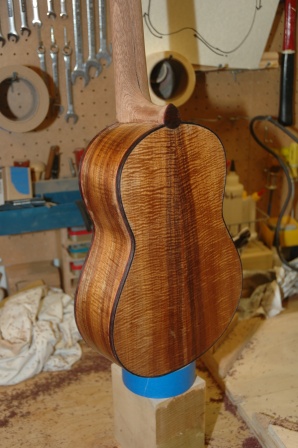
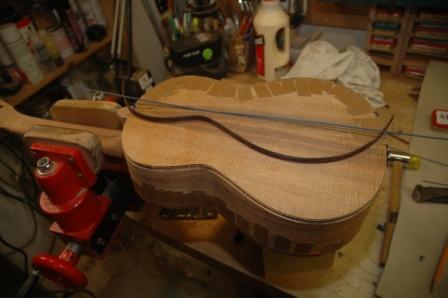
The back only has a small accent strip for the purfling.  I’ve used red to trim the binding at the sides, green for the top, and blue for the back.  Oooh, lots of different colors sure is fun.

110501backbinding

Once the glue for the top dried, I removed the binding tape and the teflon, inserted abalam and flooded with CA glue.  Flooding will be several steps until the channel is filled and the CA glue (dried) is flush with the top.  The abalam actually rests below the surface of the top.

110501toppurfling

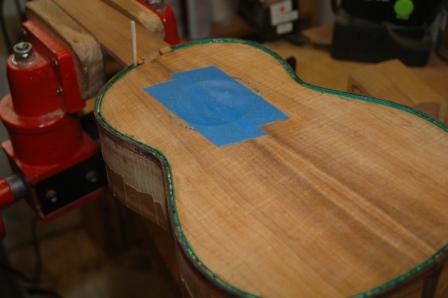
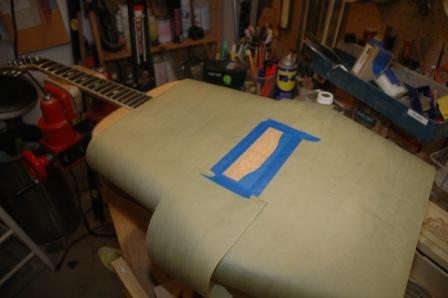
I’ve constructed a rosewood heel cap that will drift into the body at the back, which I will install after the CA glue dries.

« Prev