Archive for the 'Guitar 1002 – Hybrid Cutaway' Category

Guitar 1002 – Binding continues

March 19, 2012

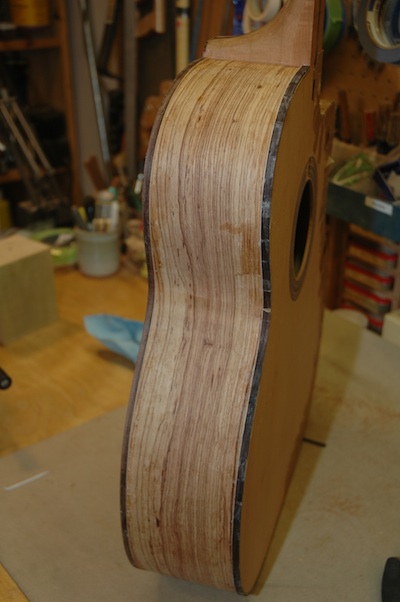
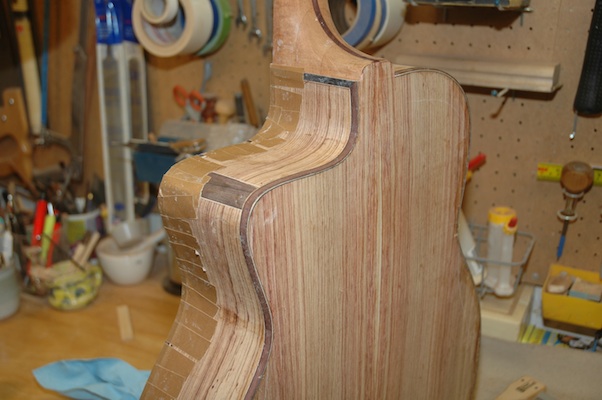
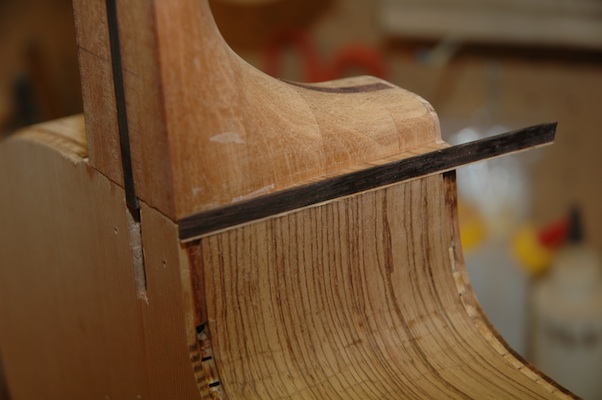
I’ve attached the cutaway side binding after hand bending.  I’m pleased with the process, and am no longer flummoxed by tight binding bends.  All went swimmingly, and installation was straightforward.  A few minor gaps which can be filled with rosewood shims.

120319frontbinding

120319sidebinding

I still need to install binding and purfling around the heel cap area.

120319cutawaybinding

Guitar 1002 – Binding

March 18, 2012

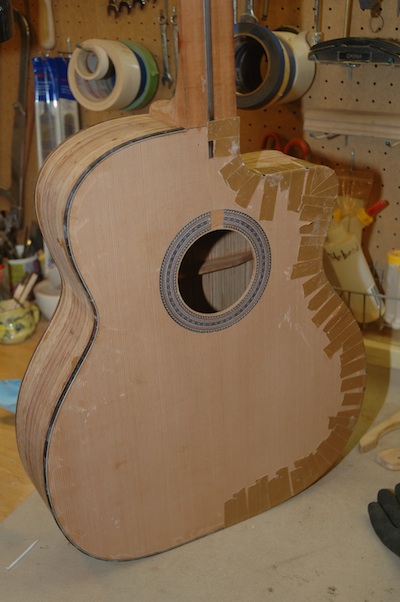
I like this part.  The binding puts the real finishing touches on the body.  This one is more complicated due to the cutaway and the heel shape.  I’ve taken the first “easy” steps of binding the non-cutaway side.

120318bindingtape

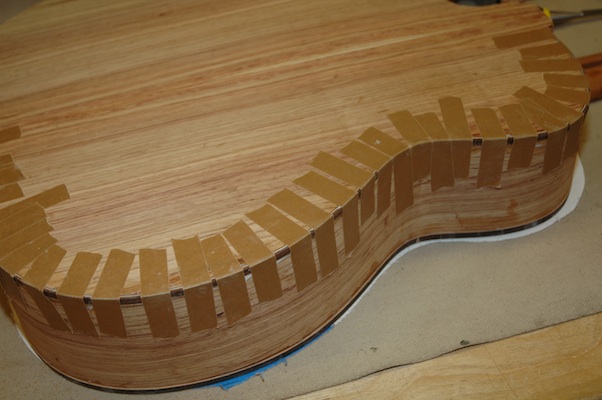
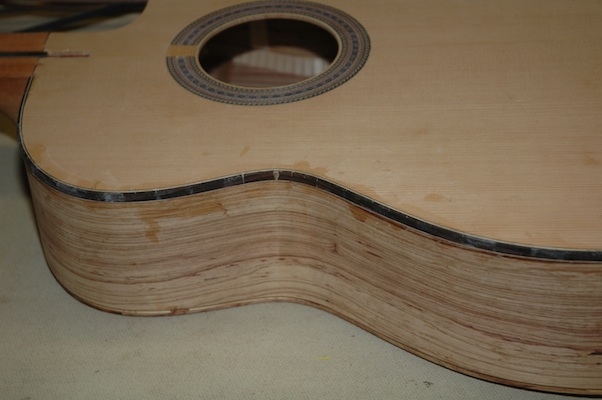
The binding, pre-bent, and a purfling strip are glued into the channel, secured with binding tape.  I like to glue the crap out of it, which makes the cleanup more labor intensive, but these puppies need to be secure.

120318binding

After the tape is removed, it almost looks like a guitar.  I will trim back the excess with a cabinet scraper before the final sanding.  The cutaway side is next, but I will need to hand bend the binding and purfling strip for the severe bend around the bout at the cutaway.

Guitar 1002 – Binding

March 12, 2012

The binding process for this cutaway is quite a bit more complicated.  I’ve got some tricky executions especially around the neck.

120310buttgraft_0

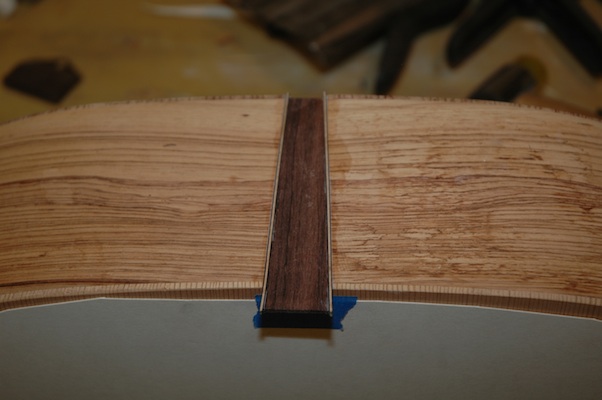
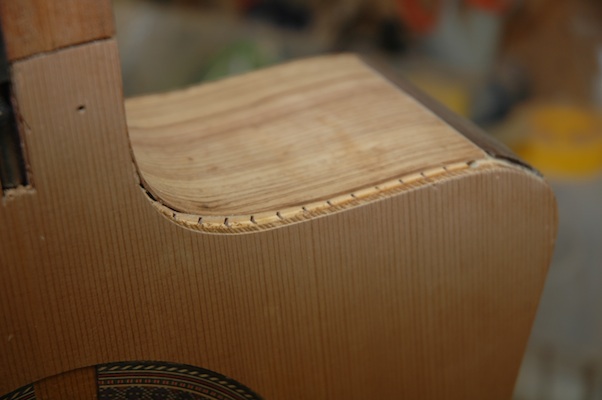
First I installed the butt graft, and had to recover from oversanding after I installed and trimmed.  I almost sanded through the sides around the butt block and had to go inside and reinforce with resin to restore the thickness and strength of the sidewalls.  After that recovery, I routed out the channels for the binding on the top and back, having to pull short as I approached the neck.

120310bindingchannel

The continuation of the channels was achieved with a chisel and saw, but I still have some decisions to make around the end graft for the neck.

120310binding


Guitar 1002 – Box Constructed

February 12, 2012

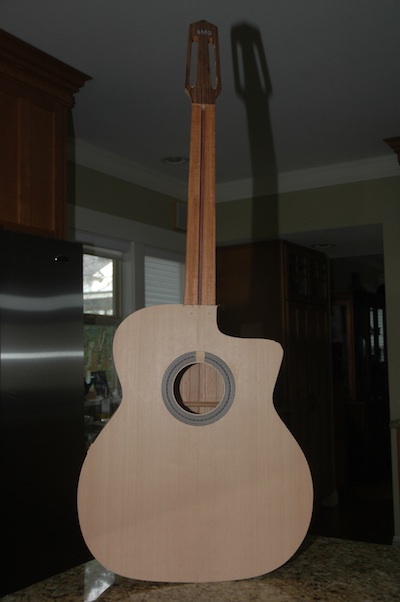
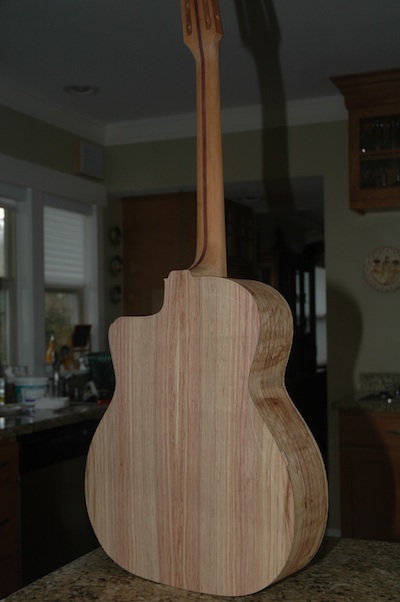
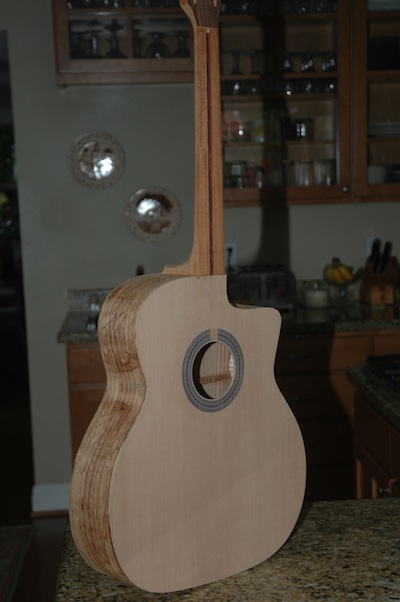
The top and back scarf was removed using a router.  It looks like a guitar and thumps like a guitar.  This is the first moment one can test the resonance of the box.  Thumb thumps on the lower bout, front and back, give a bold timpani like sound.

120212boxon

120212backview

120212frontview

Guitar 1002 – Sides Radiused, Back Installed

February 12, 2012

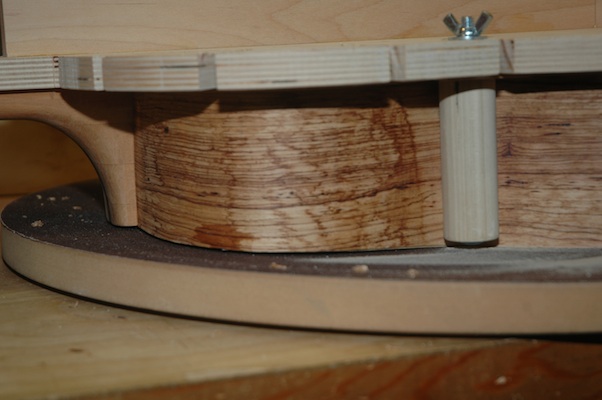
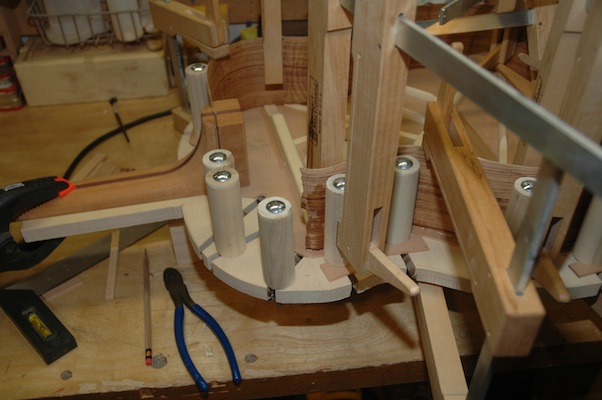
Before attaching the back to the sides, the sides need to be radiused to 15′.  This is done with a sandpaper covered dish.

120212preradius

The kerfed sides have been trimmed down to the approximate dimensions, then the box, still attached to the workboard is sanded by rotating through the center point of the dish until flush.

120212radiuscheck

A gap between the upper bout and the dish is shown.  The staining on the sides is from the bending process, and goes away after sanding.

Once the gaps have been closed, the back is dry fit on the sides to check for the location of the bracing, where the sides and kerf must be relieved so the bracing fits “under” the kerf.

120212fitprepback

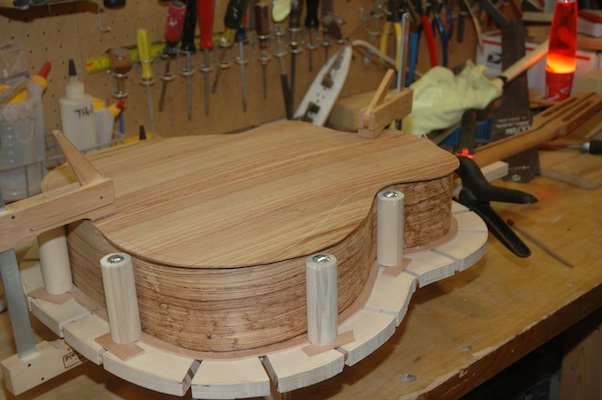
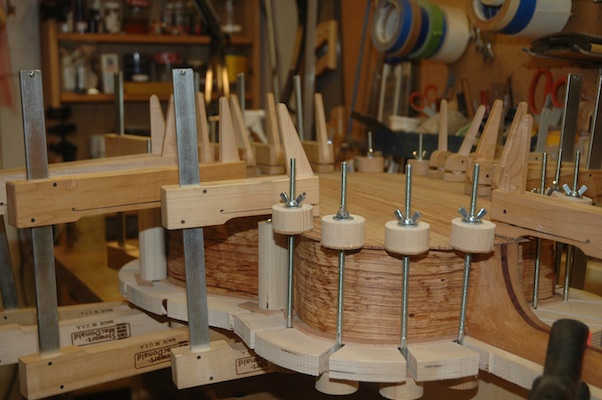
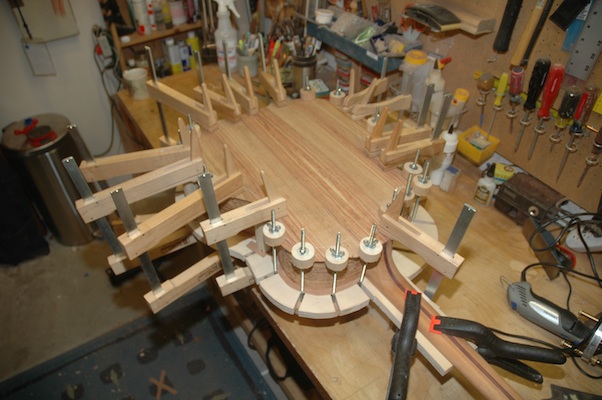
After a round of dry fitting the back to the sides with spool clamps, glue is applied to the kerf and the back is attached.

120212backdetail

The clamps will stay for several hours before removed, then the scarf can be removed with a router using a bearing flush cut bit.

120212backclamped

Guitar 1002 – Kerf, Side Supports, Ready to Radius

February 5, 2012

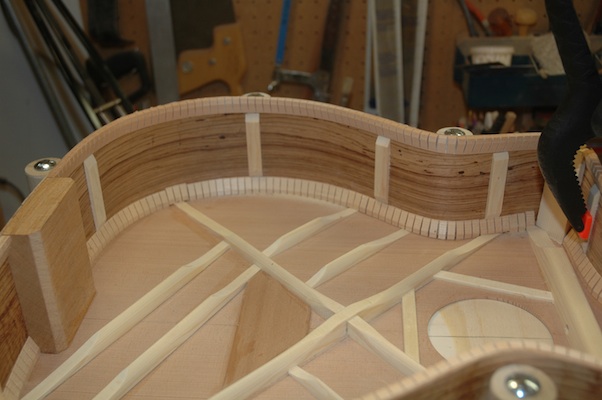
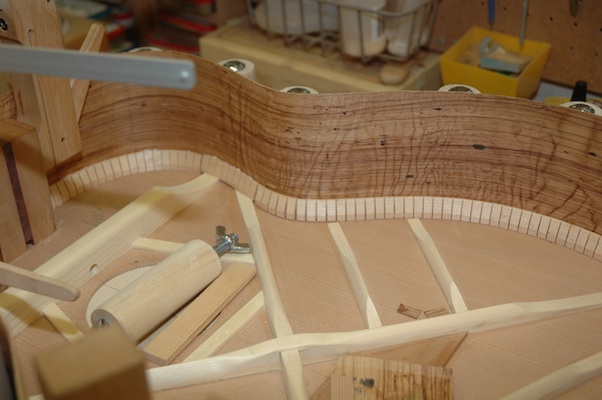
The sides have been trimmed down to the approximate height to simulate a 15′ radius.  I used my wee little finger planer which served well.  Before using the radius sanding dish, the kerf for the back was installed.

120205backkerf

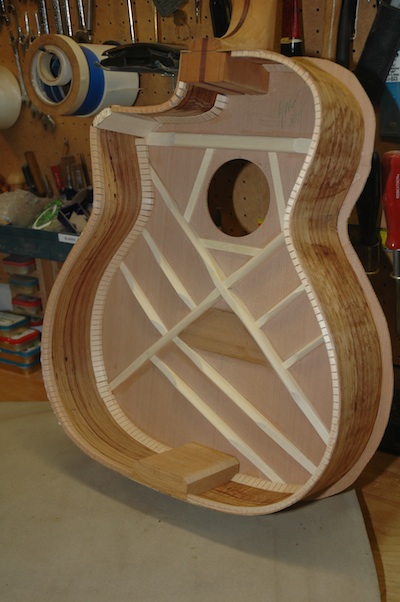
Additionally, side supports were glued in.  These serve to keep the integrity of the sides and avoid cracks along the grain.

120205sidesupports

The box is ready to be radiussed.  Using a 15′ radius dish mounted with sandpaper, the kerfed sides are dimensioned to a dome shape, tapering down from the butt end to the neck end.  Once this is done, the back can be installed.  I will use spool clamps with the box on the workboard to secure the back to the sides.

Guitar 1002 – Adapt to the Crack, Kerf

February 4, 2012

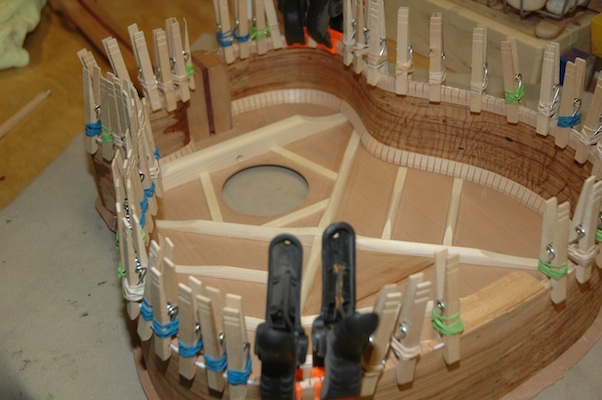
Well, the repaired crack didn’t survive.  What I’ve done is attach the sides to the top and join the cracked section with a piece of engleman spruce backing.  After the box is constructed, with both the top and the back attached to the sides, I will trim out the ragged edges, down to the spruce backing, and insert a binding bordered patch.  Patch is the wrong word; inlay is better.  The binding will match the body binding and the inlay will mimic the end graft, which I believe is rosewood.

120204cracked

The kerf for the top is installed, and once this dries, along with the spruce backing on the cutaway, I can begin to trim the sides in preparation for installing the back.

120204kerf

120204morekerf

Guitar 1002 – Unpack the Sides, Glue to Top

February 4, 2012

As mentioned previously, the cutaway bend probably cracked.  I let the bent sides sit in the bender overnight so as to allow the bends to settle, then opened the bender carefully.
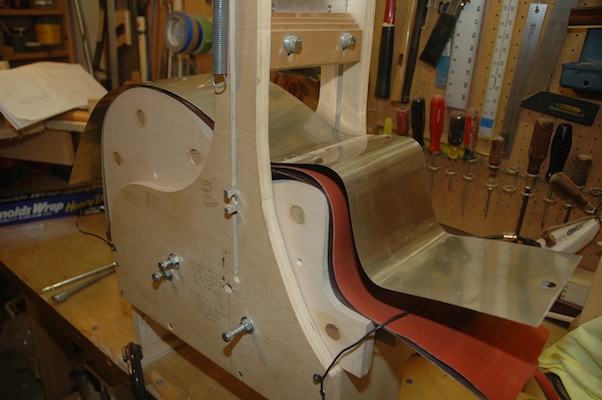
120204openthebender

The underside of the sandwich was held in place with a bit of wire to keep it from springing up and pushing against the bent side.  After removing from the machine, the crack was evident.
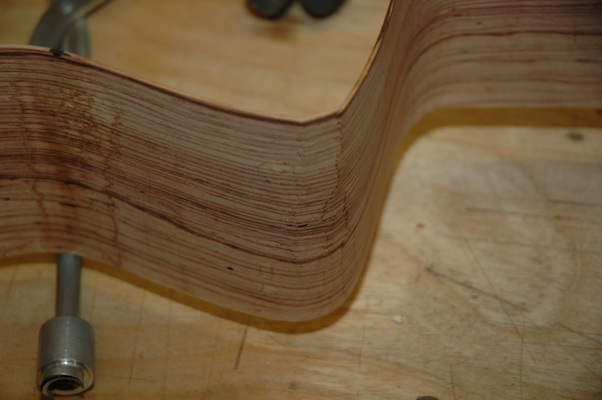
120204seethecrack

Two cracks, on either side of the outer bend can be repaired with CA glue, then the bend can be rounded on the hand bending heater before attaching to the guitar top.  This piece is salvageable and will be fine.  After aggressive sanding and fairing, there should be no evidence of the crack.  I might consider gluing a small spruce caul into the inside of the bend to provide stability.

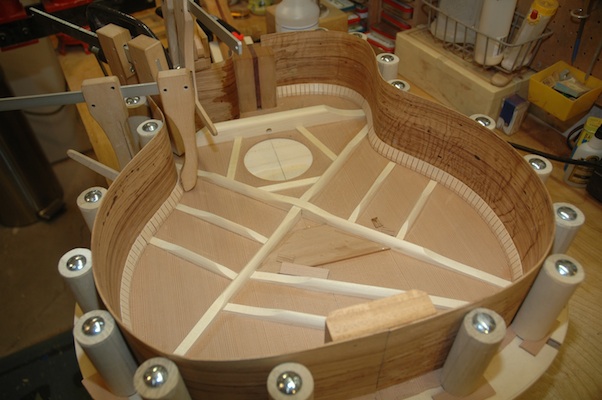
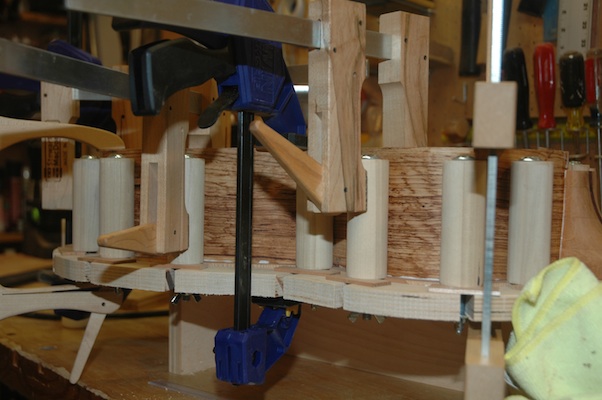
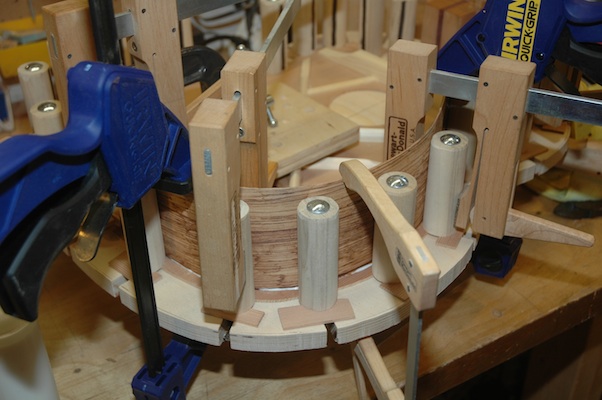
I began installing the non-cutaway side.  First I increased the bends on the hand bender, determined the position of the cut for each end to shorten the side piece, applied glue to the butt block, neck slot and joint between the side and the top.  It slipped into the workboard easily, and followed the trace of the joint nicely, so I was able, on the first pass, to clamp down.
120204sideinstall

120204sideinstall1

Guitar 1002 – Cutaway Bend

January 31, 2012

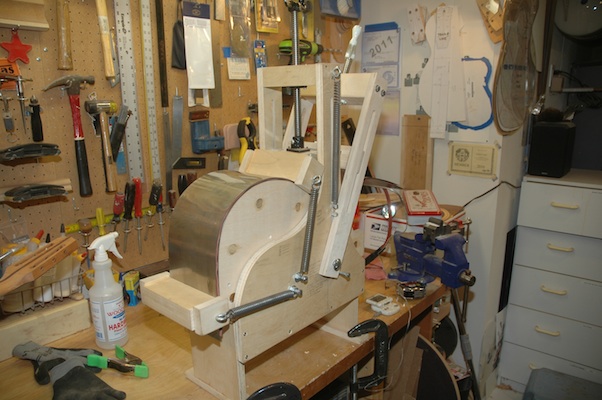
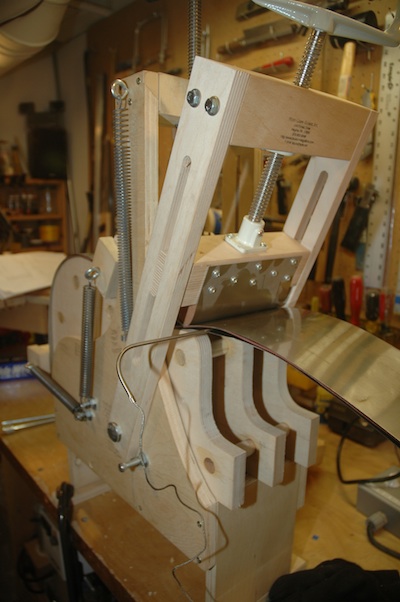
I finally bit the bullet and went headlong into the cutaway bend.  First I needed to locate the pivot point for the cutaway ram to be mounted on the bending machine.  After several dry runs, I committed to a hole location for the ram pivot. I drilled the holes, installed the ram and placed the side sandwich in the bender and cranked up the heat.  I bent the butt end first then took a deep breath.

120131cutawayram

The concern is that the bend is severe, and the side wood tends to crack.  The ram is screwed down tight into the vee between the waist and the rise in the upper bout.

120131cutawaybend

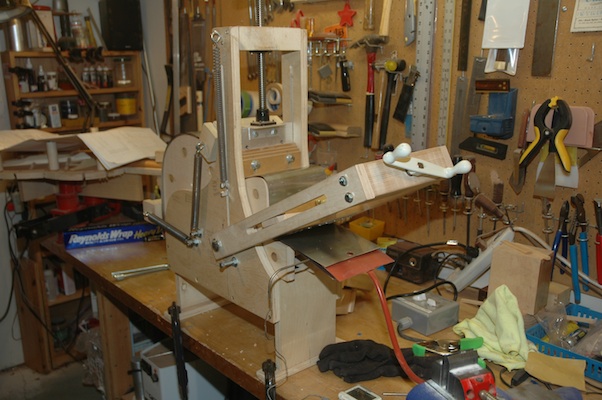
As the ram is pulled away from the waist, it must be released to follow the rise of the upper bout.  Just at the point the bend starts down, the ram must be pulled while advancing the press screw then immediately start to push the ram as it travels down the cutaway until it reaches the bottom of the cutaway.

120131cutawaybent

The waist press, up to this point, has only been advanced to an eighth of an inch from bottom.  Finally, the waist press is clamped down to push the waist down and pull the sides “in” onto the bouts.  A quick inspection from the side of the sandwich showed the tight bend did indeed crack, but to what extent, and knowing if it is useable will only be discovered when the package is opened.  A spring bar was draped over the upper bout at the cutaway bend to add pressure at the bend.  One more round of cranking up the heating blanket then a cool down may very well improve the roundness of the side bend at the cutaway peak.

Guitar 1002 – Butt Block and Side Bend

January 29, 2012

I finished detailing the bracing on the top and trimmed back the ends to make room for the attachment of the sides to the top.  The butt block was radiused and trimmed to length (about 1/8″ longer than actual) and glued to the top.

120129buttblock

I also trimmed the sides to the same width as the butt block height then proceeded to bend the non-cutaway side.

120129sidebend

After heating and bending, the side is allowed to cool, then the heat is turned back on for 15 minutes, then the side will sit in the mold overnight.  After removal, it will need more hand bending to bring it to the desired curve to avoid having to spring the side into the workboard, which puts stress at the butt block and neck joint points which can cause splitting.

The cutaway side remains to be bent, but first I have to devise where the cutaway ram will be mounted on the bending machine.  Hope I get it right.  I’ve been avoiding this bend for months, and I am fully prepared to order new sides if I muck this up.  So much for practicing on throwaway stock.

« Prev - Next »