Guitar 905 and 906 – A few new images

February 5, 2010
Waited a few hours then went back into spray booth to apply second coat of sanding sealer.
February 5, 2010
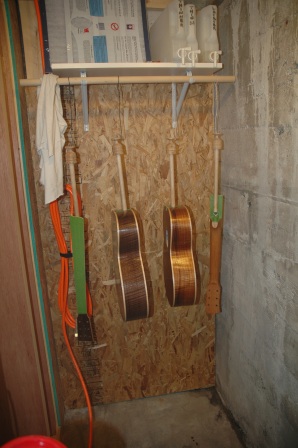
Ventured into the new spray booth today for the first time. Got both guitars sanded down and masked and applied first sanding sealer coat of lacquer. After it dries I’ll give a quick scuff of scotch-brite before applying the pore filler. I should be able to do a first coat of pore filler this afternoon. I’m going to apply several coats of pore filler as previous experience showed one was not enough to get a glass-like surface for the hardwoods.
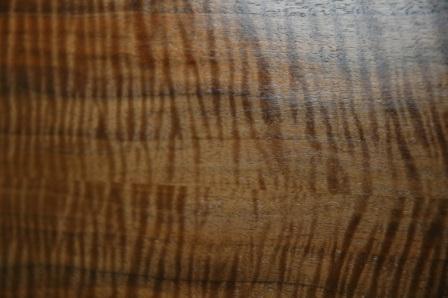
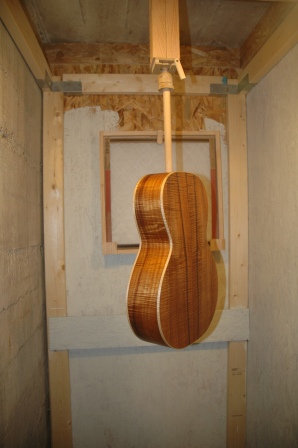
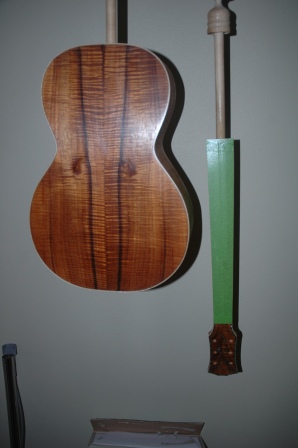
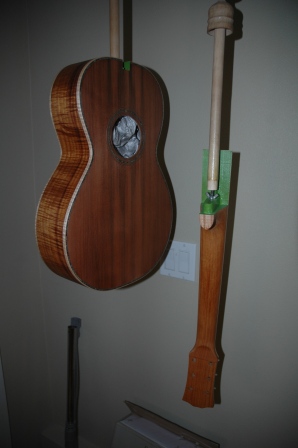
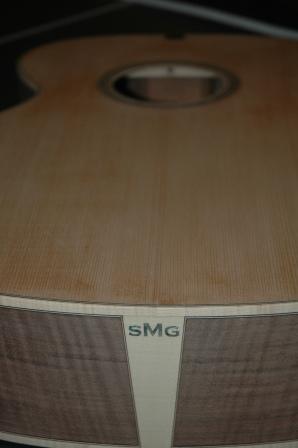
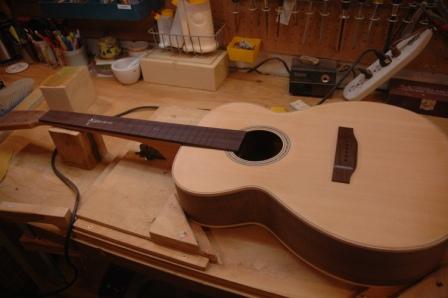
Two views of Guitar 905, the Walnut OM:
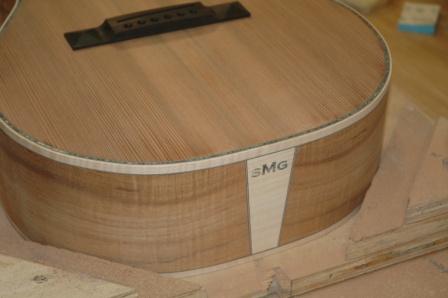
Now 906, the Koa Parlor:
January 19, 2010
Doubling up on two guitars is working well, as the tasks I perform on one are repeated on the other and the muscle memory benefits both. After installing the neck bolts I moved on to further shaping of the necks and fine tuning the joint between the neck and the body. Getting both down to fine flush joints was fortunately easy and the result was more than acceptable. I bound each fretboard, radius sanded and flattened the back of each fretboard. I bolted each neck onto the appropriate guitar (careful not to Frankenstein them), and rechecked the neck angle, making sure the neck and body were aligned and that there was a 2mm gap between a straight edge laid on the fretboard and the body at the bridge location. I then checked, with the fretboards resting on the neck, that the gap was 7 to 8mm. If not, I would either have to adjust the neck angle or thin the fretboards to get this gap. Well, my friends, experience is paying off. The gap was there, was right, on both guitars, and I needed no further adjustment.
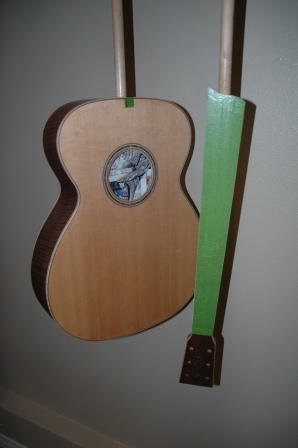
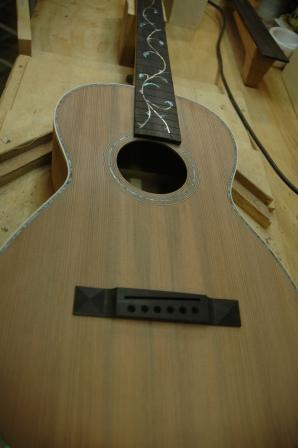
I unbolted the necks from the body and attached the fretboard. Here’s what 905 looks like after gluing and wrapping with a long elastic (excellent as it applies lots of pressure, and self centers).
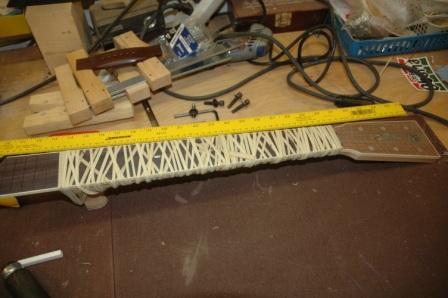
This will dry overnight before I remove the band and begin to scrape and shape the neck further.
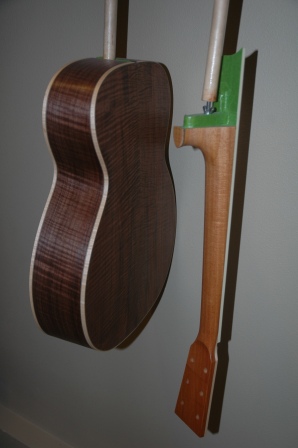
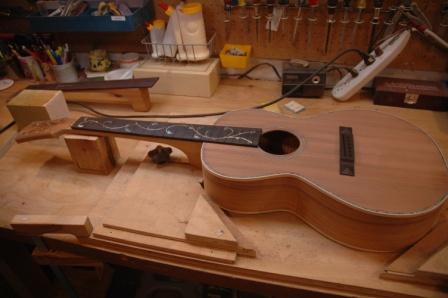
Earlier today I did the same for 906, and the neck/fretboard came out of the band about an hour ago. Nice result, and you can see the fretboard bound with curly maple.
Both necks are still Stephen thick. I’ve had the tendency to keep my necks thicker than they should eventually become. Thicker from fretboard through back of the neck. It stems from fear of taking too much off. But….I really know how thick these necks should be, and there’s nothing amiss from further shaving after the fretboard has been installed, which is exactly what’s next on the agenda.
Neck shaving, final sanding, then these guys go into the spray booth. I’m going to defer the fret install until after the finish spray. New approach, as I always installed frets then sprayed. I like this as I can easily mask the fretboard without frets. With frets, it’s a tedious masking process, and I’m lazy. The only thing I can think that would make this a bad decision is that there might be some potential finish cracking when pounding in the frets. But that problem exists for all refret work, so hell, think of it as a refret.
Essentially, these boys are guitars.
January 17, 2010
Moving on to the necks, the first step is to install the neck inserts. I use bolt on necks vs. dovetail joints as they are infinitely more adaptable to future repairs/resets.
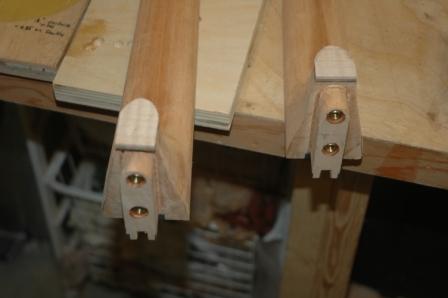
The rough shaping was done a while ago, so after the neck mortise was defined and the inserts installed, the necks are shaped essentially to the final dimensions. I use a rasp to draw down to the final dimensions, including the heel and end cap. Fine sanding will be done after the fretboards are installed.
January 15, 2010
I don’t like to fair and square, but I do like the end result. The fair and square step is to bring the box down to its final shape/dimension after the binding has been installed and before the neck angle is determined. The binding and top, sides and back need to be flush, free from any gaps and squared up. Most important is the upper bout area of the top. Between the soundhole and neck joint, you need to establish absolute flatness. This assures a clean transition between neck and guitar to avoid a 14th fret hump (or worse, dip).
Both guitars had a shellac coating on the tops to protect and reduce grain pullout from the binding tape. It’s a pain in the ass to sand back down through the shellac, and I’m rethinking the use of shellac in future construction. That means I will have to rethink using binding tape for securing the binding during installation. Some luthiers use a fabric wrap or rope wrap while installing binding, which I’m going to look into for the next guitar.
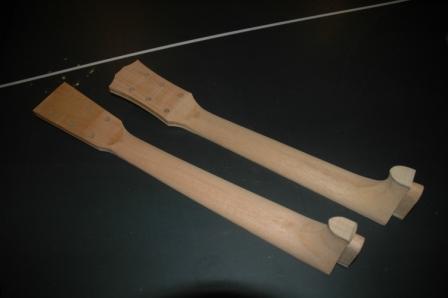
I’m ready to measure the neck angles and use my tenon jig to route out the tenon on each neck, in advance of final neck shaping, fretboard installation and hammering in the frets. There’s very little left before diving into the new spray booth and spritzing away. It’s been raining constantly for the past week, and the garage is swimming in drips.
Here’s 905, ready for cutting out the neck tenon:
And 906 in a similar state:
January 11, 2010
January 10, 2010
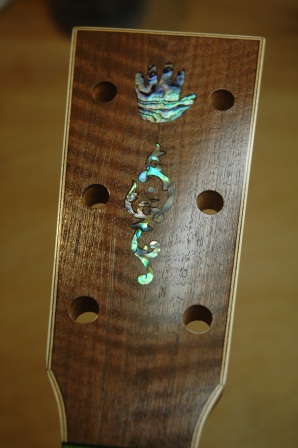
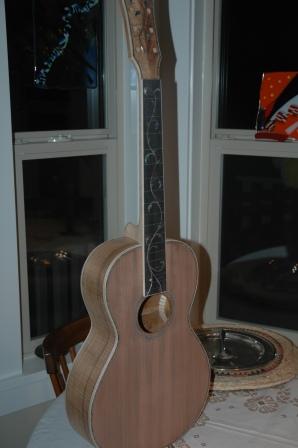
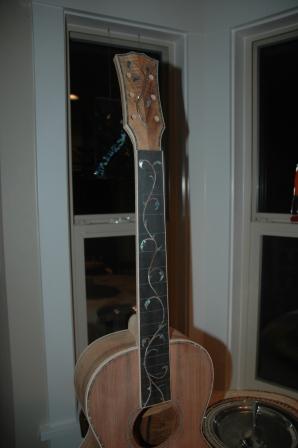
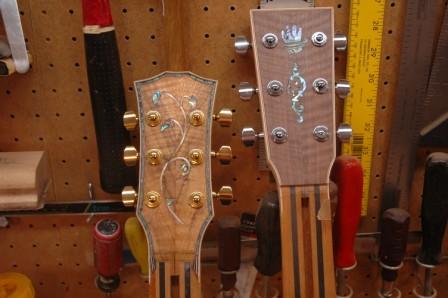
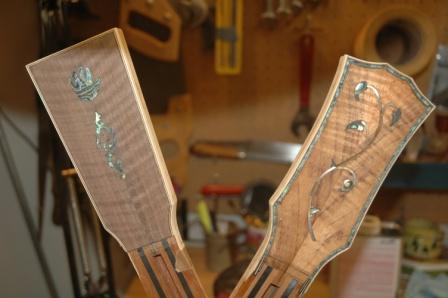
Not a word, sparklier. I meant more disco ballish. No, just more better. Lots of time, but result is worth it. Installed the maple/bwb/teflon/bwb into the headstock segment by segment.
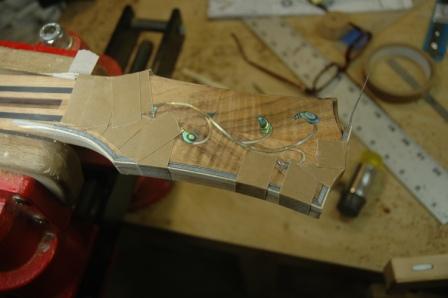
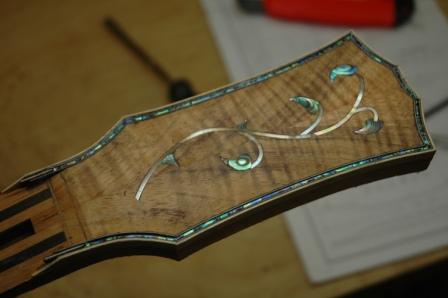
After the process was complete and the components dried, the teflon was removed and paua strips were pressed into place then flooded with CA glue.
Played poker later in the day and drew a pair of aces….ha.
January 9, 2010
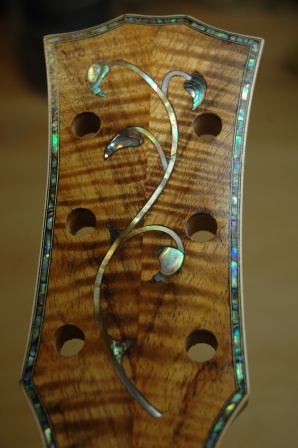
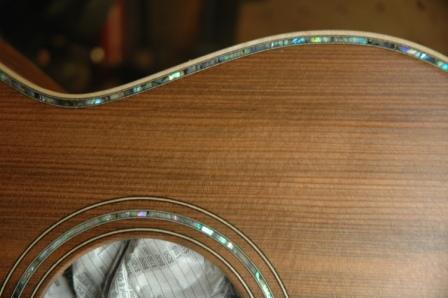
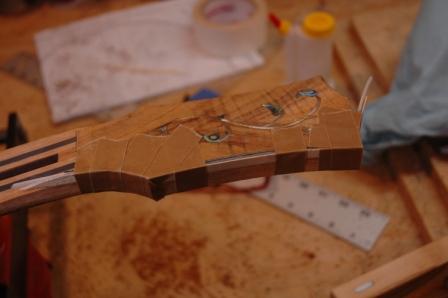
This guitar, which has been dubbed “highly decorated”, will get a paua purfling with curly maple binding. First step was to channel out the area where the binding and purfling will be inserted.
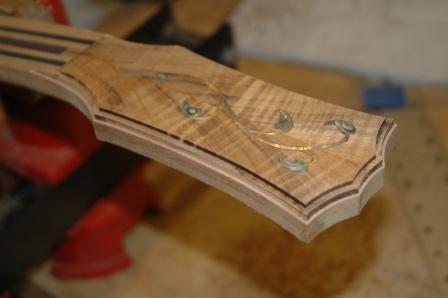
The construction is done in steps, unlike the binding of the body. I will install/glue in the curly maple, bwb, teflon, bwb in phases, each sandwich installed in one segment, allowed to dry, then followed by the next segment. This will necessarily be a slow process while waiting for the glue to dry for each segment. Looks like some multitasking is in my future.
I did get a few new repair jobs over the holidays, and I plan a fret dressing for Beth’s OM, so there’s no lack of opportunity.
December 24, 2009
Wintergrass is a family-friendly Bluegrass music festival, with concerts and dances at 4 different stages. There are also two Academies, workshops, impromptu jams, and a chance to see and hear some great music. This year it is being held in Bellevue, WA, Februrary 24 – 28.
I will be displaying guitars 905 and 906 as part of the Seattle Luthier’s Guild exhibition. If you are attending, drop by the exhibition hall and take a look.
