Archive for the 'Guitar Building Logs' Category

Guitar 1002 – Redo Binding

April 29, 2012

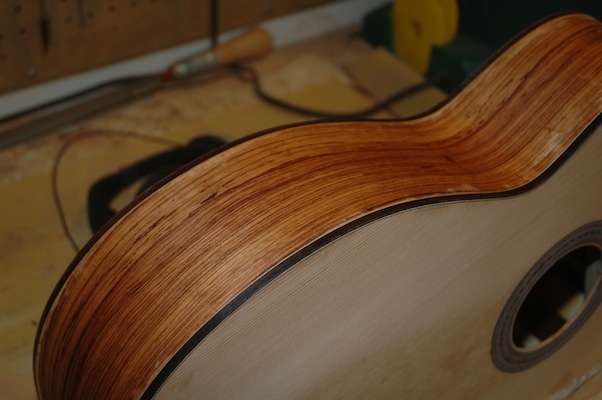
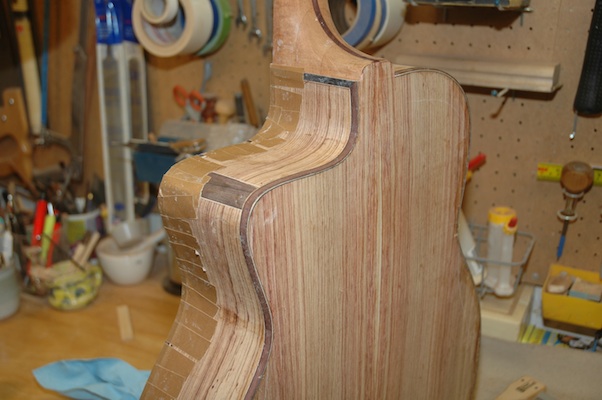
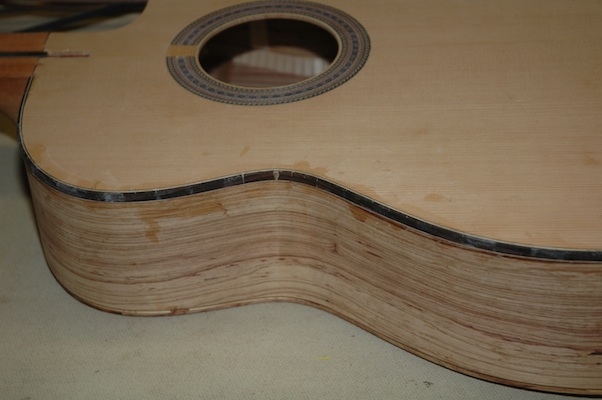
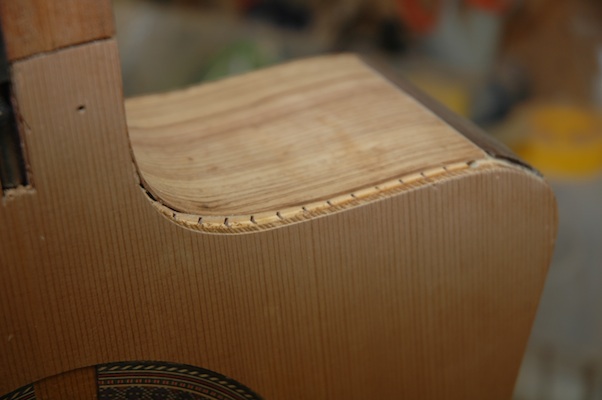
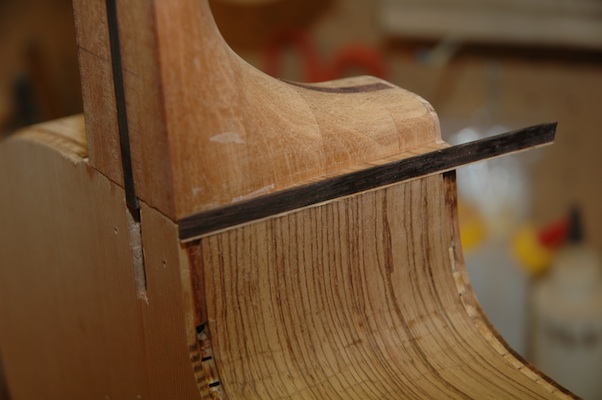
I just wasn’t happy.  The binding on the front of the guitar, the binding everyone will see and admire, was just not right.  Too thin in places, poorly fitted around the cutaway, and even a few cracks that needed repair.  I ordered additional rosewood binding strips, which arrived yesterday, and set out on removing the first application of binding and installing it again.

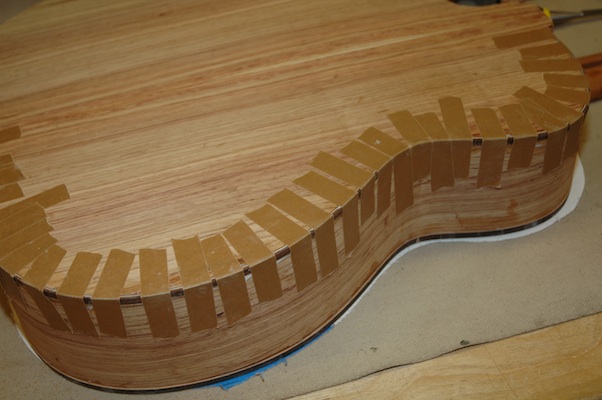
I routed out a binding channel for the top binding with a depth considerably deeper than the original.  The first pass at installing this binding included thinning of the binding strips to assure a clean bend around the cutaway.  What I discovered was that I could tightly bend even full width binding if I got my iron hot enough and patiently bent the binding strip a wee bit at a time.  Bending, then checking, bending then checking, until I had a nice tight bend with no cracks or pullaway of wood fiber on the outside of the bend.  (What I did find is that my insulated gloves don’t work as well as I would like, and my fingers are a bit crispy).

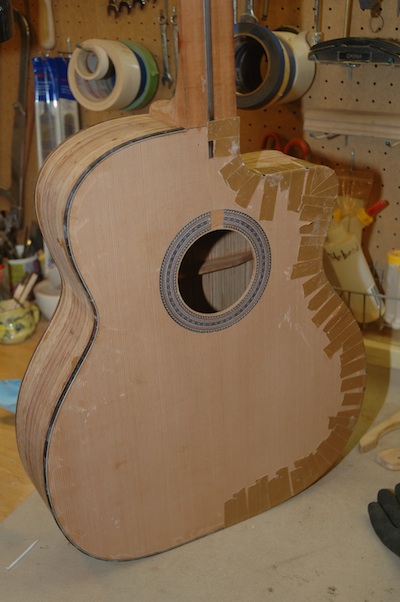
A good tight bent binding and purfling make for a spectacularly easy application of the binding with binding tape.

This will be way better.  I am no longer afraid of the tight bend of the cutaway.
Guitar 1002 – Compared to an OM

April 22, 2012

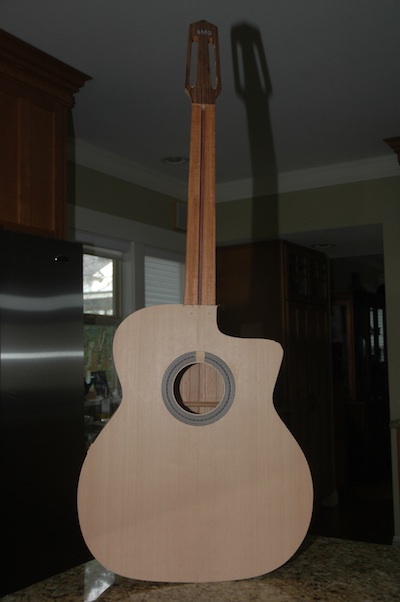
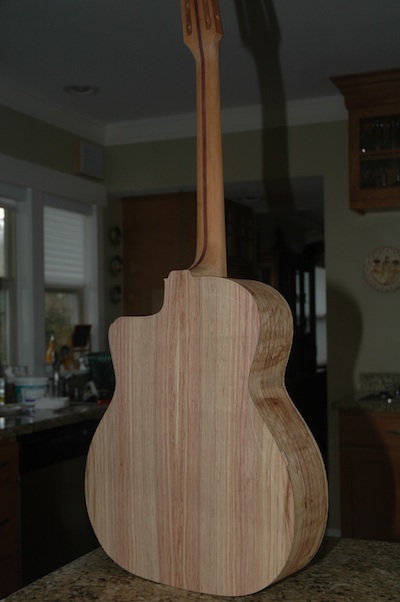
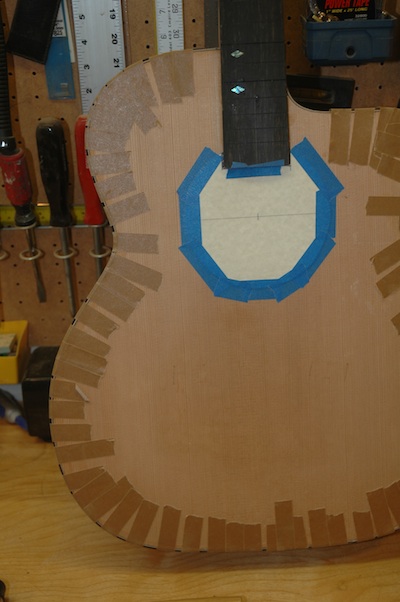
The fretboard is attached, and the long slog of finish sanding lies ahead.  Here’s a little comparison of this Macafee style guitar next to an OM (which happens to be a Rob Girdis guitar).


Guitar 1002 – Fretboard Binding Heel Cap

April 22, 2012

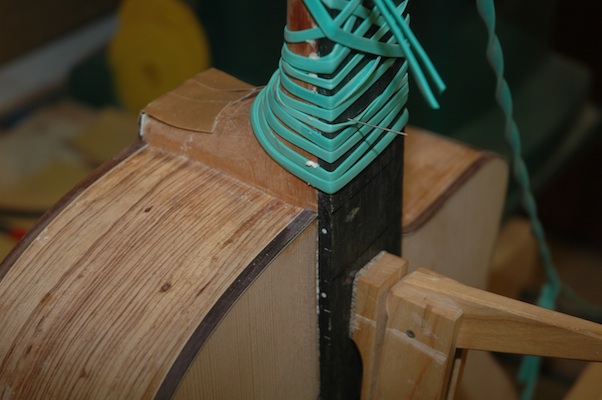
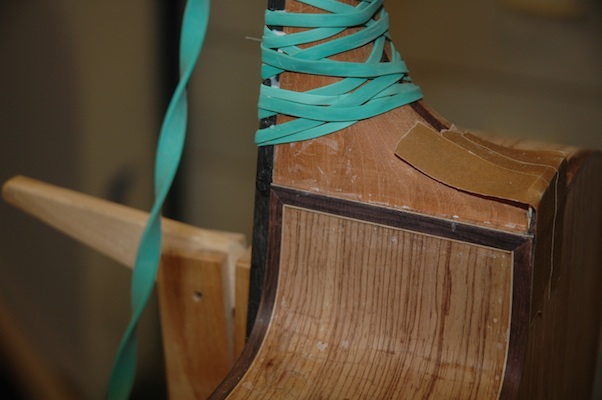
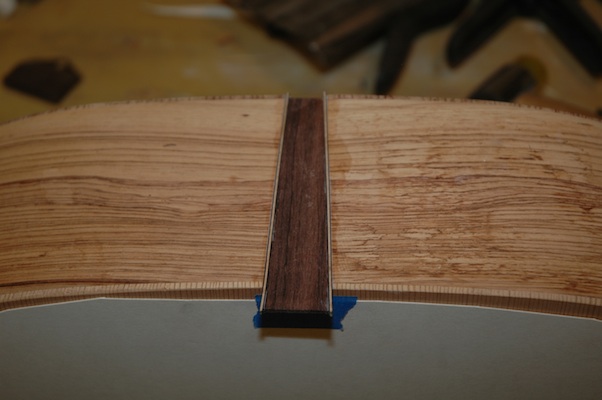
All binding is on and trimmed.  I decided to install a rosewood heel cap and did so by routing out the heel cap material to allow installation of a maple veneer topped with rosewood cap.  The heel cap will be flush with the body.

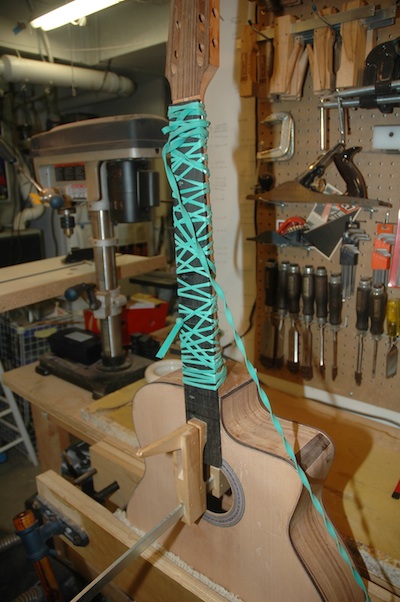
Side dots were inserted onto the fretboard, it was trimmed to match the profile of the neck, then indexing pins were located to hold the fretboard in position while it was glued and held in place with the amazing 40 foot rubber band.

120422fretboardmount

The binding, heel cap and fretboard all meet up in various spots around the guitar.  Next steps will be to flush up all the joints and prepare for detailed finishing of all the surfaces.

120422neckfretboard

120422cutawaybinding


Guitar 1002 – Binding Trimmed, Now the Tedious

April 9, 2012

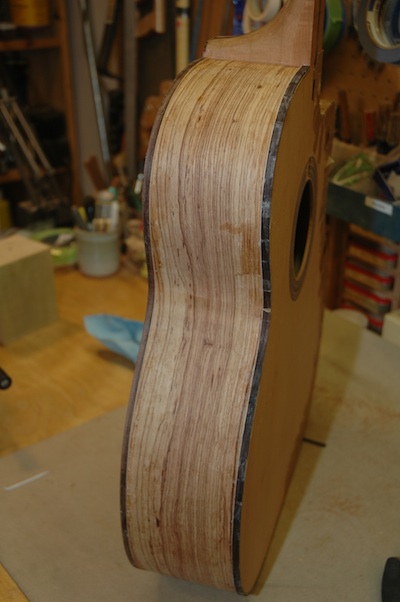
The binding is installed (save one small section on the neck heel).  It’s been trimmed close to the body and now the scraping begins.  Using a cabinet scraper, nicely burnished, I’ll draw down the binding flush to the sides, top and back.  I enjoy this process, yet it takes a long time to do it right.

120409roseandbind

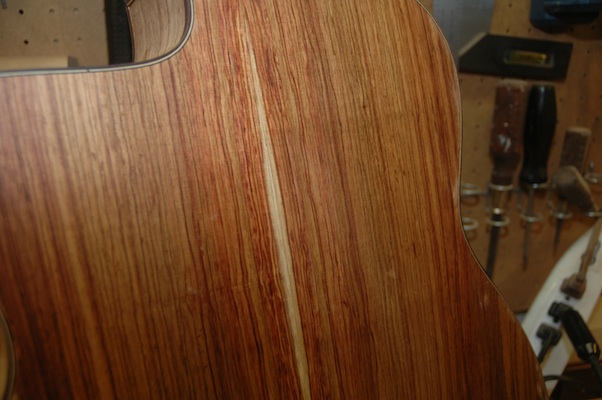
The Palo Escrito looks fine treated with naptha.  The blotchy parts still need further sanding to remove the glaze of wood glue still on the surface.

120409sidebind

120409fullback

120409back

An hour here, an hour there, then some more here and there, and the fretboard goes on.

Guitar 1002 – Binding continues

March 19, 2012

I’ve attached the cutaway side binding after hand bending.  I’m pleased with the process, and am no longer flummoxed by tight binding bends.  All went swimmingly, and installation was straightforward.  A few minor gaps which can be filled with rosewood shims.

120319frontbinding

120319sidebinding

I still need to install binding and purfling around the heel cap area.

120319cutawaybinding

Guitar 1002 – Binding

March 18, 2012

I like this part.  The binding puts the real finishing touches on the body.  This one is more complicated due to the cutaway and the heel shape.  I’ve taken the first “easy” steps of binding the non-cutaway side.

120318bindingtape

The binding, pre-bent, and a purfling strip are glued into the channel, secured with binding tape.  I like to glue the crap out of it, which makes the cleanup more labor intensive, but these puppies need to be secure.

120318binding

After the tape is removed, it almost looks like a guitar.  I will trim back the excess with a cabinet scraper before the final sanding.  The cutaway side is next, but I will need to hand bend the binding and purfling strip for the severe bend around the bout at the cutaway.
Guitar 1002 – Binding

March 12, 2012

The binding process for this cutaway is quite a bit more complicated.  I’ve got some tricky executions especially around the neck.

120310buttgraft_0

First I installed the butt graft, and had to recover from oversanding after I installed and trimmed.  I almost sanded through the sides around the butt block and had to go inside and reinforce with resin to restore the thickness and strength of the sidewalls.  After that recovery, I routed out the channels for the binding on the top and back, having to pull short as I approached the neck.

120310bindingchannel

The continuation of the channels was achieved with a chisel and saw, but I still have some decisions to make around the end graft for the neck.

120310binding


Guitar 1002 – Box Constructed

February 12, 2012

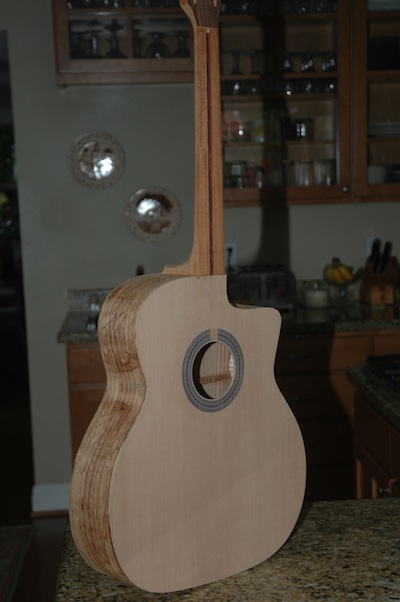
The top and back scarf was removed using a router.  It looks like a guitar and thumps like a guitar.  This is the first moment one can test the resonance of the box.  Thumb thumps on the lower bout, front and back, give a bold timpani like sound.

120212boxon

120212backview

120212frontview

Guitar 1002 – Sides Radiused, Back Installed

February 12, 2012

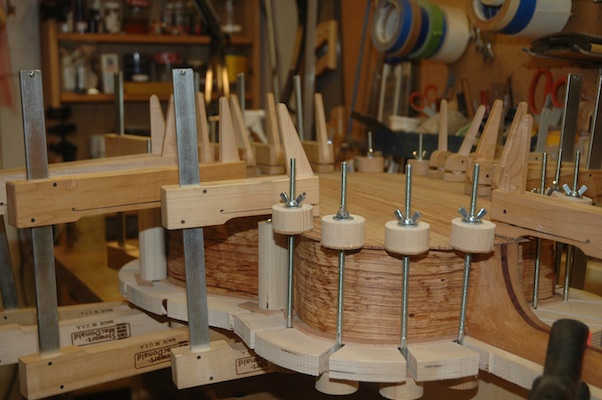
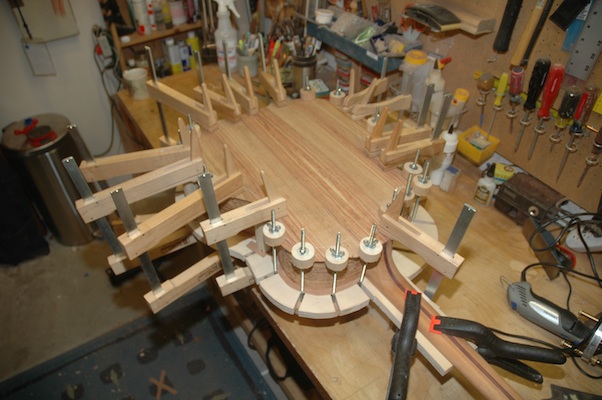
Before attaching the back to the sides, the sides need to be radiused to 15′.  This is done with a sandpaper covered dish.

120212preradius

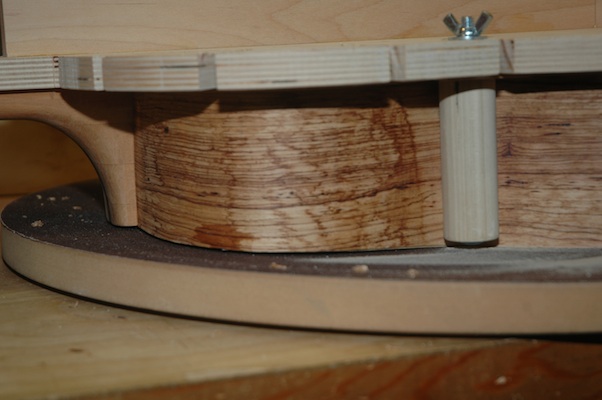
The kerfed sides have been trimmed down to the approximate dimensions, then the box, still attached to the workboard is sanded by rotating through the center point of the dish until flush.

120212radiuscheck

A gap between the upper bout and the dish is shown.  The staining on the sides is from the bending process, and goes away after sanding.

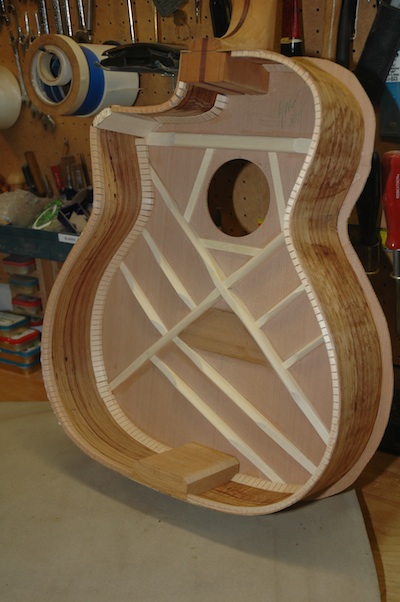
Once the gaps have been closed, the back is dry fit on the sides to check for the location of the bracing, where the sides and kerf must be relieved so the bracing fits “under” the kerf.

120212fitprepback

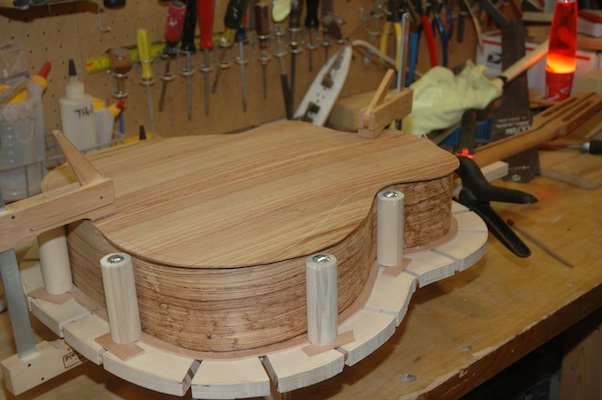
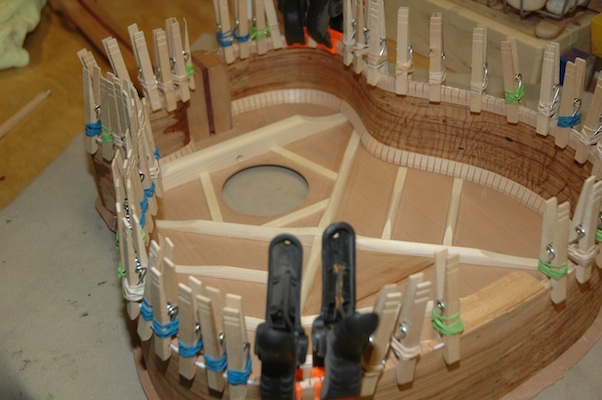
After a round of dry fitting the back to the sides with spool clamps, glue is applied to the kerf and the back is attached.

120212backdetail

The clamps will stay for several hours before removed, then the scarf can be removed with a router using a bearing flush cut bit.

120212backclamped

Guitar 1002 – Kerf, Side Supports, Ready to Radius

February 5, 2012

The sides have been trimmed down to the approximate height to simulate a 15′ radius.  I used my wee little finger planer which served well.  Before using the radius sanding dish, the kerf for the back was installed.

120205backkerf

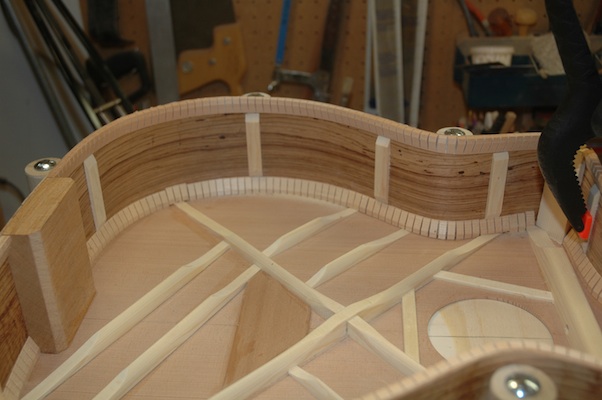
Additionally, side supports were glued in.  These serve to keep the integrity of the sides and avoid cracks along the grain.

120205sidesupports

The box is ready to be radiussed.  Using a 15′ radius dish mounted with sandpaper, the kerfed sides are dimensioned to a dome shape, tapering down from the butt end to the neck end.  Once this is done, the back can be installed.  I will use spool clamps with the box on the workboard to secure the back to the sides.

« Prev - Next »