June 9, 2012
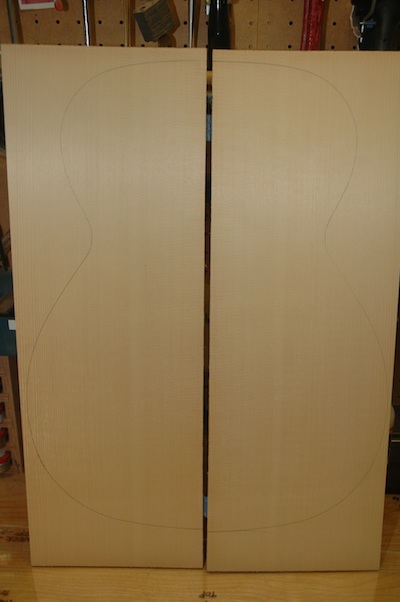
Miscellaneous work today on three guitars. Located Engleman Spruce top for the Rosewood OM.
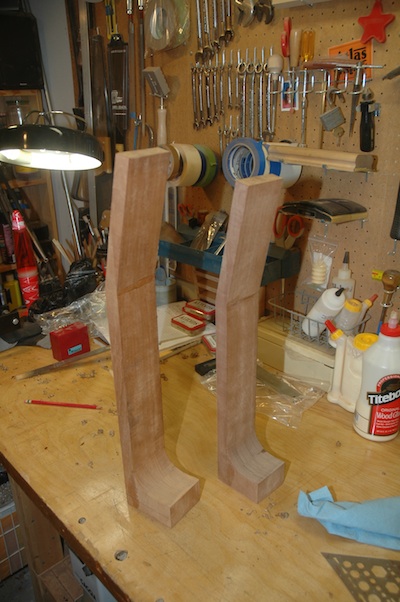
Finished blocking in two necks; final step stacked heels.

After clamping and drying, the neck heel curve was cut using the bandsaw, then rounded with the spindle sander.
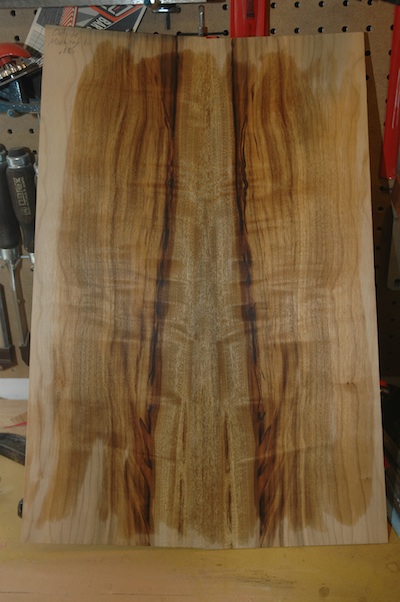
The double cutaway parlor for Em has walnut back and sides. The sides are prepped for thickness sanding.
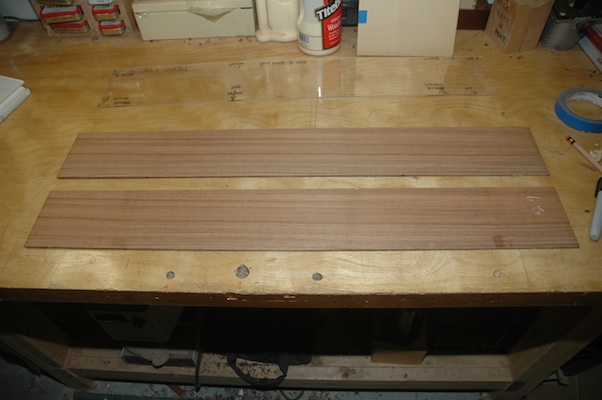
Published by Stephen on 09 Jun 2012 under Guitar 1201 - Myrtle Parlor,Guitar 1202 - Rosewood OM (Bob),Guitar 1203 - Devil Parlor,Guitar Building Logs
Tags: Engleman Spruce, Neck Construction, Walnut
Comments: none
June 8, 2012
Madly trimming/planing box sides down to 30′ and 15′ radius (top and back respectively) then adding kerf.
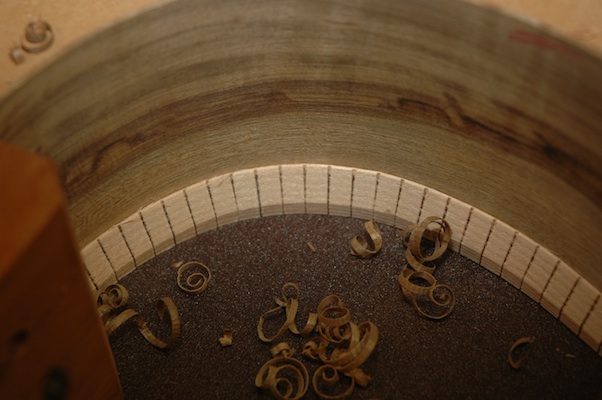
Published by Stephen on 08 Jun 2012 under Guitar 1201 - Myrtle Parlor,Guitar 1202 - Rosewood OM (Bob),Guitar Building Logs
Tags: Indian Rosewood, Kerfing, Myrtle
Comments: none
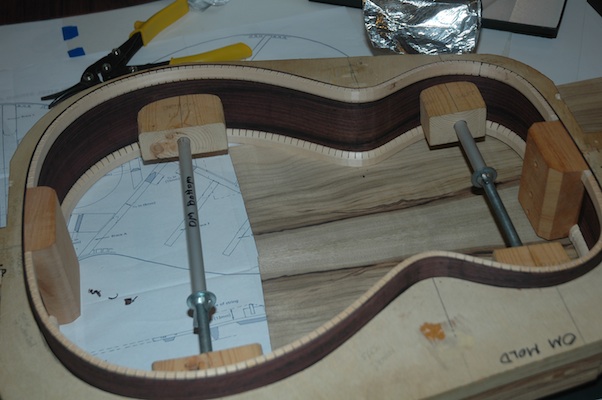
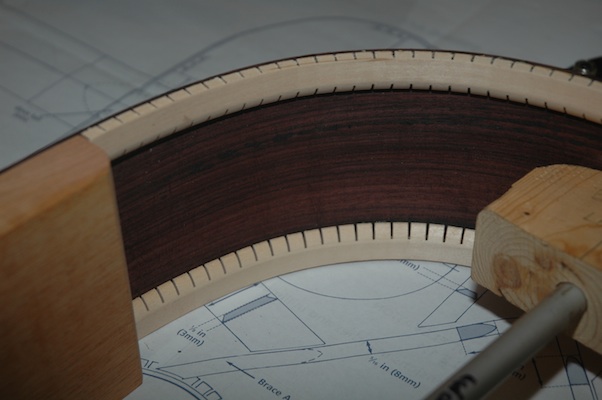
June 1, 2012
I’m madly working on 5 guitars at a time right now. As I attend to finishing Guitar 1102 and the Girdis Parlor, I’m building necks and boxes for Guitar 1201 (Rachel’s Myrtle Parlor), Guitar 1202 (Susan’s Rosewood OM), and Guitar 1203 (Em’s Walnut Double Cutaway Parlor). This appeals to my desire to make recognizable progress. The sanding and prepping of an almost finished guitar is slow going and the progress seems snail-like.
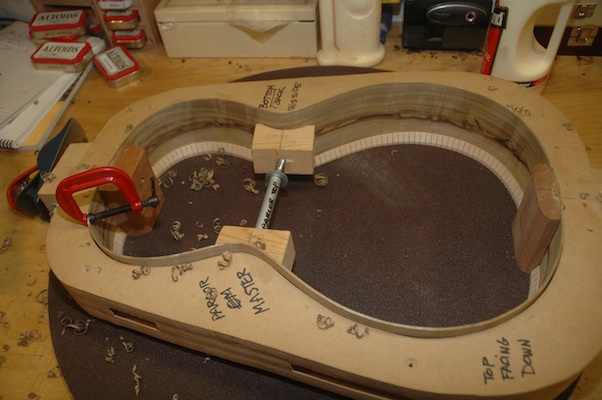
The myrtle parlor wood is spectacular. It’s in the mold, with butt block and neck block attached.
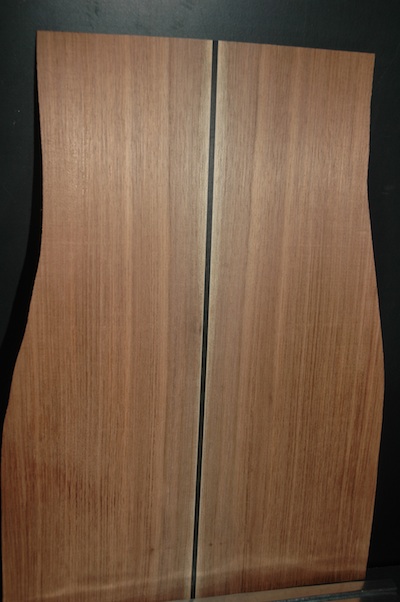
The rosewood OM too is a fine hunk of wood, very red/purple, with excellent grain lines.
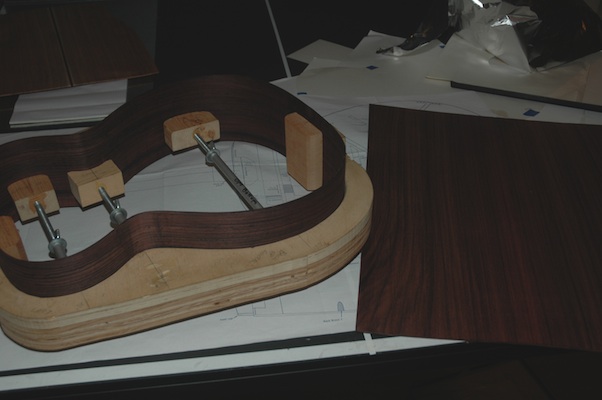
The walnut double cutaway parlor is understated. The sides will be thicknessed and bent once the myrtle comes out of the mold.
Published by Stephen on 01 Jun 2012 under Guitar 1201 - Myrtle Parlor,Guitar 1202 - Rosewood OM (Bob),Guitar 1203 - Devil Parlor,Guitar Building Logs
Tags: Box Construction, Indian Rosewood, Myrtle, Walnut
Comments: none
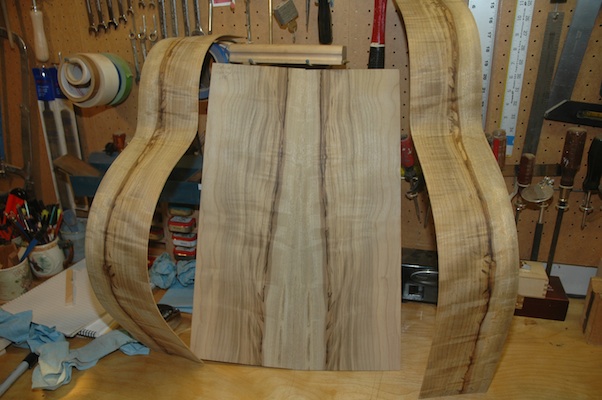
May 28, 2012
Today and yesterday have been consumed with the assembly line. I made necks for Guitar 1201, 1202 and 1203, and Uke 1201 and a uke to be numbered later. I also thicknessed backs and sides for Guitar 1201 and 1202, and joined the back for Guitar 1203. In between neck builds, gluing and clamping, I scraped away at Guitar 1002.
Here’s Rachel’s Myrtle back after thickness sanding.
Oooh that’s nice. I also thicknessed and joined the Peruvian Walnut back for Em’s guitar.
I’m ready to bend sides for Susan’s and Rachel’s guitars which means they can be forthwith set into the molds.
Published by Stephen on 28 May 2012 under Guitar 1201 - Myrtle Parlor,Guitar 1202 - Rosewood OM (Bob),Guitar 1203 - Devil Parlor,Guitar Building Logs
Tags: Neck Construction, Plate Joining, Thickness Planing
Comments: none
May 20, 2012
Banged away on the frets this weekend. After sanding and smoothing the fretboard and cleaning out the fret slots, the frets were cut to length then tapped in place. I have also been sanding away at the binding and purfling, bringing it flush to the sides. Still a lot of fairing and squaring to go before I mount the bridge and prepare for the lacquer spraying.

Once this guitar is ready for the spray booth, I will apply the same finish to the Girdis guitar I am finishing. I’ve rough cut the snakewood bridge in preparation for final shaping.
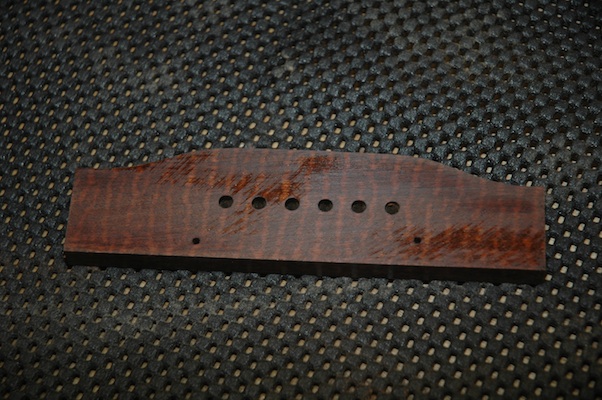
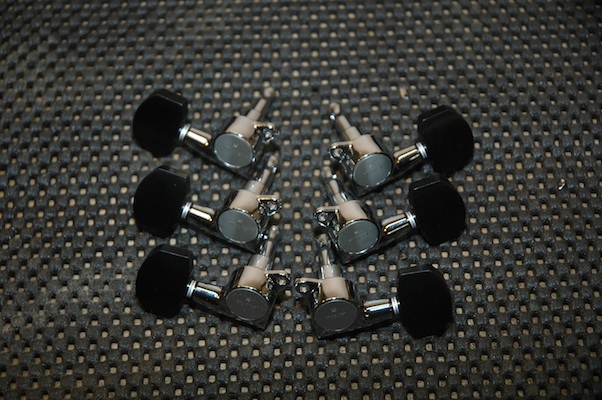
The Gotoh ebony button tuners arrived.
Published by Stephen on 20 May 2012 under Guitar 1002 - Hybrid Cutaway,Guitar Building Logs,Repairs, Jigs, Tools and Other
Tags: Bridge, Frets, Girdis Guitars, Tuning Machines
Comments: 1
May 11, 2012
Just took possession of a new batch of custom headplates for sMg Guitars.
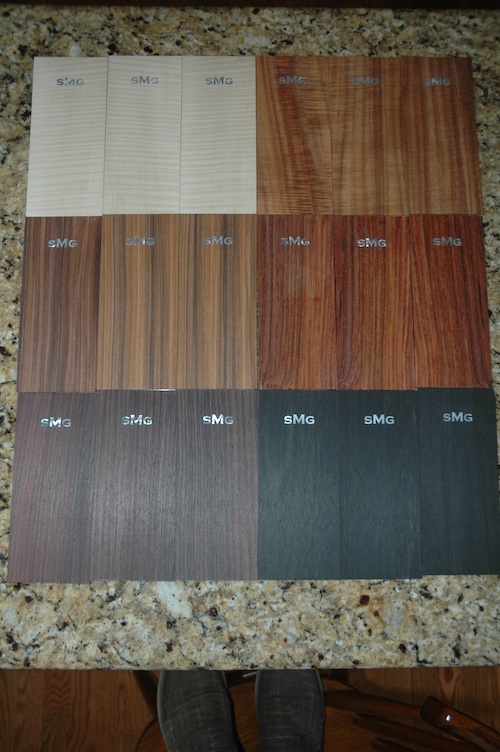
Row 1 – Curly Sycamore and Koa
Row 2 – Pau Ferro and Cocobolo
Row 3 – Rosewood and Ebony
Published by Stephen on 10 May 2012 under Repairs, Jigs, Tools and Other
Tags: Headplate
Comments: none
April 29, 2012
I just wasn’t happy. The binding on the front of the guitar, the binding everyone will see and admire, was just not right. Too thin in places, poorly fitted around the cutaway, and even a few cracks that needed repair. I ordered additional rosewood binding strips, which arrived yesterday, and set out on removing the first application of binding and installing it again.
I routed out a binding channel for the top binding with a depth considerably deeper than the original. The first pass at installing this binding included thinning of the binding strips to assure a clean bend around the cutaway. What I discovered was that I could tightly bend even full width binding if I got my iron hot enough and patiently bent the binding strip a wee bit at a time. Bending, then checking, bending then checking, until I had a nice tight bend with no cracks or pullaway of wood fiber on the outside of the bend. (What I did find is that my insulated gloves don’t work as well as I would like, and my fingers are a bit crispy).
A good tight bent binding and purfling make for a spectacularly easy application of the binding with binding tape.

This will be way better. I am no longer afraid of the tight bend of the cutaway.
Published by Stephen on 29 Apr 2012 under Guitar 1002 - Hybrid Cutaway,Guitar Building Logs
Tags: Binding, Cutaway
Comments: 1
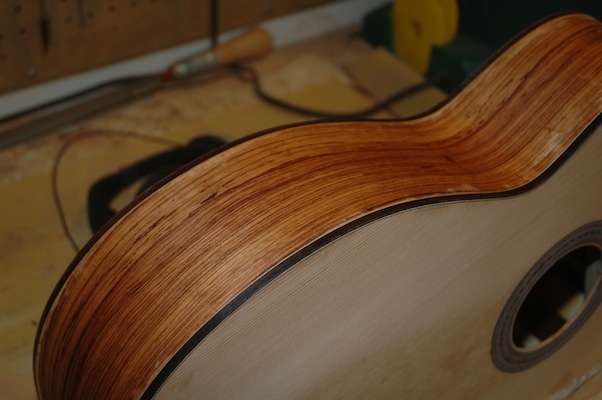
April 22, 2012
The fretboard is attached, and the long slog of finish sanding lies ahead. Here’s a little comparison of this Macafee style guitar next to an OM (which happens to be a Rob Girdis guitar).

Published by Stephen on 22 Apr 2012 under Guitar 1002 - Hybrid Cutaway,Guitar Building Logs
Comments: 1
April 22, 2012
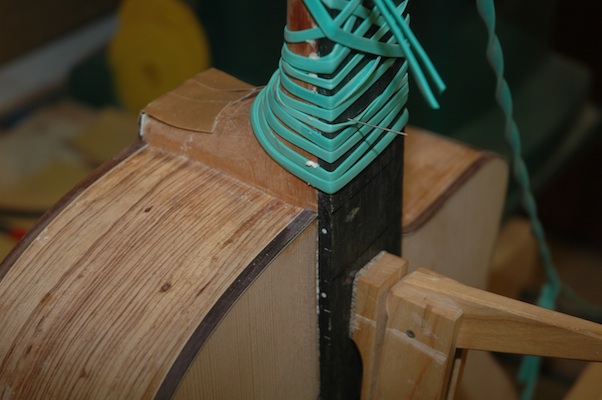
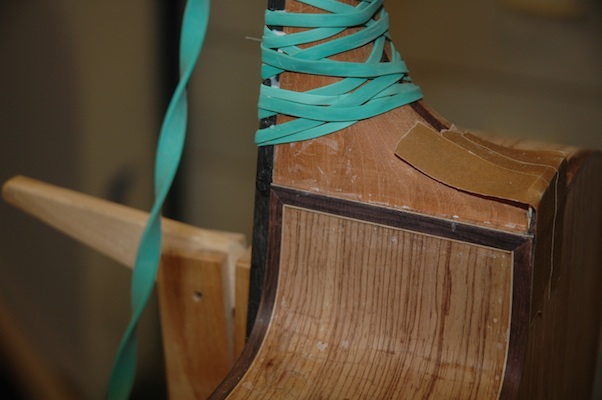
All binding is on and trimmed. I decided to install a rosewood heel cap and did so by routing out the heel cap material to allow installation of a maple veneer topped with rosewood cap. The heel cap will be flush with the body.
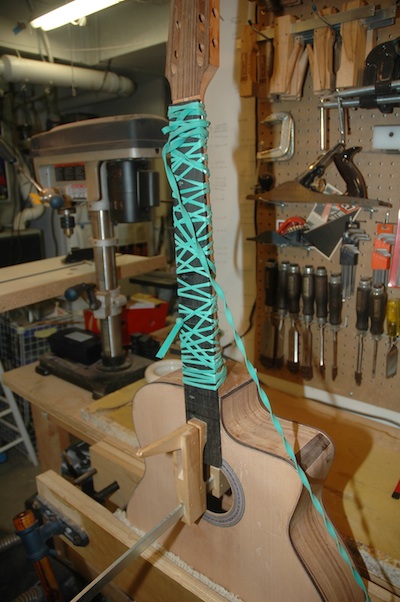
Side dots were inserted onto the fretboard, it was trimmed to match the profile of the neck, then indexing pins were located to hold the fretboard in position while it was glued and held in place with the amazing 40 foot rubber band.
The binding, heel cap and fretboard all meet up in various spots around the guitar. Next steps will be to flush up all the joints and prepare for detailed finishing of all the surfaces.
Published by Stephen on 22 Apr 2012 under Guitar 1002 - Hybrid Cutaway,Guitar Building Logs
Tags: Binding, Cutaway, Fret Markers, Fretboard, Heel Cap
Comments: none
April 9, 2012
The binding is installed (save one small section on the neck heel). It’s been trimmed close to the body and now the scraping begins. Using a cabinet scraper, nicely burnished, I’ll draw down the binding flush to the sides, top and back. I enjoy this process, yet it takes a long time to do it right.
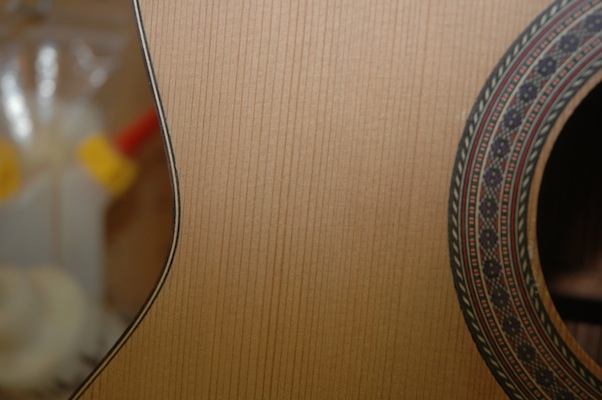
The Palo Escrito looks fine treated with naptha. The blotchy parts still need further sanding to remove the glaze of wood glue still on the surface.


An hour here, an hour there, then some more here and there, and the fretboard goes on.
Published by Stephen on 09 Apr 2012 under Guitar 1002 - Hybrid Cutaway,Guitar Building Logs
Tags: Binding, Cutaway, Hybrid, Palo Escrito
Comments: 1
« Prev - Next »
