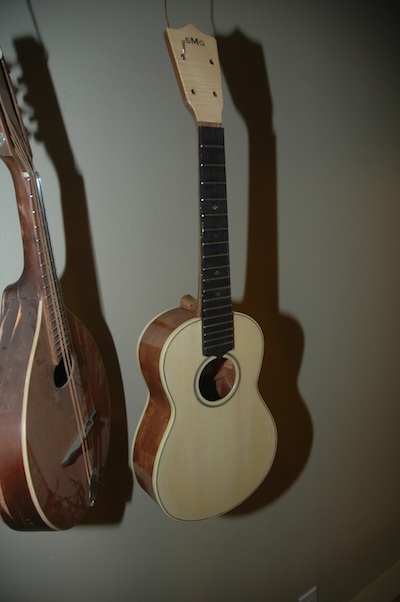
Stunning Myrtle and Koa Uke Nears Finish

November 19, 2011

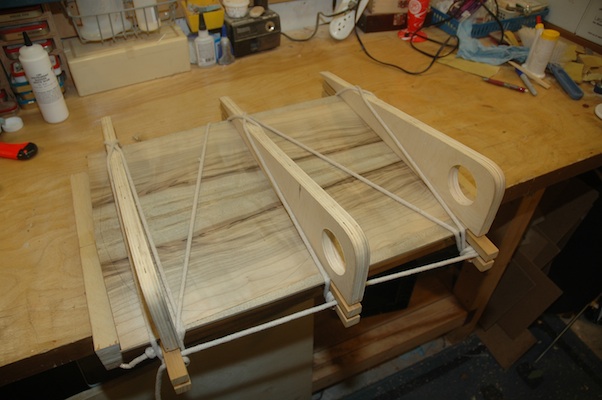
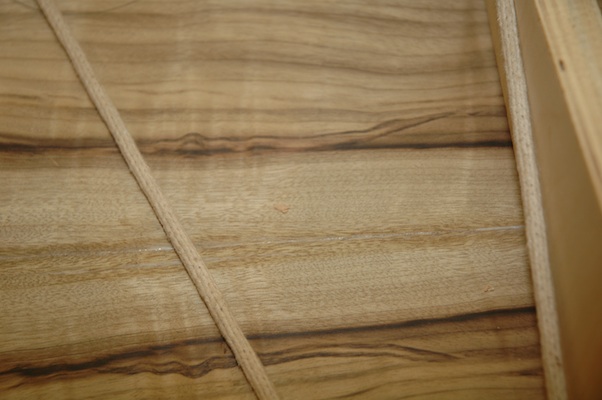
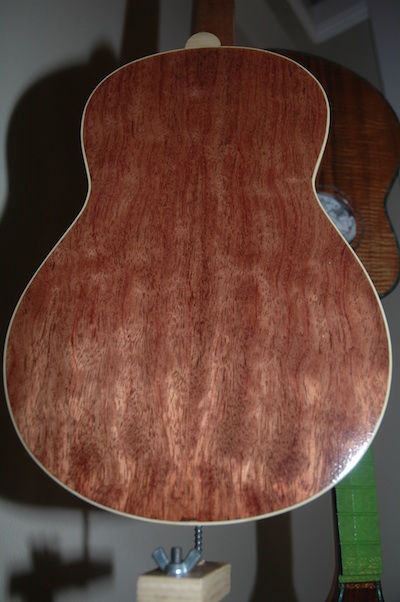
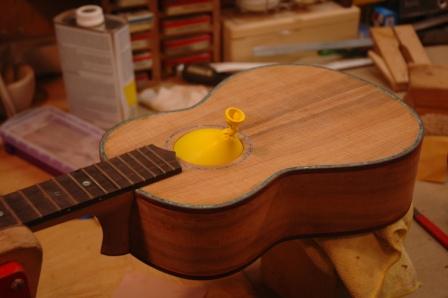
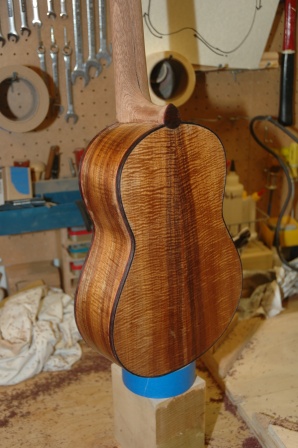
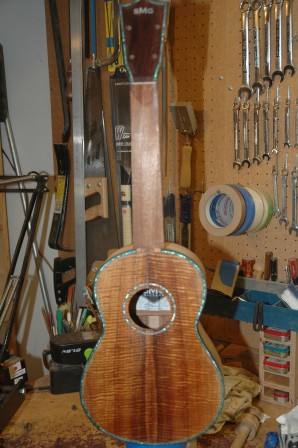
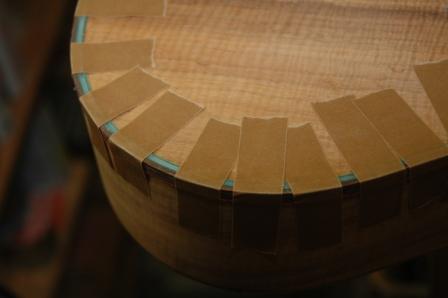
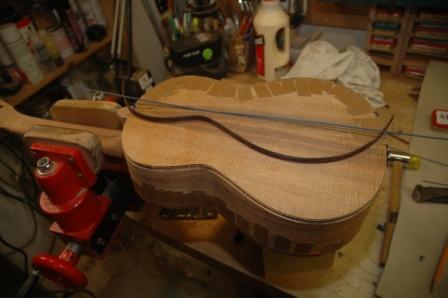
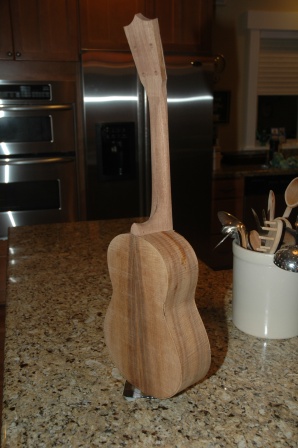
After joining the myrtle back for Rachel’s parlor:
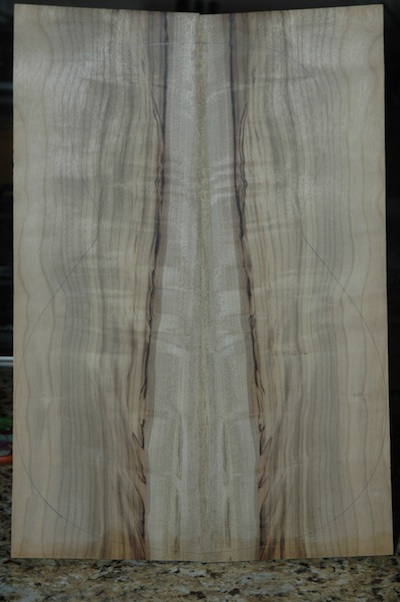
111119back

Yum.

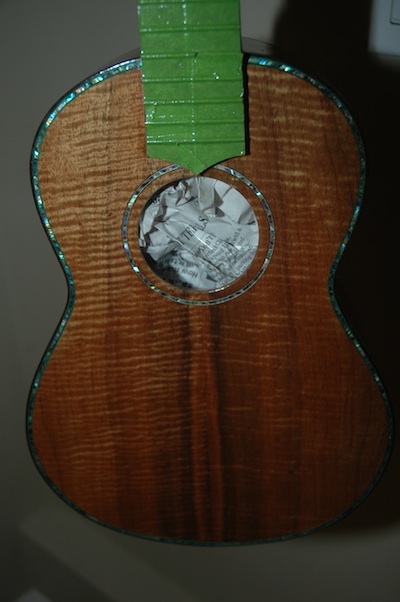
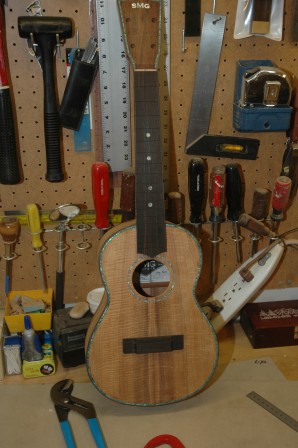
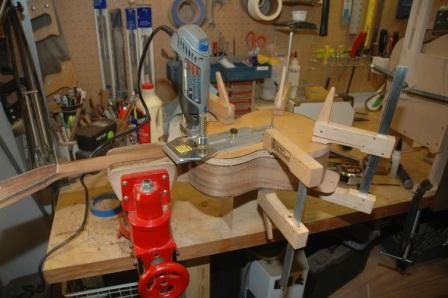
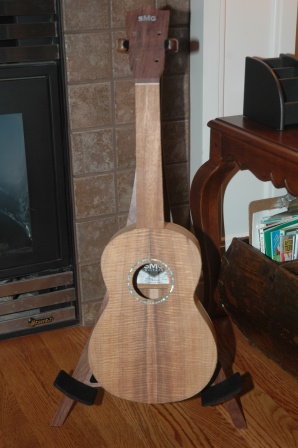
Four more days before we load the dog in the car and trek to SLC for family Thanksgiving.  I’ve finished applying the lacquer and have started knockdown.

111119knockdown

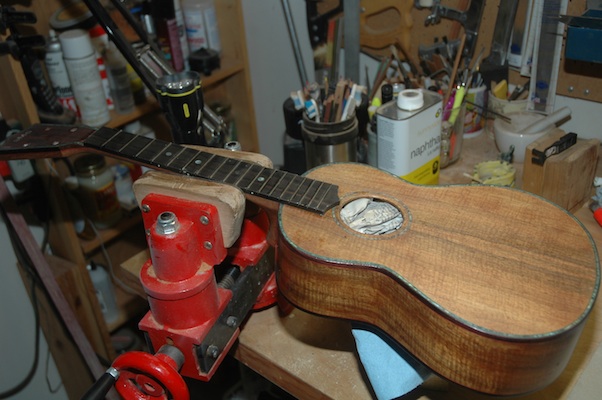
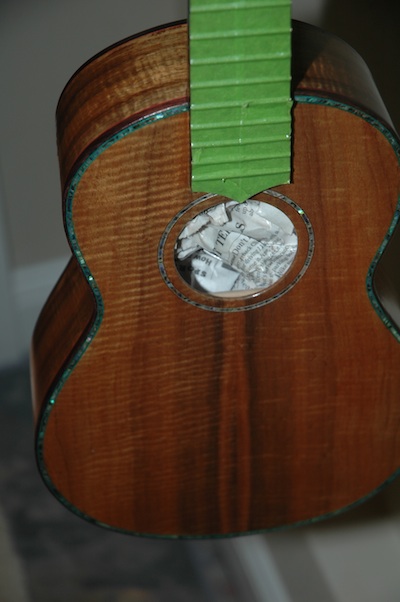
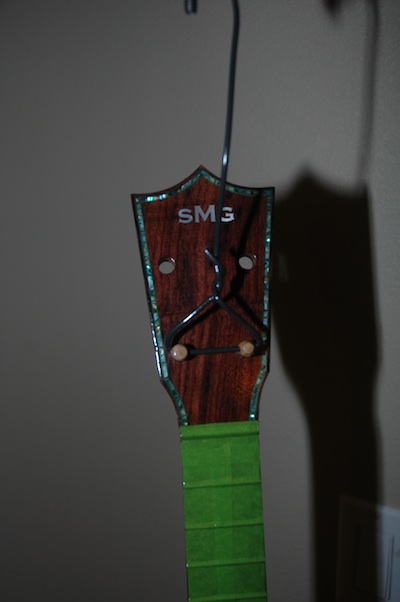
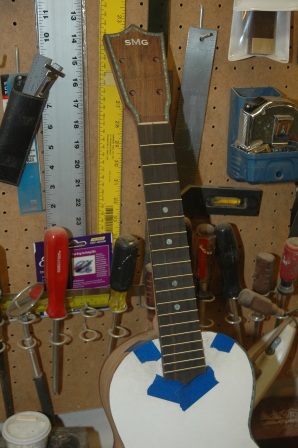
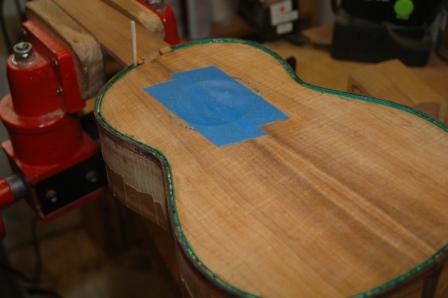
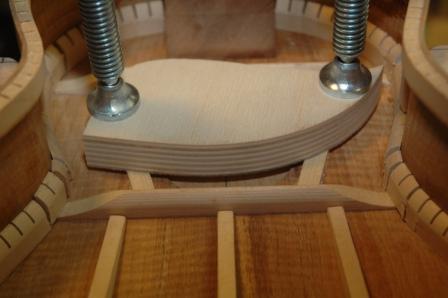
The lacquer is still a wee rubbery, but hell, I can’t let that stop me.  440, then 800 grit on a sanding block, and I have the top and the headstock knocked down.  I finished with 1200 grit wet sanding, then buffed (top only) in preparation to mount the bridge.  I figure I can mount the bridge, and while it is clamped up, I can proceed to knockdown the rest, clean up the fretboard, and start to shape the nut and saddle.

111119bridge

I’m absolutely sure this will be a playable uke by Tuesday, and it will ride with us to SLC.

Uke Lacquer – Uke Cure – Myrtle Join

November 6, 2011

Devin dropped by today and we polished up his frets, nut, saddle, and installed a pickguard.  Looks like it’s really done.

I’ve been applying lacquer to the Bubinga Uke and the Koa Uke.  The Bubinga is fully lacquered and is sitting in cure mode for a couple of more weeks.

111106curing

The Koa uke has 16 coats, and I think 24 will be the cat’s pajamas.  I should be able to get the 24 applied by Tuesday evening.

111106coat16

Between lacquer applications (wait one hour please) I’ve been bracing the Myrtle Parlor (for Rachel) and I joined the back plates.

111106myrtlejoin

111106myrtlejoint

I’m liking this myrtle, and it seems like it will be nice to work on.  It planed easily while preparing the plate joint.

Uke Lacquer – Fretboard Markers – Lava Light

November 30, 2011

Let’s start with the Lava Light.

111030lavalight

After William left for UW, several items which I coveted were left behind.  Lava Light (or Lamp)!

I mapped out a schedule for the completion of Uke 1101, and it is possible to complete before I go to Salt Lake for Thanksgiving.  It will be a bit tricky to continue working on the uke while the lacquer is curing.  Today, I finished the 8th coat of lacquer, with an intention of putting on 20 coats.  Tomorrow I’ll add 4 more coats.  Coincidentally, I am adding coats to the Bubinga uke, and after tomorrow’s application, it will have 24 coats.

111030backlacquer

This is the back of the Bubinga.

111030toplacquered

111030headlacquer

Between coats I attached the fret markers to the Hybrid’s fretboard and the Thorn and Vine to 1202 (Bob).  The shell is glued to the surface with white glue.  I will score a border around the glued shell, then pop off the shell in preparation for routing a channel.

111030thornandvine

Neck jig – Box balloon

July 9, 2011

Just a heads up on a few new jigs/techniques.  In order to keep dust and such out of the box during final sanding and prep, I blew up a balloon while dangled in the box, then tied it off.

110709balloon

I am now using a recently completed neck shaping jig.  It’s just a vise mounted platform that allows me access to shave and shape the neck.

110709neckjig

Uke 1101 – Frets

June 19, 2011

Sanded the fretboard smooth down to 220 grit.  Pounded in frets and trimmed.

110619frets

Uke 1101 – Fretboard Installed

May 28, 2011

Using the rubber band/index pin method, the fretboard has been installed.

110528fretboard


Uke 1101 – The Naptha Preview

May 4, 2011

There’s a little known trick of the luthier (OK, everybody knows it).  It’s called the Naptha Preview.  Before final sanding and finishing with lacquer, you clean off the instrument with a naptha bathed cloth.  It brings out the color of the wood that will appear with lacquer application and points out any spots where there’s still glue that needs sanding (the glue spots won’t absorb the lacquer).

So before I set the uke aside to finish Guitar 1001, here’s the Naptha Preview.

110504napthaback

110504napthafront

Uke 1101 – Bound and Purfled

May 1, 2011

First thing this morning I took my little finger plane and smoothed the headstock down.

110501headscraped

Since this little uke has a spanish heel, I need to route out binding channels between the top and the neck which can’t be reached by the bearing router bit.  I improvised with my dremel circle cutting jig mounted on a plate clamped to the body.

110501bindingjig

This worked well, and I proceeded to install the binding and purfling.  The bent binding came out of the bending machine almost perfect.  I only had to add a little more bend via the bending iron before proceeding.

First, the top binding and purfling was installed.  This side will also have abalam purfling, so the initial install uses teflon to create the channel to accept the abalam.

110501topteflon

The back only has a small accent strip for the purfling.  I’ve used red to trim the binding at the sides, green for the top, and blue for the back.  Oooh, lots of different colors sure is fun.

110501backbinding

Once the glue for the top dried, I removed the binding tape and the teflon, inserted abalam and flooded with CA glue.  Flooding will be several steps until the channel is filled and the CA glue (dried) is flush with the top.  The abalam actually rests below the surface of the top.

110501toppurfling

I’ve constructed a rosewood heel cap that will drift into the body at the back, which I will install after the CA glue dries.

Uke 1101 – Taking Form

April 26, 2011

It’s a uke!

110426ukefront

110426ukeback

Uke 1101 – Kerf, Patch, Spool

April 26, 2011

Got a lot done today between printing lesson plans and teaching 9th graders how to divide exponents.  I planed and radius sanded the back until it was in shape to accept kerfing.

110426kerfback

Lots to do on the inside before gluing on the back.  Side reinforcements go in, three to a side.

110426sidesupports

The soundhole needs to be reinforced with two spruce braces.

110426soundholepatch

The ladder bracing on the back was trimmed back, and a label was secured to the back as well.  The soundhole is too small to get my fat mitts into to glue in the label, which is what I usually do with guitars.  The back was trimmed down at the waist to accomodate a clamp to press in against the side waist to square up the sides.

110426squarewaist

The back is glued to the kerf and held down with spool clamps.

110426backspooled

Later tonight, after the glue dries, I’ll flush up the sides and it will appear to be a ukulele.

« Prev - Next »