Uke 1101 – Dorky Day!
April 17, 2011
I always wanted to celebrate Dorky Day. So today, I am. See The Fan Man for more background.
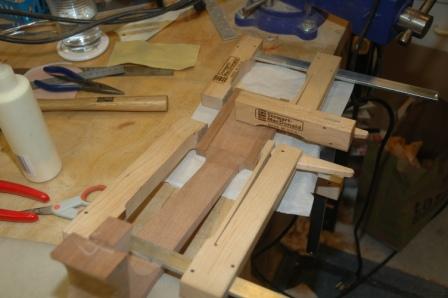
Anyway, aside from Dorky Day, today was work on the uke day. The mold for holding the sides is only that: a holder of the sides until ready to mount to the top and neck. I’m trying a little experiment, which may or may not prove worthwhile. Since I experienced a bit of cracking of the sides when I was inserting into the mold, I wanted to ensure that further cracking wouldn’t occur. I glued in the heel block and a “plug” on the neck end to hold the sides together as I pulled them from the mold to transfer to the workboard. The plug on the neck side is smaller than the width of stock I’ll need to remove to fit into the spanish heel slots.
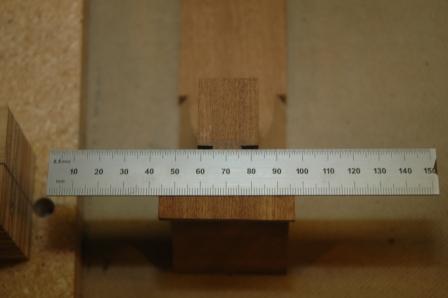
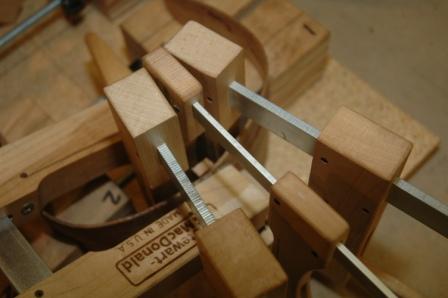
You can see the top of the plug insert sticking up between the clamps. This is glued to the sides. When I am ready to install the sides to the neck and top, I can use this plug as the guide for how much stock to remove before inserting into the spanish heel slots. And, it will hold the sides in place as I remove them from the mold.
This holds true for the butt end as well. In addition to gluing in the heel block, I added a plug (or patch) to the sides not covered by the heel block.
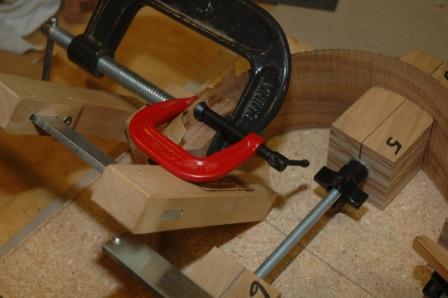
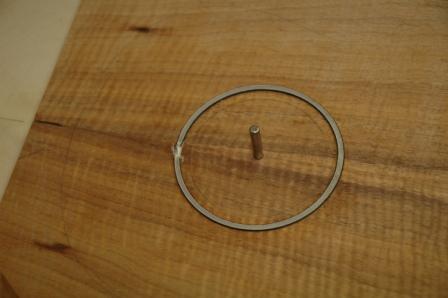
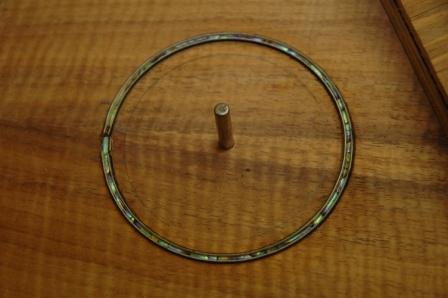
To kill idle dry time, I installed the rosette for around the soundhole. This is an example of using teflon strips which are removed after the glued purfling dries, then inserting abalam and flooding with CA glue.
I further tapered and shaped the neck in preparation for installing to the top, and added ears to the headstock to accomodate whatever shape I decide to put it in.
tom on 20 Apr 2011 at 6:00 pm #
link to the Fan Man no worky…. I’m always interested in what’s going on in the dork world.