Uke 1101 – Bound and Purfled
May 1, 2011
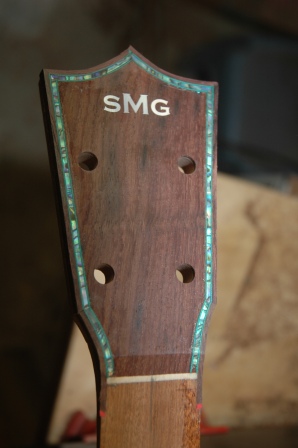
First thing this morning I took my little finger plane and smoothed the headstock down.
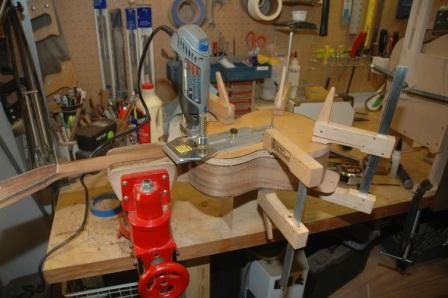
Since this little uke has a spanish heel, I need to route out binding channels between the top and the neck which can’t be reached by the bearing router bit. I improvised with my dremel circle cutting jig mounted on a plate clamped to the body.
This worked well, and I proceeded to install the binding and purfling. The bent binding came out of the bending machine almost perfect. I only had to add a little more bend via the bending iron before proceeding.
First, the top binding and purfling was installed. This side will also have abalam purfling, so the initial install uses teflon to create the channel to accept the abalam.
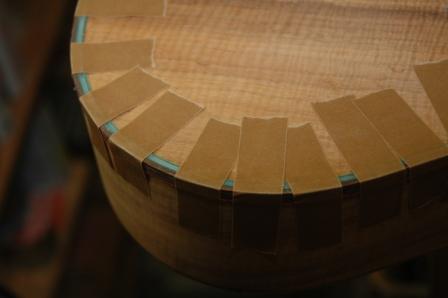
The back only has a small accent strip for the purfling. I’ve used red to trim the binding at the sides, green for the top, and blue for the back. Oooh, lots of different colors sure is fun.
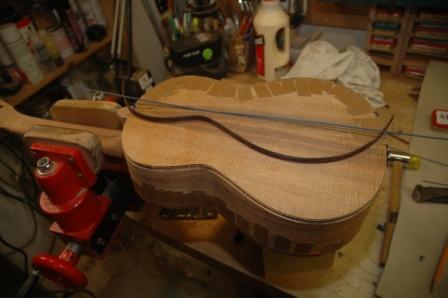
Once the glue for the top dried, I removed the binding tape and the teflon, inserted abalam and flooded with CA glue. Flooding will be several steps until the channel is filled and the CA glue (dried) is flush with the top. The abalam actually rests below the surface of the top.
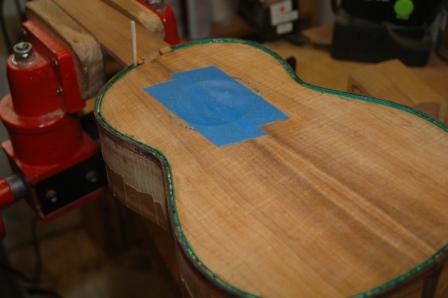
I’ve constructed a rosewood heel cap that will drift into the body at the back, which I will install after the CA glue dries.