Guitar 804 – Top and back braced
September 28, 2008
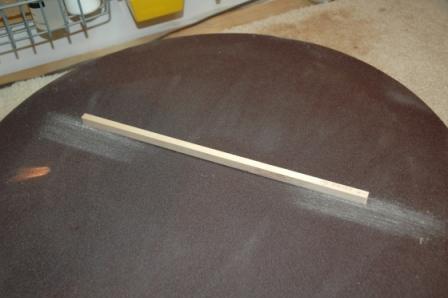
This weekend I completed the bracing of the top and back. Used my sanding machine to shape the braces and am very pleased with the outcome. Last time I mounted raw braces (after radiussing) and chiseled them to shape. This time I shaped the braces to a sharp peak using the belt sander after using the Luthier’s Friend to taper the ends.
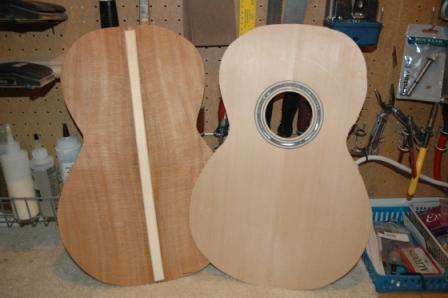
First step was to install the back strip, then cut out the space for the back braces.
Then I radiussed the bottoms of the back braces to 15′ and the x-braces for the top to 30′ using the contour dishes.
Glued in the back braces in the go-bar clamping deck.
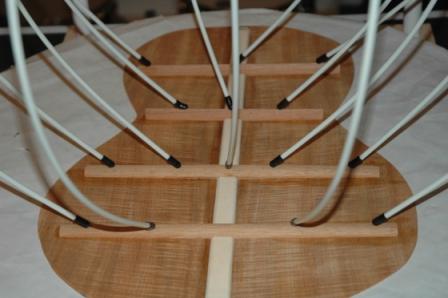
Did my best to square up all the braces, but they came out a skosh askance.
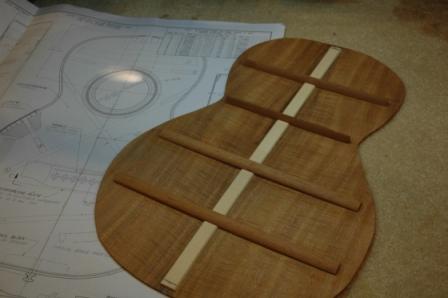
Just finished gluing in the top braces. Only the x-brace is radiused. The bridge plate is dry fitted until I can free up some go-bar rods after the top brace glue dries (later tonight).
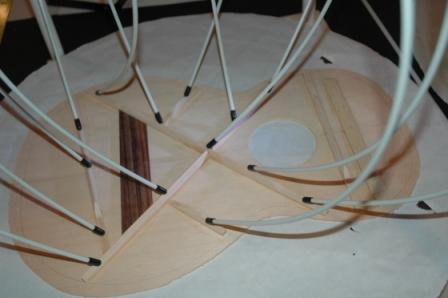
You can see that the Parlor has far fewer braces than the OM as it is a smaller footprint. I’m going to shave all braces down to zero as they approach the kerf line. The small size won’t require as much brace strength, and I think the tone will improve with less brace material.