Guitar 0208 – Early April 2008
April 1, 2008
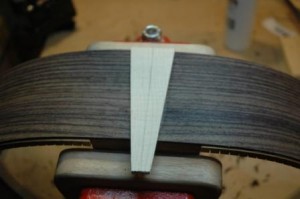
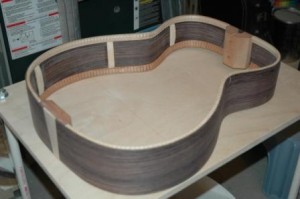
After radiusing the top, I left the guitar on the 30′ dish and started the block plane process of bringing down the back sides to the 15′ radius (roughly). I taped the approximate depth on each side so not to over plane. I was very nervous about the planing as I have never performed this step. I took my old trusty Stanley block plane and cleaned it up and used my new Japanese wet sharpening stone to put a fine edge. This did the trick and the planing went very well. Using the 15′ dish to check for daylight, I continued to plane until I got it just so. Radius sanded (and the superglue fix to the sides at the end block held firm) to prepare for kerfing.
Spruce kerf for the top, mahogany for the back. I also had the lame idea to use scrap from my headstock to make side braces, but the material proved to be too brittle and broke when I tried to sand. Reverted to using spruce stock from my bracewood block.
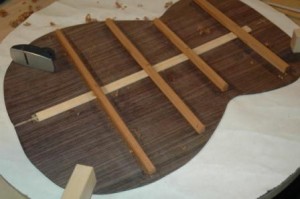
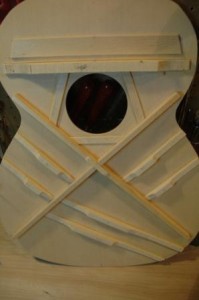
Used the bandsaw to cut out bracewood blanks. I had a 15′ radius pair of spruce for X-bracing from my last kit that I used for the X-bracing for the top. Did a lot of presanding the top braces and installed as I went along. The photo shows some of the bracing installed in preparation for the bottom bout braces.
I stumbled across a piece of scrap marble at a stone supply place in Georgetown, free. It’s 1′ x 2.5′ which I will use to mount sandpaper for fine sanding of the remaining braces, and for a surface to apply frets to the fretboard. I’ll also sharpen up my finger plane for final brace shaping. (April 10, 2008)
Worked in the end piece, maple, and was very careful this time as my last guitar got whacked with my saw and left dimples. Used the sandpaper under the fence block and sawed on the inside, knowing when the saw slipped it would gouge the side wood which was going to be removed. Worked like a charm. Chiselled out the rosewood in the direction toward the wide end so as not to flub into the finish rosewood. Glued (using the LMI glue, as this will accept finish, and the recommended finish isn’t compatible with Titebond) in the wedge, tapped it flush from the wide side, and it appears to be a rock solid fit.
Finished bracing the top, and I got overzealous with shaping the braces with the bandsaw, and I think I have a monster shaping and sanding task ahead. Yikes.
April 13, 2008
I’ve put a long weekend into construction. A word of wisdom here. Top braces shouldn’t be band sawn so deep. I’ve left very little to work with. Also, I mounted the back braces before sanding down all 4 sides nicely. Even though it worked out really well to mount the back braces in their square shape, then shape them down with the finger plane, I should have really smoothed them up before gluing down.
I used the method of gluing down the back center strip then gouging out the space to accept the braces, but I still gouged too much, leaving space between the back braces and the center strip. This is a cosmetic problem, but I’ve got to be more accurate.
I was very pleased with the final shaping of the back braces. I used a sharpened finger plane to round and the curved chisel to trim the ends down to the tapered end, the thickness of the back. I was lazy and in order to use less back brace wood, ended up leaving the brace lengths a little short. It manifested itself only on the top brace where one side wasn’t long enough to pass into the kerfing of the back. I also didn’t gap the slots in the kerfing to accept the back braces very well, leaving some messy openings. I will fill those gaps with epoxy and some mahogany dust, but next time around I should get them right the first time, by gapping too small and working to the full but snug width.
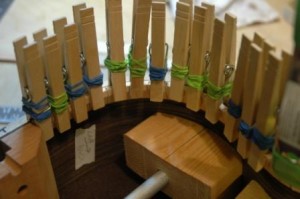
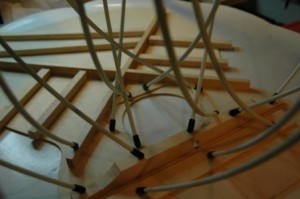
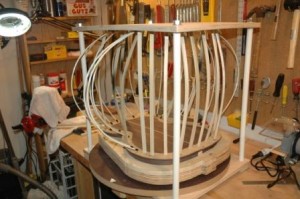
Bought some poplar slats and cut them down to use as go bars. This was a good attempt, but I’m not sure the poplar was the right choice. I ended up cutting them in two lengths to accommodate the varying height of the guitar box from longer at the neck end to shorter at the bottom end. I cut them about ½” longer than the gap between the back of the guitar mounted on the sides and the top of the go bar roof. Still I had some too short, and snapped a few, and they stayed warped after I used them, telling me they might not be the right material.
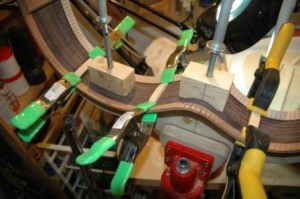
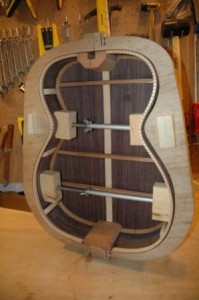
I cut a back shaped caul out of masonite with the center removed to accommodate the back bulge. I dry clamped for a test run and made sure no daylight between the sides and the back. Not 100% on center with the back, as there was some non centered end block issues. Did my best to center the back purling with the center of the maple end wedge and the neck block/meeting of the sides, so I think externally it will be right, but the end block may be a little off center inside. You’ll never know.
Removed the go bar clamps, checked the inside, and everything looks copacetic. Flush routed the back to the sides, and radius sanded the top in preparation for gluing the top down. I still need to figure out how I’m going to recover from over sanding the neck block on the top side. I’ll need to either open the slot deeper or take some material off the neck. And…I’ll have to relocate or open up the holes for the truss rod adjust and the neck bolts. Yuck.
The amazing overzealous bandsaw method of brace preparation. Take a look at brace #3 (right top side brace) to see sharp angle left from band saw shaping. I will have a lot of work to get these looking good, let alone keeping enough material to ensure good top bracing. Maybe I’ll stumble upon the definitive sound. I’ll shape and sand the braces before installing the bridge backing. Before gluing the top, I will cut out the side wood covering the neck slot.
Susan Rawson on 26 Apr 2008 at 10:49 am #
Awesome! Emily asked if you had a job. I told her that you were building guitar’s for entertainment and enjoyment and that, yes, you had a “real” job. Looks like you are enjoying learning how to craft a guitar….fun! Love to you and your peeps!