Guitar 802 Gallery
May 8, 2009
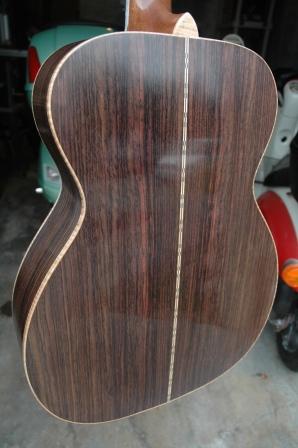
I visited my daughter Rachel in NYC last week and helped her pack up all her dorm stuff for returning home this week. We packed boxes for shipping, extra luggage for my flight home, and her guitar, my second one built, the Rosewood OM. To my chagrin, the bridge had come loose, and thankfully, my guitars have a lifetime guarantee (my life that is).
I brought it back home, removed the bridge, added 1mm of ebony to the bottom side to bring it higher, and reglued. The neck angle on this guitar was a wee bit steep and I had to compensate with a tall saddle. I think a combination of tall saddle (greater sheer force on bridge) and insufficient glue created the pull up on the bridge. By adding 1mm of ebony to the bottom of the bridge I was able to reduce the saddle height to lessen the sheer force. It’s settling, but once I restring I’ll see if the thicker bridge has any adverse effect on tone.
August 21, 2008
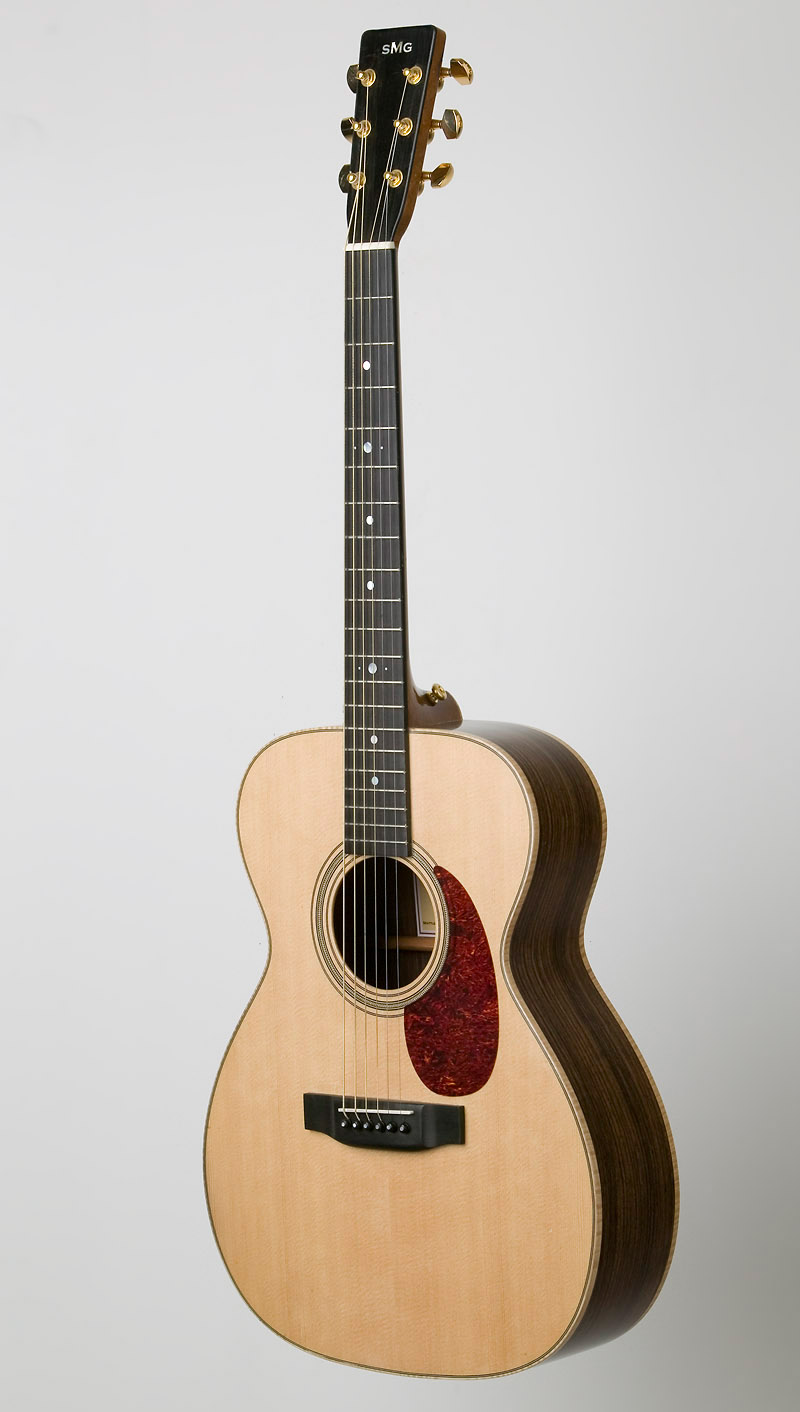
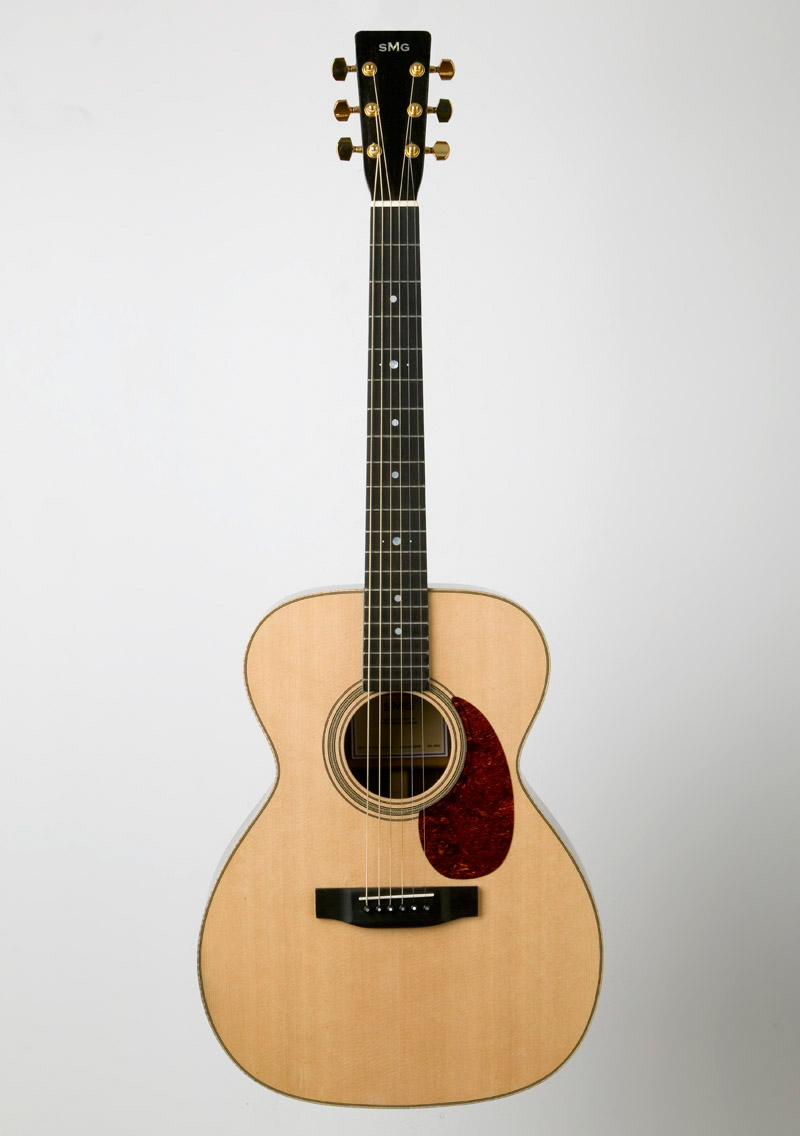
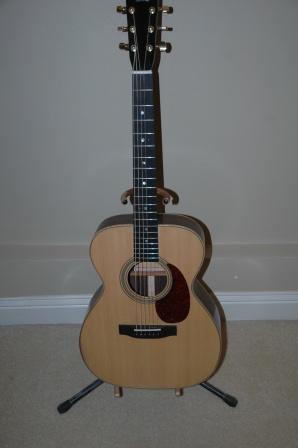
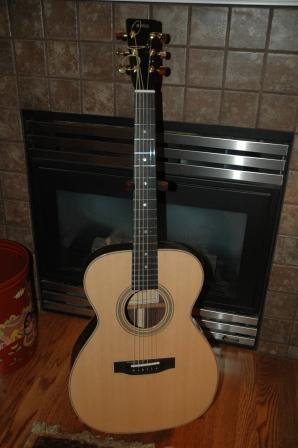
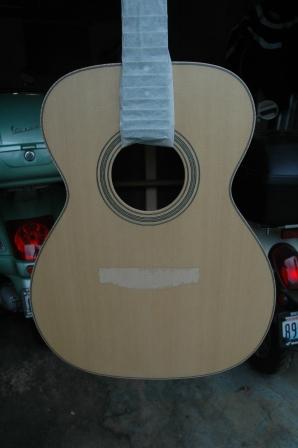
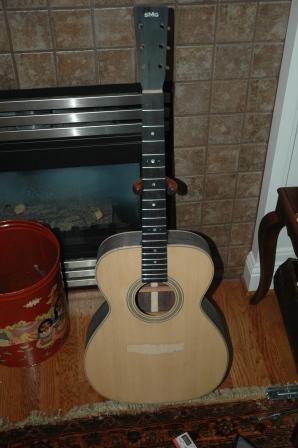
5 months after starting my second guitar, I’m essentially finished. I’ve got to clean up some polishing dust, trim back the nut a little on the treble side, and install a strap button on the neck heel. But, I raised the bridge a skosh, polished the frets, laid down a little lemon oil on the ebony, strung it back up……..and it plays beautifully. Yes, the sound is different than my D-35 and the OOO, but, I’m very pleased with the results. I think it truly could be a bit bolder, but I attribute that to leaving a bit too much material on the braces. And I mean, just a bit. I don’t have the opportunity to go back and shave extra material from this guitar, or Larry’s OM Maple, but I will certainly move more toward the petite on the Parlor.
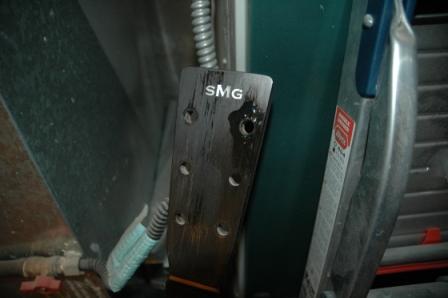
As I mentioned, I decided to give this one to my daughter, and to her, it’s a damn sight better than the Stella she learned on. I’m partial to the “learn on a Stella” path, as that is exactly how I started playing guitar 43 years ago. Rachel can’t wait to return to school (NYU – Tisch) and take her new sMg guitar with her. She’s pleased, I’m pleased, so pleeeeaase…..love me do, oh oh, love me do.


August 20, 2008
Well, after much polishing, fret levelling, bridge slotting, saddle shaping, and stringing I now have a completed guitar. But…the neck angle is seriously wrong, and even with the monster tall saddle, the strings are too close to the frets. I can alleviate it further by installing an even taller bridge, or adding a shim underneath. I’m going to give the strings a bit of time to settle in before I raise the saddle and before I announce my feelings about the sound. Suffice it to say, it’s not as nice and full sounding as my OOO. But because the strings buzz right now, I’m not really banging on it to test drive the drive.
August 14, 2008
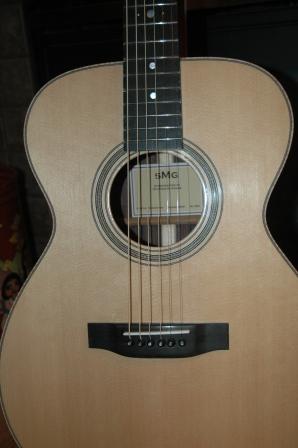
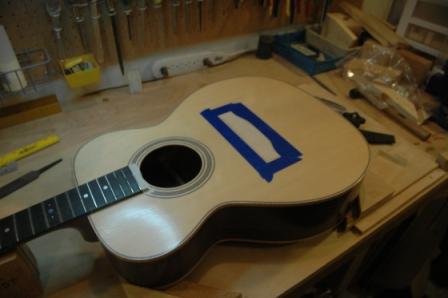
After fret levelling, carefully measured and positioned bridge. Held bridge tightly against top while scoring line around perimeter with Xacto knife. Laid down several layers of tape to create bed for the bridge.
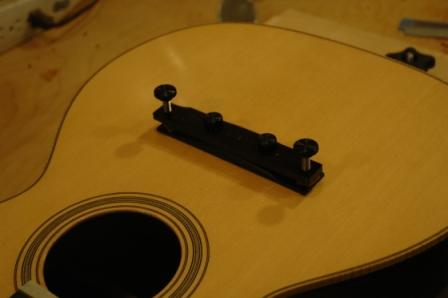
Received a Fox Bridge Clamp from LMI today. After clamping bridge in place with newly minted caul underneath, drilled out the two outside pin holes, through bridge plate. Removed clamps, and caul, sanded and roughed cavity inside tape lines, then removed the tape. Applied glue to top and back of bridge and set in place over newly drilled holes. Attached bridge clamp, and removed glue squeeze out.
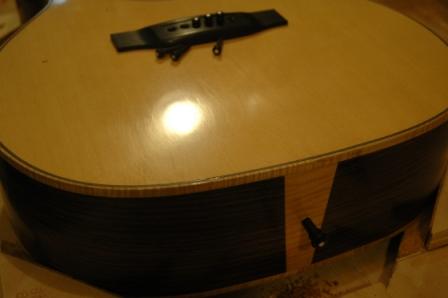
Waited 20 minutes then scraped remaining glue squeeze out as it turned harder and more like leather. After several hours of drying, removed the clamp, reinstalled and clamped the under bridge plate caul, and drilled out the remaining string peg holes. Measured center on the butt block and drilled for the end pin.
Tomorrow I will ream out the pin holes, saw string grooves in the bridge and install new high saddle (neck set is a little “down”). I’ll crown the levelled frets, shape the nut, slot for strings, install tuners and take a first check of the action/string height.
I still need to go back and do one more round of wet sanding and buffing after the first round of string install. The headstock should be cured enough to sand and buff.
August 9, 2008
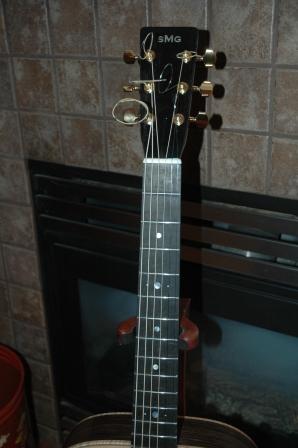
Sanded all the way to 1000 grit wet, then used Larry’s auto buffer to do the medium then fine polishing. Essentially, the buffing looks great. There’s still some streaks and dimples, but I think one more buff cycle will bring it down to mirror smooth.
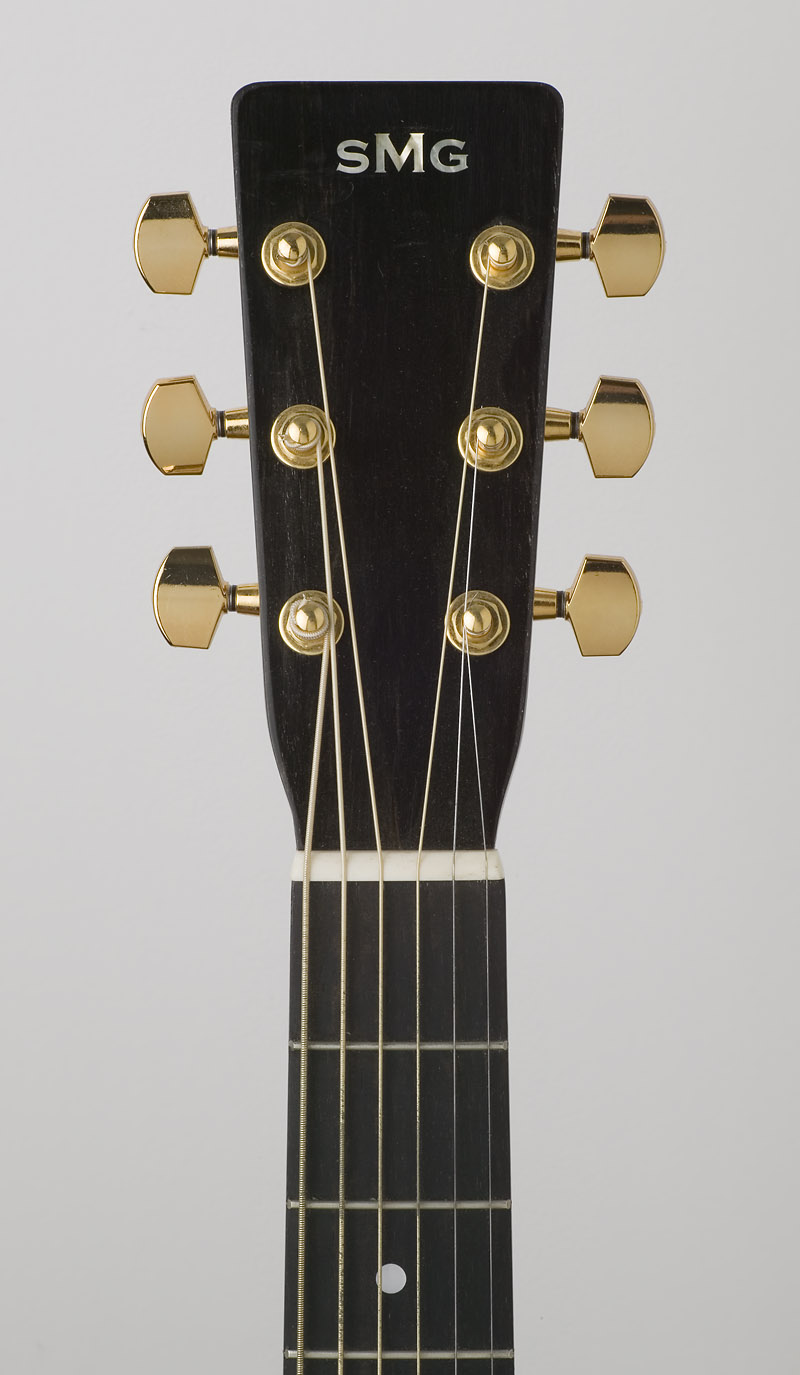
The headstock, although, got buffed through to the wood. Applied 9 coats of nitrocelulose to recoat. I’ll have to let this cure for at least a week until I sand and buff. In the meantime, I can start the fret levelling and prepping for the bridge install.

August 2, 2008
Finished the jig/vise which I will use to hold a guitar body upright. I built this in anticipation of having to sand the rim to smooth down flat before buffing.

I added a radius to the boards to compensate for the arch in the top and back.
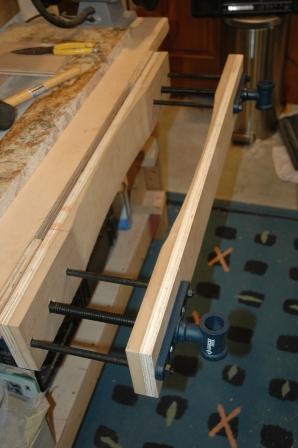
The braces under the bench were 3/4″ too close to the bench top, so had to add a filler piece between the bench and the vise boards.
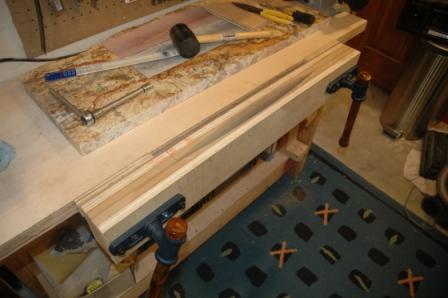
Finished it up by gluing carpet pieces to the inside for protection of guitar surface when clamping into vise.
It’s a nice day out today, so rather than use my newly crafted vise, I sat outside and held the guitar in my lap while I ran 600 grit sandpaper over the guitar, getting down to the brush stroke channels, and removing drips and dribble streaks. Next, 800 grit, then 1000/1200 wet sanding before I try out the buffer. I’ll definitely use the new vise for the buffing operation.
August 1, 2008
I’ve got to finish this second guitar. I have promised to give it to my daughter Rachel, and I have been avoiding the task of sanding and buffing the finish. I’m at the point where I need to secure the guitar so I can dig into the rim/sides. I decided to build a bench mounted vise much like the one I saw at Charles Fox’s workshop.
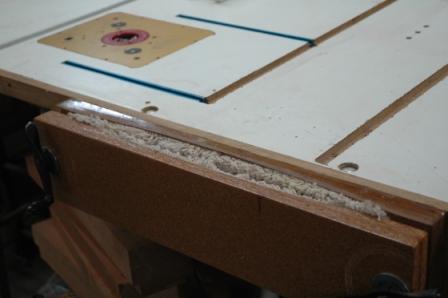
I purchased two 7″ hardware kits, essentially press screws on plates, and attached radiused boards like in the photo, and will mount to my small workbench against the west wall. Once I get it installed, I’ll post a photo.
July 13, 2008
I’m repeatedly filling the headstock chipout with lacquer. I suspect I need to let it cure for a week before I attack with the sandpaper.
July 9, 2008
