Guitar 1002 – Sides Radiused, Back Installed

February 12, 2012

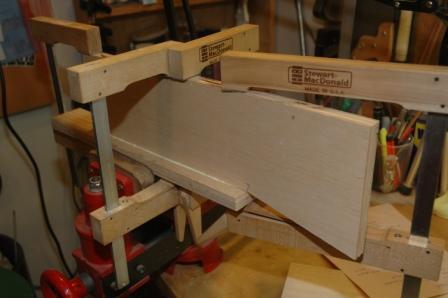
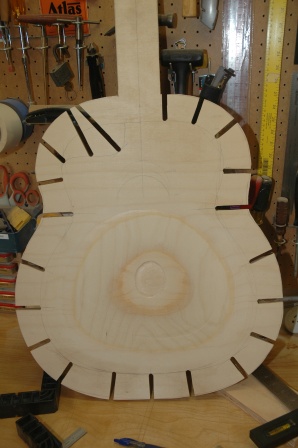
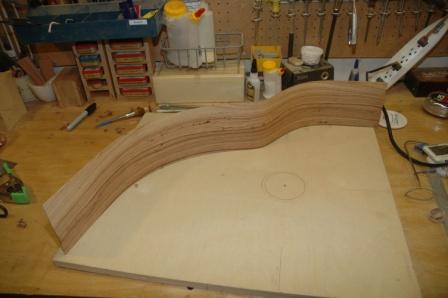
Before attaching the back to the sides, the sides need to be radiused to 15′.  This is done with a sandpaper covered dish.

120212preradius

The kerfed sides have been trimmed down to the approximate dimensions, then the box, still attached to the workboard is sanded by rotating through the center point of the dish until flush.

120212radiuscheck

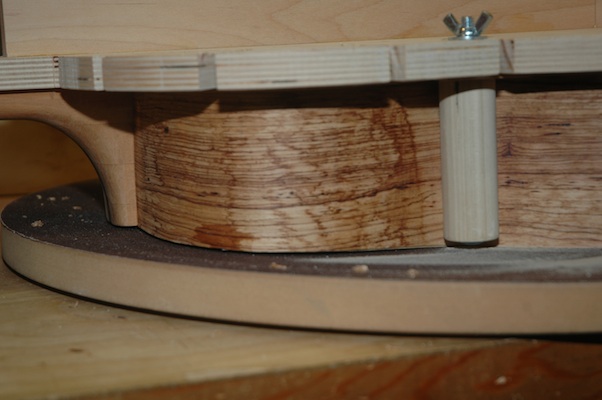
A gap between the upper bout and the dish is shown.  The staining on the sides is from the bending process, and goes away after sanding.

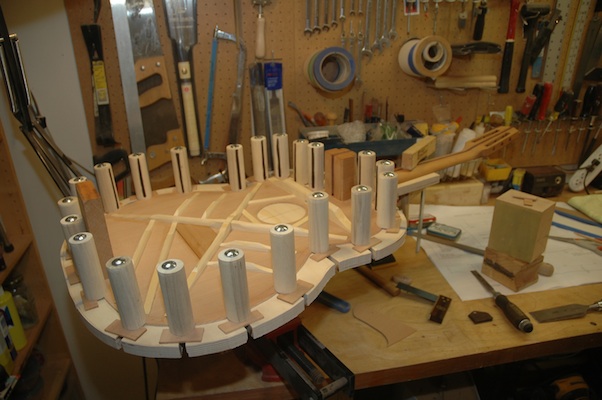
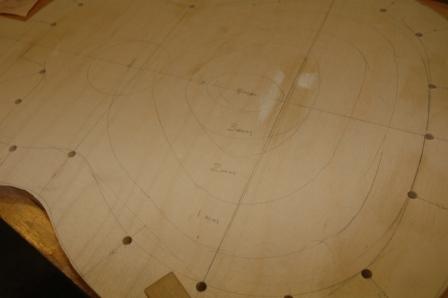
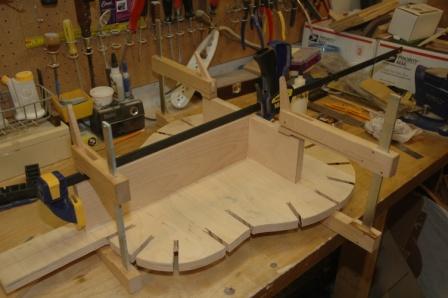
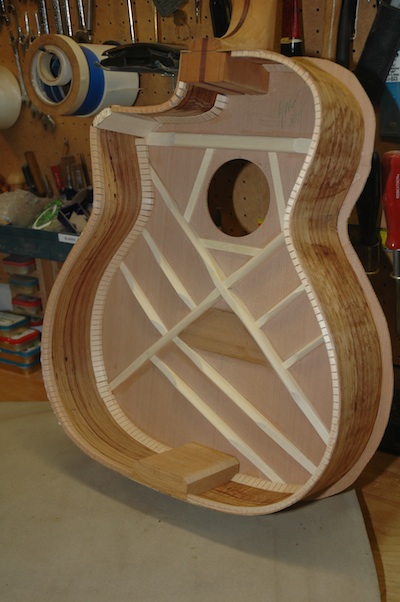
Once the gaps have been closed, the back is dry fit on the sides to check for the location of the bracing, where the sides and kerf must be relieved so the bracing fits “under” the kerf.

120212fitprepback

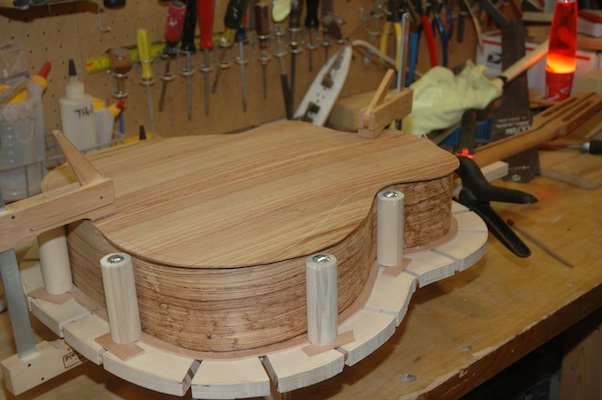
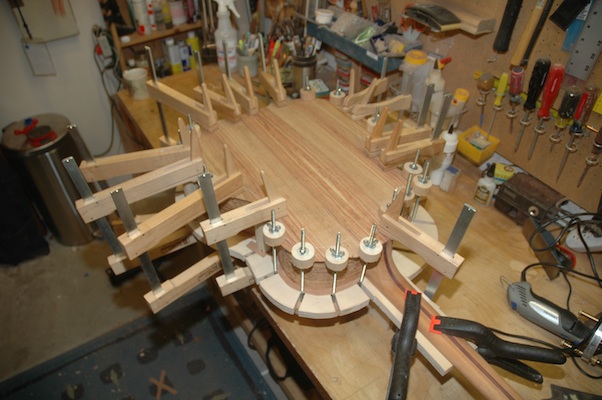
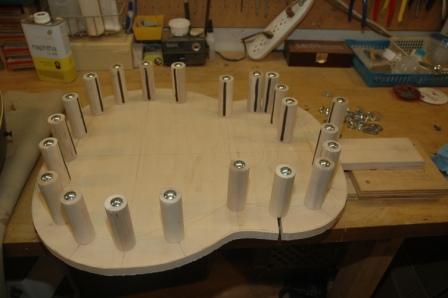
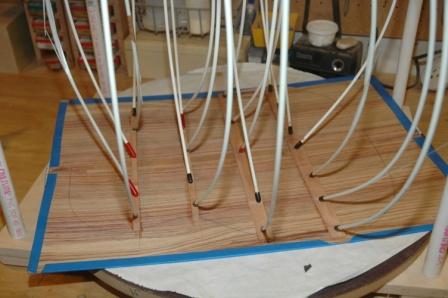
After a round of dry fitting the back to the sides with spool clamps, glue is applied to the kerf and the back is attached.

120212backdetail

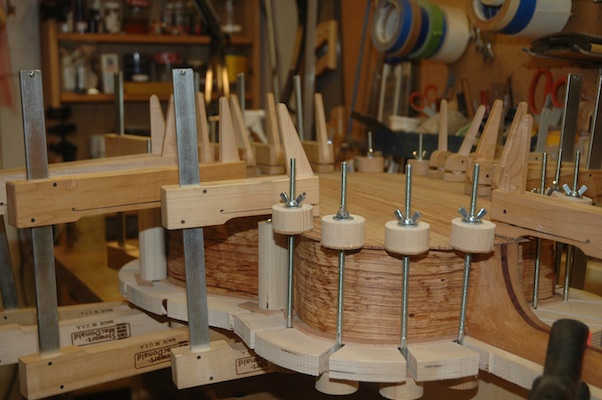
The clamps will stay for several hours before removed, then the scarf can be removed with a router using a bearing flush cut bit.

120212backclamped

Guitar 1002 – Topside Workboard

January 22, 2012

I built this workboard several months ago.  It’s adapted from the workboard I used for the ukes and examples I’ve seen at luthier suppliers.  The next step is to shape and dimension the butt block then glue it in place in preparation for the attachment of the sides.

120122topworkboard

Jigs and Workboards

June 20, 2011

Working on jigs and workboards today.  I’ve decided to create a neck shaping jig, simply a platform to clamp the neck to so I can stick it in the vise and have clearance to shape the backside of the neck and heel.

110620negjig

I’ve continued to fine tune the Hybrid workboard.  First step was to hollow out the surface to a 28′ radius to compensate for the bridge area bulge.  I marked a few elevation lines as guides.

110620workboardtopography

I used a router with a rounded bit set to 4mm depth for the center, then dropping 1mm for each of the next elevation lines until the final shelf was routed to a depth of 1mm.

I used the table saw to complete the slots from the edges in toward the center where the dowel clamps go.

110620workboardslotted

Finally, a tripod stand was mounted to the back for resting on the workbench or clamping into the vise.

110620workboardstand

Guitar 1002 – Workboard and Back Bracing

June 10, 2011

I completed the side supports for the workboard for Guitar 1002.  The workboard is an alternative to the body mold which I have used for previous guitars.  As I’m using a Spanish Heel, the neck will be attached to the top plate before the sides are installed.  The workboard allows the top and neck to be secured.

110610workboard

Each dowel side support will be in a slot to allow adjusting the position to create the final and proper shape for the sides before gluing to the top.  I will also need to dish out the lower bout area of the workboard to accommodate the radius bulge of the top from the X-bracing.

I have rough cut all the bracing.  The top bracing will be spruce, and back bracing cedar.  The back bracing is radiussed to 15′ before gluing.

110610backbracing

Guitar 1002 – Side Bending Progress

April 21, 2011

The first bent side is out of the bending machine.

110421sidebent

The resulting bend is accurate yet not tight enough.  I’m resigned to the fact that I also need to apply more bend with the bending iron.

110421bendingiron

I’ve had limited success with the bending iron, mostly due to wood being too thick and preloaded with tiny cracks.  The machine bend of the first side did produce two minor cracks, which I filled with CA glue.  I took a first pass attempt at increasing the tightness of the bends with the bending iron, and found I could make some headway on tightening the bends and not introducing new or wider cracks:  all due to the nice .070″ thickness of the sides.

I will complete the hand bending just prior to installing the sides onto the work board, which is still under construction.

110421workboard

The workboard will be finished with sliding cauls along the outside border of the sides.  The sliding feature will allow me to use this workboard for dreadnoughts, OM’s and this Macaferri style body, along with others in between.

I usually build in a mold, which is only appropriate for guitars with dovetail or mortise/tenon bolt on necks.  The workboard is necessary for the spanish heel type construction.  This will all become obvious when I get to the step where the sides are glued to the top which has been attached to the neck.

I will have to provide a small radius bowl in the lower bout area of the workboard to accommodate radiussed X bracing.