Resumption

October 22, 2017

I have officially resumed building.  I retired in June from teaching and have ministering to the health care and benefits schlmazel that was necessary to make the transition from employment.  Now that I am enrolled in Medicare and supplemental insurance, I can get care for any workshop mishaps with sharp tools (both power and hand).

I have a parlor, an OM, a ukelele, and a Macaferri style guitar in the final stages of production.  I’m also mentoring my son, William, on the construction of a Stew-Mac faux Stratocaster. 

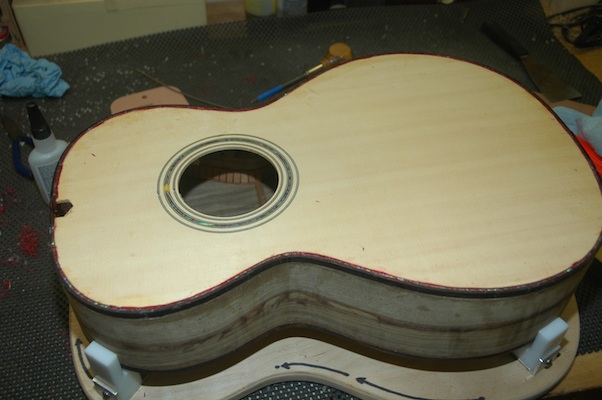
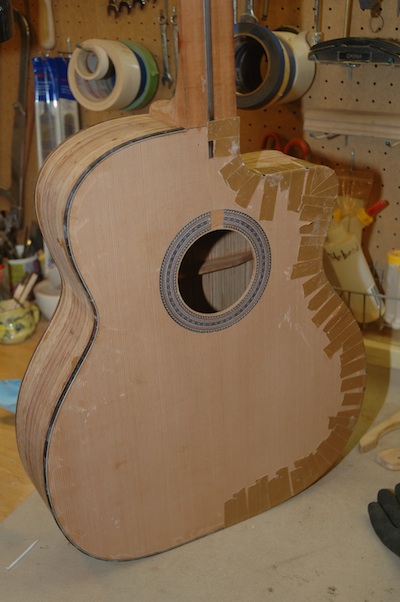
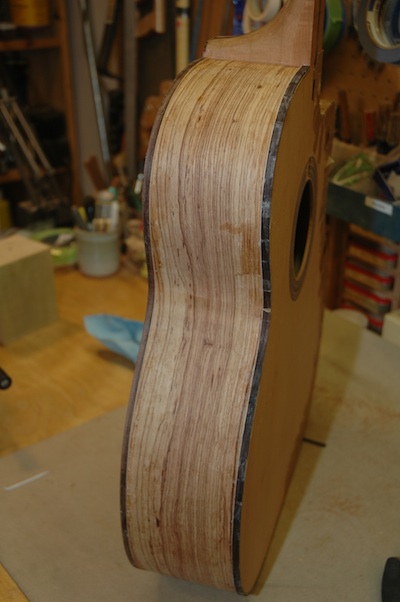
The parlor (aka 1201) and the OM (aka 1202) have experienced recent neck shaping and fretboard binding.  Most of my recent efforts have been relocating the materials, tools and jigs I use.  Mostly an effort in remembering where everything lives (which bin, which cupboard, which whatever?).  Example:  Last week I remember stumbling on a headstock template which I could use for 1202, yet, where is it?  I put things down, make a mental note, then have great difficulty finding my mental note in my mental cabinet and subsequently spend time swearing at myself. 

The upcomming challenge is to reset the neck for 1202 to remove the 14th fret bulge.  This will require careful chisel work.  I must confess my chisel work is still rudimentary; not at the skill level to which I aspire.


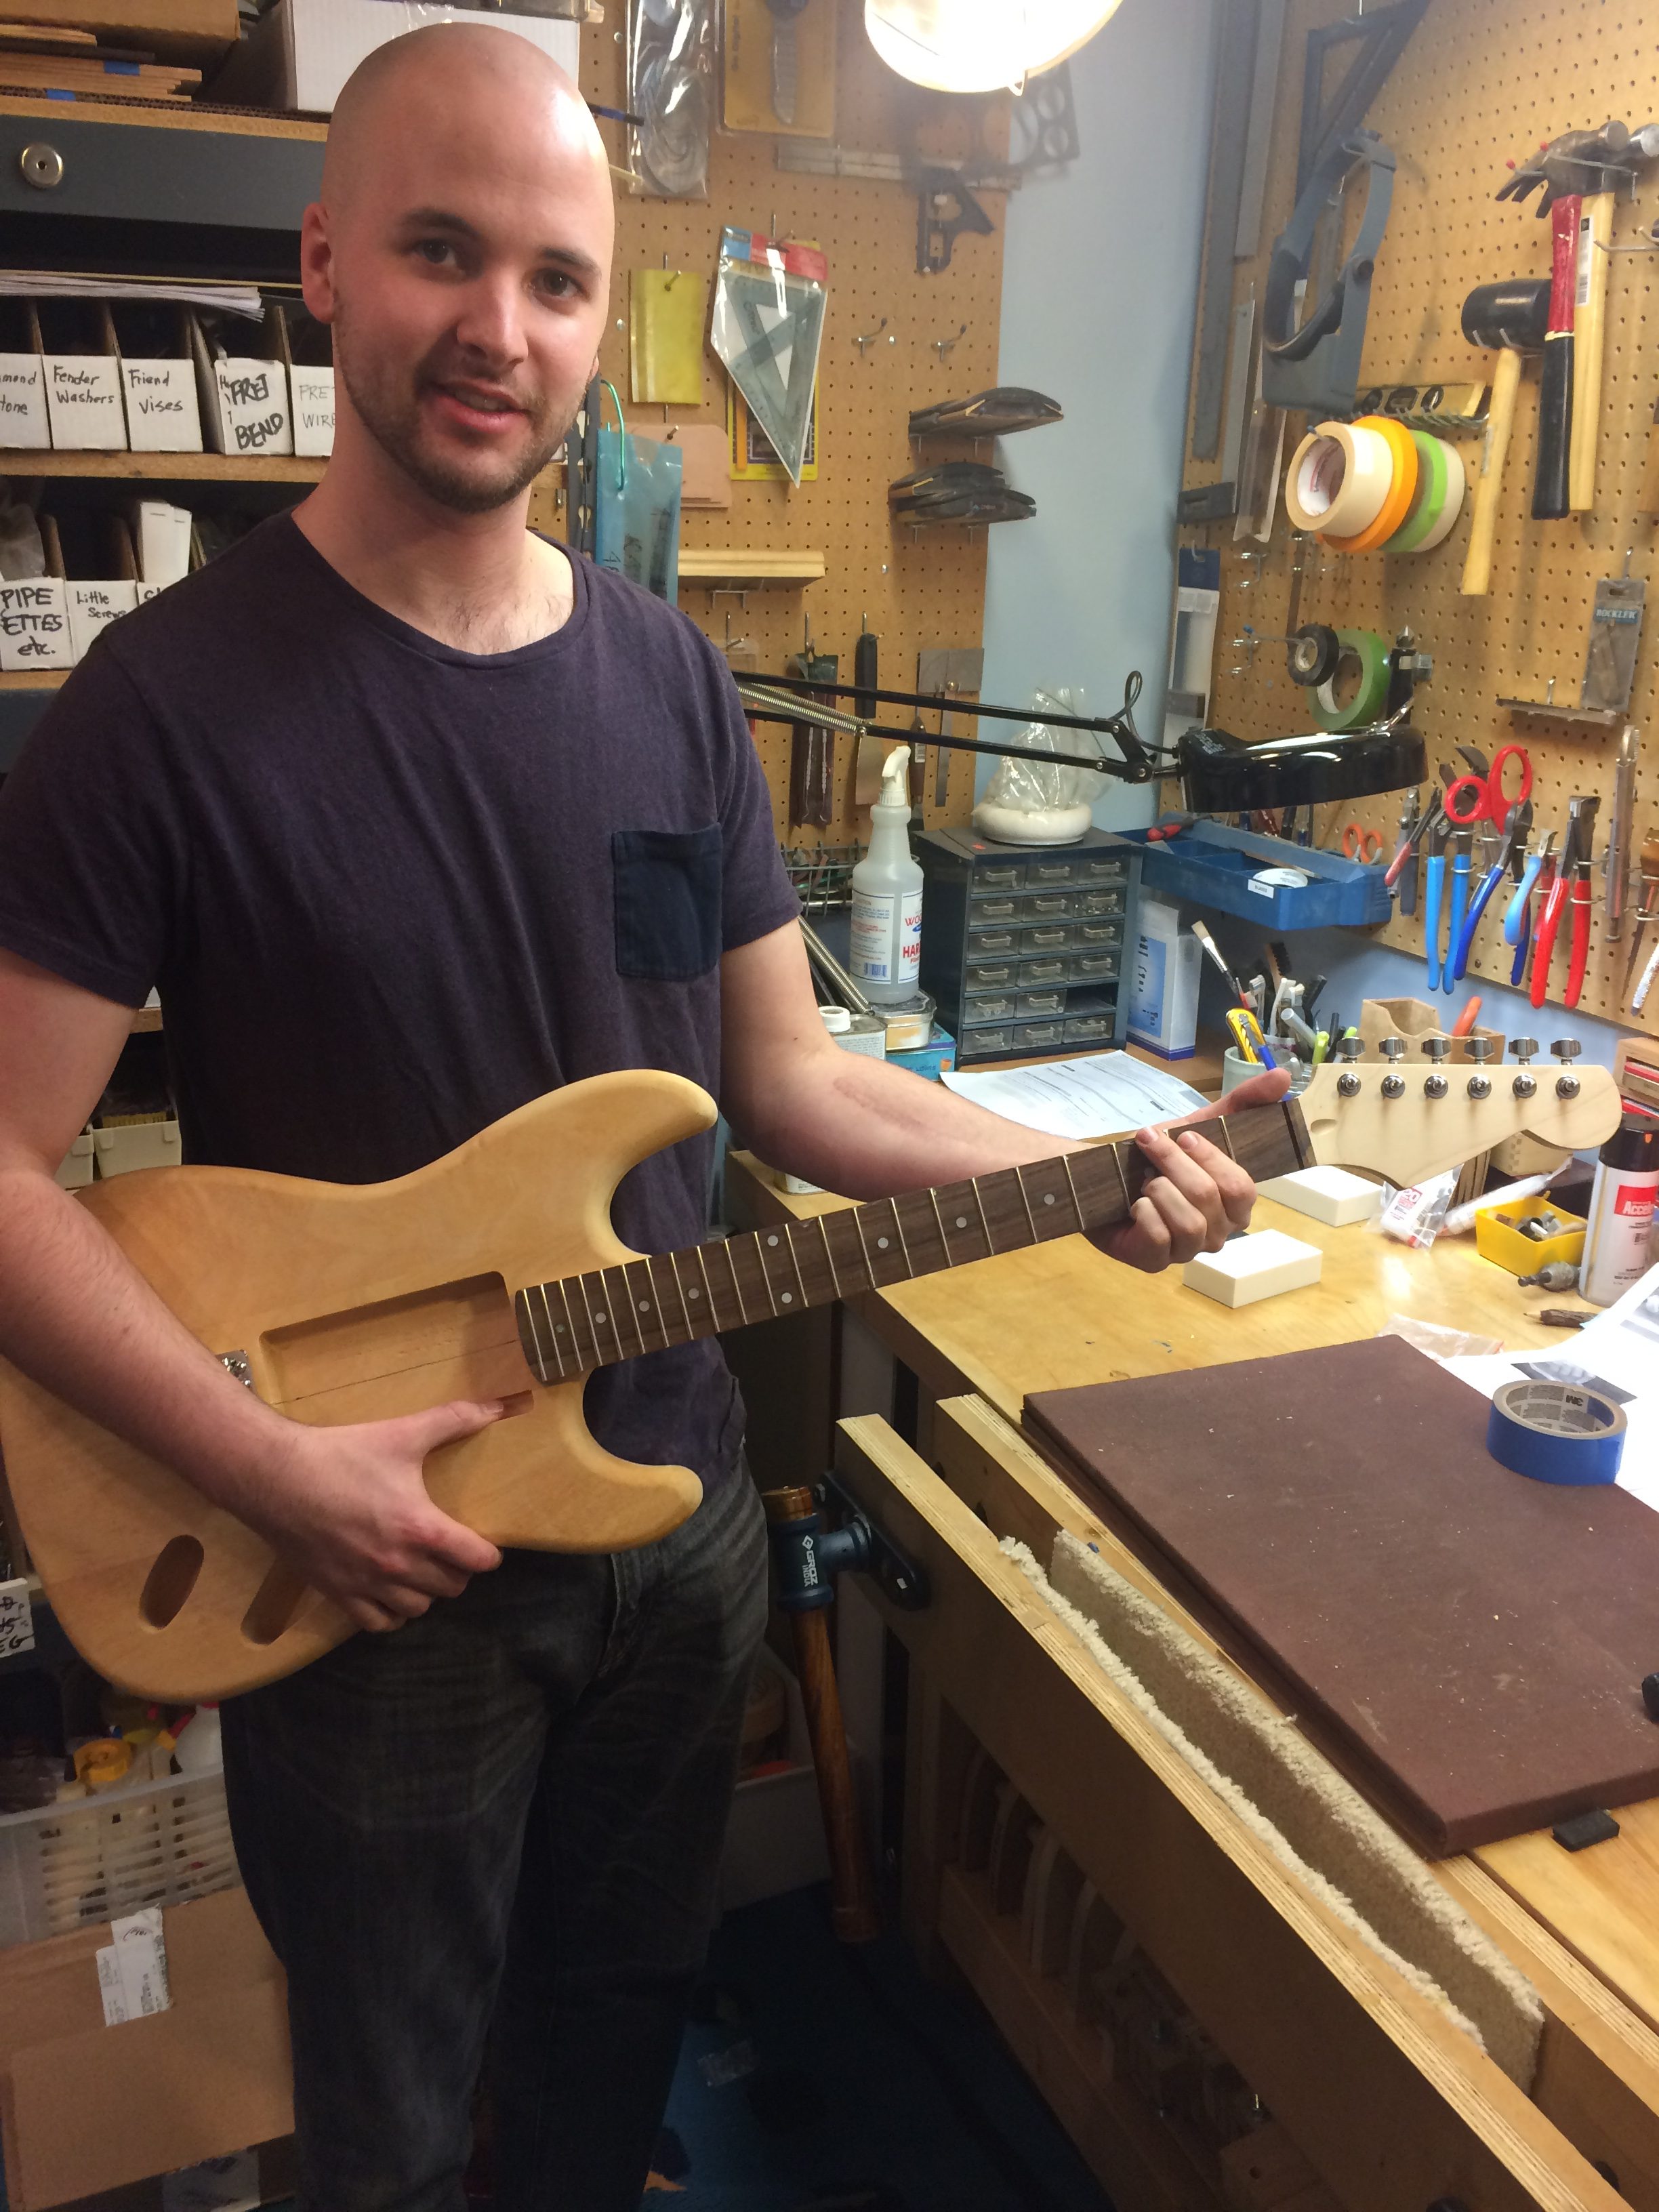
William and his Stew-Mac Stratocaster

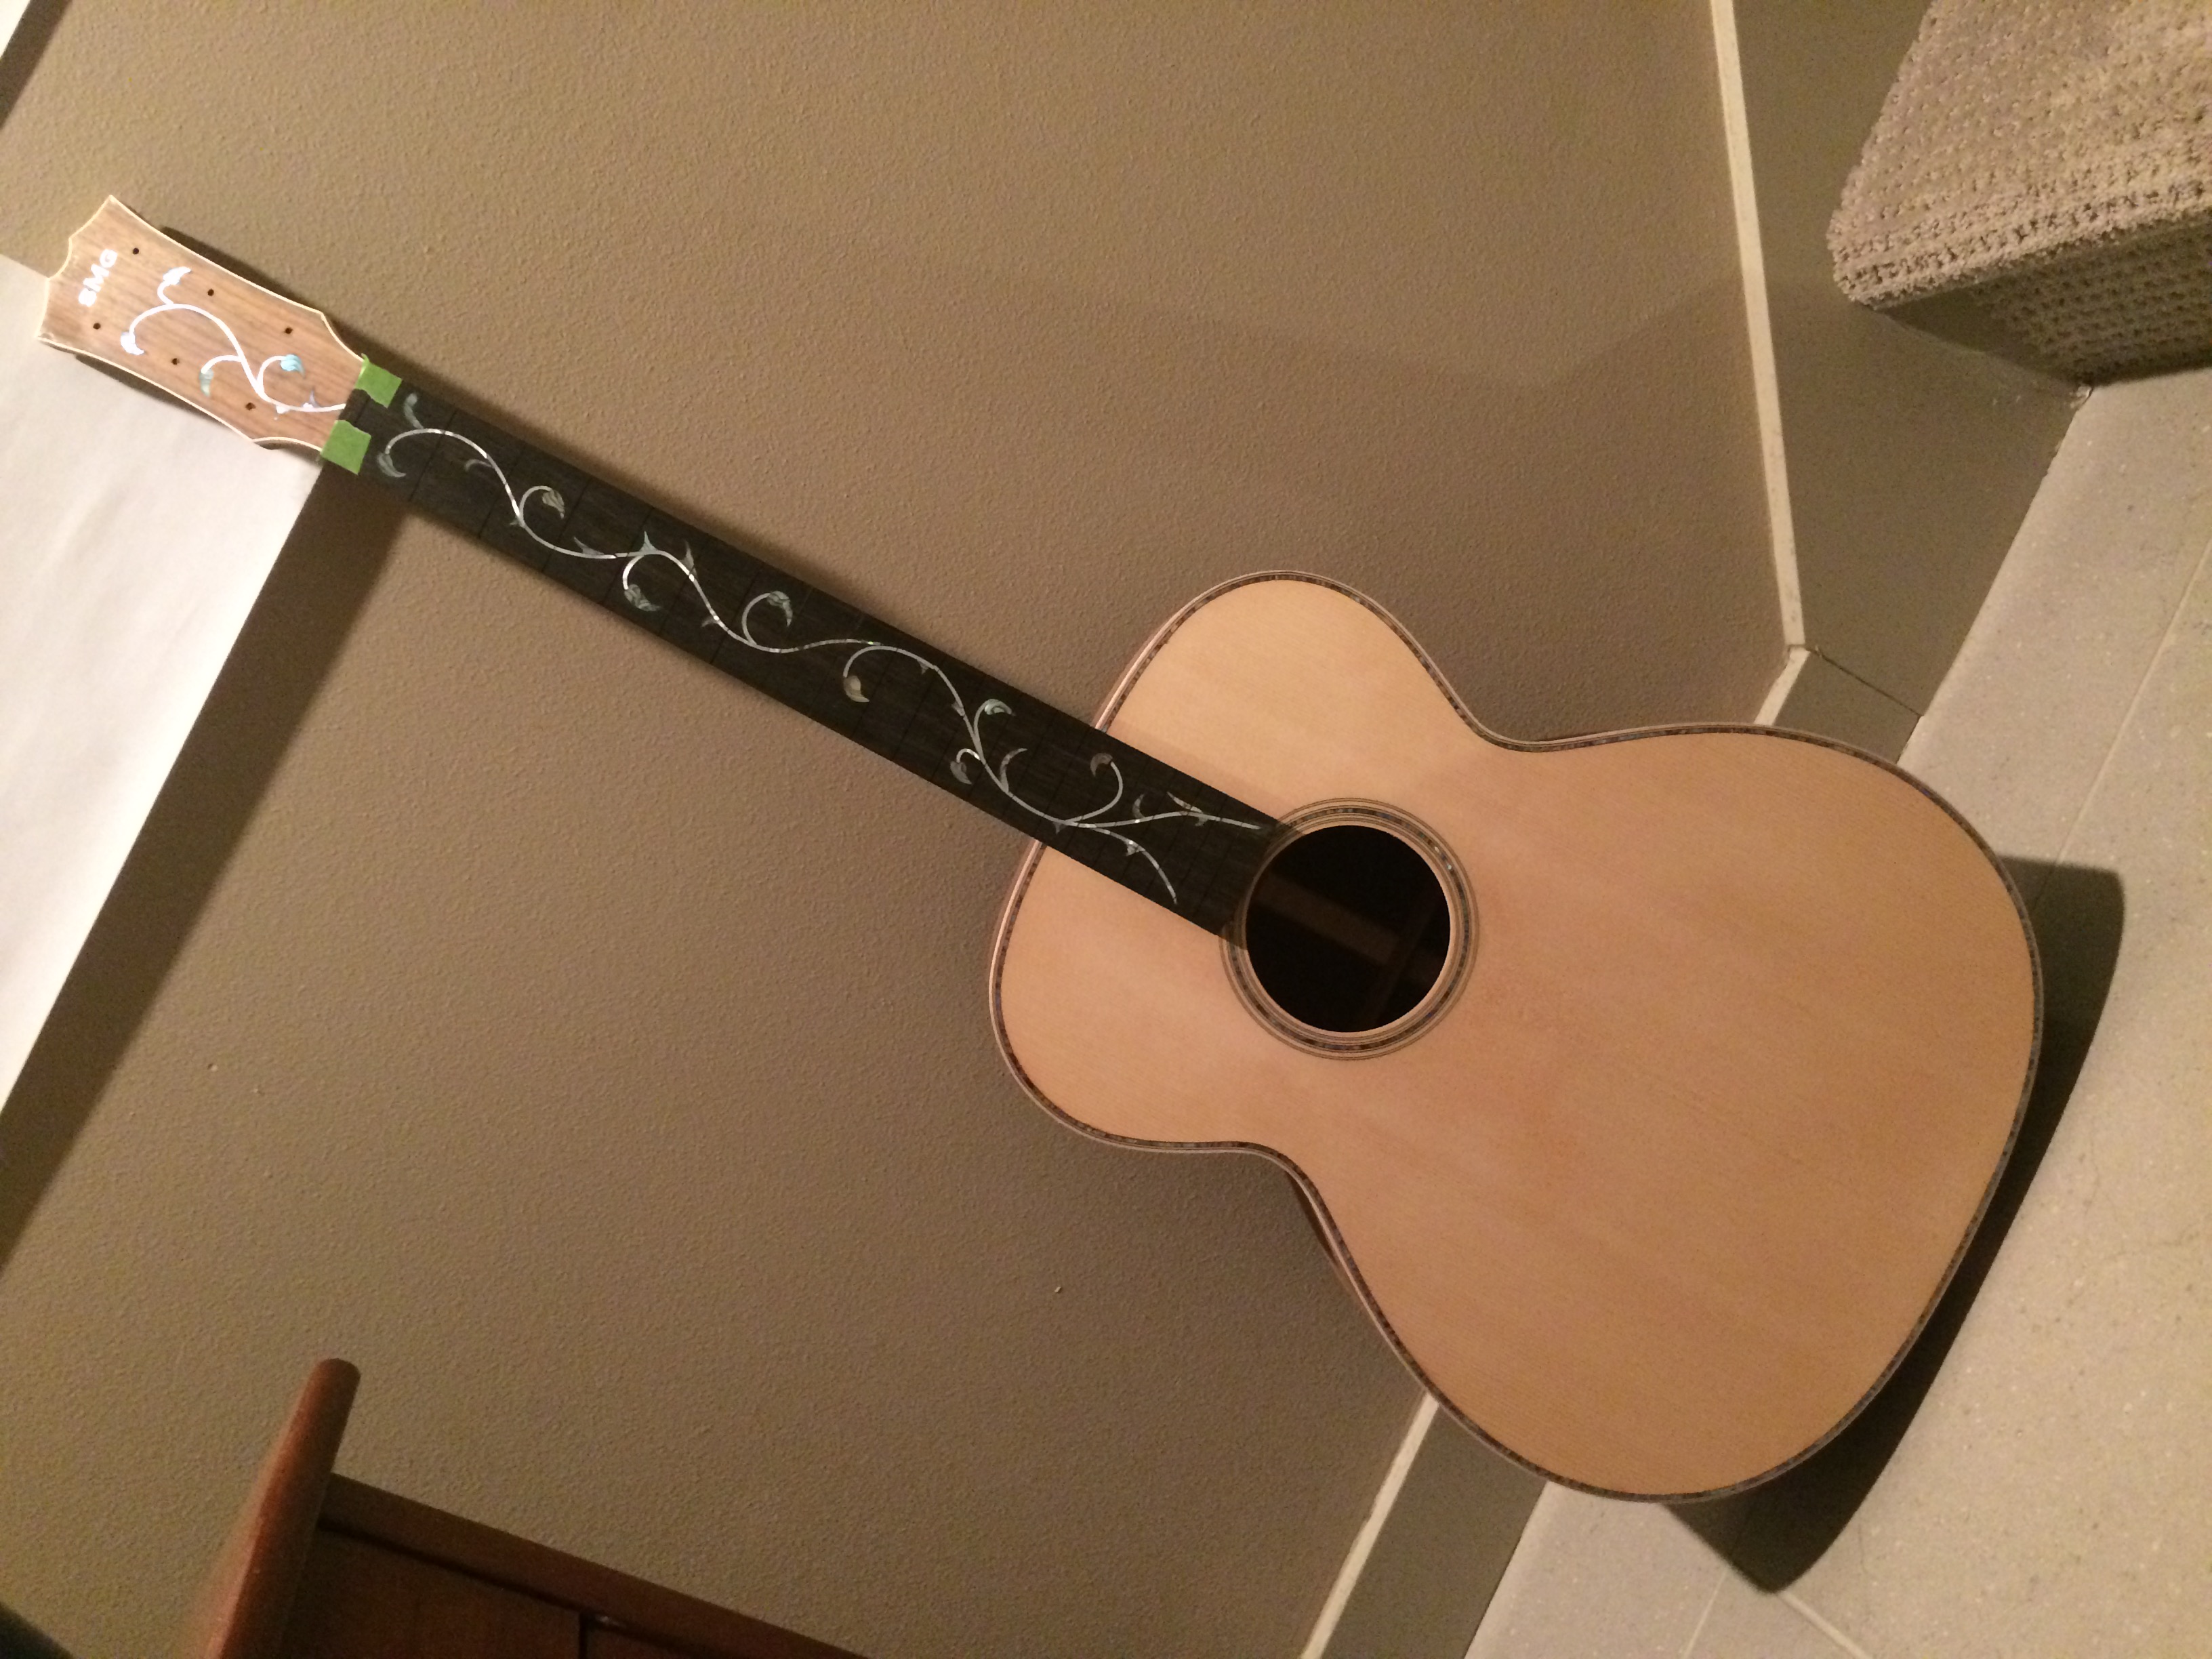
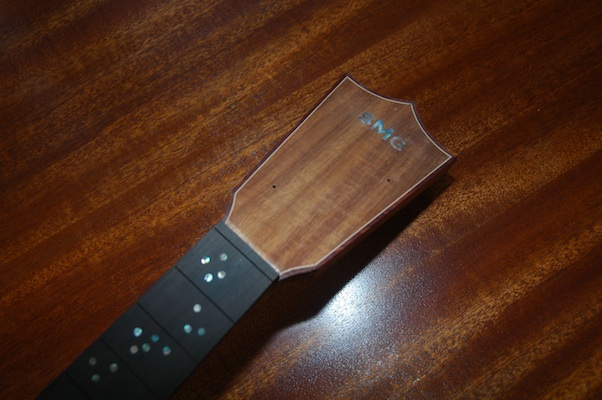
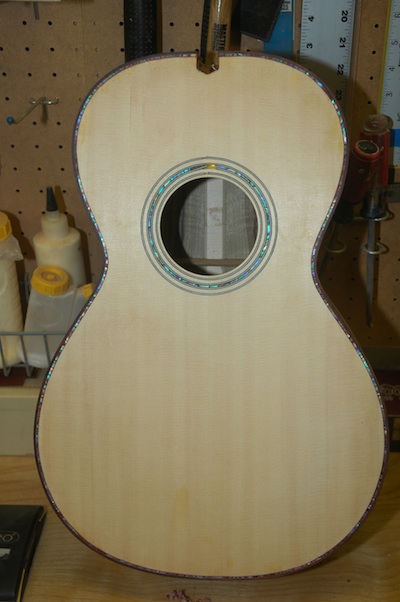
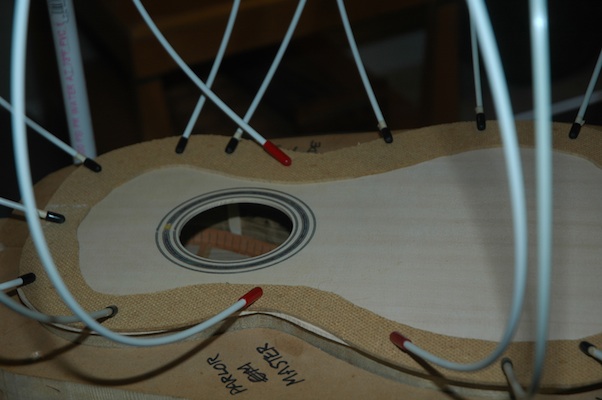
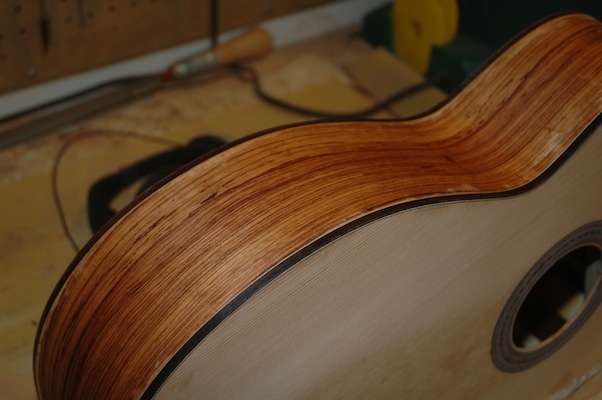
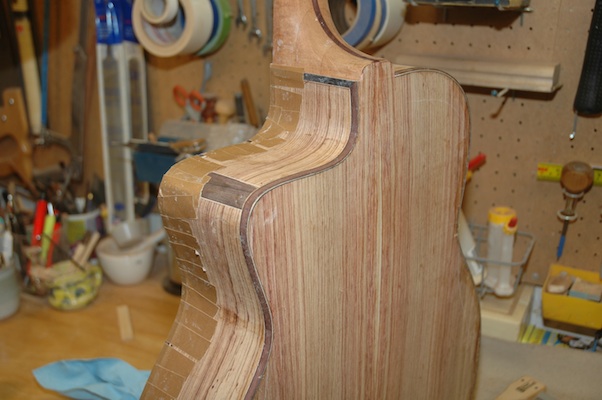
1202: Rosewood OM with Vine fretboard inlay

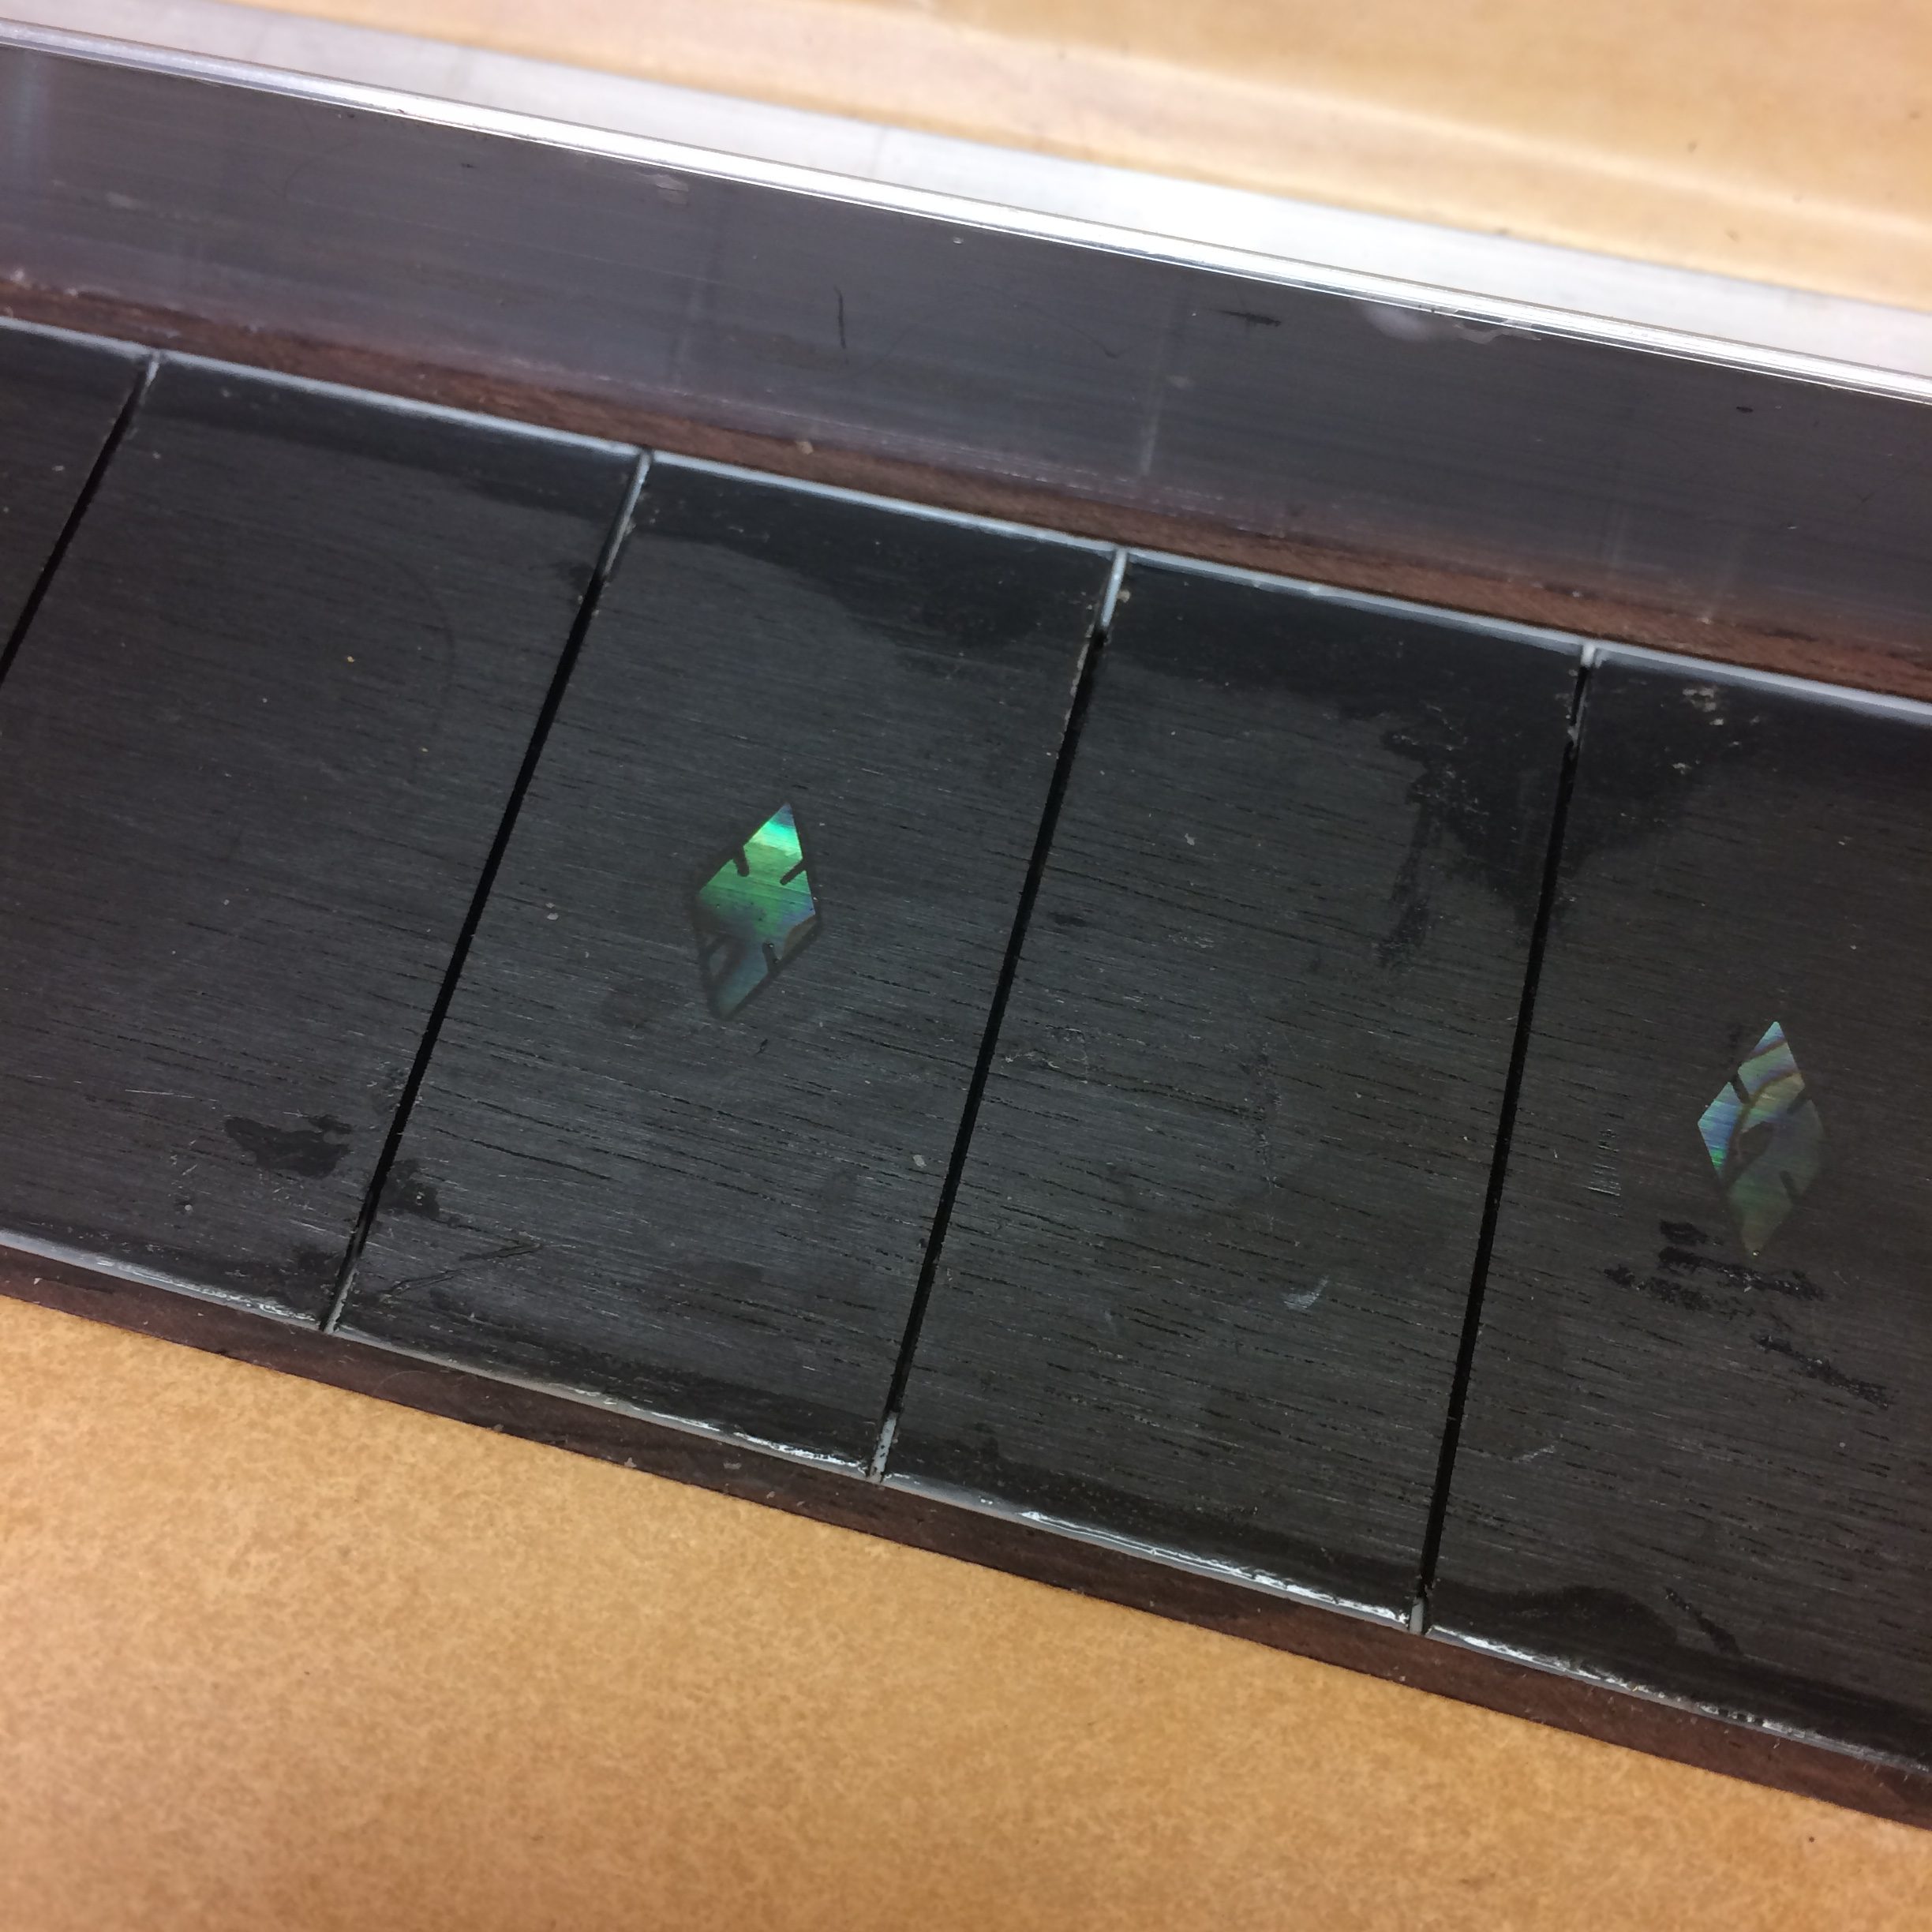
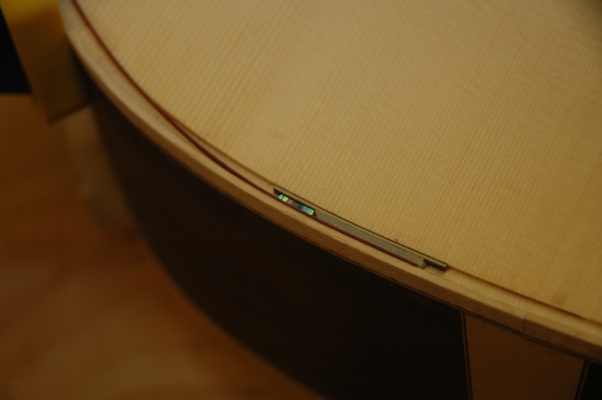
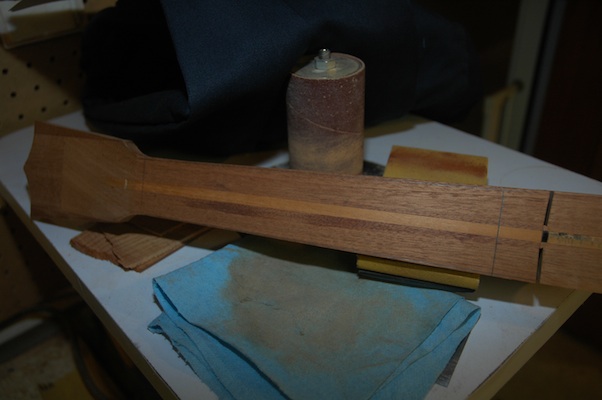
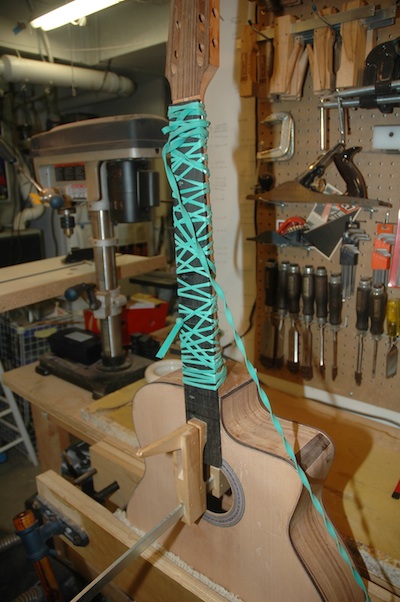
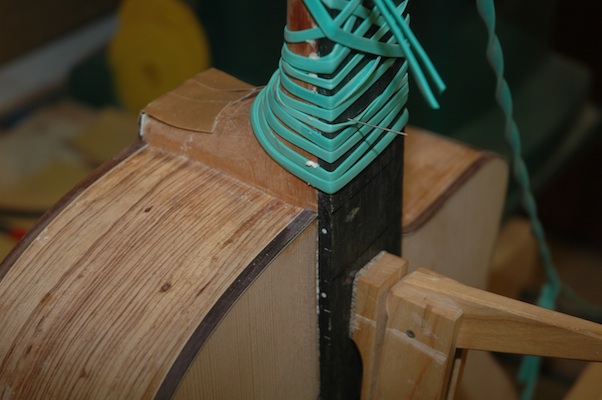
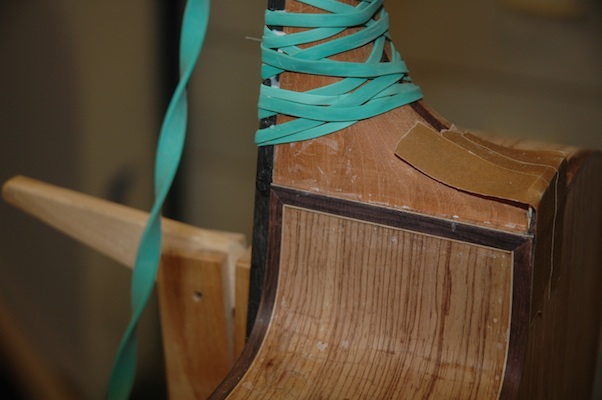
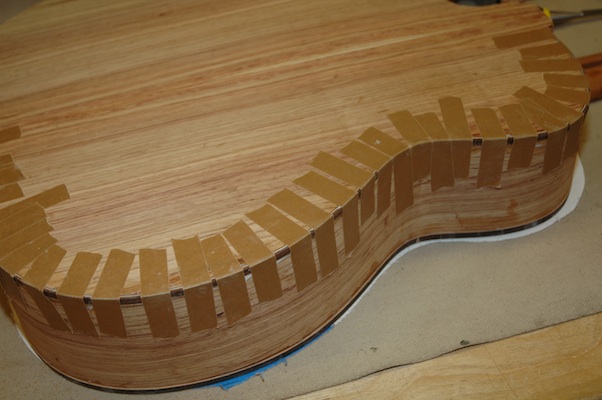
Rosewood binding on fretboard for 1201

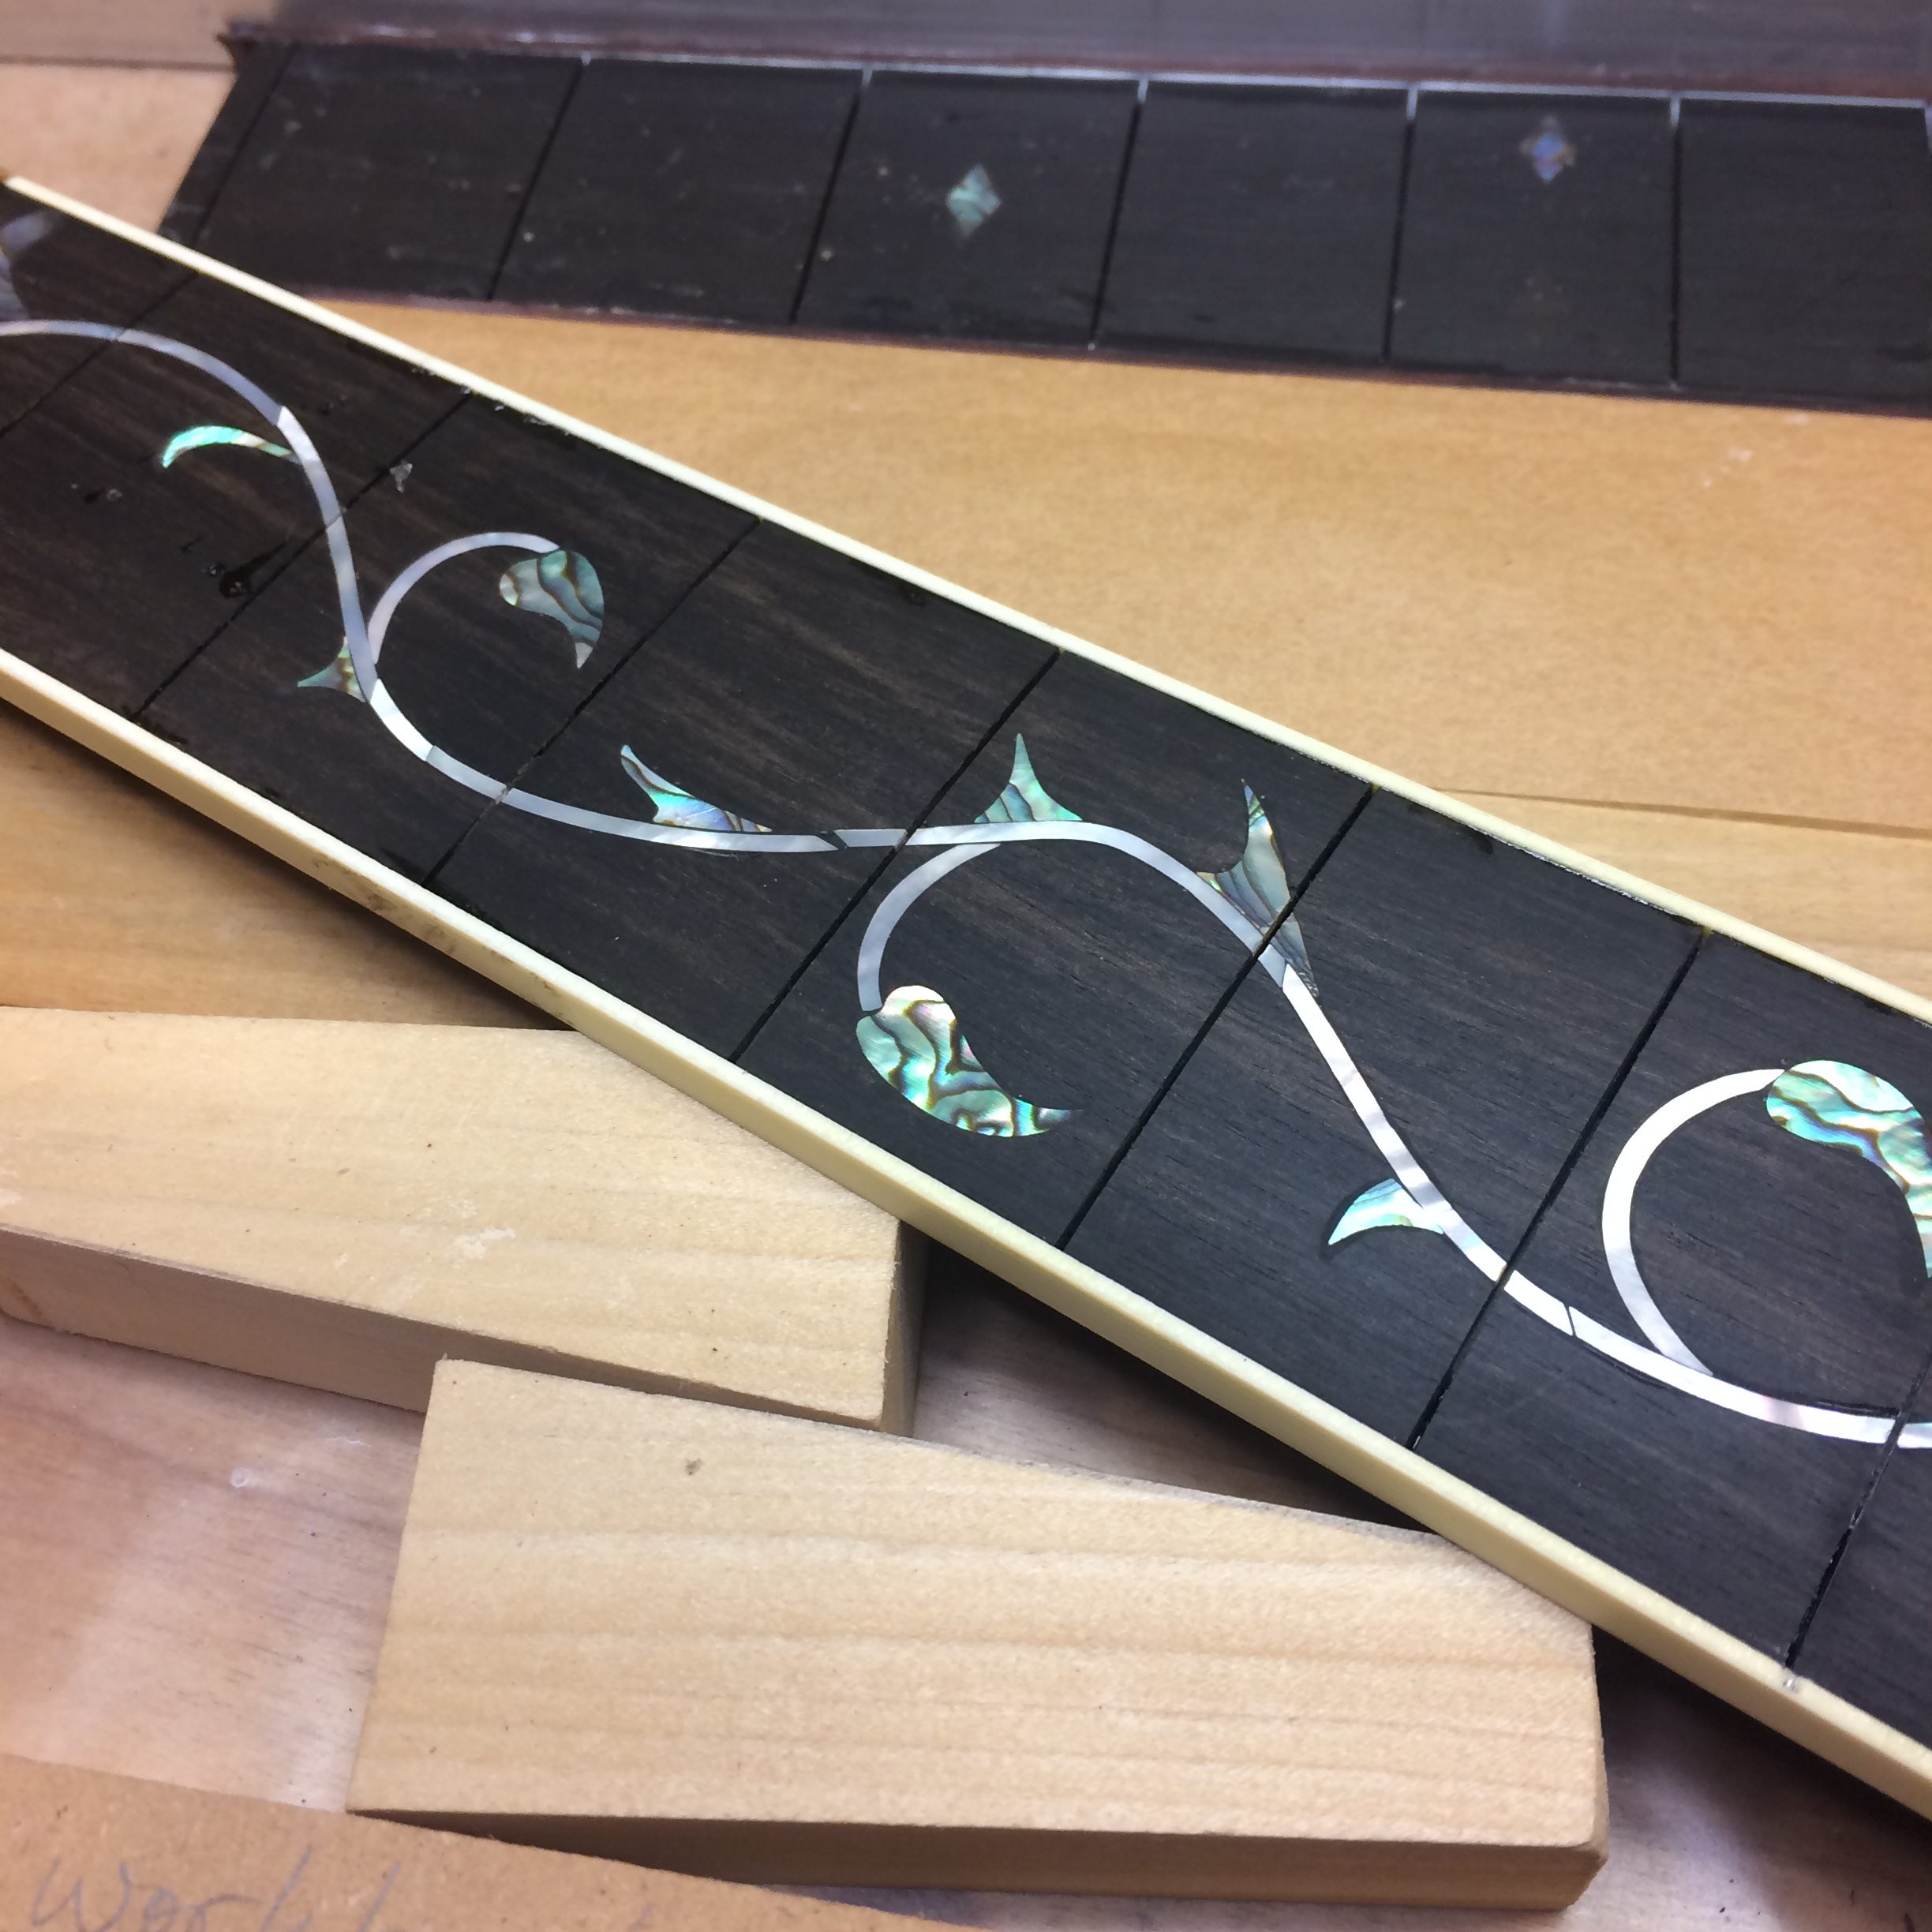
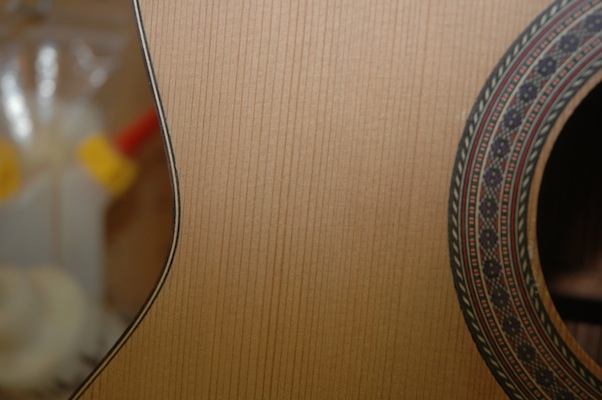
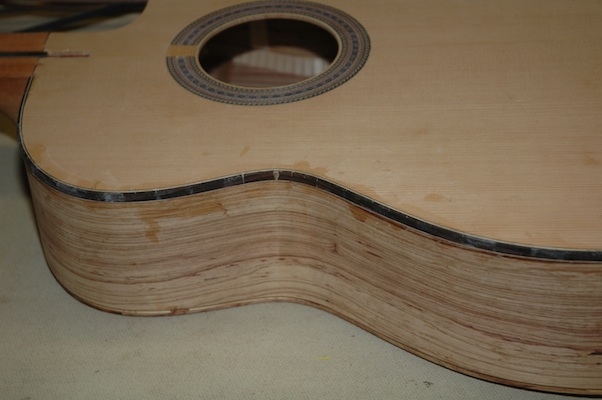
Ivroid binding for fretboard of 1202.

Guitar 1202 – Binding and Purfling

January 27, 2013

I have finished installing the binding.  I’ve taken an alternative approach to this guitar.  When purfling the top with Abalam, I have, previously, installed the binding, purfling, teflon, purfling sandwich all at once.  It has been a tricky juggling process which guaranteed binding cracks, gaps, unseated purfling strips, all because I had to weave 4 different layers into the channels which were slathered with glue, then with my third hand (which I don’t have) apply the binding tape to hold it all in place.

This time, I installed the binding solo, and will clean out the glue overage, then drop the purfling, teflon, purfling sandwich into the open channel.

130127purfling

The photo shows the purfling strips with teflon between, and abalam in the channel after the teflon is removed.  Currently, the binding glue is drying, and a variety of cracks are being repaired under clamps.

130127buttgraft


Uke Products Received

November 17, 2012

I’ve got this publishing plugin which supposedly posts my blog entries to Facebook.  It craps out occasionally, so some of my posts go un-Facebooked.  Today, I received a shipment of Uke parts needed to finish the uke.  Bridge, tuners, nut, saddle and frets in the gift box, so I’m about to resume uke finishing.

121111headprefinish

121111ukeprefinish

Update: Uke Parlor Hybrid

August 26, 2012

Yeah, Guitar Camp was awesome, and now I’m home counting the days before I start back teaching.  I took a uke and an OM to camp, and as usual garnered a lot of interest from fellow campers who claim they “must have one”.  On the last day of camp advice is given to those of us returning to the non-camp world.  One bit of proper advice was, “Wait three weeks before accepting a proposal of marriage from a fellow camper.”  Same goes for committing to a new uke or guitar.

I’ve resumed where I left off before camp.  The Hybrid for Jim has a first coat of pore filler (an epoxy resin) and is lined up for the spray booth.

120826sidefinishing

I’ve installed all binding on the Myrtle Parlor.

120826topbinding

I then did what all good builders should do, I burnished my cabinet scraper.  Ah, what a difference!  Several smooth strokes across the top, and the binding is trimmed flush with the top.

120826bindingscraped

I’m so in love with my first uke.  I played it at camp and caught the bug.  The uke I’m working on now is really for me (so I’m differently motivated).  The top is braced, the tonebars are installed and the neck and top have been joined.

120826neckstabilizer

The neck has been stabilized with a graphite rod which lives under the mahogany strip in the center of the neck.

120826topbracing

First the bracing and bridge plate were installed.

120826tonebars

Then the tone bars.

120826necktotopjoin

Finally, the neck and top can be joined.

Guitar 1201 – Box Constructed

July 31, 2012

Back and top braced, sanded and installed.  Between back and top install, added butt graft in cocobollo, which is also the binding wood.

120731buttgraft

The pattern on the Myrtle is stunning, and came together nicely after the back install.

120731insidethebox

120731backandsides

While the top gluing cured, purfling was added to the binding then bent in the “machine”.  Later this afternoon I should be able to install the binding.

120731topattached

Guitar 1002 – Redo Binding

April 29, 2012

I just wasn’t happy.  The binding on the front of the guitar, the binding everyone will see and admire, was just not right.  Too thin in places, poorly fitted around the cutaway, and even a few cracks that needed repair.  I ordered additional rosewood binding strips, which arrived yesterday, and set out on removing the first application of binding and installing it again.

I routed out a binding channel for the top binding with a depth considerably deeper than the original.  The first pass at installing this binding included thinning of the binding strips to assure a clean bend around the cutaway.  What I discovered was that I could tightly bend even full width binding if I got my iron hot enough and patiently bent the binding strip a wee bit at a time.  Bending, then checking, bending then checking, until I had a nice tight bend with no cracks or pullaway of wood fiber on the outside of the bend.  (What I did find is that my insulated gloves don’t work as well as I would like, and my fingers are a bit crispy).

A good tight bent binding and purfling make for a spectacularly easy application of the binding with binding tape.

This will be way better.  I am no longer afraid of the tight bend of the cutaway.

Guitar 1002 – Fretboard Binding Heel Cap

April 22, 2012

All binding is on and trimmed.  I decided to install a rosewood heel cap and did so by routing out the heel cap material to allow installation of a maple veneer topped with rosewood cap.  The heel cap will be flush with the body.

Side dots were inserted onto the fretboard, it was trimmed to match the profile of the neck, then indexing pins were located to hold the fretboard in position while it was glued and held in place with the amazing 40 foot rubber band.

120422fretboardmount

The binding, heel cap and fretboard all meet up in various spots around the guitar.  Next steps will be to flush up all the joints and prepare for detailed finishing of all the surfaces.

120422neckfretboard

120422cutawaybinding


Guitar 1002 – Binding Trimmed, Now the Tedious

April 9, 2012

The binding is installed (save one small section on the neck heel).  It’s been trimmed close to the body and now the scraping begins.  Using a cabinet scraper, nicely burnished, I’ll draw down the binding flush to the sides, top and back.  I enjoy this process, yet it takes a long time to do it right.

120409roseandbind

The Palo Escrito looks fine treated with naptha.  The blotchy parts still need further sanding to remove the glaze of wood glue still on the surface.

120409sidebind

120409fullback

120409back

An hour here, an hour there, then some more here and there, and the fretboard goes on.

Guitar 1002 – Binding continues

March 19, 2012

I’ve attached the cutaway side binding after hand bending.  I’m pleased with the process, and am no longer flummoxed by tight binding bends.  All went swimmingly, and installation was straightforward.  A few minor gaps which can be filled with rosewood shims.

120319frontbinding

120319sidebinding

I still need to install binding and purfling around the heel cap area.

120319cutawaybinding

Guitar 1002 – Binding

March 18, 2012

I like this part.  The binding puts the real finishing touches on the body.  This one is more complicated due to the cutaway and the heel shape.  I’ve taken the first “easy” steps of binding the non-cutaway side.

120318bindingtape

The binding, pre-bent, and a purfling strip are glued into the channel, secured with binding tape.  I like to glue the crap out of it, which makes the cleanup more labor intensive, but these puppies need to be secure.

120318binding

After the tape is removed, it almost looks like a guitar.  I will trim back the excess with a cabinet scraper before the final sanding.  The cutaway side is next, but I will need to hand bend the binding and purfling strip for the severe bend around the bout at the cutaway.

Next »