Archive for January, 2011

Guitar 1002 – Neck Heel Profiled

January 23, 2011

The heel profile and neck thickness have been cut using a band saw.

110123neckprofiled

Next, a slot will be cut at the 14th fret for the sides to be inserted into.  Then, the neck will be tapered to dimensions of a steel string neck profile.

Guitar 903 – Binding complete

January 23, 2011

Devin and I have completed the binding of the body and the fretboard.

110123stilllife

The body was bound with ebony and BWB purfling.  Additionally a brown/white/black rope purfling was used for the top.

110123backbound

The back is shown with naptha towelled on, which cleans, brings out the color, and indicates where excess glue needs to be sanded off.

The fretboard has been bound with ivroid.

110123fbbound


Dear Customer

January 17, 2011

I am compelled to offer an apology to my customers.  I am developing the prevailing luthier ethic of taking a long time from inception to construction of my guitars.  It doesn’t help that I am a full time intern teaching high school math, or that I am enrolled in a program at CityU which has classes, homework, and assignments.  I like to read and watch old episodes of Lost, and the dog needs walking on a daily basis.

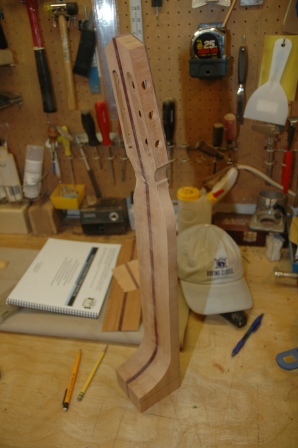
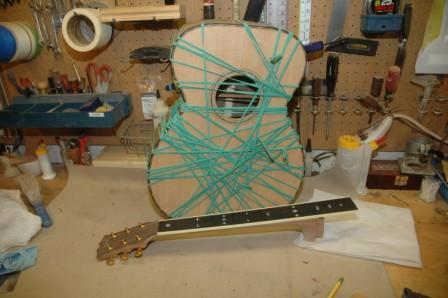
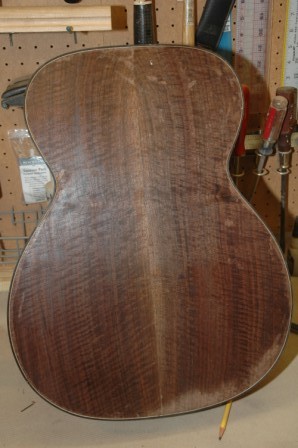
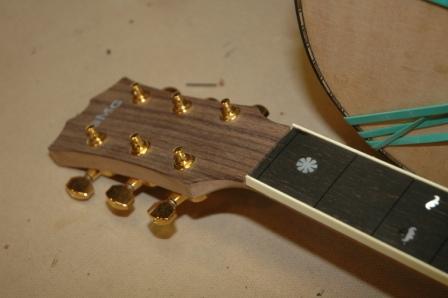
It also doesn’t help that I have 5 guitars/ukes in the pipeline, not to mention the several repairs/restorations which have been ignored in favor of building for way too long.  I have a koa dreadnought waiting for the spray booth (I want it to get warmer in the garage, as well as less leaky from the rain).  I have an apprentice who comes twice a week, and together we are completing a walnut OM.  My first uke, a spruce/bubinga tenor, is still in progress, and wants to be ready for the spray booth coincident with the koa dreadnought.  There’s the palo escrito hybrid cutaway that gets my attention every few days, and finally a koa tenor uke for my sister, which has some early attention.

I ramble here to make amends and assure all of you waiting for your special guitar/uke, that I’ll do my best to deliver as soon as it is possible.  The delivery date isn’t as important as the righteousness  of my attention.

Guitar 1002 – Fitting Tuning Machines

January 17, 2011

I used the router table to smooth away the divots from drilling out the head slots.

110117routedhead

Final smoothing will be done after tuning machine holes are drilled.  To ensure the holes are spaced properly, and equally balanced from side to side, I built a jig to direct the drill, locate the trio of holes, and prevent tearout upon exiting the headstock into the slot.

110117tunerjig

It’s a bit crumbly, as part of it is MDF.  I may rebuild with birch ply if I need to use it again sometime in the future.

Using the jig, I was able to drill holes, avoid major tearout, and dry fit the tuners to check appearance.  The top drums will need to be trimmed as they bang into each other due to the narrow profile on top..

110117backmachines

110117frontmachines

Luthier Community Advice

January 9, 2011

I posted the following question on a Luthier Community Forum.

I use an 18″ Grizzly Drum Sander to thickness backs and sides.  I use 100 grit paper, keep it clean, advance mere micro millimeters for each pass yet still can’t avoid burning.  Any suggestions?  The feed rate has been tested from slowest to fastest, yet it doesn’t seem to make a difference.  The harder the wood, the more prone it is to burning.  Must
I accept burning as part of the process (I can scrape it off in the end)?

  • My first thought is that the belts are moving too fast.  Can you adjust the speed of the belts??  I assume that the feed pressure is appropriate given that  you are able to adjust the thickness w/o difficulty.  100 grit is fairly common in this application.
  • Are you sanding with the grain? Sanding with the grain on high resin woods can cause burning. Try sanding at an angle against the grain. The greater the angle the better.
  • I have a Performax 16-32 and found out early on that you need to use a heavy grit (80 or lower) to take the initial pass.  After you have removed a bit, go to 100 or higher.  This works very well for me. Also, with high resin woods, the paper will not gum up as quickly.  If you try to remove the wood with a higher grit, it will  burn and gum up.  Use a heavy grit to remove the bulk of it, and go to a higher grit to smooth it out.
  • A dust collector of adequate CFMs is a must.  That would be the first thing I’d look at.  You have to get the dust out of there efficiently as the sanding is happening in order to prevent clogging of the abrasive.  If you have a good dust collector on there, then the problem could be the design of the sander – how well it’s designed to maximize dust removal.  I have a Woodmaster, which excels in this regard.
  • I use the little Performax (10-20) so I have to pass on each side to thickness a plate.  I have never had a problem with burning, but I keep my sanding belt really clean (I have a sanding “eraser” next to it and use it about every 4th pass) and use a Grizzly product that comes in 10′ or 30′ rolls for about 4 bucks.  It fabric backed and doesn’t loat much anyways.  I get 3 out of the small one, if I’m really careful cutting.  Also, when wrapping the drum I don’t go right up tight to eachother, but leave a little gap of about 3mm.  I find that any dust not pulled into the hose lodges in there rather than the grit.  I’ve done Sitka and Englemann spruce, and the hardwoods from mahogany to ebony, no issues.  Hope this helps.