Happy New Year to All

December 30, 2012

This will be my last post of 2012.  Some things were accomplished in 2012, but all in all, the pace of this year’s building has ebbed in relation to previous years.  I could chalk that up to a new career teaching mathematics, but really it’s a case of shifting priorities.  I have endured a few crisis moments all around finishing with spray lacquer.  As reluctant as I was to put down the spray gun, it is for the better.  I cannot continue to subject my families health and my health to the lacquer fumes inherent with nitrocellulose lacquer application.  My options are twofold:  send guitars out for spray services ($500) or procure hard to find water based lacquer and spray with this less toxic alternative.  I’m still on the hunt for water based with mixed results.

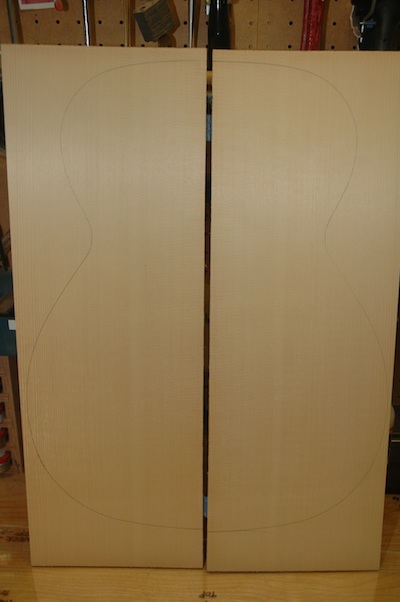
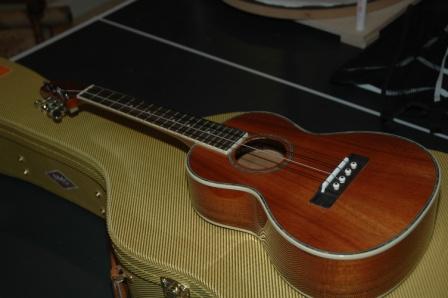
I have been working diligently on my uke, Rachel’s parlor and Susan’s OM.  What follows is an except from recent work.

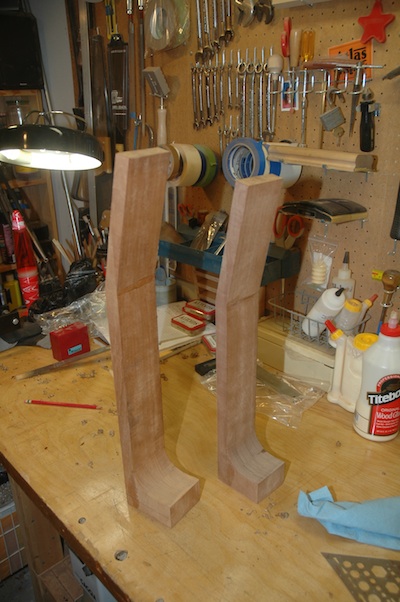
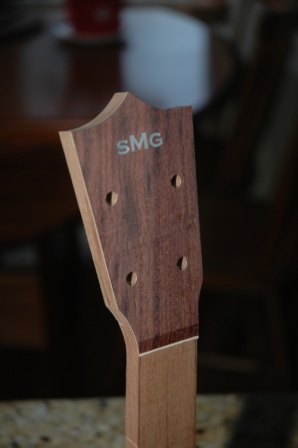
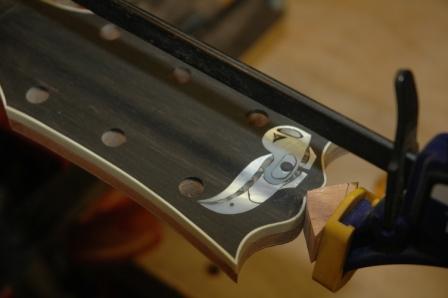
Rachel’s parlor has taken a step forward with neck shaping and fret dot design.

121230back

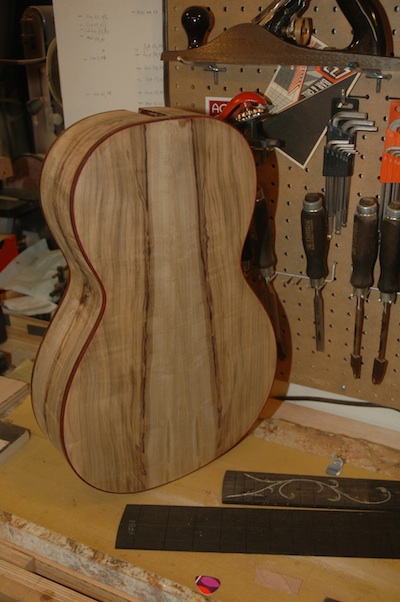
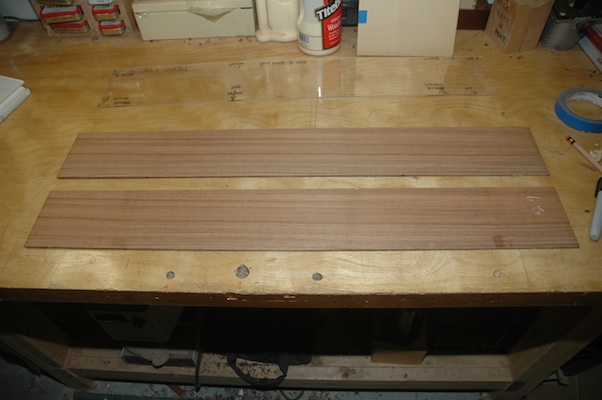
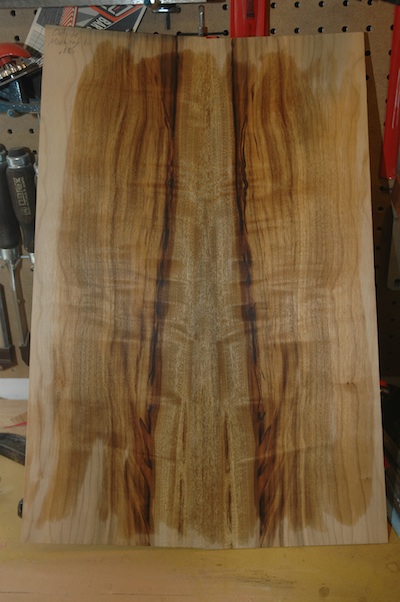
The fretboards for Rachel’s parlor and Susan’s OM are seen below the beautiful Myrtle back.

121230necks

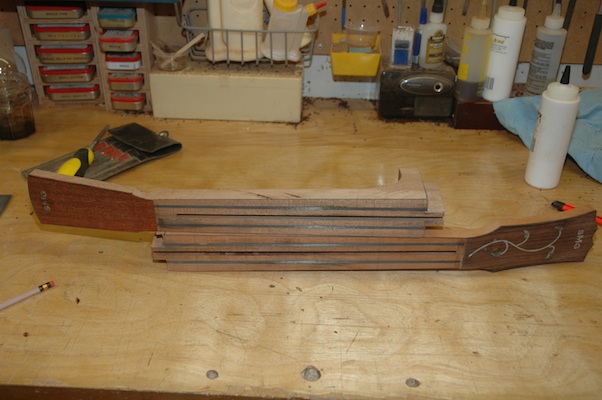
The parlor neck is on top with the Cocobollo headplate.  The OM neck is shown with the rosewood headplate.

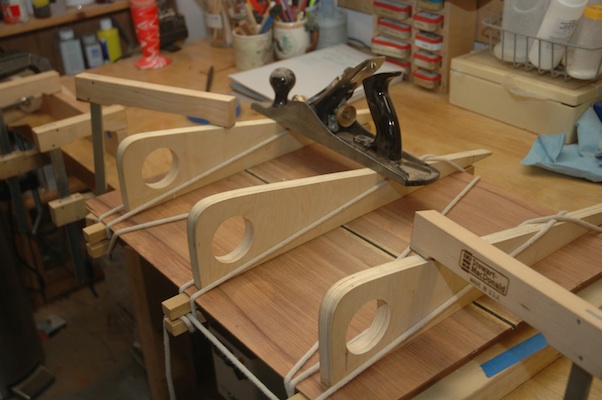
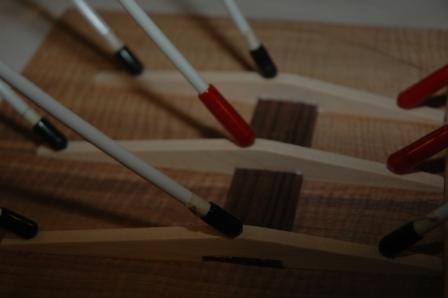
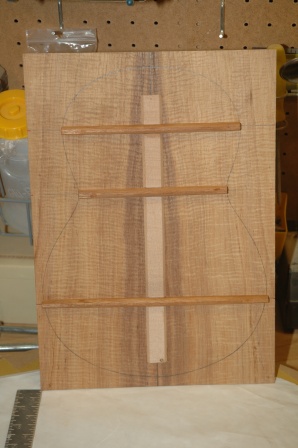
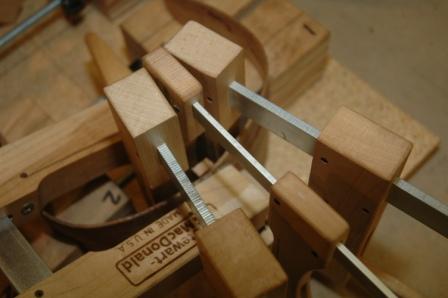
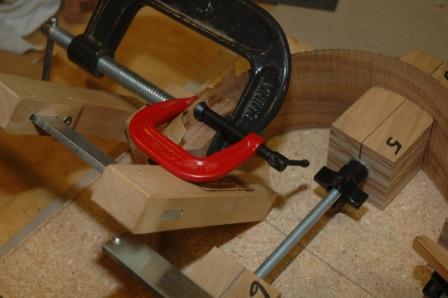
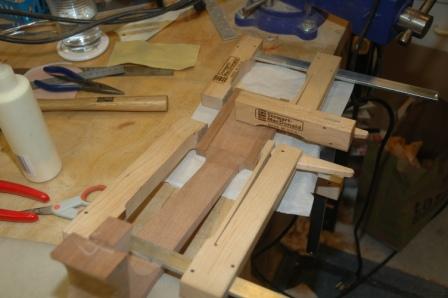
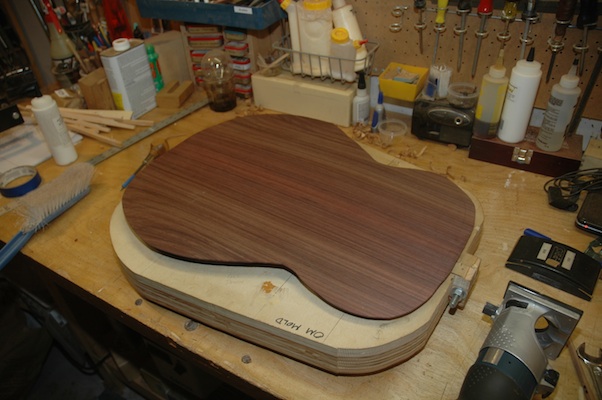
I’ve managed to shape bracing and install the back to the sides as well as lay down the top bracing for the OM.

121230beforetrim

121230aftertrim

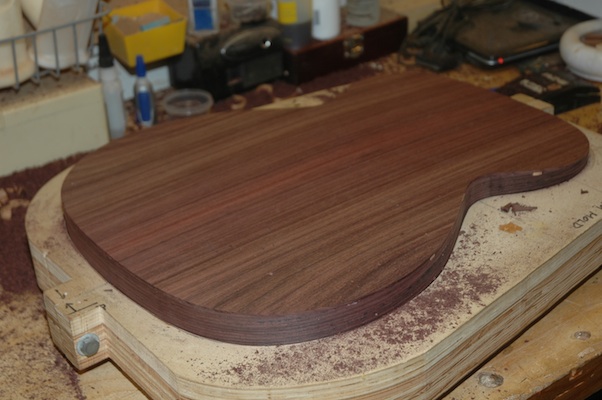
The second picture shows the back after the scarf has been trimmed.

121230topbracing

Guitar 1201, 1202 and 1203 – Necks, Tops, Sides

June 9, 2012

Miscellaneous work today on three guitars.  Located Engleman Spruce top for the Rosewood OM.

120609engleman

Finished blocking in two necks; final step stacked heels.

120609stackedheel

After clamping and drying, the neck heel curve was cut using the bandsaw, then rounded with the spindle sander.

120609neckblanks

The double cutaway parlor for Em has walnut back and sides.  The sides are prepped for thickness sanding.

120609walnutmayan

Assembly Line Mode

May 28, 2012

Today and yesterday have been consumed with the assembly line.  I made necks for Guitar 1201, 1202 and 1203, and Uke 1201 and a uke to be numbered later.  I also thicknessed backs and sides for Guitar 1201 and 1202, and joined the back for Guitar 1203.  In between neck builds, gluing and clamping, I scraped away at Guitar 1002.

Here’s Rachel’s Myrtle back after thickness sanding.

120528thicknessedback

Oooh that’s nice.  I also thicknessed and joined the Peruvian Walnut back for Em’s guitar.

120528joinbackplate

I’m ready to bend sides for Susan’s and Rachel’s guitars which means they can be forthwith set into the molds.

Uke 1101 – Bracing

April 23, 2011

I completed the bracing for the back and top today.

110423tentalones

The bridge patch is rosewood, and the bracing for the top is flat (not radiussed) using sitka spruce.

110423topbracing

The back is braced with 15′ radiussed mahogany ladder bracing.

110423backbracing

My dyslexic brain allowed me to cut the slots in the neck for the spanish heel at the opposite angle.  The plan for recovery is complicated and will require me to build a jig to hold the neck and accurately cut the correct slots.  First I’ll patch the “bad” slots to return material to the neck block before I cut new slots.  The fortunate aspect of this problem is that the patch will only be visible inside the uke where the heel meets the sides.

Uke 1101 – Headplate Installed

April 18, 2011

Over the past two days, the headplate with a contrasting maple veneer was installed and trimmed.  Tuning machine holes were also drilled.

110418headplate_0

Uke 1101 – Dorky Day!

April 17, 2011

I always wanted to celebrate Dorky Day.  So today, I am.  See The Fan Man for more background.

Anyway, aside from Dorky Day, today was work on the uke day.  The mold for holding the sides is only that:  a holder of the sides until ready to mount to the top and neck.  I’m trying a little experiment, which may or may not prove worthwhile.  Since I experienced a bit of cracking of the sides when I was inserting into the mold, I wanted to ensure that further cracking wouldn’t occur.  I glued in the heel block and a “plug” on the neck end to hold the sides together as I pulled them from the mold to transfer to the workboard.  The plug on the neck side is smaller than the width of stock I’ll need to remove to fit into the spanish heel slots.

110417neckslot

110417neckplug

You can see the top of the plug insert sticking up between the clamps.  This is glued to the sides.  When I am ready to install the sides to the neck and top, I can use this plug as the guide for how much stock to remove before inserting into the spanish heel slots.  And, it will hold the sides in place as I remove them from the mold.

This holds true for the butt end as well.  In addition to gluing in the heel block, I added a plug (or patch) to the sides not covered by the heel block.

110417heelblock

To kill idle dry time, I installed the rosette for around the soundhole.  This is an example of using teflon strips which are removed after the glued purfling dries, then inserting abalam and flooding with CA glue.

110417rosetteteflon

110417rosetteflooded

I further tapered and shaped the neck in preparation for installing to the top, and added ears to the headstock to accomodate whatever shape I decide to put it in.

110417ears

A Repaired Uke and Some Mahogany

April 10, 2011

I’ve completed the bridge install for the “Fender” Uke.  The experiment with using beads as string ends worked well.  The strings are now fully stretched and stay in tune, and the intonation is quite fine, indicating I mounted the bridge properly.

110410fenderfinished

I ordered three different mahogany neck blanks to see them side by side and hopefully arrive at a favorite.

110410mahoganyneckblanks

From top to bottom:  Honduran, African and Sapele.

Guitar 1001 – Neck Ready for Fretboard

December 24, 2010

Twas the night before Christmas, and all through the house, the only stirring afoot was the Luthier Mouse.  The stockings were hung by the chimney with care, in hopes that St. Neckisloose would soon be there.  The Luthier trimmed and shaped and made dust in the night, and made all binding and neck cross sections right.

101224clampbinding

There’s neck joint alignment to do, and a check that the truss rod goes through.  Tomorrow will be a day with no dust, hoping that Santa will bring home a 3/4″ purfling muffler bearing.