Archive for March, 2011

Fender Uke Gets a Bridge

March 27, 2011

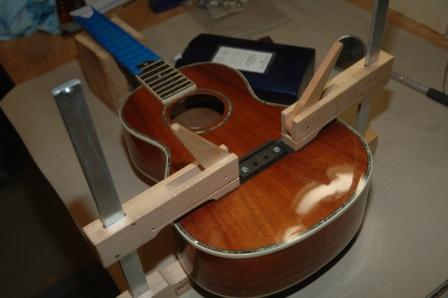
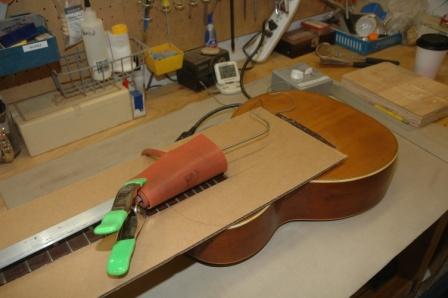
The Fender Uke, which has been getting some headstock lacquer, came without a bridge.  I have a couple of preshaped uke bridges which I’ve drilled out to take bridge pins (very “not uke”).

I stripped away the lacquer with Stryp-Eze after positioning the bridge with masking tape.

110327fenderstripeze

Scraping and chiseling left a glue-able surface.  Since this bridge will use bridge pins, I drilled two screw holes through each outside pin hole, glued up and screwed down.  These screws are for clamping only, and will be removed after the glue dries.

110327fenderbridge

Guitar 1002 – More Fretmarker Options

March 27, 2011

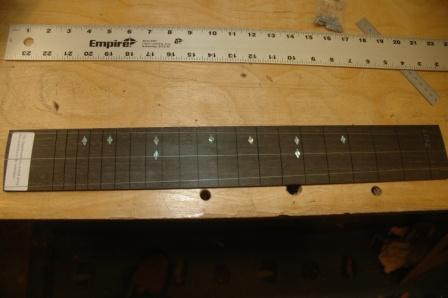
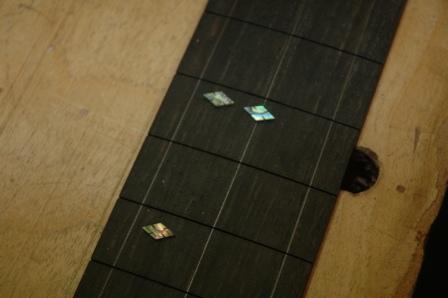
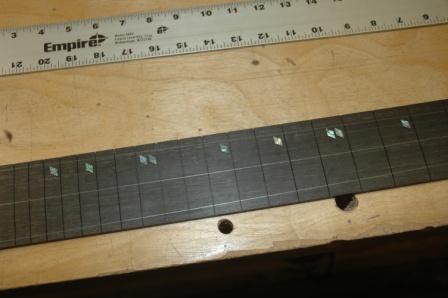
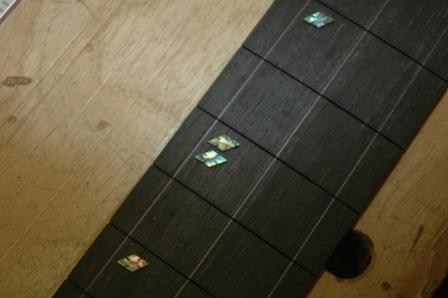
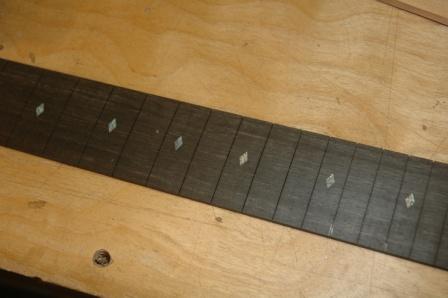
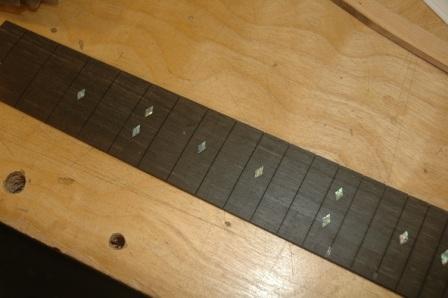
Jim asked if I could tend the fretmarkers toward the bass side.  Here are a few options.

First, markers moved left and up.

110327offsetmrk4

110327offsetmrk3

Second option is to skew the diamonds and double up on 5 and 12.

110327offsetmrk2

110327offsetmark1


Parlor Neck Reset

March 26, 2011

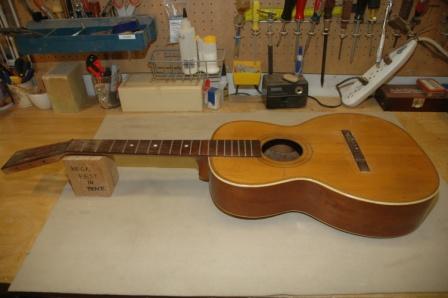
My guilt has taken command of me.  I’ve had Tom’s parlor guitar sitting waiting for me to do a neck reset since, oh I don’t know, 2008.

110326tomparlor

The neck is beginning to come away from the body down at the point where the heel meets the back, essentially pulling up, depressing the top and creating massive string height.

110326tomtop

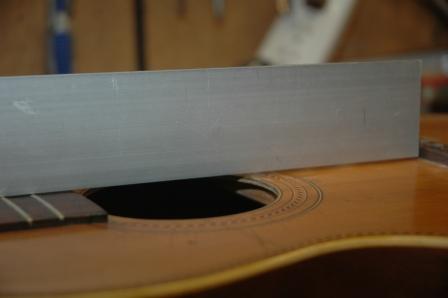
This photo shows a straightedge on the fretboard meeting the bridge at its’ base.  The straight edge should hover just above the bridge surface.

110326tomtop2

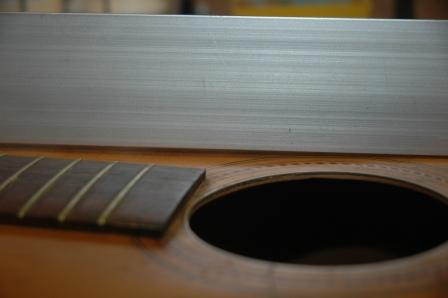
When the straightedge is placed on the lower bout area of the top, you can see the depression of the top surface around the soundhole.

Neck removal starts with releasing the fretboard glued to the top between the heel and the soundhole.  I tried several configurations of a heating blanket on the fretboard to warm it to allow the glue to be softened.

110326tomwrap

Multiple attempts to loosen the glue went naught.  Insertion of a spatula under the fretboard went nowhere.  I’m concerned the glue is of the ilk that won’t respond to heat to release.  I’m tempted to procure another tool, which is specific for heating the fretboard end for loosening.

Once the glue is released, I will be able to steam out the dovetail joint and remove the neck.  Only then will I be able to determine what needs to be done to remove the depression in the top, and what the new neck angle will be.

Guitar 1002 – Fretboard Markers

March 20, 2011

We c0ncluded that paua diamonds would be the choice for fretboard markers after the experiment with wood dots went south.  The next decision point (as simple as it may seem) is whether to go with the single marker pattern or to fancy it up a bit with double markers on 5 and 12.

110320singlediamonds

This is the single diamond configuration with markers at 3 5 7 9 12 15 and 17.

110320doubleddiamonds

This configuration simply doubles the diamonds on 5 and 12.

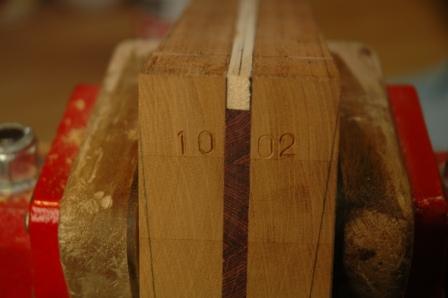
I fully tapered the neck/neck block today using my taper jig and the table saw.  Before I remove any more stock from the cutaway side of the neck block, I’ll need to know the exact dimensional thickness of the sides coming out of the cutaway.  I added the serial number to the inside of the neck block.

110320serial

What is it?

March 19, 2011

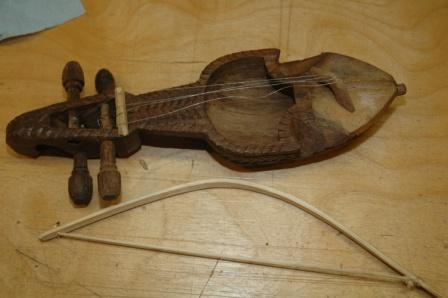
Rachel returned from China/India Tuesday and she brought me a present.

110319chinainstrument_0

She’s not sure what it’s called, so what’s it called?  I need to restring, and I’m not sure what the bridge orientation should be.

Today I added more lacquer coats to the koa dreadnought (6 of 12) and the uke (9 of 12).  The uke is a disaster.  It became dislodged from the spray booth bracket and fell to the cement causing a reasonable amount of damage, including pebbles throughout the wet lacquer coat, a chip out of the headstock, and a segment of binding with road rash.  Oh well, file it down, keep going.  Thank god this is just a “test uke”.  I’m sure it will sound lovely, but it will look like shit.

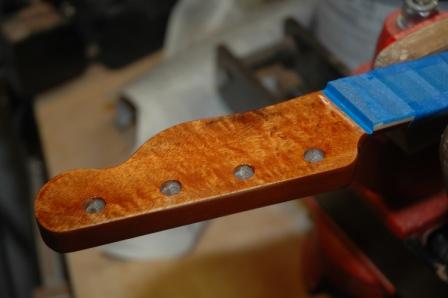
I’m also refinishing a headstock on an eBay purchased Fender koa uke.

110319fenderhead

I have some aerosol nitrocellulose that I am using to refinish this headstock.  It’s got 4 coats now, and I’ll probably go as far as 10.

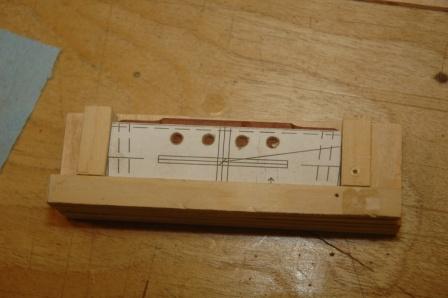
I devised a little jig for drilling holes in my uke bridges.  I’m going to use bridge pins with strings secured inside the body with bone beads.  I’ll get a picture up later of the string beads.

110319bridgejig

Guitar 1001 – 3 of 12 Lacquer Coats

March 18, 2011

Today is a day off school, so I’m spraying.  I’ve applied the 9th coat to the uke and the walnut OM, and the third coat (of 12) on the koa dreadnought.  It’s looking fine, after an exceptionally well executed pore filling step.
110318firstcoat

Guitar 1001 – Pores Filled, Ready for Lacquer

March 13, 2011

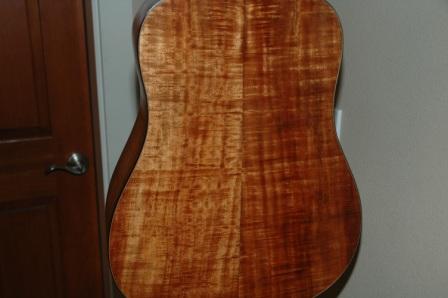
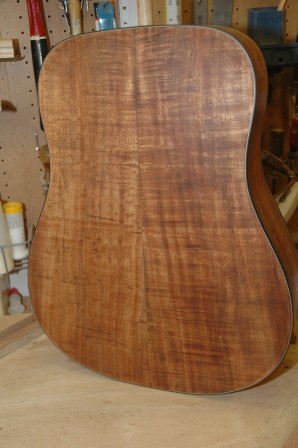
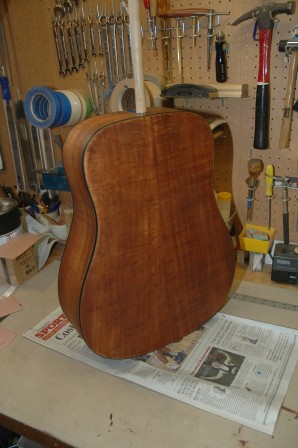
I knocked down the pore filler on the koa dreadnought.  After sanding and scraping the binding to clear off the pore filler haze, we’re ready to start the lacquer application regimen starting tomorrow.

110313backfilled

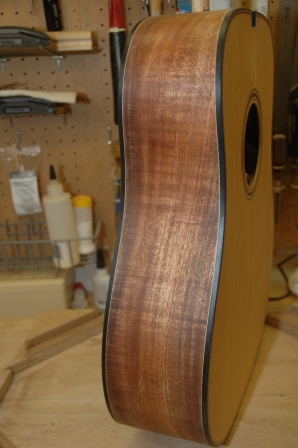
I must say, this pore filling process worked beautifully.  The surface is mirror smooth.

110313sidefilled


Spray Day – 6 of 12 and a little 3

March 11, 2011

Spray day today.  Added 3 more coats to Guitar 903, and Uke 1001 bringing them to 6.  Striving for 12.

110311sixthcoat

110311sixthcoat

Applied the first three coats to the neck for Guitar 1001 while the pore filler dries on the box.

110311thirdcoat

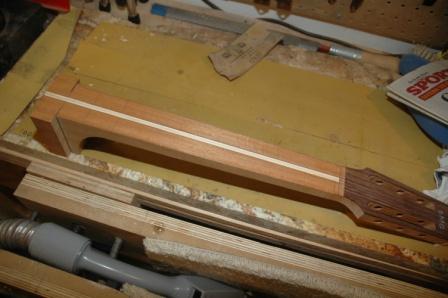
Between coats, I spent a wee bit of time inserting a temporary piece in the truss rod channel for Guitar 1002.  This is to assist in finding the centerline for the neck as I work on the taper.

110311insert

Guitar 1001 – Pore Filler Applied

March 11 , 2011

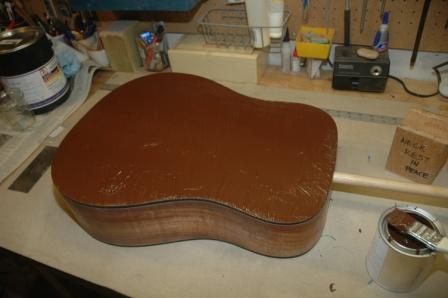
Well well well.  Dove on down to the shop, prepped the body for pore filling and dove in head first.  The back was tackled first, followed by side one then side two (A side and B side?).  First step was to apply a thick coat with a bristle brush.  Its’ consistency is somewhat like tahini.

110311backappl

Or maybe, fudge brownie mix.  Next, dapple with the brush to force filler into pores.

110311backdappled

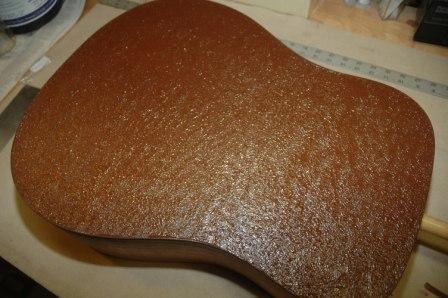
Kind of reminds me of that textured ceiling spray.  I only let it sit for 5 minutes before taking the bondo scraper to it at a 45 degree angle.  It’s a bit of a messy process, and the filler tends to drool over the sides, and stray globs ended up on the top, but quick action removed the globs sufficiently.

110311sideporefill

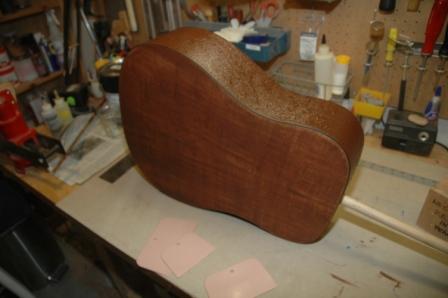
Next the sides were filled, one at a time (A and B, remember?), as the filler dries quickly, and the guitar is resting on the opposite side while applying.  Once all sides and the back were scraped clean, there was still quite a bit of filler floating on the surface.  With a shop towel (like burlap), the guitar was buffed, which removed most of the surface filler, yet kept the filled pores filled.

110311porefilled

After several hours of setting, I will sand off the remaining filler that still coats the surface, resulting in a resumption of the koa golds, the white purfling, and mirror smooth surface (I hope).

I am NOT going to pore fill the mahogany neck.  Or am I?  Let me think on this one for a bit.

Guitar 1001 – Pore Filling

March 11, 2011

I have applied the first coat sanding sealer to Guitar 1001 in preparation for pore filling.  Today I will apply the pore filler first coat.  For the uke and the OM Walnut under construction, I used Z-Poxy as the pore filler with results that were not fully to my liking.  Although Z-Poxy is appropriate for pore filling, the application and knock down are difficult and time consuming.  Hearkening back to my lazy disposition, and not enjoying the whole knock down process, I will use a more traditional pore filling product, Chemcraft Pore Filler from LMI.

I ordered a pint of Chemcraft, colored Medium Brown, appropriate for koa, and it arrived earlier this week.  I have used Chemcraft on previous guitars with good results, but this time I’m determined to get exceptional results.  I learned from my previous forays with Chemcraft that one application is not enough:  the pores get semi-filled with one application, and two or more will be necessary to get mirror finish results (or full pore filling).

The online instructions from LMI are extensive for Chemcraft.  To gather my thoughts, I’ll recap here for you instruction geeks, and to set a roadmap for my work today.

1.  1 coat of sanding sealer (lacquer), thin.

2.  Apply with cheap bristle brush, across the grain.  “Hide” the wood under the filler.

3.  Blot or poke filler into pores with bristle brush at 90 degree angle.

4.  Wait until 70% of shine is gone and filler hazes over.  (Guess I’ll need my attenuated shine goggles for this measurement).  Instructions say 5 to 20 minutes.

5.  Remove excess with a squeegee into another jar (can be reused) at a 45 degree angle to the grain.  I have some bondo squeegees that I’ll give a try.  Some builders use old credit cards, etc.

6.  Any thin layer of filler left behind after using the squeegee can be removed with burlap or sanding after 12 – 24 hours of drying time.  Burlap can also be used 30 minutes after squeegeeing.  Rub across the grain.

Proper application can result in a one coat only experience.  If a second coat is necessary, it will be evident after sanding the dried pore filler.


Next »