Assembly Line Mode

May 28, 2012

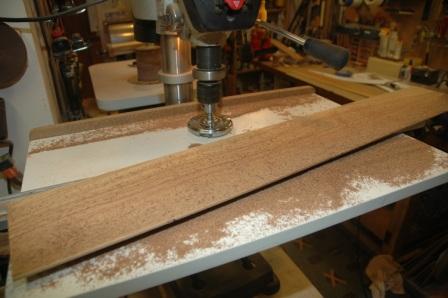
Today and yesterday have been consumed with the assembly line.  I made necks for Guitar 1201, 1202 and 1203, and Uke 1201 and a uke to be numbered later.  I also thicknessed backs and sides for Guitar 1201 and 1202, and joined the back for Guitar 1203.  In between neck builds, gluing and clamping, I scraped away at Guitar 1002.

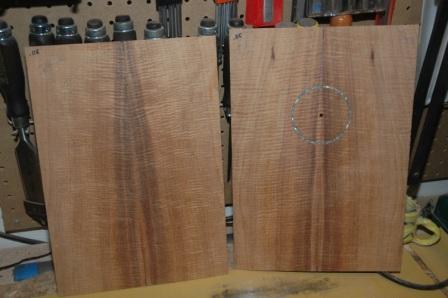
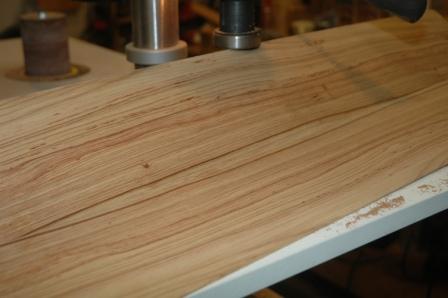
Here’s Rachel’s Myrtle back after thickness sanding.

120528thicknessedback

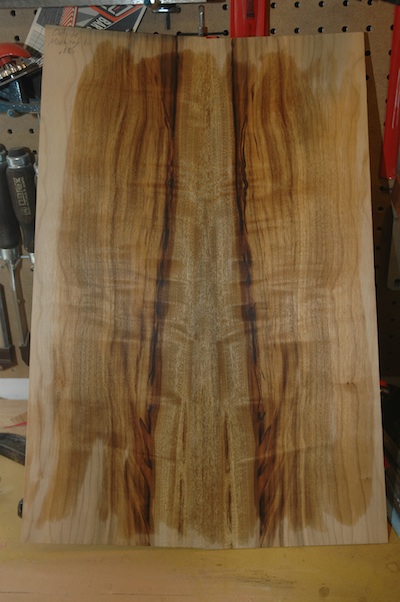
Oooh that’s nice.  I also thicknessed and joined the Peruvian Walnut back for Em’s guitar.

120528joinbackplate

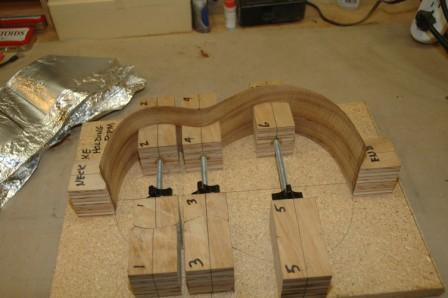
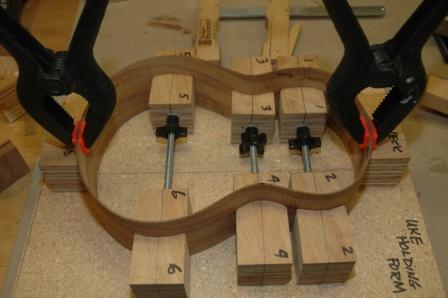
I’m ready to bend sides for Susan’s and Rachel’s guitars which means they can be forthwith set into the molds.

Uke 1101 – Top and Back @ .100″

April 20, 2011

I enacted my theory to eliminate burning on the drum sander.  First, I replaced the sandpaper with a new roll and mounted it such that there is a barber pole install with a 1/8″ gap instead of butted flush.  Then I slowed the drive belt speed down to the minimum and began thickness sanding the koa back and top (should it be called thinness sanding?).

110420backandtop

I took these plates down from .120″ to .100″ without any burning!  I’m smugly pleased.

Guitar 1002 – Sides Planed

April 16, 2011

Using the same setup for planing the uke sides, I brought these sides down to .070″ in preparation for bending.

110416sideplaning

110416sidesplaned

I’m tempted to thickness the cutaway side even more, as there is a sever bend in the upper bout.  Both sides will go through the drum sander tomorrow to clean up the planer marks left behind from the Safetee Planer.

Uke 1101 – Plane sides, bend, mold up!

April 16, 2011

I use a Wagner Safetee Planer to thickness sides.

110416safetyplaner

It’s used with a drill press.  First thing is to calibrate the table it’s parallel side to side and front to back.

110416planercalibrate

The sides are run through and taken down to .070″.

110416planesides

I practiced on a scrap piece to ensure all adjustments to the table were correct, then test bent the scrap to confirm temperatures for the koa.  After planing the real koa sides, I used the new bending mold.

110416bendsides

After bending a side, it was clamped into the holding mold.

110416sidemoldhalf

Next side bend, then inserting into mold (ends were trimmed to butt flush).

110416sidemoldfull

The bends were adequate if not tight enough.  I have an electric bender which I can use to tighten up the bends on future ukes.  It’s tricky to get both sides into the holding mold if the bends aren’t tight enough, and yes, I did crack both sides while inserting.  The cracks were repaired with CA glue and won’t be visible once sanded and finished.