March 10, 2012
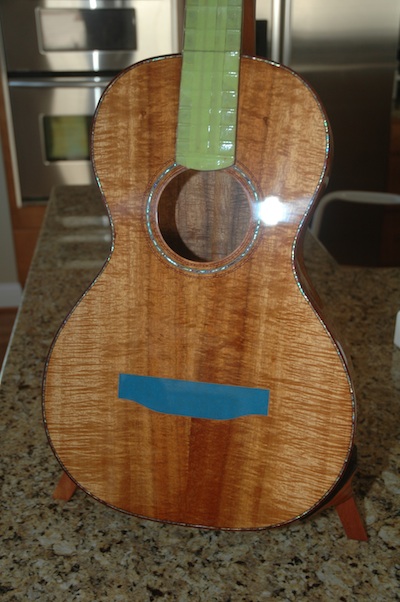
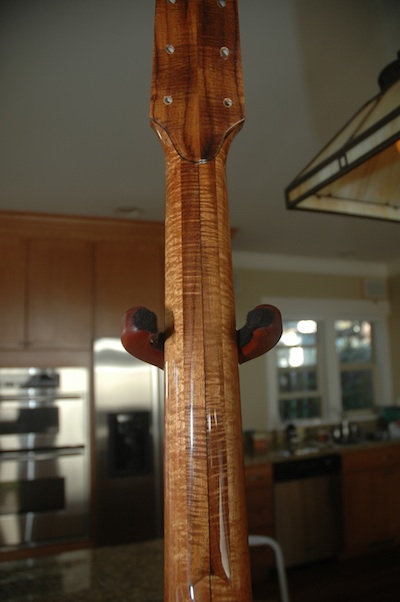
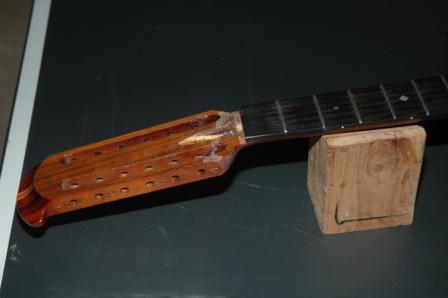
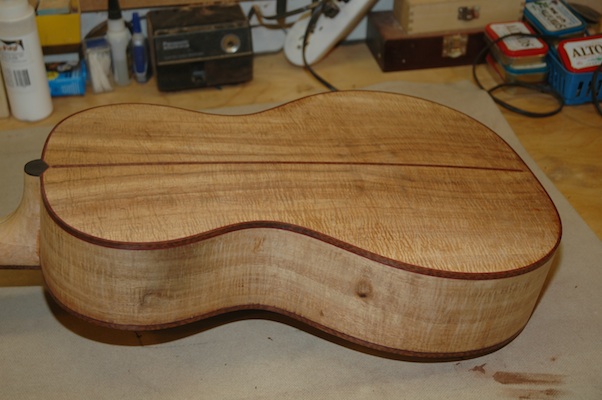
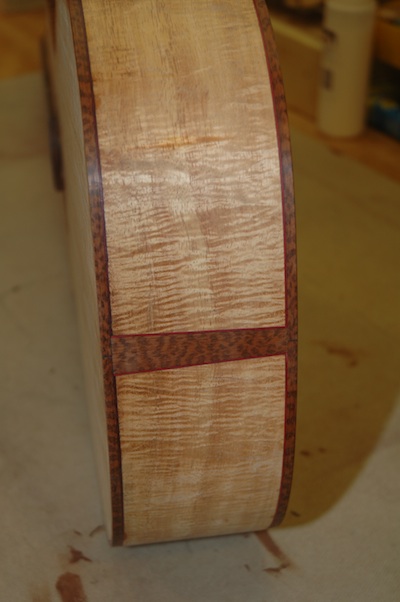
Through a Google search, I was contacted by a gent from Guemes Island who was in possession of an unfinished Rob Girdis parlor guitar. After discussing my background and having studied with Rob, we agreed that I would take on the job of finishing the guitar. It’s a koa parlor with snakewood binding.
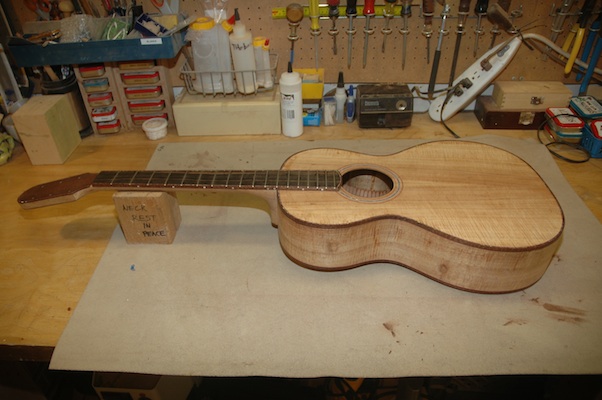
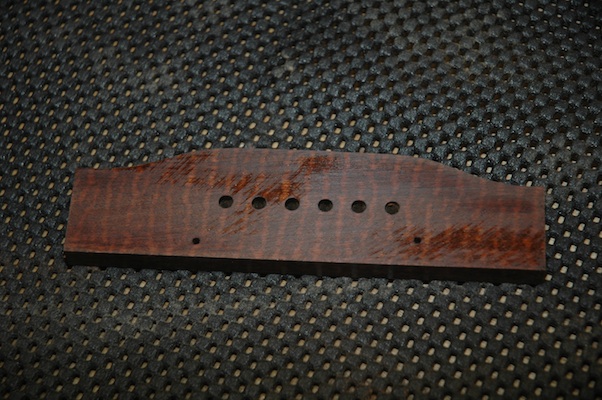
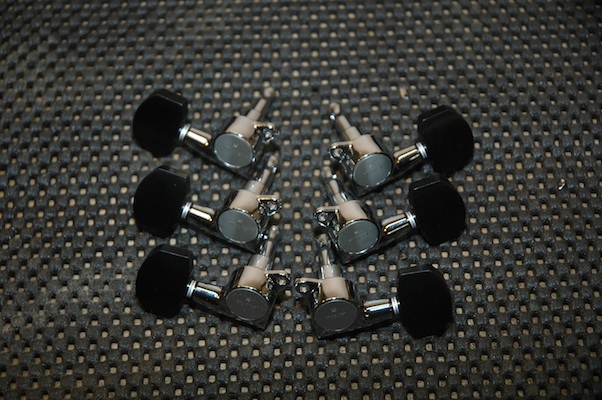
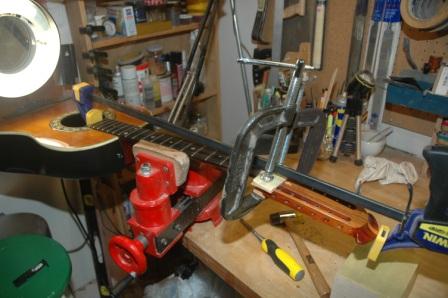
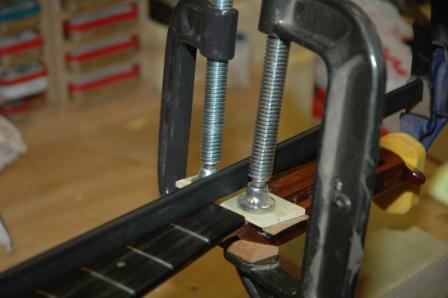
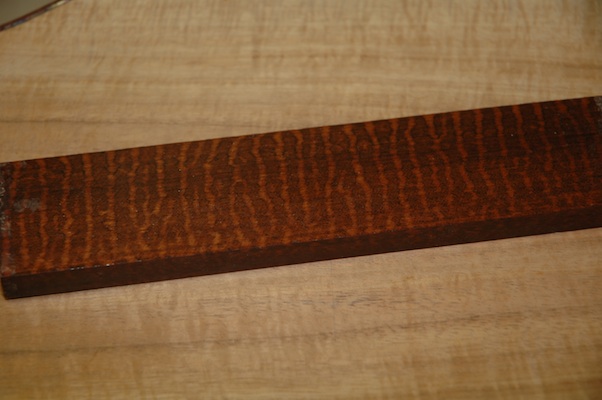
I’m looking forward to this project, as I can still learn from Rob by examining and analyzing the construction of this guitar while I proceed with the finish. It needs the shaping and installing of a snakewood bridge, bone nut and saddle, tuning machines, and end pin. The guitar needs to be prepped for finish, then the application of a lacquer finish. Finally, strings and setup.
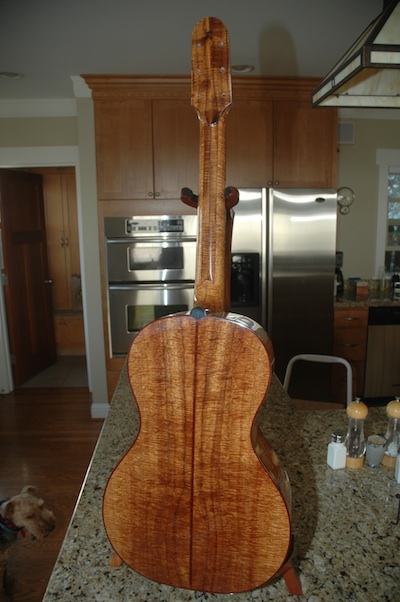
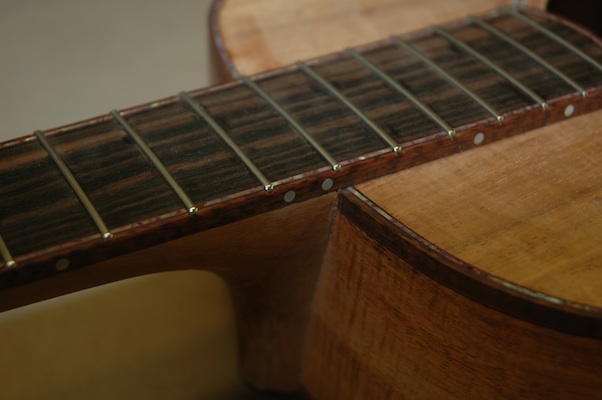
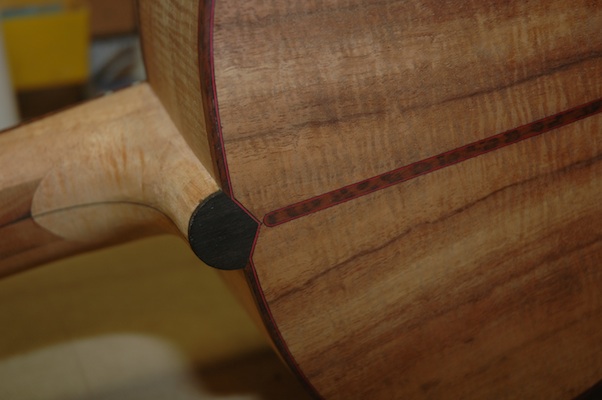
I’ll carefully document the dimensions and materials, and take a few iPhone photos of inside the box. It’s koa all around with an interesting trilaminate neck of mahogany and ??
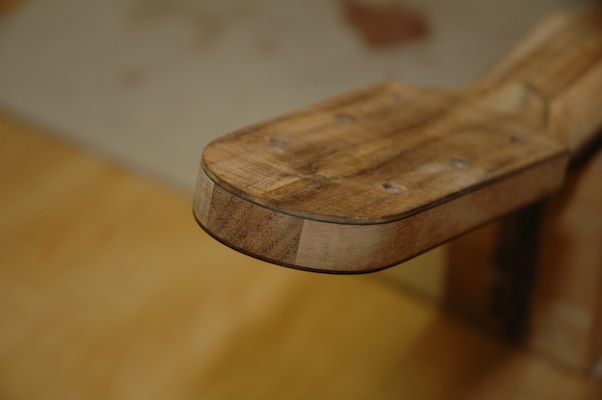
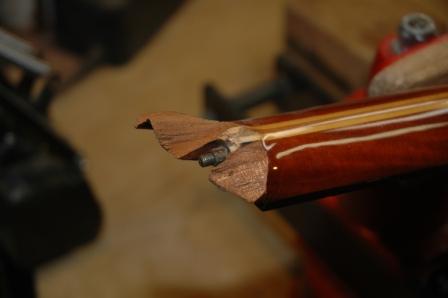
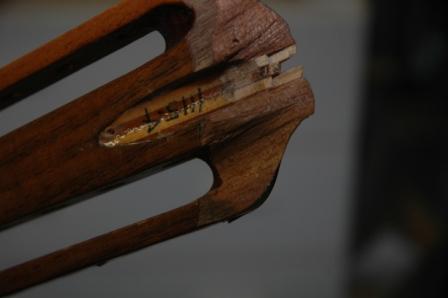
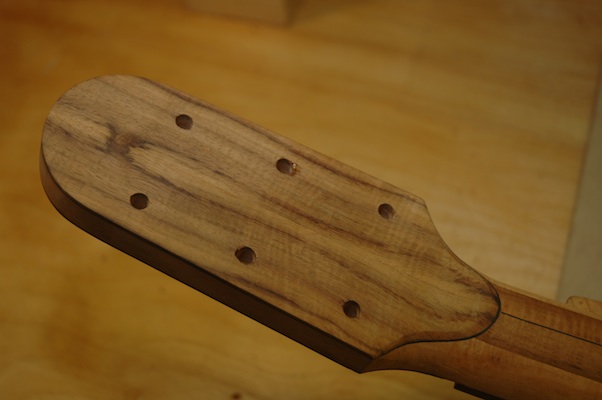
The headstock treatment uses a backing laminate of the same wood in the neck, which may be boxwood.
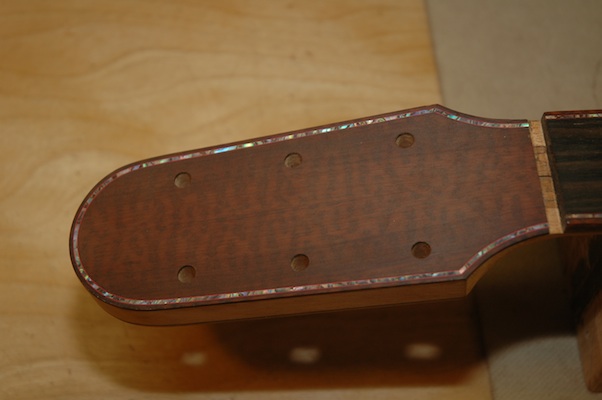
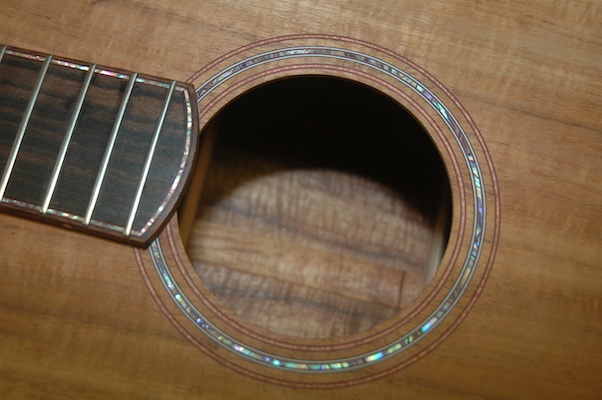
One thing Rob was proud of was his binding and purfling work which really shows on this guitar. I remember showing him progress on one of my earlier guitars where he commented, “Nice work, but, you still have a way to go on improving your binding.” I do possess now, the example to work toward.
I have access to an extensive photo library of Rob’s guitars. I should be able to replicate tuners and bridge design to ensure the finishing of this guitar matches his design.