Archive for June, 2010

Guitar 905 & 906 – Ready for their closeup

June 24, 2010

Tomorrow, Tom does his photo documentation of these guitars as the final step before turning them over to their owners.  Carl picks up 906 on Saturday, and I ship 905 to John on Monday.  I have lots of time to play them before they go on their way.

100624done

100624done

100624readytoship

Sigh – Guitars 905 & 906 Complete

June 22, 2010

Well, nothing is ever really complete, but I can semi-safely say that guitars 905 and 906 are complete.  Of course there’s still that buff this and tweak that and maybe there’s a little buzz on the 7th fret second string that I could frizzle out, but oh my, they are done.

There’s a lot I can say about each, but essentially I’m very pleased with the sound.  That’s the one thing you don’t know until you finally string them up and play them.  Everything you do is directed toward how they will sound in the end (and of course how they play, but if they sound like crap, who cares how they play).  Both these guitars sound like heaven.  I’m still amazed, to this day, that you can get so much sweet sound out of a small box parlor.  It’s not a room filling volume of sound, but rather a resonant sweet tone.

The OM continues to impress me with its’ fullness and subtlety.  This guitar was walnut, and I very much like the warmth and sustain that walnut gives.

100622stringson

The parlor was my nth foray into Koa, and I am continually impressed with Koa as a guitar tonewood.  Not only does it have beautiful visual quality, but it really sings, especially in the smaller body guitars.

100622stringson

So next is to do some polishing, label installing, and playing before I send these off to their respective owners.

Oh, and some other news…..even though I build guitars, I have to support myself and my family through the concept of a day job.   I have been accepted into a program where I can get my secondary mathematics teaching certificate.  Soon, I will be a high school math teacher.

Ukuleles

June 15, 2010

I was in Dusty Strings Saturday picking up a few odds and ends and ogling the stock.  I overheard that ukes are big sellers.  The fastest growth in sales over any other item within the store.  I’ve often considered building ukes, and get plenty of signals that this would be a good endeavor.  Not that a uke would be that much faster to build (it’s just a tiny guitar after all), but there may be a larger market out there to support sales.

So, I’m on the hunt for some quality uke plans as a starting point, then going to look into what it would take to create a production line for quick turnaround.

Guitar 905 – Saddle and Nut

June 15, 2010

Both the nut and saddle have been shaped in preparation for stringing up.  I need to slot the bridge pin holes for the string entrance and notch the nut for the strings.  Per the customer’s request, this is a very narrow neck at the nut.  I’m excited to see how this narrow neck feels/plays.

Guitar 906 – Bridge Mounted

June 15, 2010

After the neck set, I located the bridge position, masked off the surface and applied lacquer stripper to remove the lacquer in preparation for the bridge mounting.

100615bridgestrip

This is still a process that I’m not fully comfortable with.  As careful as one can be with the stripping of the lacquer, there is still a wee bit of contamination of the lacquer outside the area to be stripped.  This can be seen at the edge of the bridge after mounting.  It is so very slight, but still evident.  Other approaches would be to mask the box where the bridge will go prior to spraying.  Same goes for the neck/fretboard where it meets the upper bout.

Once the lacquer was removed and the surface roughed up, the bridge was glued and clamped in place.

100615bridgemount

After it cures, bridge pin holes will be drilled and tapered in preparation for setup.

Guitar 906 – Neck Installed

June 11, 2010

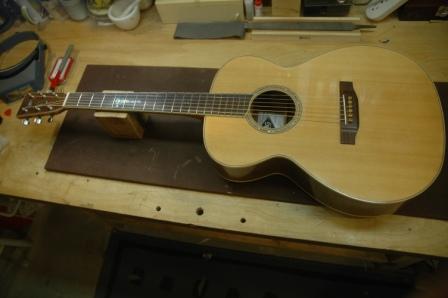
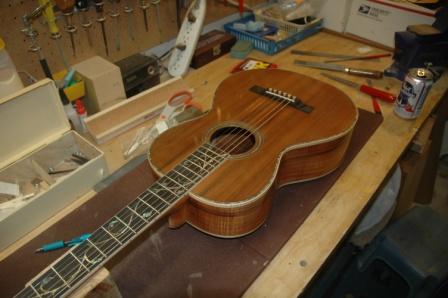
Carl comes to visit on the 25th.  I have been the great pretender for too long.  His guitar will be ready when he arrives.  No excuses.  I made a giant leap toward that goal today by knocking down that finish to a glorious sheen.  The buffing wheel does wonderful things.  I have learned, though, that there’s only so far that buffing wheel can hide incomplete sanding.  And, I have learned how complete I must sand in order to buff to my desired finish.

100611polishedback

I have also learned the importance of grain filling.  As I tend to finish on the light side (too much lacquer effects the sound, yet too much lacquer hides all blemishes), I can see every leftover crease, unfilled grain-ule, and divot from the sharp edge of the bench vise.  Grain filling is that step before finishing where you level off the surface with a filler, and with most tropical hardwoods, there is a bit of open grain.  Since I don’t rely on the final finish to fill the grain, I must be much more diligent in my grain filling step(s).  I will not, I repeat, I will not proceed to the finishing step until every grain has been filled and leveled.

100611polishedtop

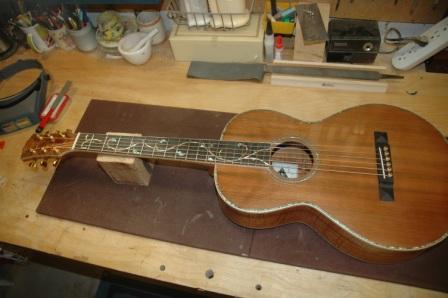
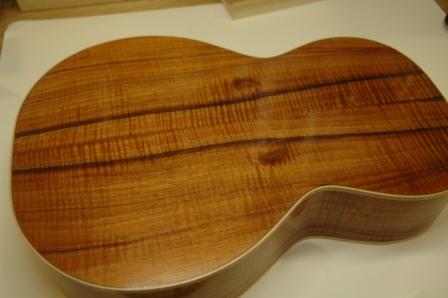
Now, the guitar in question, Carl’s Koa Parlor, does have a very interesting “grain feature”.  The finish is not glass smooth, but accented with the natural grain of the wood.  Visually it is pleasing (unless you want glass), but tonally, it will be for the best, as the lacquer is just enough to protect, but not enough to deflect from the sound the wood wants to make.

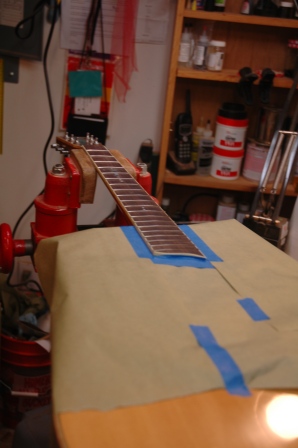
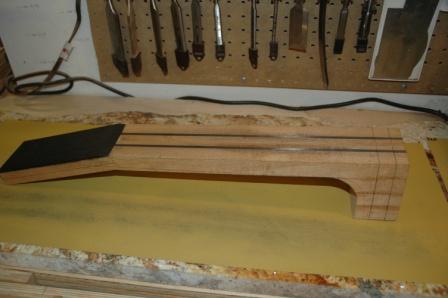
After buffing, I dry set the neck and checked the neck angle and masked the area arount the end of the fretboard where it will be glued to the top.  The neck angle on this guitar is much closer to my preferred than any previously.  What that means is that no matter how diligent I may be determining the neck angle, after all comes together and it’s time to install the neck, it’s always a little steeper than I planned.  This guitar, a victim of multiple neck angle experiments, is much closer to ideal.

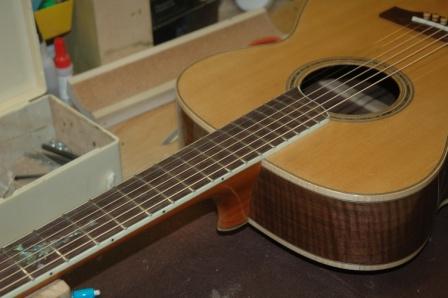
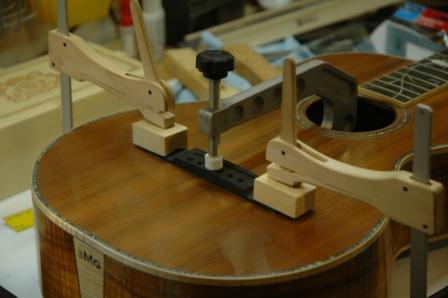
Strypeeze is used to remove the lacquer from the top where the fretboard will be glued.  The following picture is a product placement, from which I have been handsomely compensated.

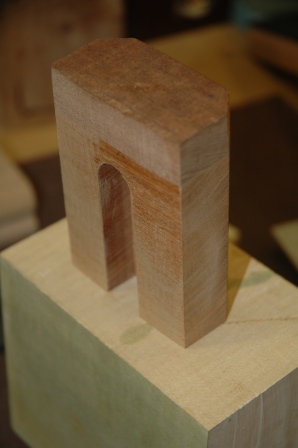
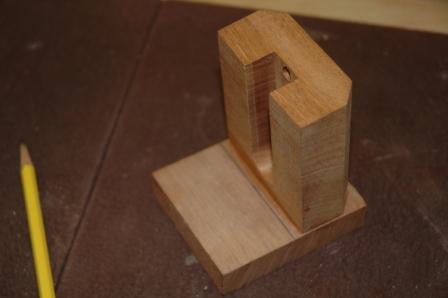
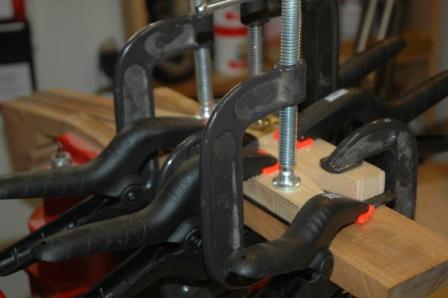
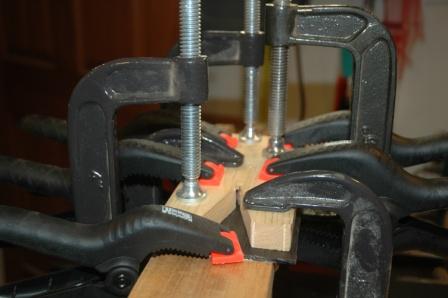
Once the goop has been carefully scraped away and neutralized with water, the neck can be glued to the body.  I use a mortise and tenon bolt on neck, but the surface of the guitar top is glued to the fretboard for stability.  This means that in future neck resets, only the section of the neck attached (glued) to the top needs to be heated and relieved.

100611neckglued

Router Table and Jigs

June 10, 2010

A lot of time this week has been spent on the building of a router table.  I have a router table that sat in my garage (the room for all my power tools) and was made of MDF which sat directly under the largest leak in the garage.  Needless to say, there are several leaks in my garage (circa 1910, cracked concrete, mostly below ground level).  All sorts of effort has been made to stop the leaks, but none successfully.  I’ve resigned myself to draping plastic garbage bags over all my power tools.  The MDF router table was unusable as it bulged from all the absorbed water over the past year.  I used it as a template and constructed a new one out of 3/4″ birch ply finished with lacquer.

I’ve been aware for some time that a router table with certain jigs is used quite a bit in luthier’s shops.  The first use is to radius bracing.  By building a jig that holds the brace blanks and has interchangeable radius templates, one can quickly and accurately radius braces and tonebars.  I’ve designed the jig, but haven’t constructed as of yet.  My design will allow for any width of brace and any radius that I have a template for (right now I have 40, 28, 20, 15, and 12).  I use 28 for the top and 15 for the back on my current guitar models.

I’ll post a few pics of the router table and jig once complete.

Guitar 905 – Fret dressing in progress

June 10, 2010

I masked off the guitar body to avoid getting fret shavings on the finish or in the soundhole.

100610maskbody

The first opportunity is to use a file to level the frets with each other.  Fret 5 and 14 were the highest, so I filed to and between them until I started to see filing marks on the frets in between.  Next I drew the file across all 20 frets attempting to create one continuous flat surface across all frets.  Once I was close, I bevelled the ends of the frets to a 45 degree angle and removed most of the overhang for each fret.  I went back and dressed more until the frets were essentially flat.  I still had a wee bit of clearance between the straightedge and frets 1 and 2.  A quick truss rod adjustment brought those into a tolerable distance.

100610firstfretdress

I’ll dry install the nut, saddle and strings before crowning and polishing the frets.  This will allow me to set the correct string height and check for any fretting problems which need further filing.  Once (and it’s usually two or three) I have the proper setup, I can go back and crown, dress and polish the frets and install the nut and strings permanently (don’t forget to install the label after blowing out all the crap in the box Stephen!).

Install the strap peg on the heel, give it one last polish on the buffer, and this guitar will be done!

Guitar 1001 – Further progress on the neck

June 10, 2010

After the neck block extension came out of the clamps, I was able to trim it down and flush it up with the original block.

100610neckblockextended

It is now a wee bit oversized, but I’ll trim down the height just before gluing it to the sides.

I trimmed up the ebony headstock veneer after it too came out of the clamps.  I level sanded the neck where it glues to the fretboard, remeasured where the 14th fret should land and traced out the heel curve, then sanded it out with the spindle sander.

100610neckblocked

I also sketched in the eventual thickness of the headstock and the taper for the back of the neck from the headstock to the heel.  After installing a new blade in the bandsaw, I’ll cut to the sketch lines in preparation for initial neck shaping.  I won’t shape the neck until I receive the headstock inlay, as routing out the inlay channel will be easier to do with a squared headstock secured in the vise.

Guitar 1001 – Neck work

June 9, 2010

I augmented an OM neck block to accomodate the larger size needed for a dreadnought.

100609neckblock

The added piece is oriented with the same grain direction.  It will be trimmed to match the dimensions of the existing neck block.

Spent considerable time flattening the top of the neck and the headstock.  Installed the ebony headplate and will trim down flush with the mahogany once glue sets.

100609clampveneer

100609headveneer

I’m waiting for a designed/constructed headplate inlay.  I’ll determine the headstock shape based on the inlay design.

Next »