Guitar 1202 – Box On Garth

January 3, 2013

Good news from LMI:  KTM9 water based lacquer has shipped from the manufacturer.  Availability to me starts January 9th.

Did some packing of the uke after fully prepping it for lacquer finish.  I’ve sent it off to Athens, GA for finishing.

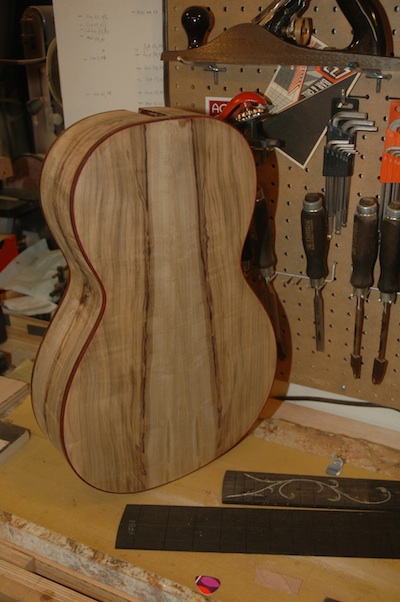
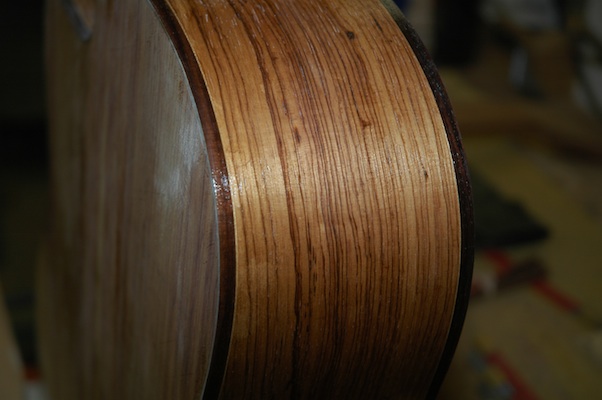
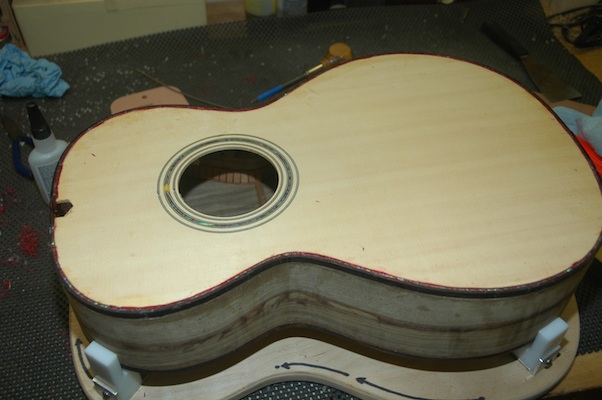
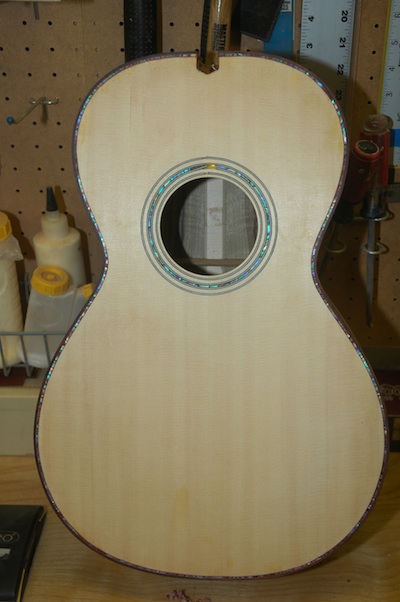
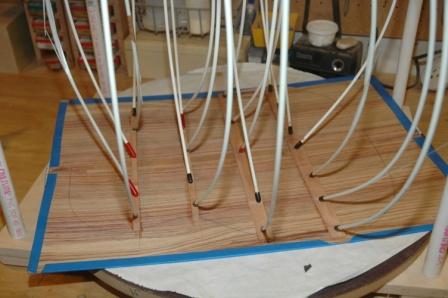
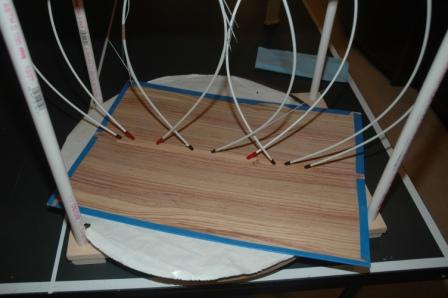
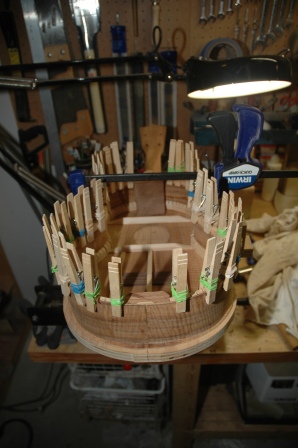
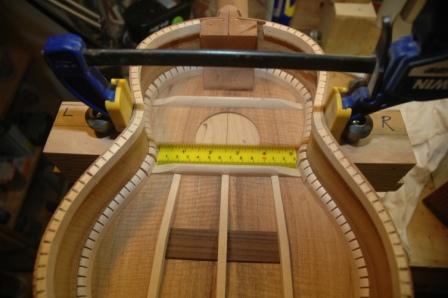
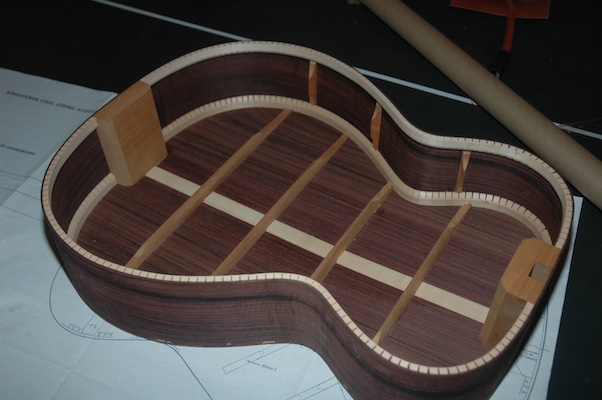
The box for the OM aka “Bob” is closed in.  I did neglect to install the electronics, but justified my mistake by saying that I need practice installing these after the fact anyway, so we all say.

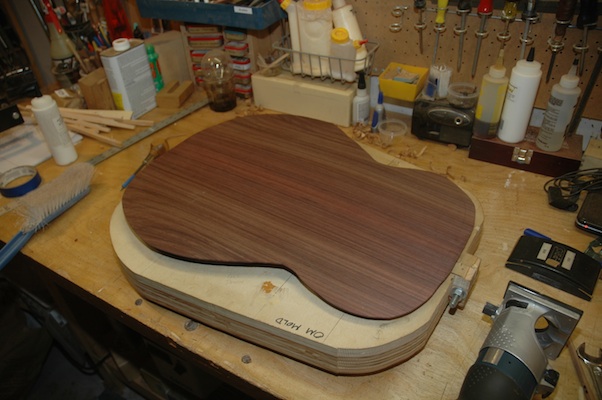
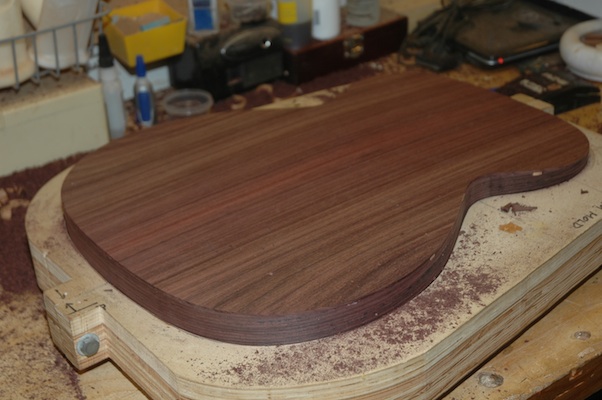
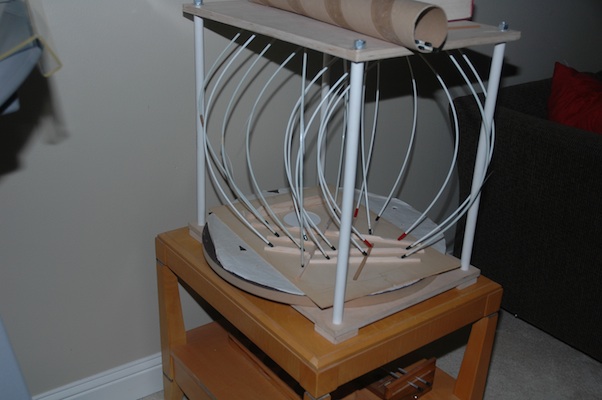
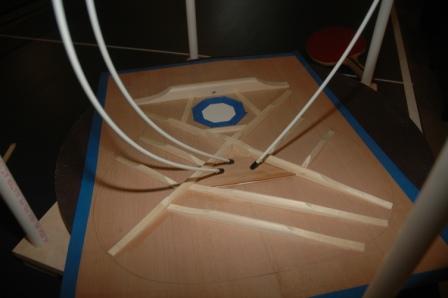
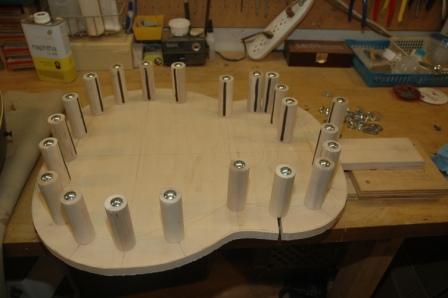
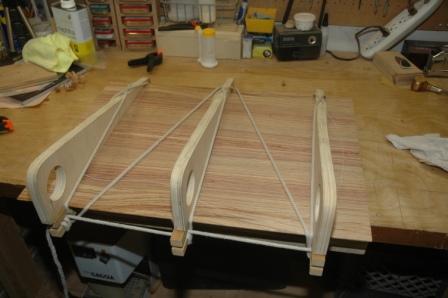
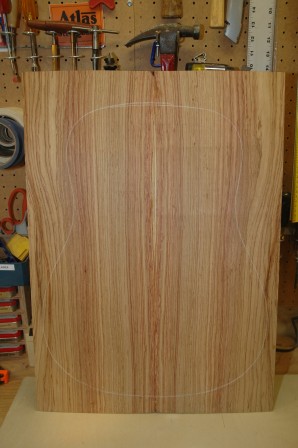
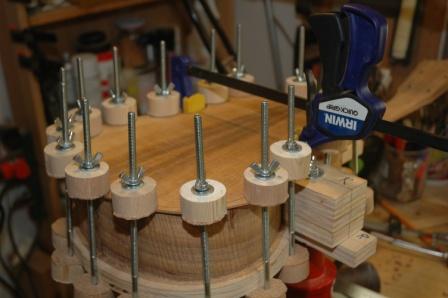
First, completed sanding and prepping the back and sides to accept the top.

130103insidethebox

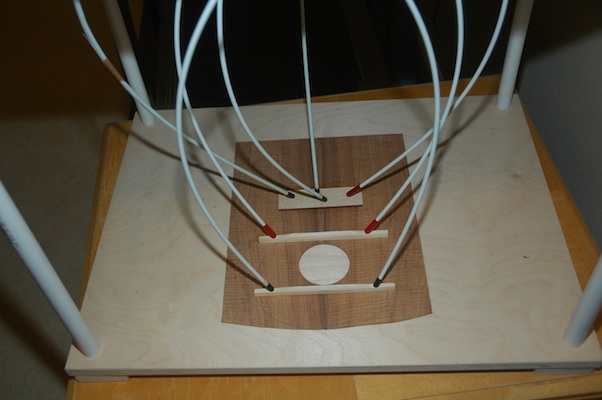
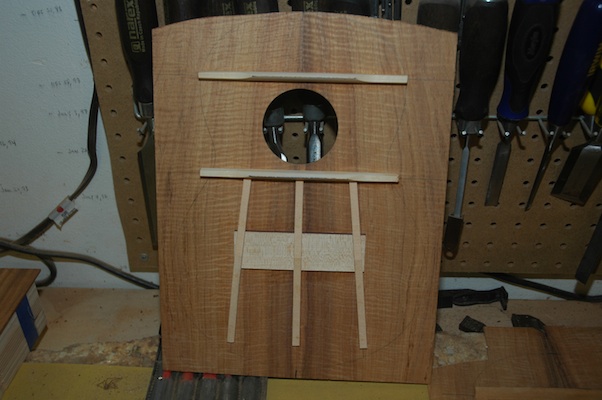
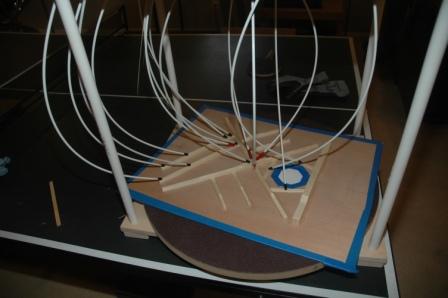
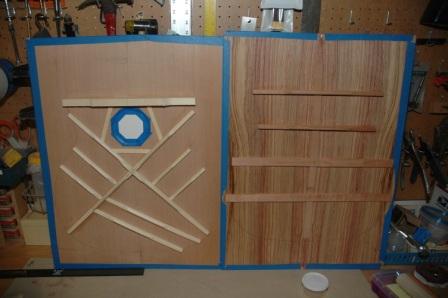
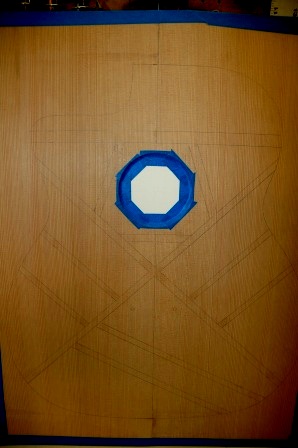
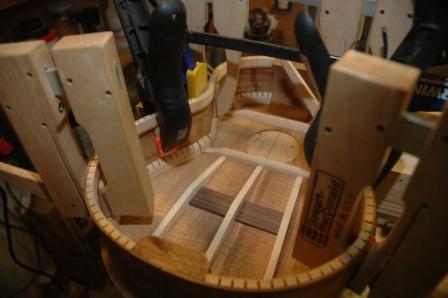
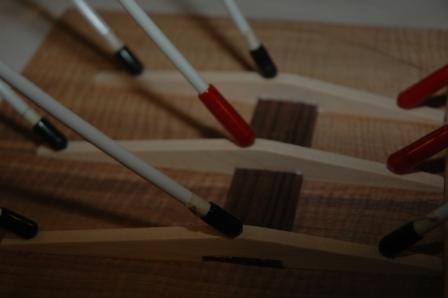
In the past I have wreaked havoc on spruce tops while bracing.  I learned since to mask the top while I’m bracing to avoid dings and dimples.

130103topcheesecake

130103topbracing

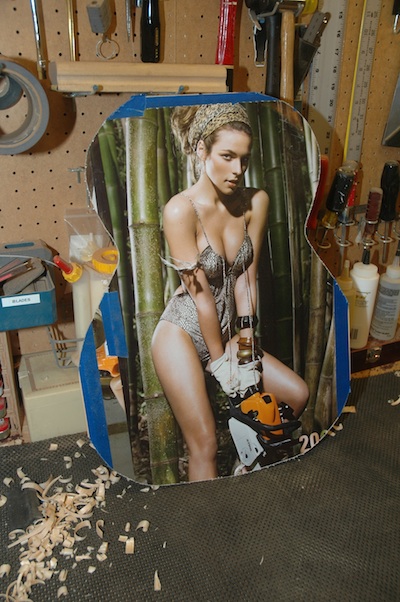
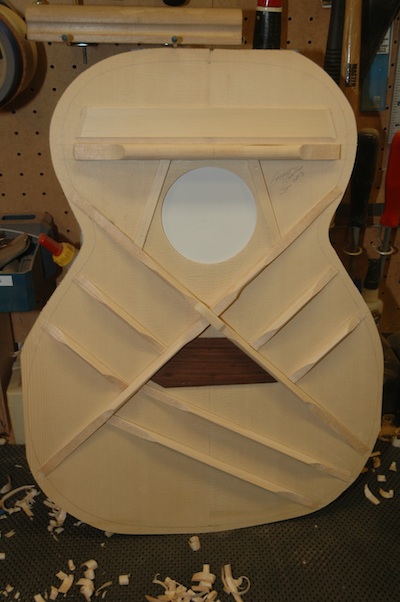
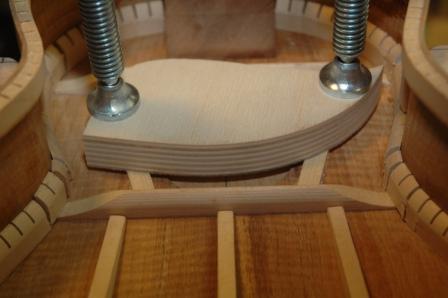
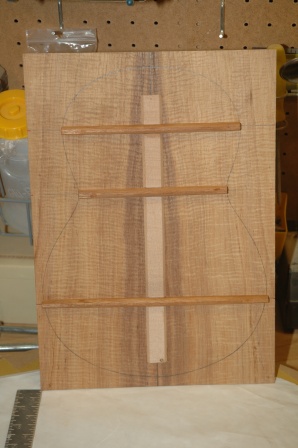
Hey, it was from a calendar my WIFE gave me.  The top is all braced and trimmed back ready for installation.

130103toponbox

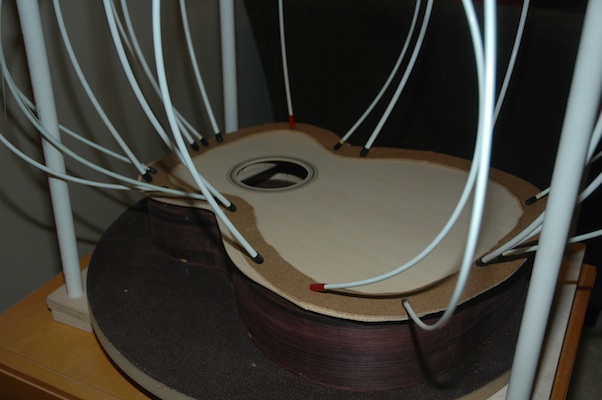
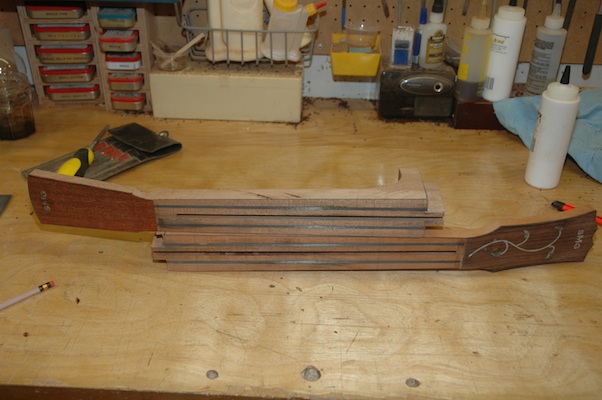
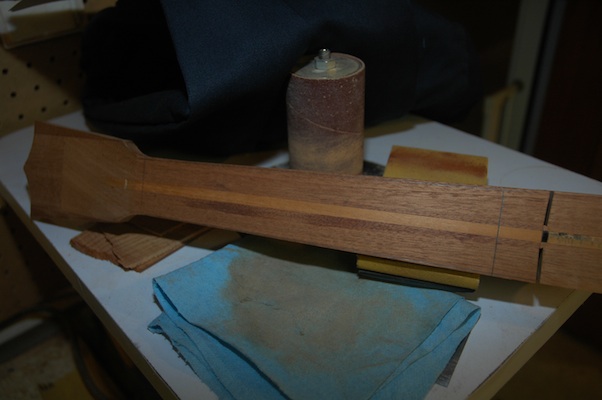
A couple of hours to dry, then I can cut off the scarf and start thinking about the binding and purfling.

Happy New Year to All

December 30, 2012

This will be my last post of 2012.  Some things were accomplished in 2012, but all in all, the pace of this year’s building has ebbed in relation to previous years.  I could chalk that up to a new career teaching mathematics, but really it’s a case of shifting priorities.  I have endured a few crisis moments all around finishing with spray lacquer.  As reluctant as I was to put down the spray gun, it is for the better.  I cannot continue to subject my families health and my health to the lacquer fumes inherent with nitrocellulose lacquer application.  My options are twofold:  send guitars out for spray services ($500) or procure hard to find water based lacquer and spray with this less toxic alternative.  I’m still on the hunt for water based with mixed results.

I have been working diligently on my uke, Rachel’s parlor and Susan’s OM.  What follows is an except from recent work.

Rachel’s parlor has taken a step forward with neck shaping and fret dot design.

121230back

The fretboards for Rachel’s parlor and Susan’s OM are seen below the beautiful Myrtle back.

121230necks

The parlor neck is on top with the Cocobollo headplate.  The OM neck is shown with the rosewood headplate.

I’ve managed to shape bracing and install the back to the sides as well as lay down the top bracing for the OM.

121230beforetrim

121230aftertrim

The second picture shows the back after the scarf has been trimmed.

121230topbracing

Update: Uke Parlor Hybrid

August 26, 2012

Yeah, Guitar Camp was awesome, and now I’m home counting the days before I start back teaching.  I took a uke and an OM to camp, and as usual garnered a lot of interest from fellow campers who claim they “must have one”.  On the last day of camp advice is given to those of us returning to the non-camp world.  One bit of proper advice was, “Wait three weeks before accepting a proposal of marriage from a fellow camper.”  Same goes for committing to a new uke or guitar.

I’ve resumed where I left off before camp.  The Hybrid for Jim has a first coat of pore filler (an epoxy resin) and is lined up for the spray booth.

120826sidefinishing

I’ve installed all binding on the Myrtle Parlor.

120826topbinding

I then did what all good builders should do, I burnished my cabinet scraper.  Ah, what a difference!  Several smooth strokes across the top, and the binding is trimmed flush with the top.

120826bindingscraped

I’m so in love with my first uke.  I played it at camp and caught the bug.  The uke I’m working on now is really for me (so I’m differently motivated).  The top is braced, the tonebars are installed and the neck and top have been joined.

120826neckstabilizer

The neck has been stabilized with a graphite rod which lives under the mahogany strip in the center of the neck.

120826topbracing

First the bracing and bridge plate were installed.

120826tonebars

Then the tone bars.

120826necktotopjoin

Finally, the neck and top can be joined.

Guitar 1002 – Bridge Plate

June 19, 2011

Bracing is installed and trimmed, awaiting final sanding.  Bridge plate installed and X-brace patch installed.

110619bridgeplate

Guitar 1002 – Bracing Installed

June 16, 2011

All back bracing and top bracing/tonebars have been installed (glued and clamped).

110616topbracing

The braces have been pre-shaped for minimal chiseling.  After further shaping, and feathering the ends down toward the edges, I will install an x-brace patch over the joint, then sand.

110616bracing

The bridge plate will finally be installed prior to joining back, sides and top.

Guitar 1002 – Bracing Continues

June 12, 2011

I have begun the process of finger planing/shaping the back braces.  I’m also 75% complete on gluing/clamping all the top braces.  I’m heavily preshaping the top braces as my past experience has been that this is a more efficient method than planing/shaping after the braces have been installed.

The owner of 1001 dropped by to request a tweak.  His open A string had the dreaded wolf-tone which was really a small gap underneath the nut on the fretboard side.  A simple filing of the nut slot to release the gap fixed the problem.

I’m also continuing to apply lacquer filler to the headstock for the 12 string Ovation repair.  I’ve reattached the sheared headstock, repaired are relacquered the truss rod cover, and after the lacquer filler cures I’ll spray several coats of touch up lacquer then sand and buff.  It should be ready later next week.  I would like to get this back to the customer before we head out to Alaska for our RV adventure.

Guitar 1002 – Workboard and Back Bracing

June 10, 2011

I completed the side supports for the workboard for Guitar 1002.  The workboard is an alternative to the body mold which I have used for previous guitars.  As I’m using a Spanish Heel, the neck will be attached to the top plate before the sides are installed.  The workboard allows the top and neck to be secured.

110610workboard

Each dowel side support will be in a slot to allow adjusting the position to create the final and proper shape for the sides before gluing to the top.  I will also need to dish out the lower bout area of the workboard to accommodate the radius bulge of the top from the X-bracing.

I have rough cut all the bracing.  The top bracing will be spruce, and back bracing cedar.  The back bracing is radiussed to 15′ before gluing.

110610backbracing

Guitar 1002 – Plates

May 30, 2011

I used the drum sander to bring the back plates down to .090″ then jointed and joined in the spanish joiner jig.

110530joiningjig

After drying, the joint was sanded, a protective posterboard cover was taped to the outside, and the center strip was glued using the go-bar clamp.

110530backjoined

110530backstrip

The top was similarly protected with posterboard (I’ve dinged too many top plates) and the bracing pattern was pencilled in.

110530bracingpattern

Uke 1101 – Kerf, Patch, Spool

April 26, 2011

Got a lot done today between printing lesson plans and teaching 9th graders how to divide exponents.  I planed and radius sanded the back until it was in shape to accept kerfing.

110426kerfback

Lots to do on the inside before gluing on the back.  Side reinforcements go in, three to a side.

110426sidesupports

The soundhole needs to be reinforced with two spruce braces.

110426soundholepatch

The ladder bracing on the back was trimmed back, and a label was secured to the back as well.  The soundhole is too small to get my fat mitts into to glue in the label, which is what I usually do with guitars.  The back was trimmed down at the waist to accomodate a clamp to press in against the side waist to square up the sides.

110426squarewaist

The back is glued to the kerf and held down with spool clamps.

110426backspooled

Later tonight, after the glue dries, I’ll flush up the sides and it will appear to be a ukulele.

Uke 1101 – Bracing

April 23, 2011

I completed the bracing for the back and top today.

110423tentalones

The bridge patch is rosewood, and the bracing for the top is flat (not radiussed) using sitka spruce.

110423topbracing

The back is braced with 15′ radiussed mahogany ladder bracing.

110423backbracing

My dyslexic brain allowed me to cut the slots in the neck for the spanish heel at the opposite angle.  The plan for recovery is complicated and will require me to build a jig to hold the neck and accurately cut the correct slots.  First I’ll patch the “bad” slots to return material to the neck block before I cut new slots.  The fortunate aspect of this problem is that the patch will only be visible inside the uke where the heel meets the sides.