December 2, 2018
OK, it’s been a year since last post, and you can imagine that this lack of communication indicates lack of progress. You have a great imagination. All guitars (3) and a uke have slouched toward the wrap up step of lacquer application. Plans are in place for completion.
Published by Stephen on 02 Dec 2018 under Guitar 1002 - Hybrid Cutaway,Guitar 1201 - Myrtle Parlor,Guitar 1202 - Rosewood OM (Bob),Uke 1201 - Koa Tenor Redux
Tags: Hybrid, OM, Parlor, Spray Lacquer, Uke
Comments: none
March 29, 2013
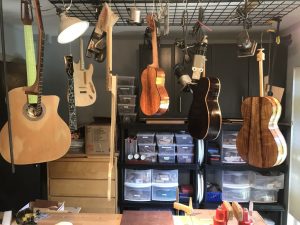
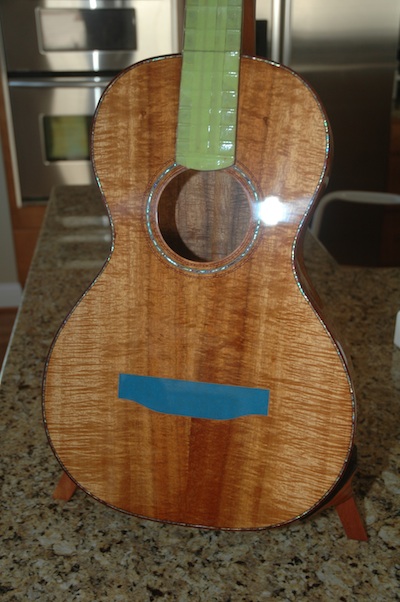
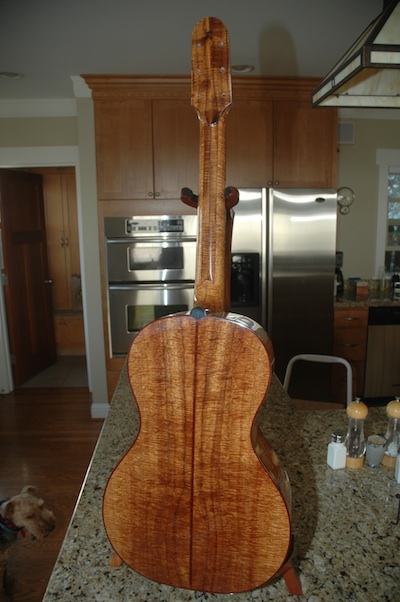
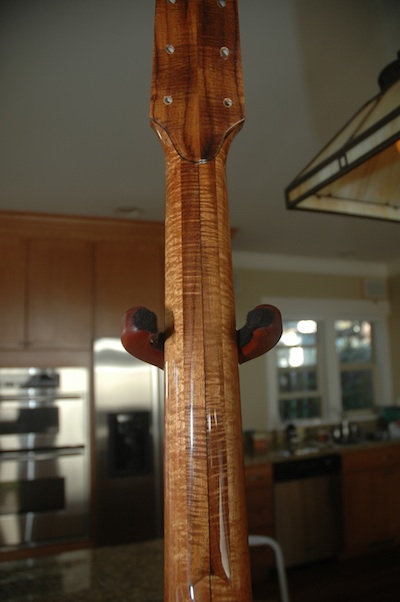
After considerable wait time, the finish work on the Girdis guitar is complete and the box arrived yesterday. Very nice finish, very nice guitar.

Published by Stephen on 29 Mar 2013 under Repairs, Jigs, Tools and Other
Tags: Koa, Spray Lacquer
Comments: 1
December 30, 2012
This will be my last post of 2012. Some things were accomplished in 2012, but all in all, the pace of this year’s building has ebbed in relation to previous years. I could chalk that up to a new career teaching mathematics, but really it’s a case of shifting priorities. I have endured a few crisis moments all around finishing with spray lacquer. As reluctant as I was to put down the spray gun, it is for the better. I cannot continue to subject my families health and my health to the lacquer fumes inherent with nitrocellulose lacquer application. My options are twofold: send guitars out for spray services ($500) or procure hard to find water based lacquer and spray with this less toxic alternative. I’m still on the hunt for water based with mixed results.
I have been working diligently on my uke, Rachel’s parlor and Susan’s OM. What follows is an except from recent work.
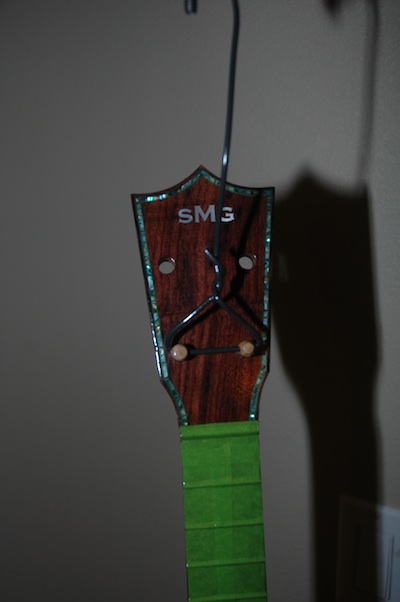
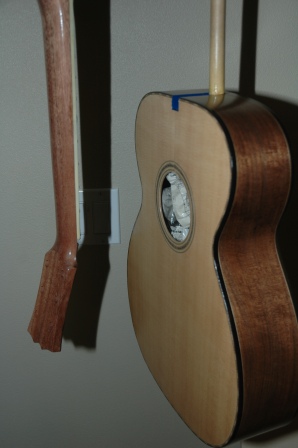
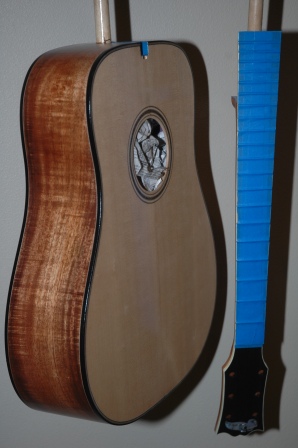
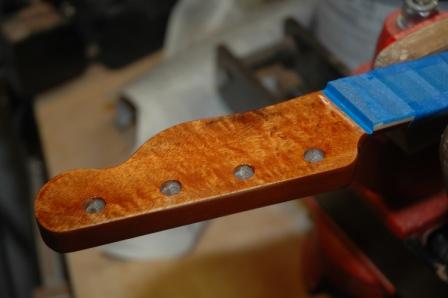
Rachel’s parlor has taken a step forward with neck shaping and fret dot design.
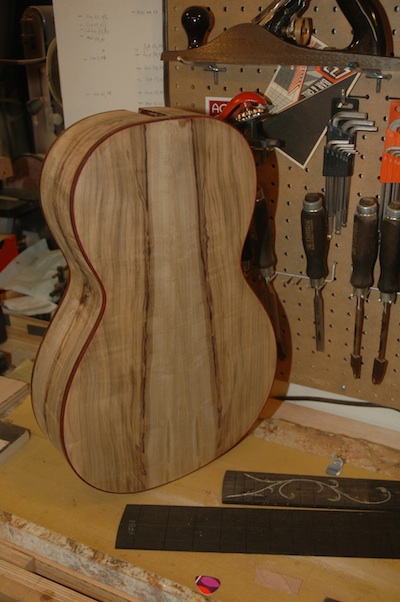
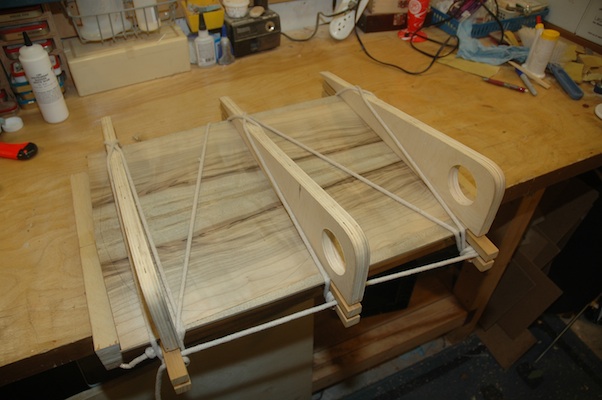
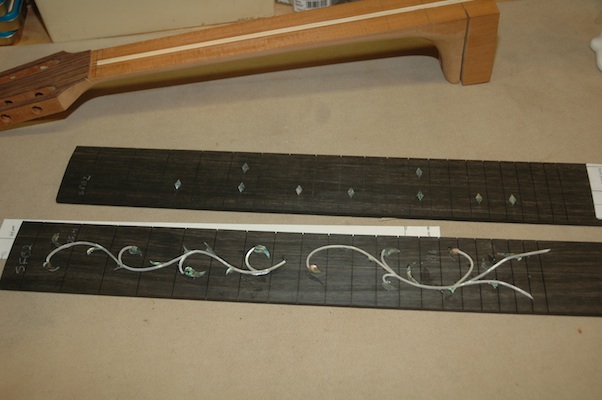
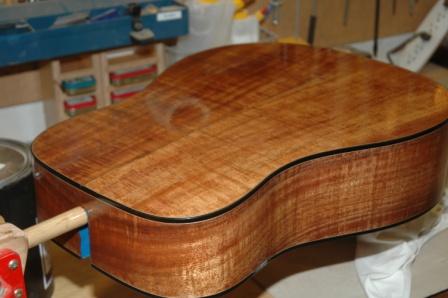
The fretboards for Rachel’s parlor and Susan’s OM are seen below the beautiful Myrtle back.
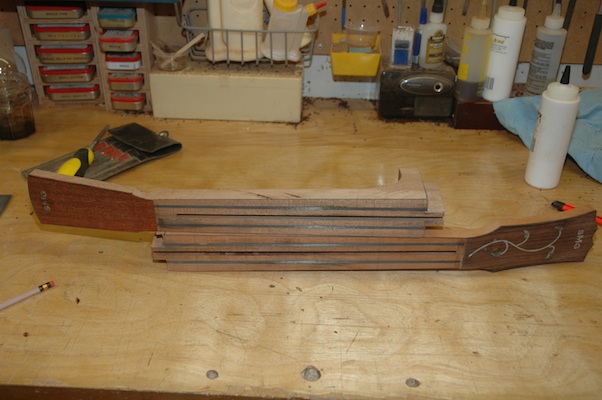
The parlor neck is on top with the Cocobollo headplate. The OM neck is shown with the rosewood headplate.
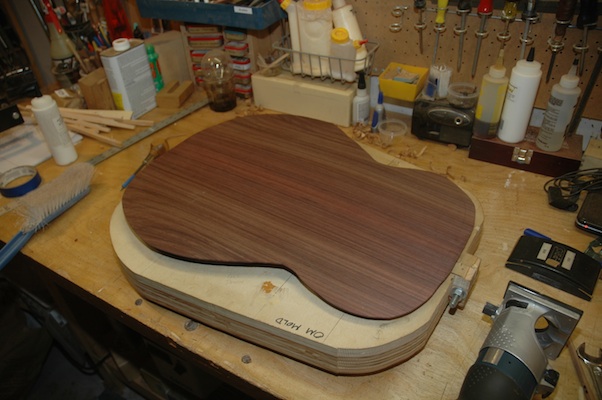
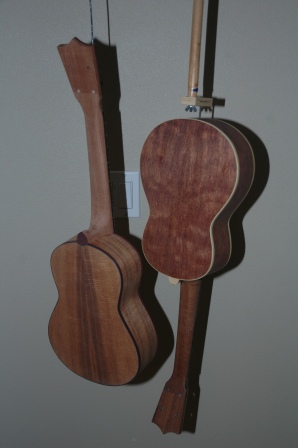
I’ve managed to shape bracing and install the back to the sides as well as lay down the top bracing for the OM.
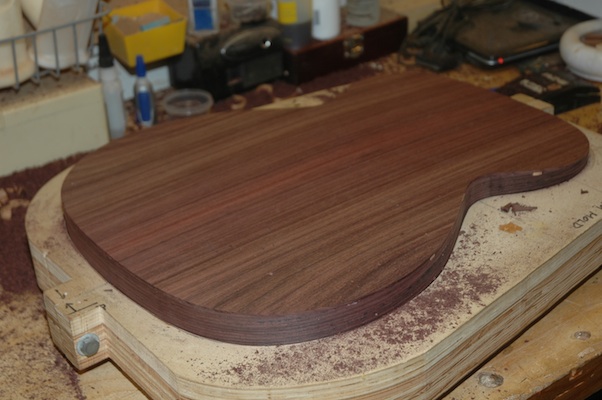
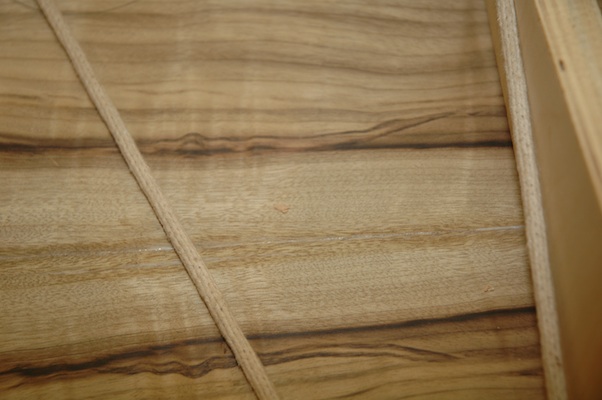
The second picture shows the back after the scarf has been trimmed.
Published by Stephen on 30 Dec 2012 under Guitar 1201 - Myrtle Parlor,Guitar 1202 - Rosewood OM (Bob),Guitar Building Logs
Tags: Bracing, Fret Markers, Fretboard, Headplate, Indian Rosewood, Myrtle, Neck Construction, OM, Parlor, Spray Lacquer
Comments: none
January 18, 2012
It’s a snow day, a day before my son’s 19th birthday, and the birth of my second uke. The finish is KTM9, a water based lacquer which I believe I will continue to use for future instrument finishes. I took several months to apply, knockdown and buff the finish, and I believe it improved the results. Also, 24 or more very thin coats proved to be the right approach. I avoided drips and orange peel effect, and the knockdown was more straightforward.
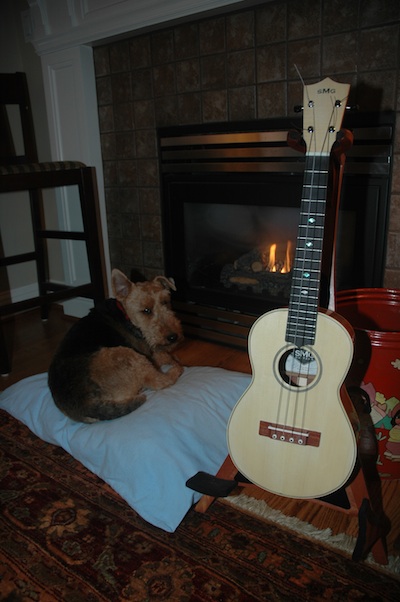
There’s nothing like a fire, dog and uke to complete a snow day at home.
Published by Stephen on 18 Jan 2012 under Uke 1001 - Bubinga Tenor,Uke Building Logs
Tags: Bubinga, Knockdown, Spray Lacquer, Uke
Comments: none
November 6, 2011
Devin dropped by today and we polished up his frets, nut, saddle, and installed a pickguard. Looks like it’s really done.
I’ve been applying lacquer to the Bubinga Uke and the Koa Uke. The Bubinga is fully lacquered and is sitting in cure mode for a couple of more weeks.
The Koa uke has 16 coats, and I think 24 will be the cat’s pajamas. I should be able to get the 24 applied by Tuesday evening.
Between lacquer applications (wait one hour please) I’ve been bracing the Myrtle Parlor (for Rachel) and I joined the back plates.
I’m liking this myrtle, and it seems like it will be nice to work on. It planed easily while preparing the plate joint.
Published by Stephen on 06 Nov 2011 under Guitar 1201 - Myrtle Parlor,Guitar Building Logs,Uke 1001 - Bubinga Tenor,Uke 1101 - Koa Tenor,Uke Building Logs
Tags: Bubinga, Koa, Myrtle, Parlor, Spray Lacquer, Uke
Comments: none
November 30, 2011
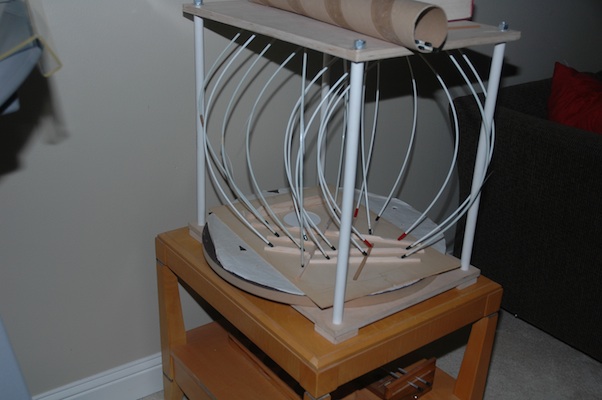
Let’s start with the Lava Light.
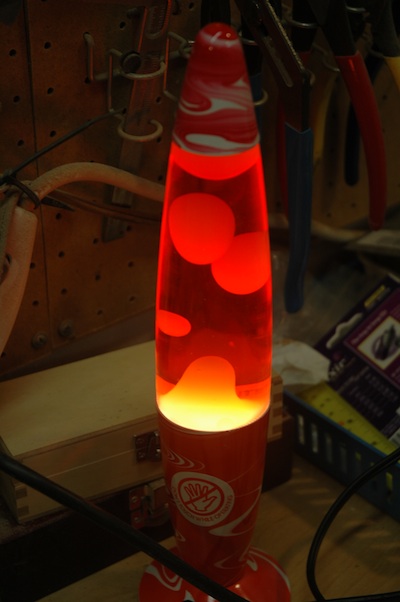
After William left for UW, several items which I coveted were left behind. Lava Light (or Lamp)!
I mapped out a schedule for the completion of Uke 1101, and it is possible to complete before I go to Salt Lake for Thanksgiving. It will be a bit tricky to continue working on the uke while the lacquer is curing. Today, I finished the 8th coat of lacquer, with an intention of putting on 20 coats. Tomorrow I’ll add 4 more coats. Coincidentally, I am adding coats to the Bubinga uke, and after tomorrow’s application, it will have 24 coats.
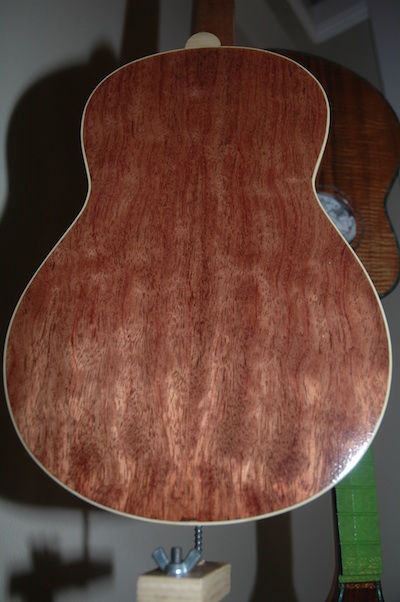
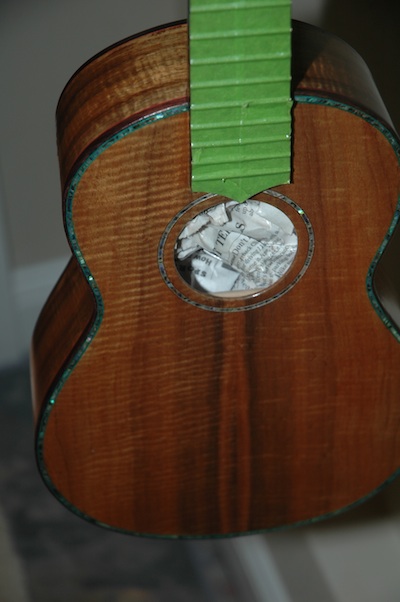
This is the back of the Bubinga.
Between coats I attached the fret markers to the Hybrid’s fretboard and the Thorn and Vine to 1202 (Bob). The shell is glued to the surface with white glue. I will score a border around the glued shell, then pop off the shell in preparation for routing a channel.
Published by Stephen on 30 Oct 2011 under Guitar 1002 - Hybrid Cutaway,Guitar 1202 - Rosewood OM (Bob),Guitar Building Logs,Uke 1001 - Bubinga Tenor,Uke 1101 - Koa Tenor,Uke Building Logs
Tags: Bubinga, Fret Markers, Hybrid, Koa, Spray Lacquer, Uke
Comments: none
October 24, 2011
Teaching has been wiping me out. I have been immersed in such a way that my building opportunity was minimal. I will be visiting Salt Lake for Thanksgiving, and I would like to have my sister’s uke finished by then. It is completely possible as I am at the finishing stages.
The original uke has been sitting waiting for additional lacquer coats, so it’s part of the deal.
The koa is ready to accept the first coat (sanding sealer) and the bubinga is ready for coat number 15.

The pore filler is a brown base so initially alters the color. After it is applied a squeegee is used to scrape it off, hopefully leaving behind a smooth surface. It will be scuffed down to remove any haze on the surface of the wood/purfling/binding. It may require a second application if the pores are not fully filled.
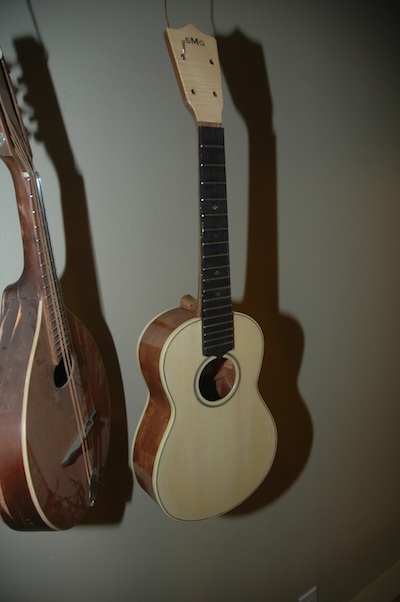
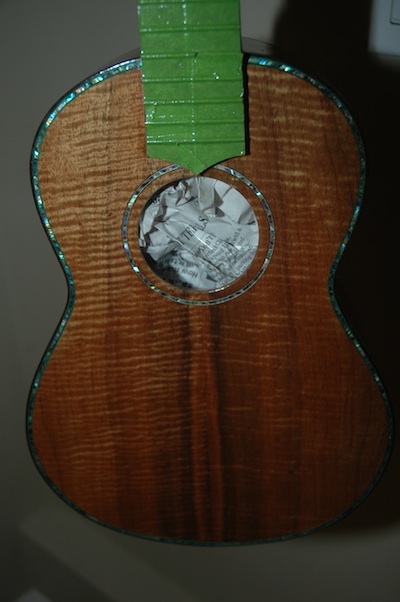
The koa with its first coat of sanding sealer. After scuffing the finish smooth, pore filler is applied.
Published by Stephen on 24 Oct 2011 under Uke 1001 - Bubinga Tenor,Uke Building Logs
Tags: Indian Rosewood, Koa, Pore Filler, Spray Lacquer
Comments: 2
June 12, 2011
I have begun the process of finger planing/shaping the back braces. I’m also 75% complete on gluing/clamping all the top braces. I’m heavily preshaping the top braces as my past experience has been that this is a more efficient method than planing/shaping after the braces have been installed.
The owner of 1001 dropped by to request a tweak. His open A string had the dreaded wolf-tone which was really a small gap underneath the nut on the fretboard side. A simple filing of the nut slot to release the gap fixed the problem.
I’m also continuing to apply lacquer filler to the headstock for the 12 string Ovation repair. I’ve reattached the sheared headstock, repaired are relacquered the truss rod cover, and after the lacquer filler cures I’ll spray several coats of touch up lacquer then sand and buff. It should be ready later next week. I would like to get this back to the customer before we head out to Alaska for our RV adventure.
Published by Stephen on 12 Jun 2011 under Guitar 1002 - Hybrid Cutaway,Guitar Building Logs,Repairs, Jigs, Tools and Other
Tags: Bracing, Repair, Spray Lacquer
Comments: none
April 10, 2011
Guitar 903, the Walnut OM, and Guitar 1001, the Koa Dreadnought, have received their fair share of lacquer coats (12 to 20) and are resting for two weeks to cure.
The lacquer needs at least two weeks to develop a hardness which is appropriate for the final knockdown and buffing. Neck install, bridge install and setup will finalize.
Published by Stephen on 10 Apr 2011 under Guitar 1001 - Auction 2 Guitar,Guitar 903 - Walnut OM,Guitar Building Logs
Tags: Dreadnought, Koa, OM, Spray Lacquer, Walnut
Comments: none
March 19, 2011
Rachel returned from China/India Tuesday and she brought me a present.
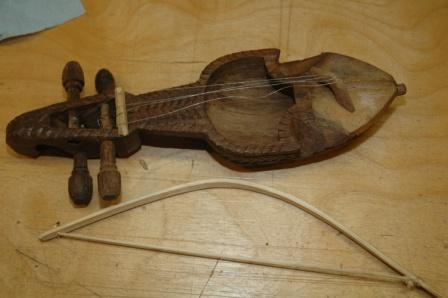
She’s not sure what it’s called, so what’s it called? I need to restring, and I’m not sure what the bridge orientation should be.
Today I added more lacquer coats to the koa dreadnought (6 of 12) and the uke (9 of 12). The uke is a disaster. It became dislodged from the spray booth bracket and fell to the cement causing a reasonable amount of damage, including pebbles throughout the wet lacquer coat, a chip out of the headstock, and a segment of binding with road rash. Oh well, file it down, keep going. Thank god this is just a “test uke”. I’m sure it will sound lovely, but it will look like shit.
I’m also refinishing a headstock on an eBay purchased Fender koa uke.
I have some aerosol nitrocellulose that I am using to refinish this headstock. It’s got 4 coats now, and I’ll probably go as far as 10.
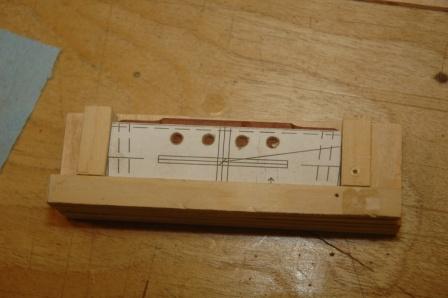
I devised a little jig for drilling holes in my uke bridges. I’m going to use bridge pins with strings secured inside the body with bone beads. I’ll get a picture up later of the string beads.
Published by Stephen on 19 Mar 2011 under Guitar 1001 - Auction 2 Guitar,Guitar Building Logs,Repairs, Jigs, Tools and Other,Uke 1001 - Bubinga Tenor,Uke Building Logs
Tags: Dreadnought, Fender, Jigs, Koa, Spray Lacquer, Uke
Comments: none
Next »

