Uke 1201 – Sides Bent, Top and Back Joined

July 5, 2012

The top and back have been joined, and the rosette installed.

120705topandback

120705rosette

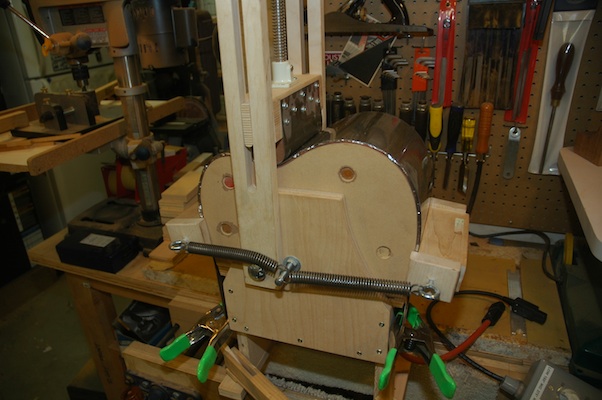
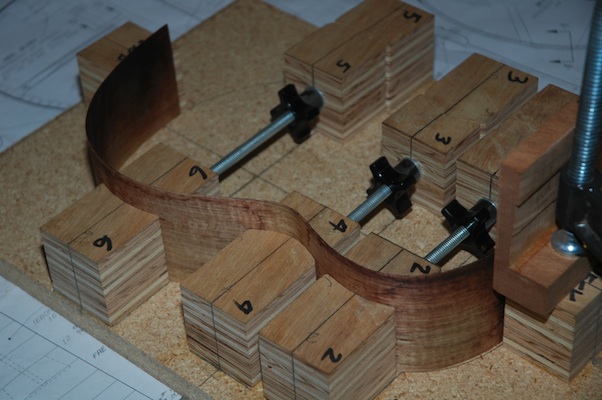
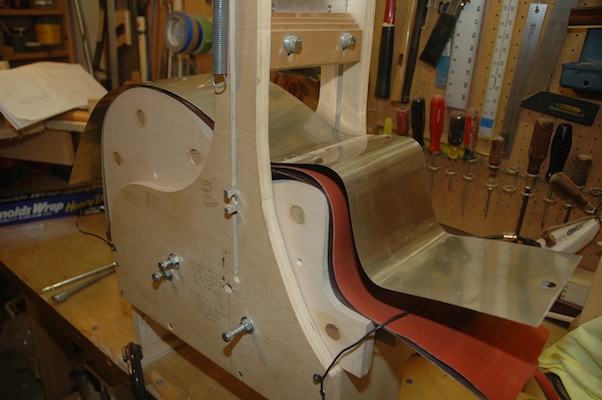
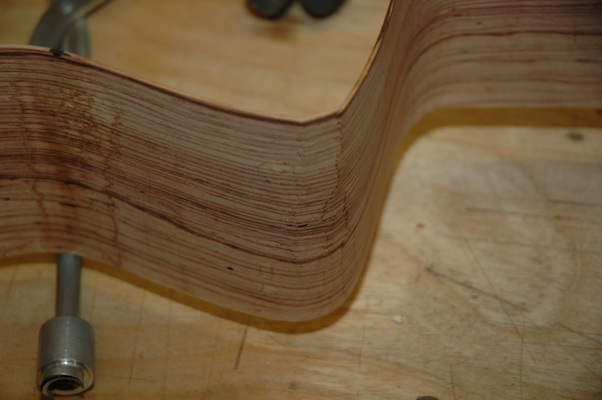
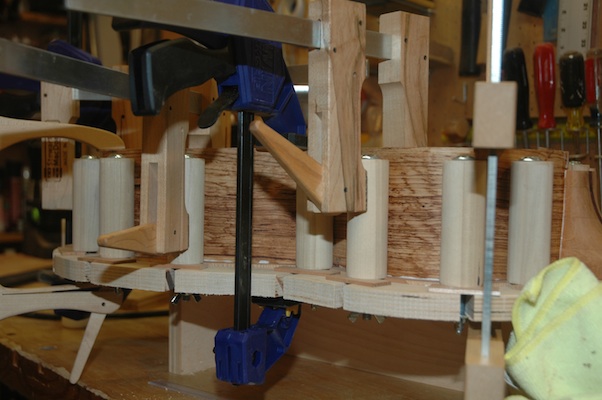
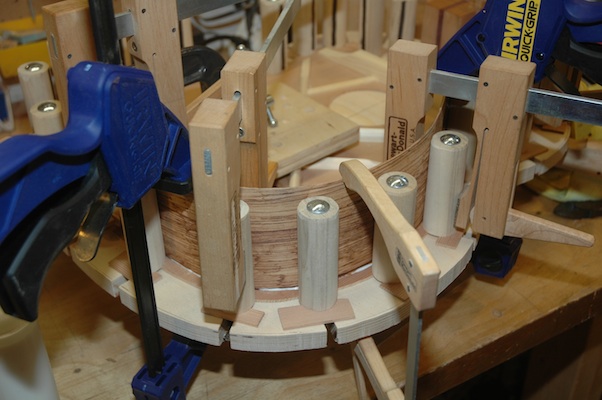
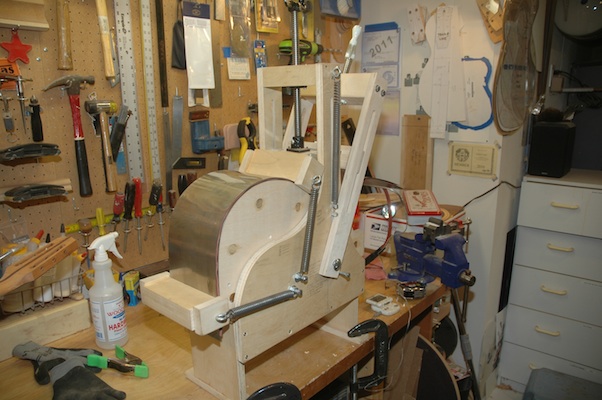
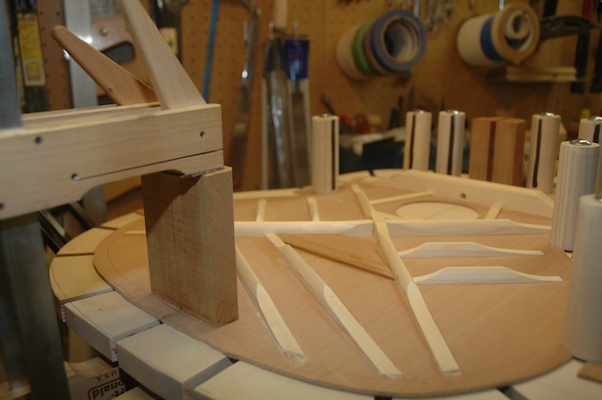
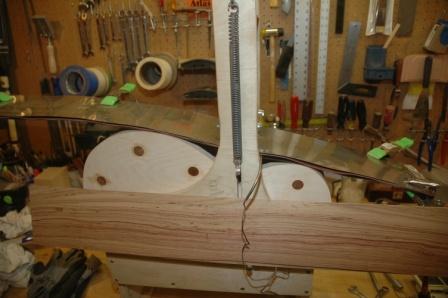
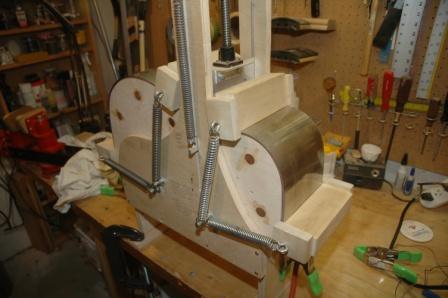
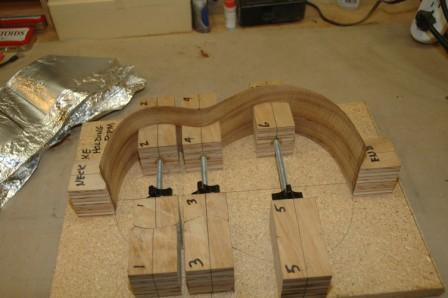
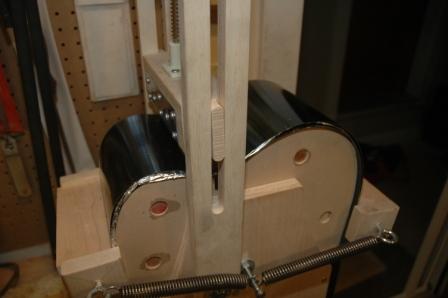
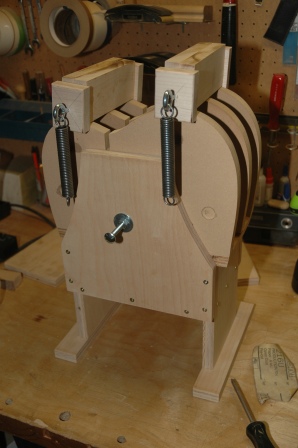
Sides have been bent (yes, koa burns easily), and installed into the holder.

120705sidebend

120705sideholder

Today, I expect to receive more graphite rods which will be inserted into the neck.

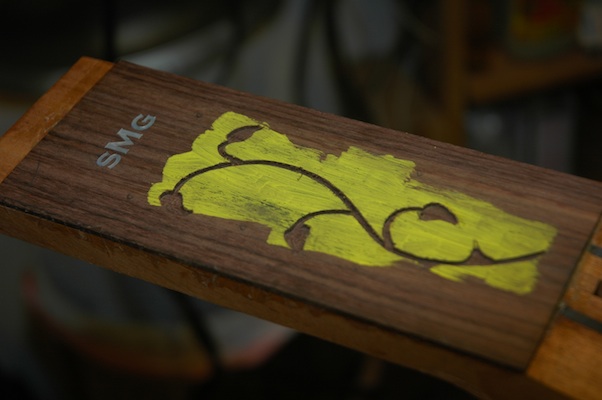
I also tackled routing out the channel for the shell for the headstock for Guitar 1202.  The yellow tempera was painted on to show the scoring of the edge for an easy visual of how far to rout out.

120705shellchannel

Guitar 1002 – Unpack the Sides, Glue to Top

February 4, 2012

As mentioned previously, the cutaway bend probably cracked.  I let the bent sides sit in the bender overnight so as to allow the bends to settle, then opened the bender carefully.

120204openthebender

The underside of the sandwich was held in place with a bit of wire to keep it from springing up and pushing against the bent side.  After removing from the machine, the crack was evident.

120204seethecrack

Two cracks, on either side of the outer bend can be repaired with CA glue, then the bend can be rounded on the hand bending heater before attaching to the guitar top.  This piece is salvageable and will be fine.  After aggressive sanding and fairing, there should be no evidence of the crack.  I might consider gluing a small spruce caul into the inside of the bend to provide stability.

I began installing the non-cutaway side.  First I increased the bends on the hand bender, determined the position of the cut for each end to shorten the side piece, applied glue to the butt block, neck slot and joint between the side and the top.  It slipped into the workboard easily, and followed the trace of the joint nicely, so I was able, on the first pass, to clamp down.

120204sideinstall

120204sideinstall1

Guitar 1002 – Cutaway Bend

January 31, 2012

I finally bit the bullet and went headlong into the cutaway bend.  First I needed to locate the pivot point for the cutaway ram to be mounted on the bending machine.  After several dry runs, I committed to a hole location for the ram pivot. I drilled the holes, installed the ram and placed the side sandwich in the bender and cranked up the heat.  I bent the butt end first then took a deep breath.

120131cutawayram

The concern is that the bend is severe, and the side wood tends to crack.  The ram is screwed down tight into the vee between the waist and the rise in the upper bout.

120131cutawaybend

As the ram is pulled away from the waist, it must be released to follow the rise of the upper bout.  Just at the point the bend starts down, the ram must be pulled while advancing the press screw then immediately start to push the ram as it travels down the cutaway until it reaches the bottom of the cutaway.

120131cutawaybent

The waist press, up to this point, has only been advanced to an eighth of an inch from bottom.  Finally, the waist press is clamped down to push the waist down and pull the sides “in” onto the bouts.  A quick inspection from the side of the sandwich showed the tight bend did indeed crack, but to what extent, and knowing if it is useable will only be discovered when the package is opened.  A spring bar was draped over the upper bout at the cutaway bend to add pressure at the bend.  One more round of cranking up the heating blanket then a cool down may very well improve the roundness of the side bend at the cutaway peak.

Guitar 1002 – Butt Block and Side Bend

January 29, 2012

I finished detailing the bracing on the top and trimmed back the ends to make room for the attachment of the sides to the top.  The butt block was radiused and trimmed to length (about 1/8″ longer than actual) and glued to the top.

120129buttblock

I also trimmed the sides to the same width as the butt block height then proceeded to bend the non-cutaway side.

120129sidebend

After heating and bending, the side is allowed to cool, then the heat is turned back on for 15 minutes, then the side will sit in the mold overnight.  After removal, it will need more hand bending to bring it to the desired curve to avoid having to spring the side into the workboard, which puts stress at the butt block and neck joint points which can cause splitting.

The cutaway side remains to be bent, but first I have to devise where the cutaway ram will be mounted on the bending machine.  Hope I get it right.  I’ve been avoiding this bend for months, and I am fully prepared to order new sides if I muck this up.  So much for practicing on throwaway stock.

Guitar 1002 – Side Bending Progress

April 21, 2011

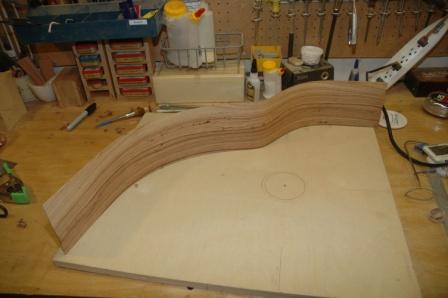
The first bent side is out of the bending machine.
110421sidebent

The resulting bend is accurate yet not tight enough.  I’m resigned to the fact that I also need to apply more bend with the bending iron.
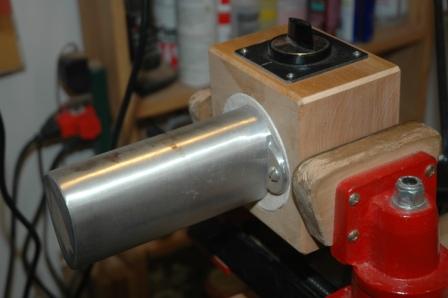
110421bendingiron

I’ve had limited success with the bending iron, mostly due to wood being too thick and preloaded with tiny cracks.  The machine bend of the first side did produce two minor cracks, which I filled with CA glue.  I took a first pass attempt at increasing the tightness of the bends with the bending iron, and found I could make some headway on tightening the bends and not introducing new or wider cracks:  all due to the nice .070″ thickness of the sides.

I will complete the hand bending just prior to installing the sides onto the work board, which is still under construction.
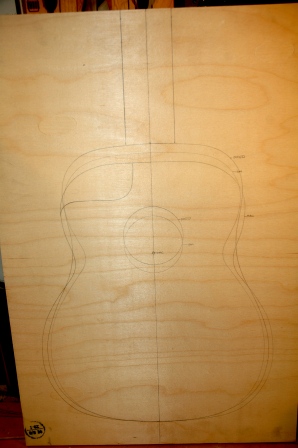
110421workboard

The workboard will be finished with sliding cauls along the outside border of the sides.  The sliding feature will allow me to use this workboard for dreadnoughts, OM’s and this Macaferri style body, along with others in between.

I usually build in a mold, which is only appropriate for guitars with dovetail or mortise/tenon bolt on necks.  The workboard is necessary for the spanish heel type construction.  This will all become obvious when I get to the step where the sides are glued to the top which has been attached to the neck.

I will have to provide a small radius bowl in the lower bout area of the workboard to accommodate radiussed X bracing.
Guitar 1002 – Side Bending Underway

April 20, 2011

Palo Escrito is a pleasure to work with.  I first planed the sides down to about .075″ with the Safe-T-Planer then passed them through my newly repapered drum sander to smooth them and bring down to .070″.  This is very thin, but not so for a cutaway bend.  I bent the non-cutaway side first to practice bending this stuff for the first time.

110420prebend

This photo shows the setup before plunging the waist press, then drawing the spring bars down across the bouts.

110420sidebend

I’ll let this sit for a couple of hours, reheat then let sit overnight.

Uke 1101 – Plane sides, bend, mold up!

April 16, 2011

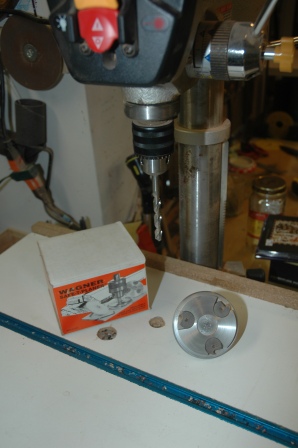
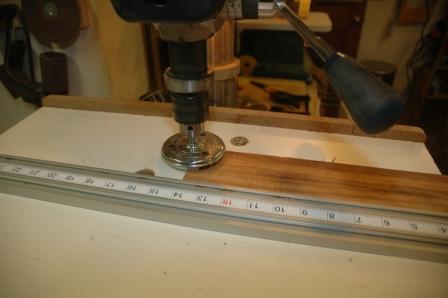
I use a Wagner Safetee Planer to thickness sides.

110416safetyplaner

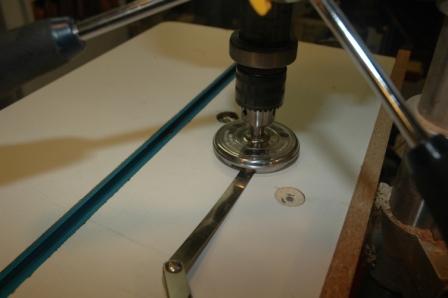
It’s used with a drill press.  First thing is to calibrate the table it’s parallel side to side and front to back.

110416planercalibrate

The sides are run through and taken down to .070″.

110416planesides

I practiced on a scrap piece to ensure all adjustments to the table were correct, then test bent the scrap to confirm temperatures for the koa.  After planing the real koa sides, I used the new bending mold.

110416bendsides

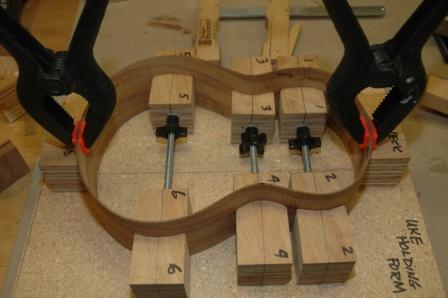
After bending a side, it was clamped into the holding mold.

110416sidemoldhalf

Next side bend, then inserting into mold (ends were trimmed to butt flush).

110416sidemoldfull

The bends were adequate if not tight enough.  I have an electric bender which I can use to tighten up the bends on future ukes.  It’s tricky to get both sides into the holding mold if the bends aren’t tight enough, and yes, I did crack both sides while inserting.  The cracks were repaired with CA glue and won’t be visible once sanded and finished.

Uke Bender In Action

February 18, 2011

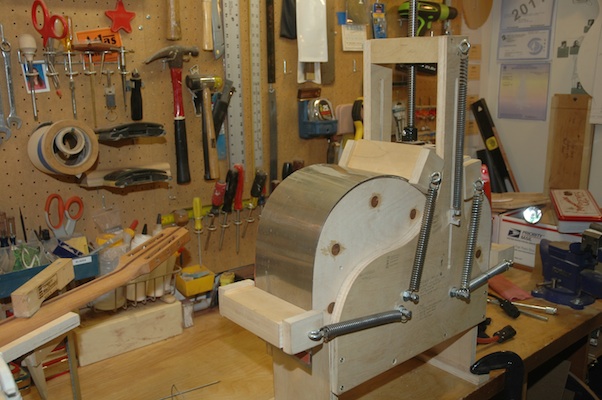
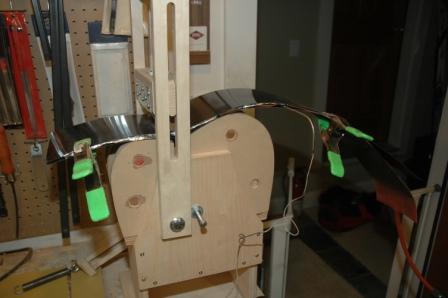
The cutaway ram has been installed on the new uke side bender, and I’m ready to test some bending.

110218benderwithram

I have koa sides which I errantly tried to bend in the full sized bender, which cracked and burned and did not accept a full bend which I will run through this new bender to check.

110218firstbend

I will test some new theories, practice the steps, make amends, then check the results before bending some virgin side plates.

110218lastbend

After the initial bending, I will let cool, then reheat again, then let cool before releasing from the mold.

Uke Side Bender

February 13, 2011

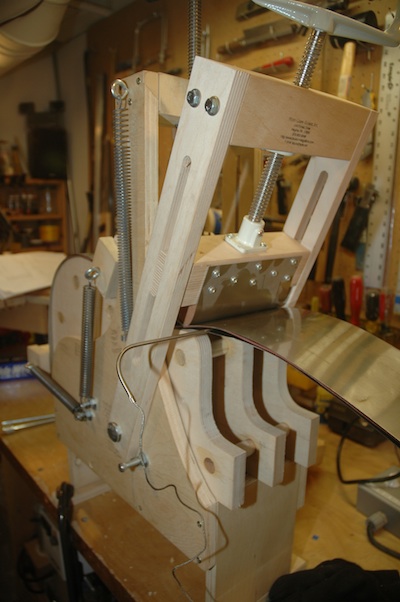
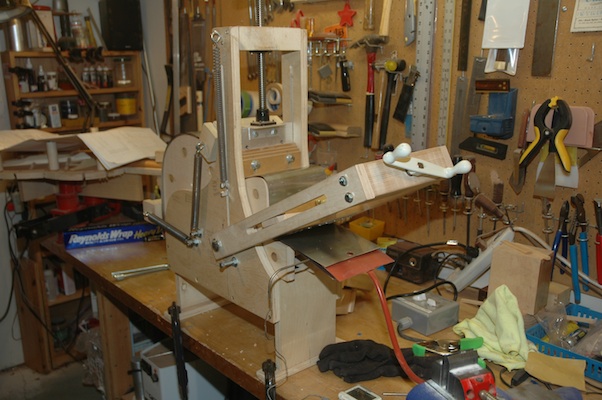
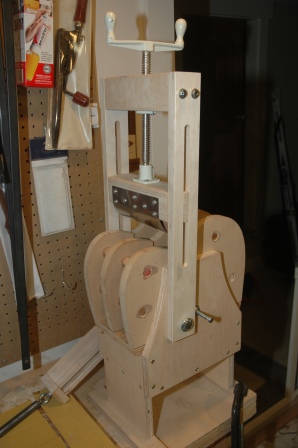
Finished the side bender for uke sides.  Awaiting the delivery of the cutaway ram, which will be used to clamp down the waist.

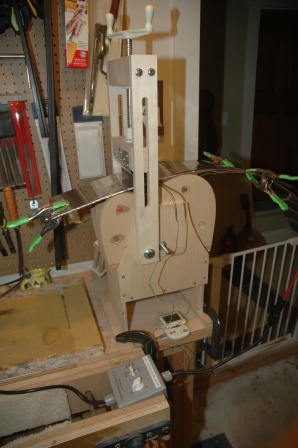
110213ukesidebender

Guitar 1002 – Building Bending Molds

February 6, 2011

The Macaferri body is new to my arsenal, and so is a cutaway.  I needed to build bending molds and build or procure a cutaway ram for my bending machine.  I located a fairly inexpensive ram from Bluescreek out of Pennsylvania, and it should arrive by the end of the week.  I’ve also got a good idea about using the ram for a uke side bender, as the full sized bender is too restrictive for the small sized ukes.

Doc2

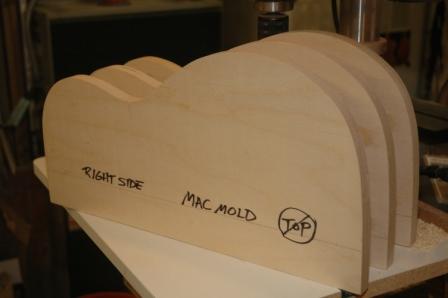
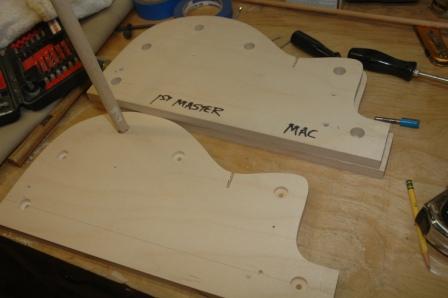
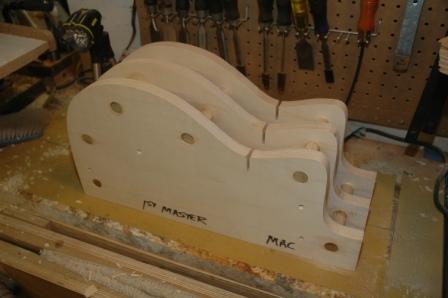
Using the Mac plans, I created an acrylic template, then transferred 1/2 (the side without the cutaway) to birch ply.  I cut out 6 half plates, 3 for the regular side, and 3 for the cutaway side.  I finished one of the half plates a wee bit smaller than the actual size, and used it as the master for replicating the other 5 using the router table.  I assembled the non cutaway half first using existing spacers and 3/4″ dowel.

110205bendingmold3

The master was then trimmed to emulate the cutaway shape, then the remaining two plates were trimmed on the router table.

110205bendingmold2

The dowels are secured with titebond and CA.

110205bendingmold1