July 2, 2012
Welcome to summer. I am making plans for making progress. This summer, I have few commitments and grand plans. I spent several hours cleaning and organizing in preparation for dedicated building time. Over the past months, I have allowed my workshop to gather clutter and for the garage to collect dust and debris. The shop has been decluttered and I have located and made an inventory of all things which are required for the 5 guitars and 1 uke which are under construction. I gutted the garage, loaded the truck for a dump run, swept and vacuumed and repositioned all the power equipment.

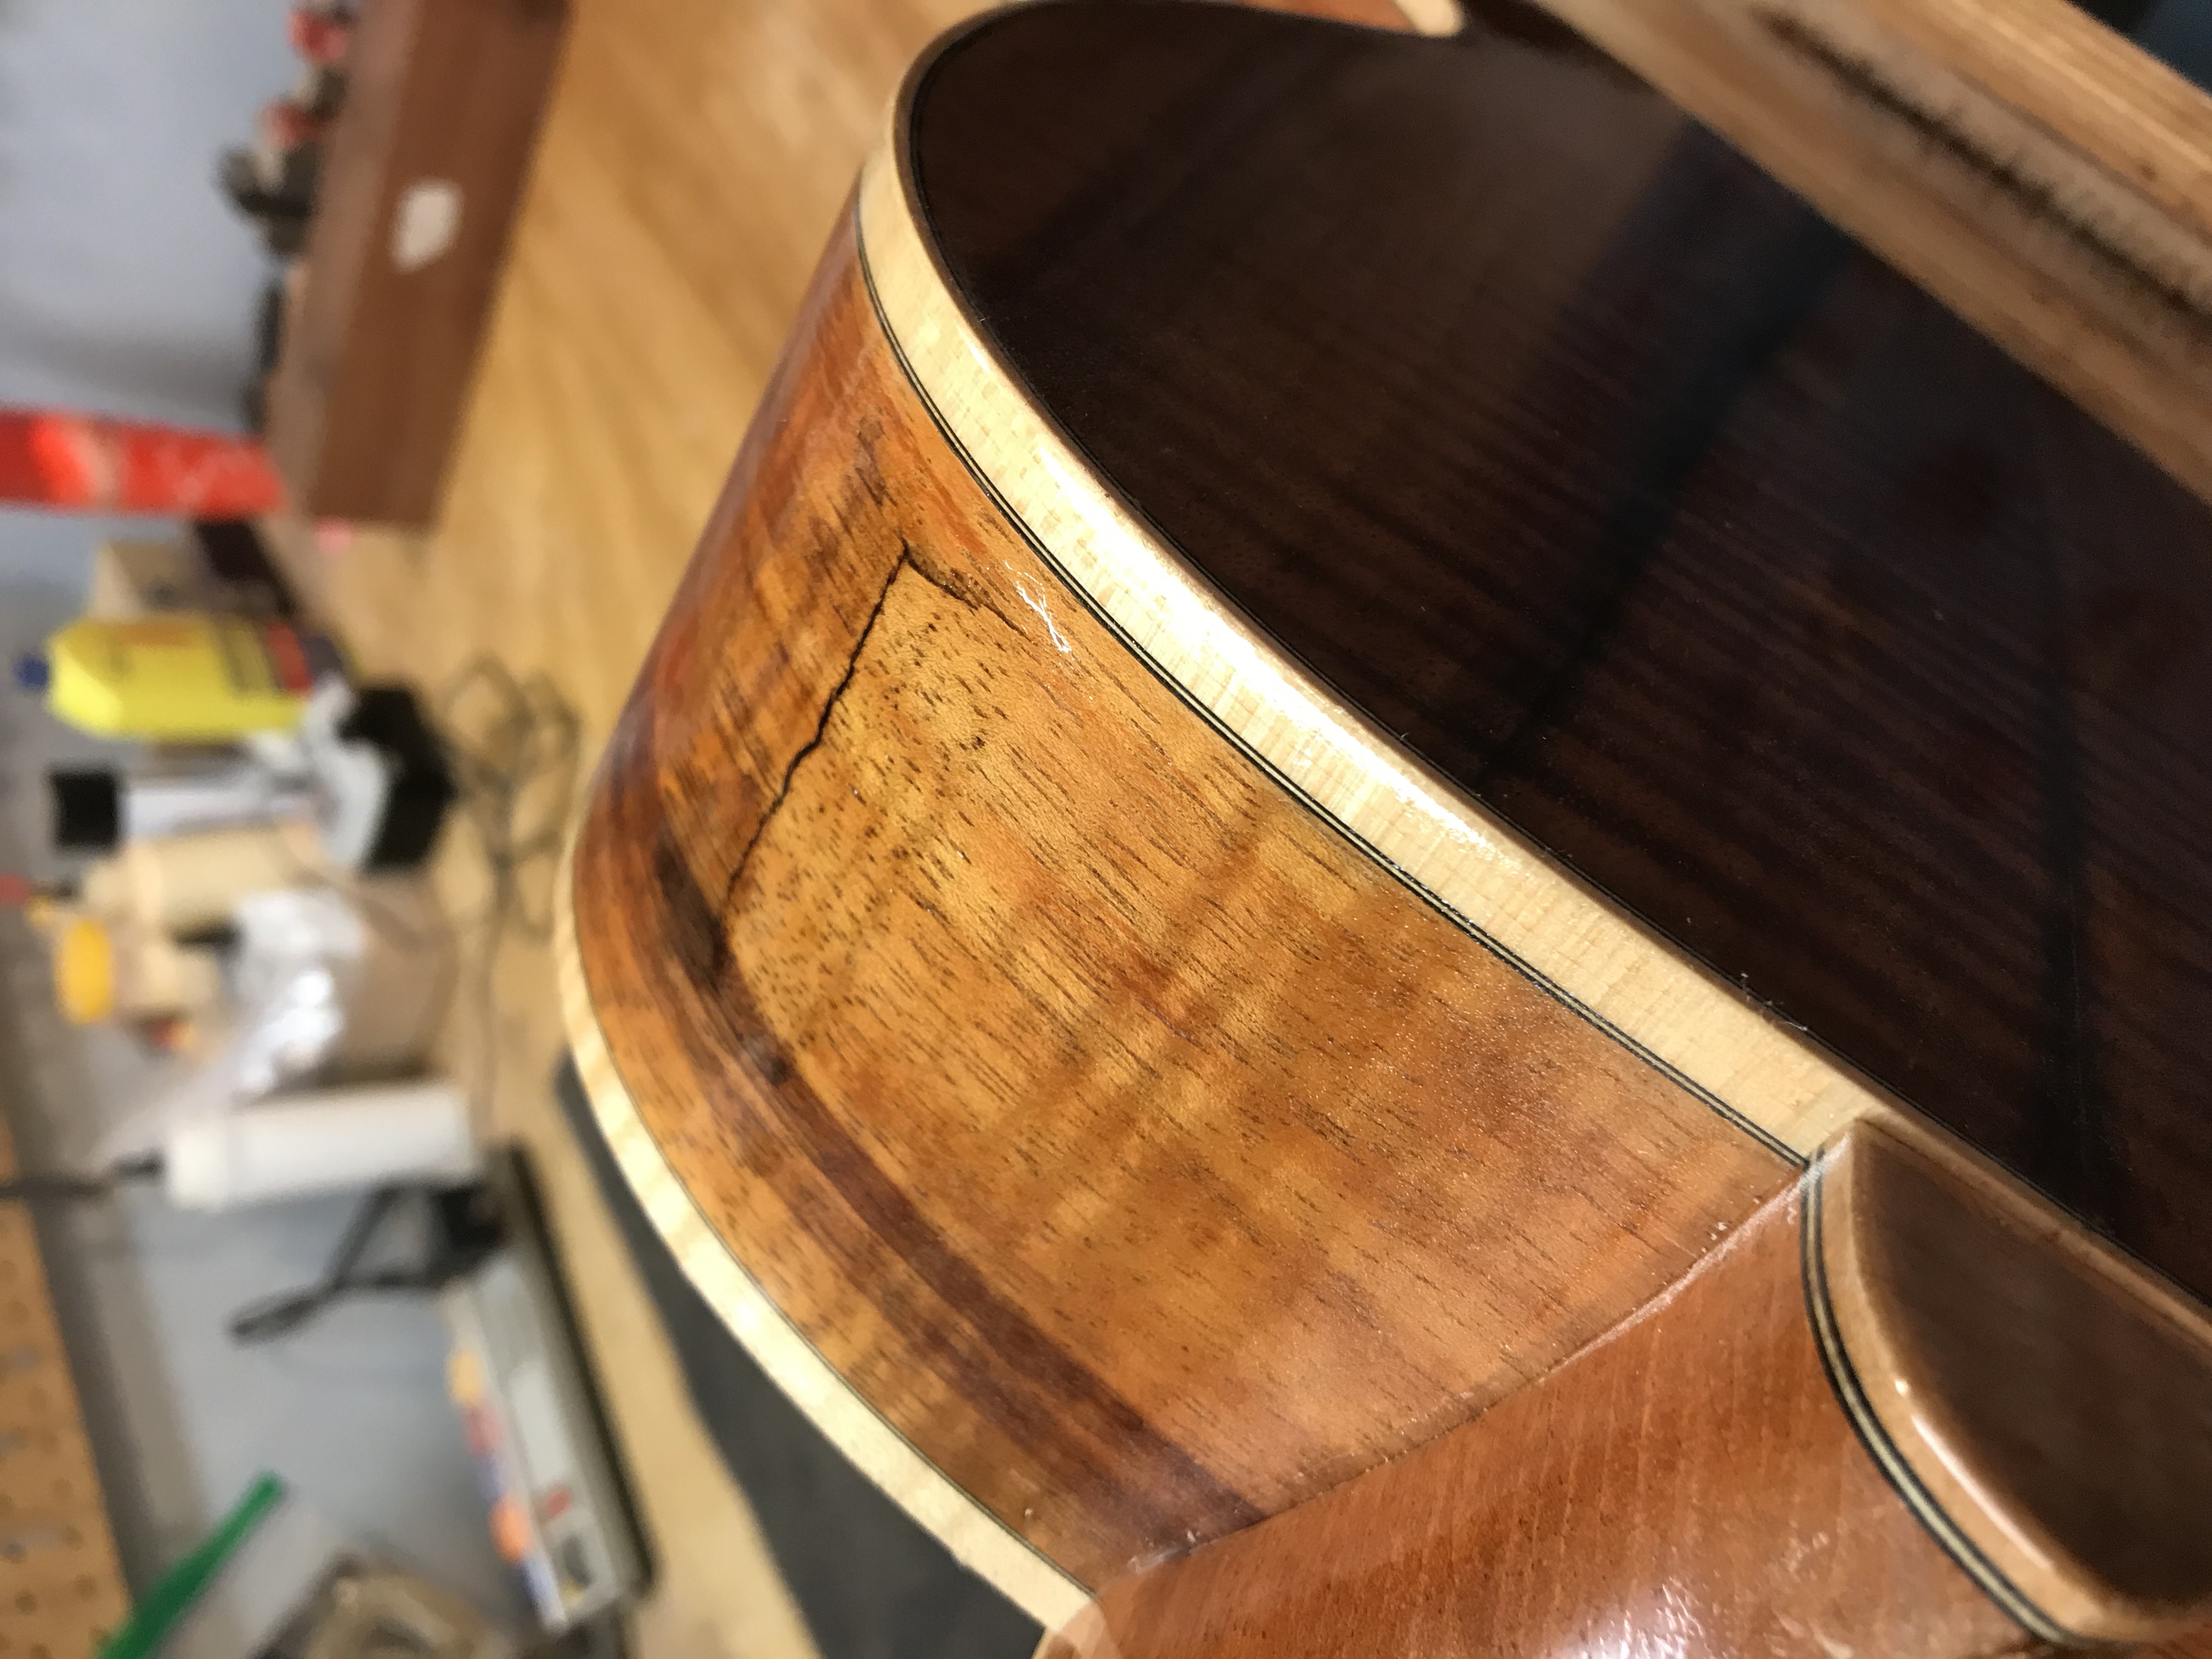
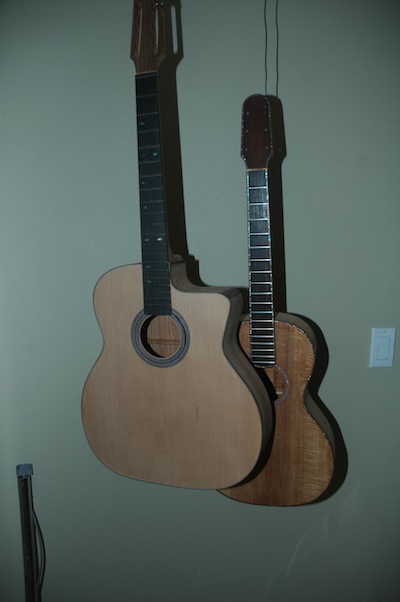
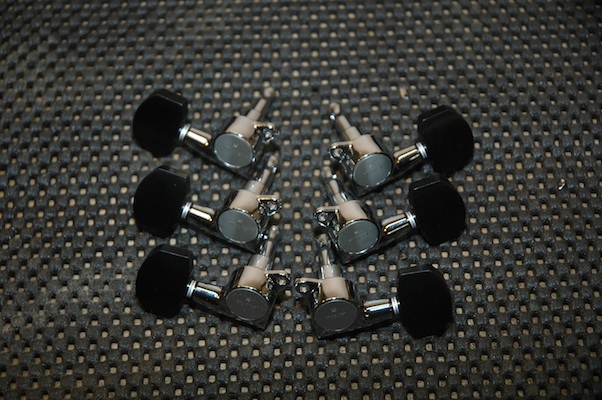
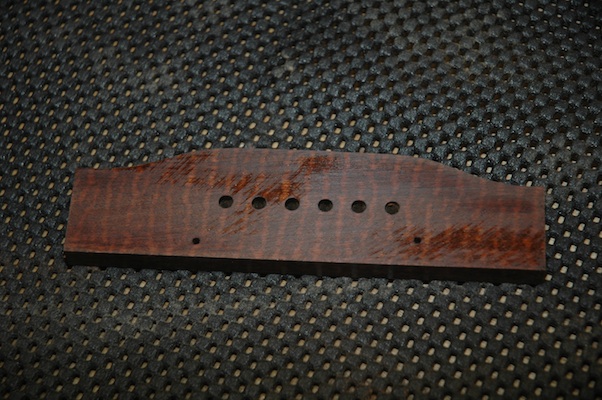
Rob Girdis Parlor – The snakewood bridge has been rough shaped and awaits finishing. The tuners have arrived and all additional components for completion have been procured. Once Guitar 1002 is ready for the spray booth, this guitar will be sealed, filled, then lacquered.
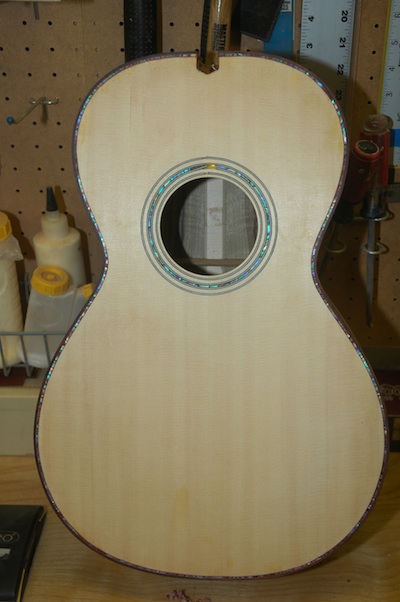
Guitar 1002 – Frets are installed and finish sanding has begun. Every day I do a bit more, until I can’t stand it any longer. It’s oh so close to being ready for the spray booth. I’m at that stage where I think I’ve got it fair and square, but there’s always more sanding to be done. I must resist the urge to finish it as is, yet dogged by future regret.
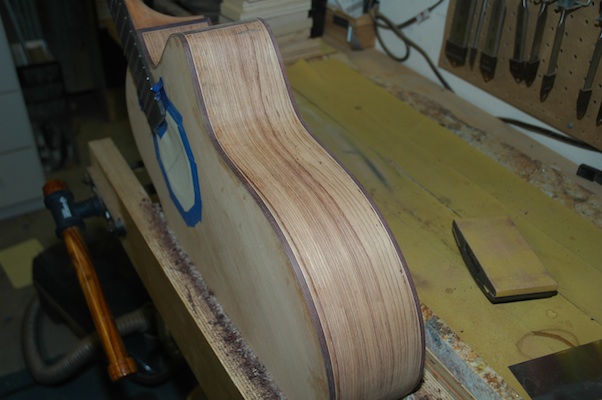
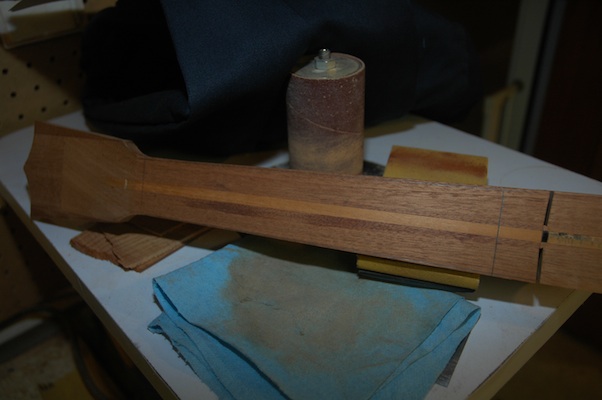
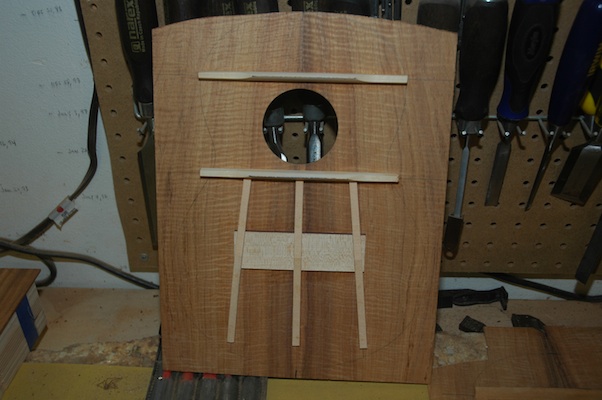
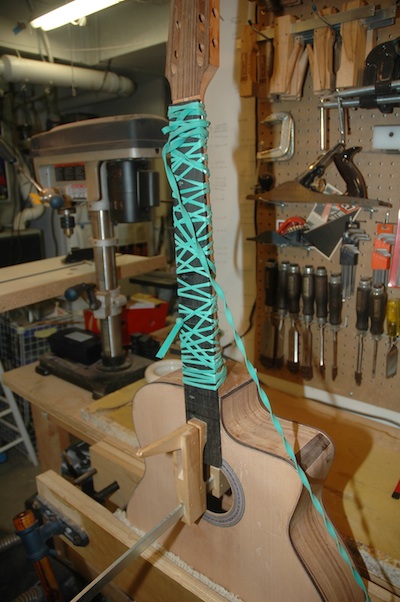
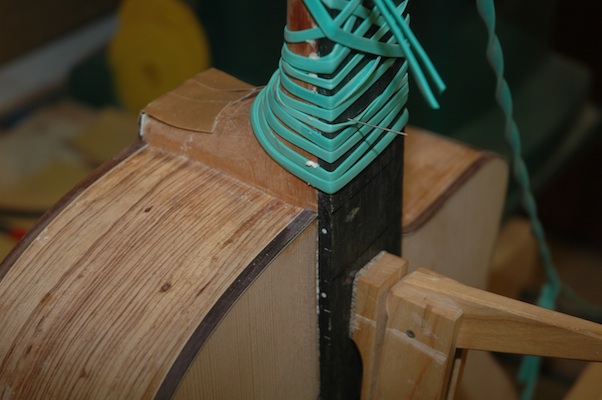
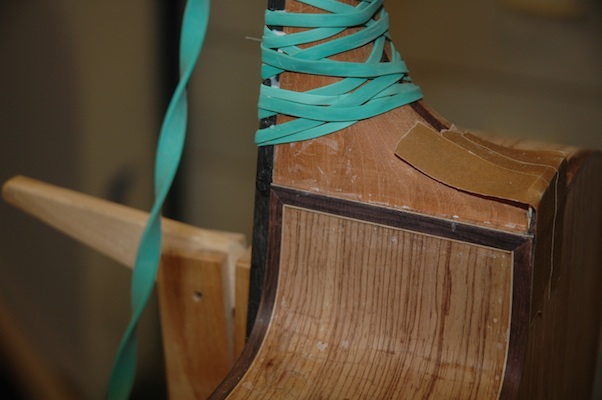
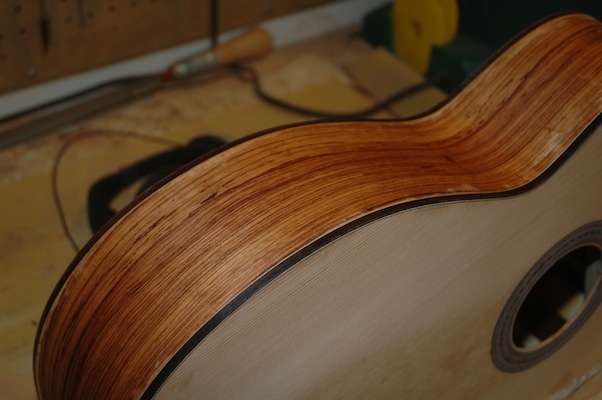
Guitar 1201 – Necks for 1201 and 1202 have been chanelled for truss rods and graphite stabilizers have been epoxied in. The top has been braced, and braces (mahogany) for the back have been preshaped for installation.
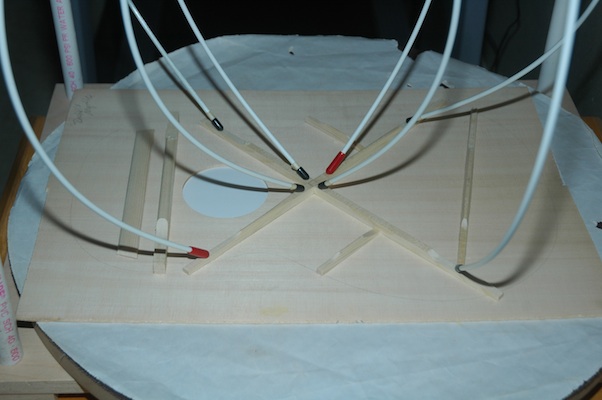
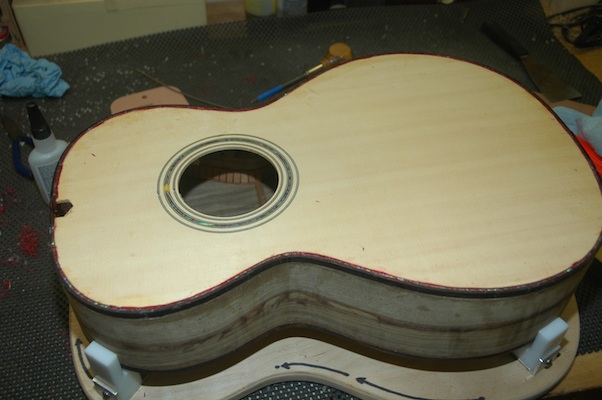
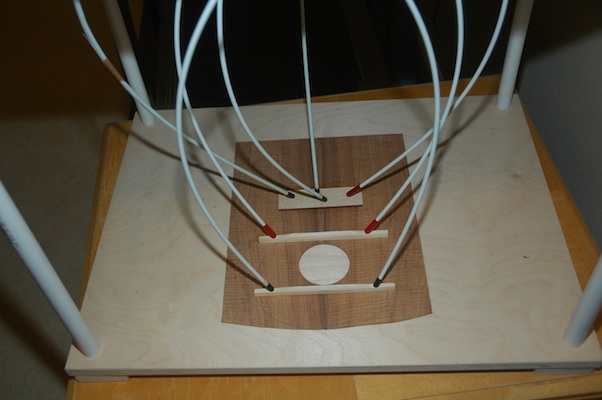
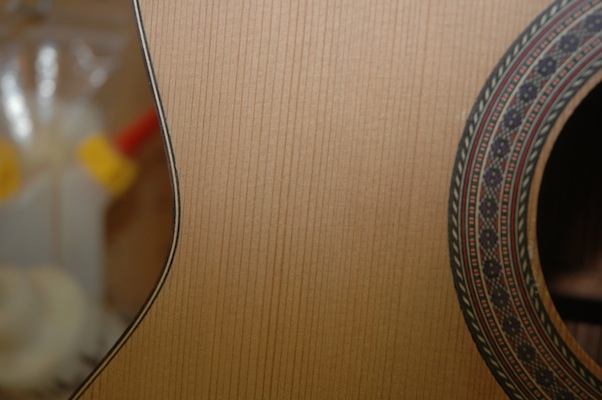
Guitar 1202 – Top joined after planing down to .110″. Next step install rosette and cut soundhole. Then bracing then box construction.
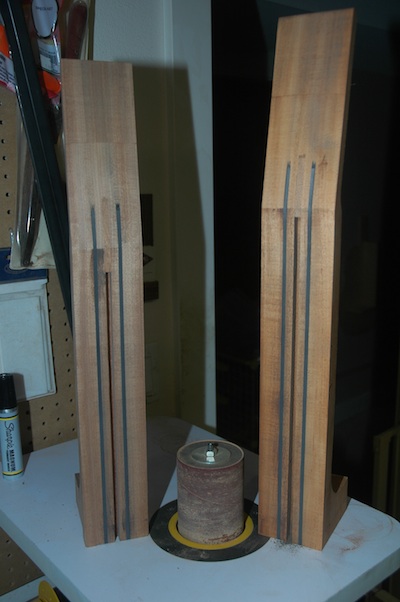
Guitar 1203 – Top join is next. Awaiting ordered graphite bars for the neck. Once the Myrtle (1201) comes out of the mold, I’ll be able to thickness the sides and bend. This will be a double cutaway, and my thinking is I’ll build inserts for the mold.
Uke 1201 – Only the neck has been tackled. I’ll look for idle gaps between steps of above guitars to thickness/join the back and top followed by thickness/bend the sides.
There’s no end to what I can work on additionally. I have a dovetail repair, some ziricote screaming to be a guitar, some master grade walnut, some bubinga for a uke, and some ovangkol. And….there’s several exploratory repairs that I owe to friends. All this to do before Guitar Camp Week 3, August 11th.