Archive for the 'Uke 1201 – Koa Tenor Redux' Category

Uke 1201 Progress Report

August 18, 2020

Yes, progress is crawling toward completion.  The finish has been knocked down and buffed.  The bridge has been installed.  The saddle and nut are rough shaped and will be notched and installed after mail order strings arrive.


Climbing Back Onto the Slow Moving Train

May 1, 2019

I am slowly, with caution, climbing back into building and repair.  I have repaired one of my earlier guitars for a customer.  The curve in the upper bout sproinged (technical term for separated).

I have also helped a friend reattach a sheared headstock on his Harmony Sovereign.  

In the wings are the finishing (as in lacquer) of a koa Ukelele, Rosewood OM, and Myrtle Parlor, and Palo Escrito Macaferri.

December 2, 2018

OK, it’s been a year since last post, and you can imagine that this lack of communication indicates lack of progress.  You have a great imagination.  All guitars (3) and a uke have slouched toward the wrap up step of lacquer application.  Plans are in place for completion.  


If I can’t take scrutiny I can’t improve

January 27, 2013

I sent my uke to a fellow who applies lacquer finishes to guitars and ukes as a service (read: $$$) to guitar builders who avoid finishing their own.  I got a call last week essentially letting me know the uke wasn’t ready for lacquer application.  I could tell he was a bit nervous having to inform me of this situation.  He was kind enough to say this is typical of the dance he goes through with new clients, but that his interest was only in producing the best finish possible.

He will put post-it notes on the uke with a description of the issue for each post-it.  He implied there would be many post-its.  In the past, I may have felt that this was an insult to my building ability.  But today, I consider it a healthy critique of my process and understanding of how detailed I need to take an instrument before it is ready for finish work.

I’m standing by, awaiting the return of my uke, so I can detail it down to “finish ready”.

Uke 1201 – Fretboard Installed

November 18, 2012

Uke 1201:  Frets were radiussed then cut to length and placed in a holder.  Except for fret 2 and 11, the frets were hammered into place.

121118fretlaying

The fretboard was dry fit to the neck, and index holes drilled into the 2nd and 11th fret slots to hold the board in place for gluing.

121118fretboarddryfit

Glue was applied to both the fretboard back and neck, then pressed into place using index pins.  The clamping is a big old rubber band wrapped around the neck several times.  The fretboard extention over the body is clamped down with a simple C clamp.

121118fretboardglued

Uke Products Received

November 17, 2012

I’ve got this publishing plugin which supposedly posts my blog entries to Facebook.  It craps out occasionally, so some of my posts go un-Facebooked.  Today, I received a shipment of Uke parts needed to finish the uke.  Bridge, tuners, nut, saddle and frets in the gift box, so I’m about to resume uke finishing.

121111headprefinish

121111ukeprefinish

Uke 1201 – Box constructed

August 28, 2012

The box is constructed, and we have an intact uke.  This morning I removed the kerf clamps.

120828kerf

The back was radiussed to 15′ in a sanding dish.  The back was trimmed to outside the side line and the braces were finish sanded.  Using the uke workboard, the back was glued on and held in place with spool clamps.  It was allowed to dry for 2 hours, then the scarf was removed using a laminate router.

120828backon

Before tackling the binding, I will install a butt graft.  Still pondering the binding options.  Remind self to bind before gluing on fretboard.

Uke 1201 – Dry fit fretboard

August 27, 2012

Finished attaching top and kerfing.  Back bracing is clamped in and glued and home made back reinforcement strips have been glued in.  I tapered the neck and profiled the soundhole end.

120827fretboarddryfit

120827frontview

120827topjoinedtosides

Update: Uke Parlor Hybrid

August 26, 2012

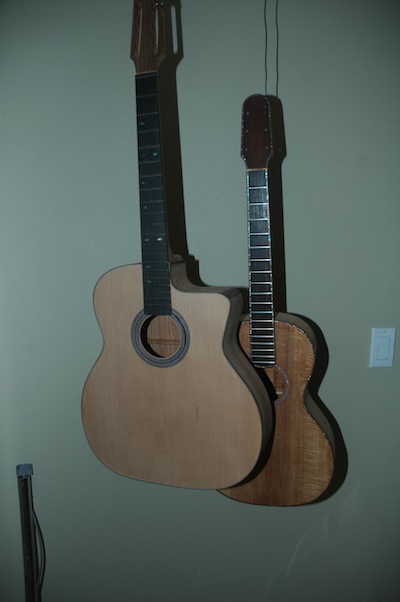
Yeah, Guitar Camp was awesome, and now I’m home counting the days before I start back teaching.  I took a uke and an OM to camp, and as usual garnered a lot of interest from fellow campers who claim they “must have one”.  On the last day of camp advice is given to those of us returning to the non-camp world.  One bit of proper advice was, “Wait three weeks before accepting a proposal of marriage from a fellow camper.”  Same goes for committing to a new uke or guitar.

I’ve resumed where I left off before camp.  The Hybrid for Jim has a first coat of pore filler (an epoxy resin) and is lined up for the spray booth.

120826sidefinishing

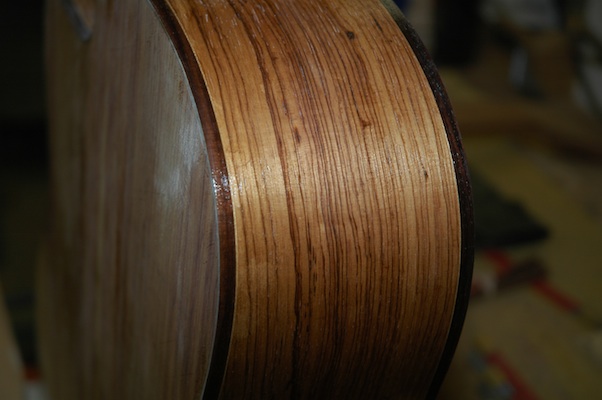
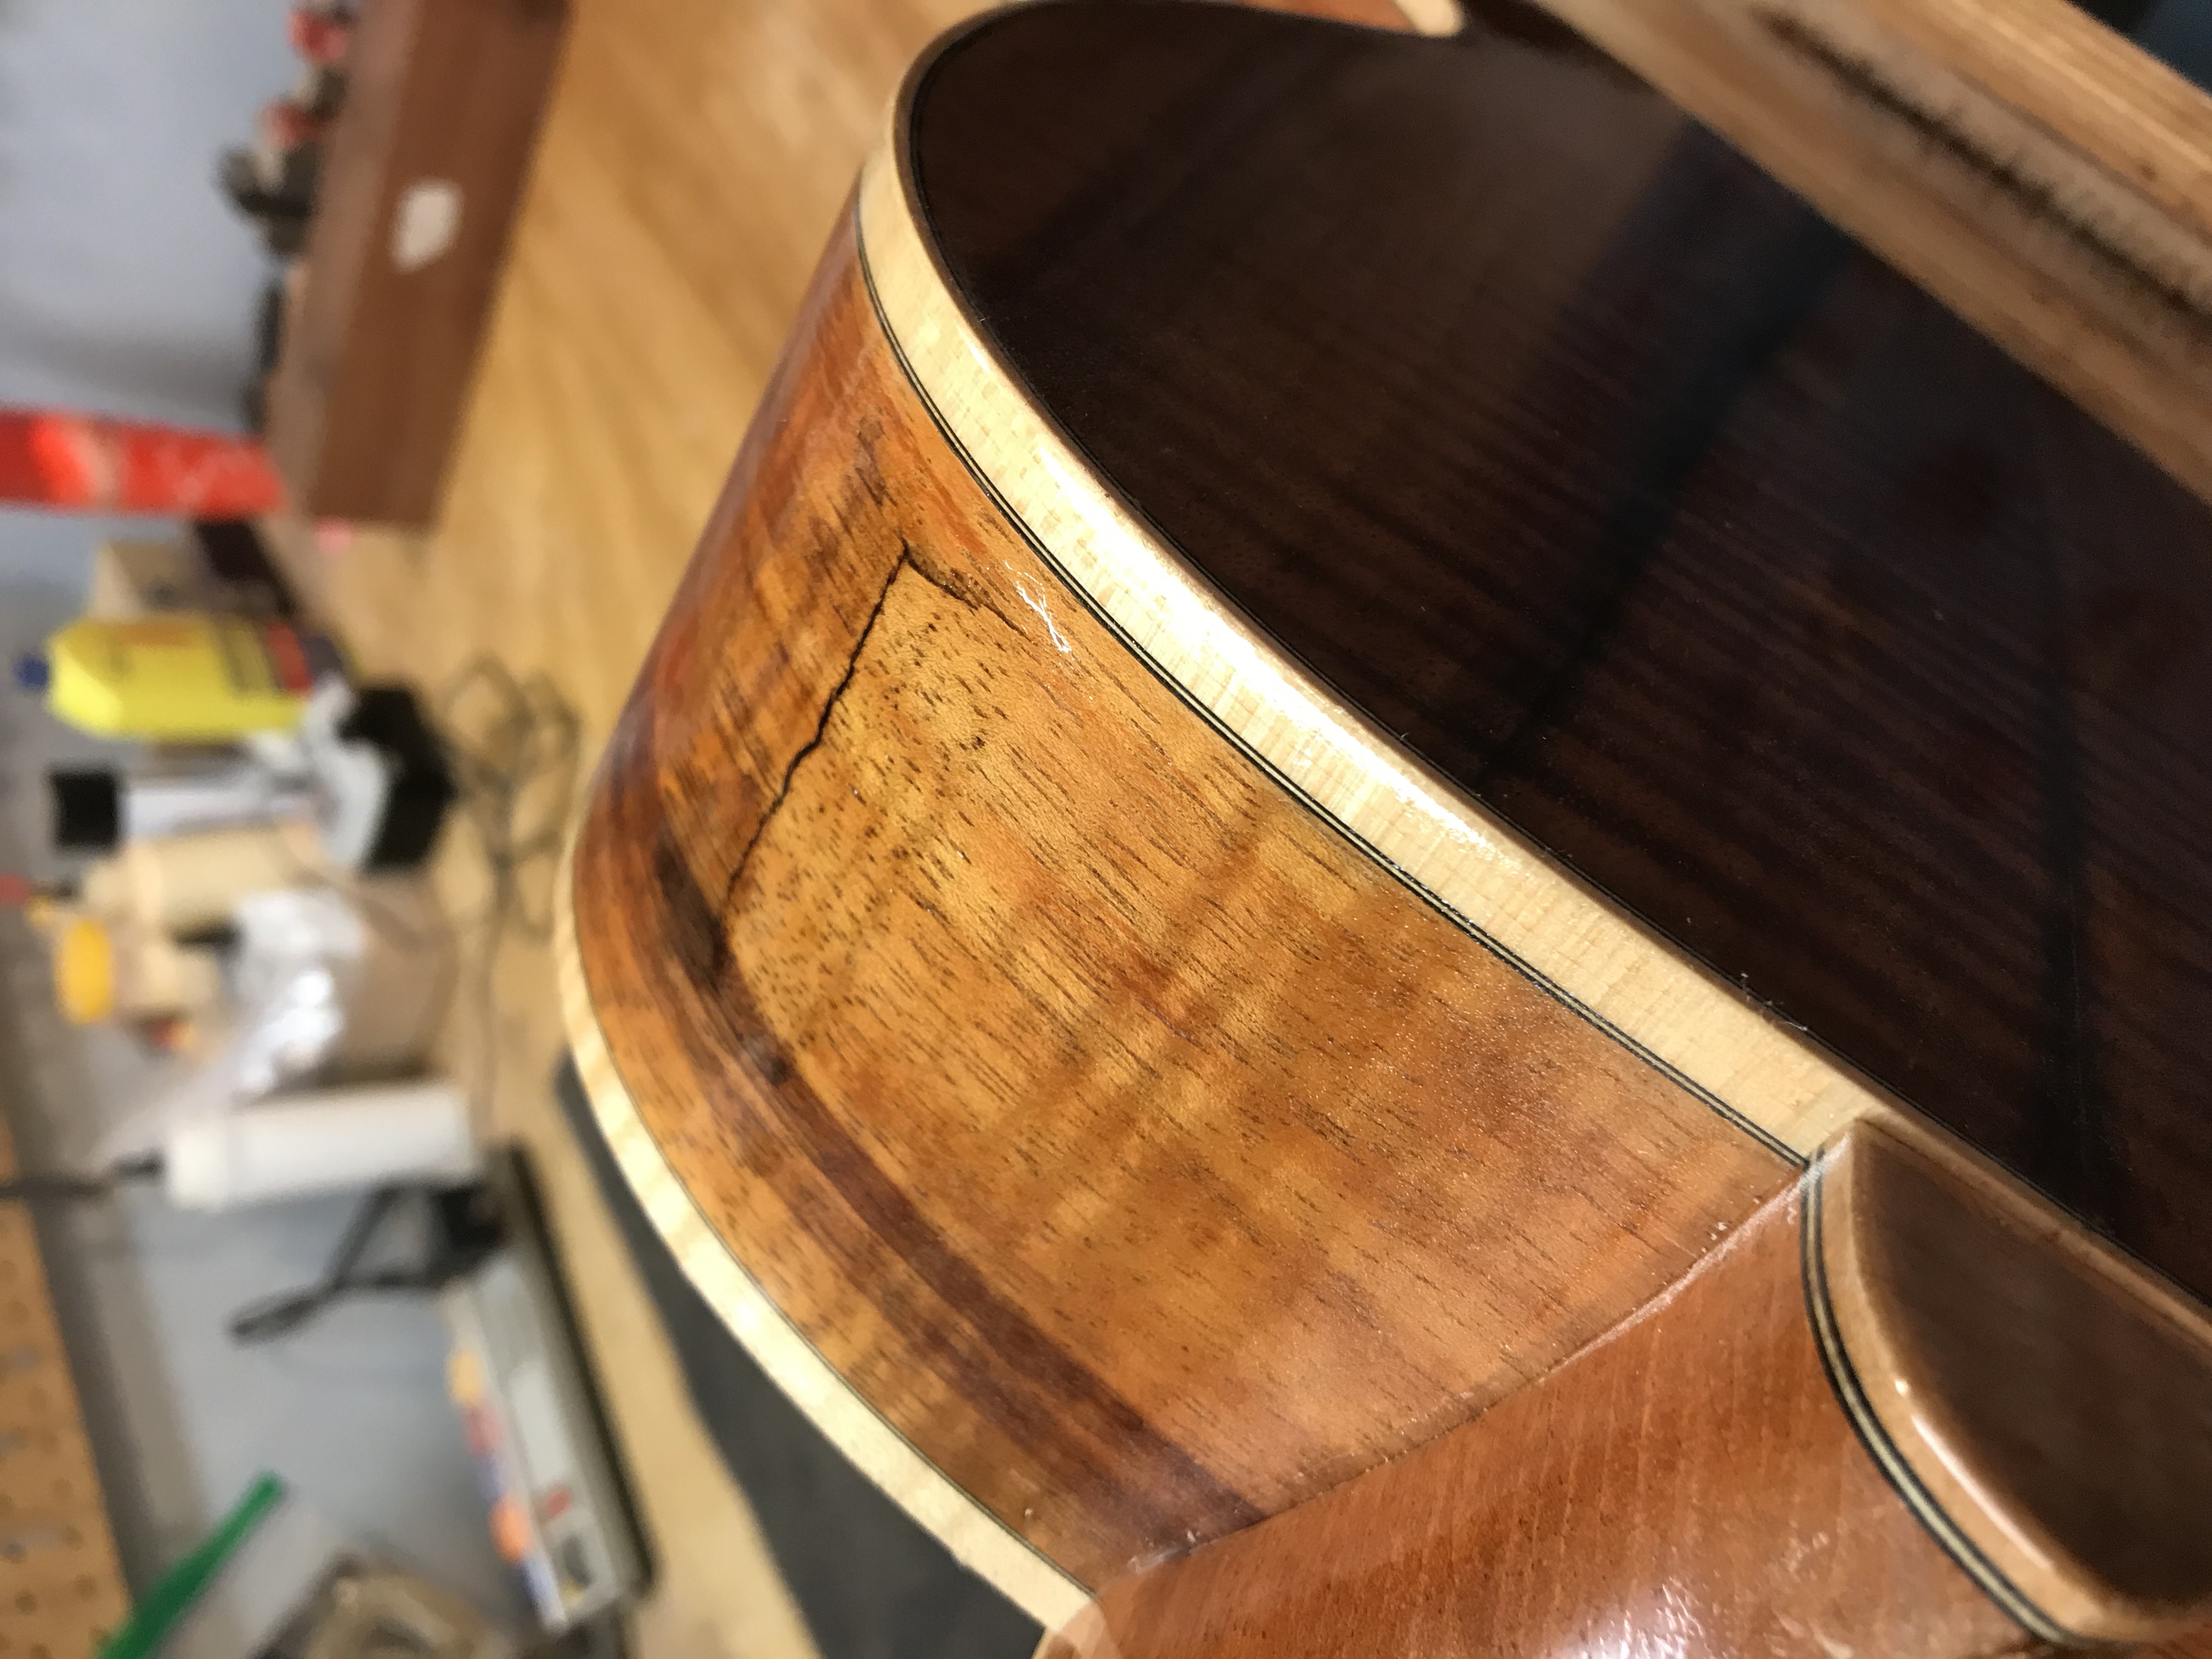
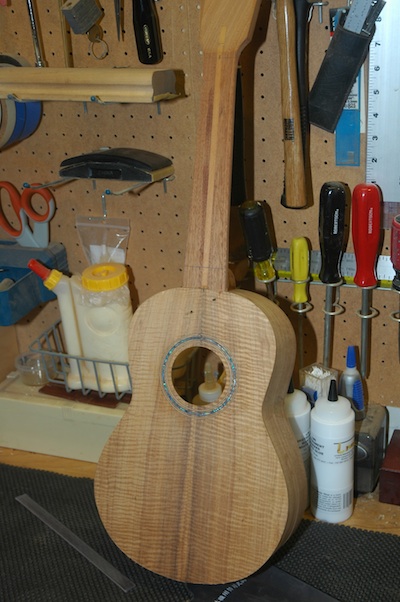
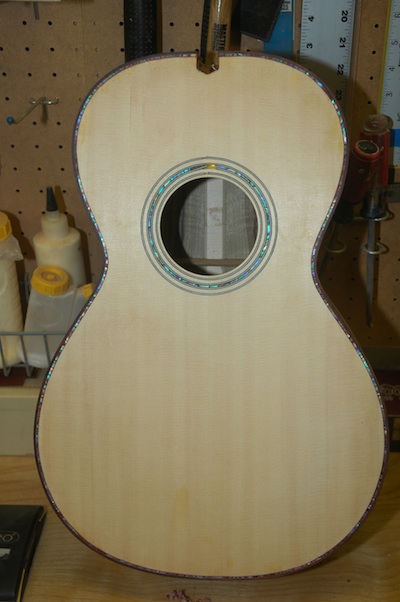
I’ve installed all binding on the Myrtle Parlor.

120826topbinding

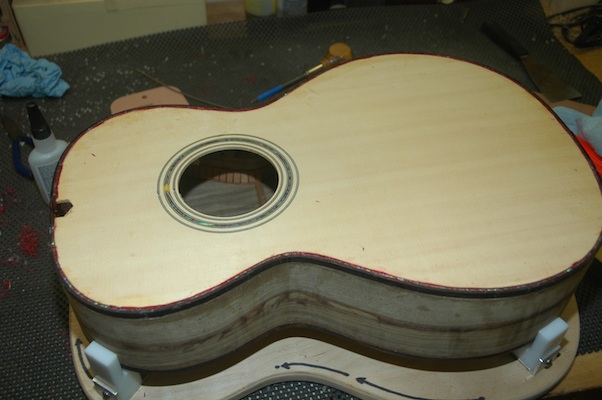
I then did what all good builders should do, I burnished my cabinet scraper.  Ah, what a difference!  Several smooth strokes across the top, and the binding is trimmed flush with the top.

120826bindingscraped

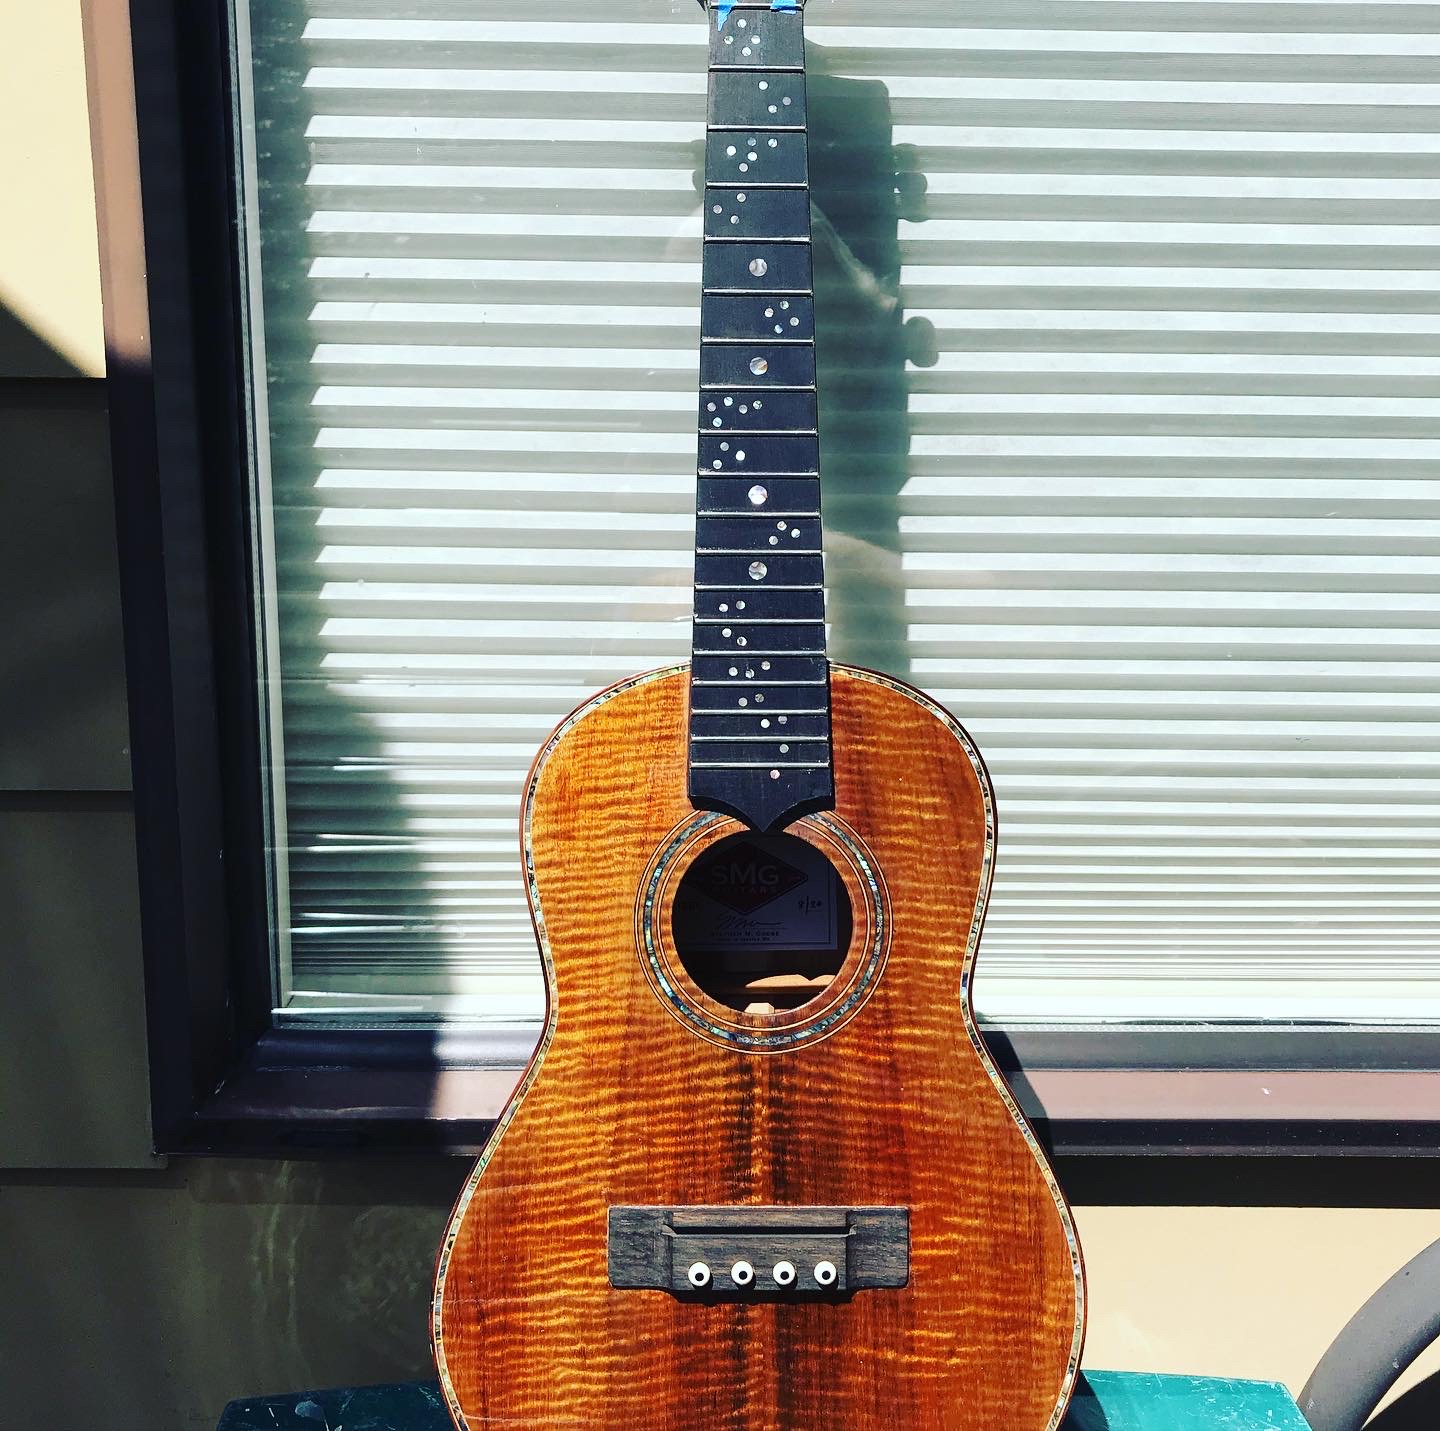
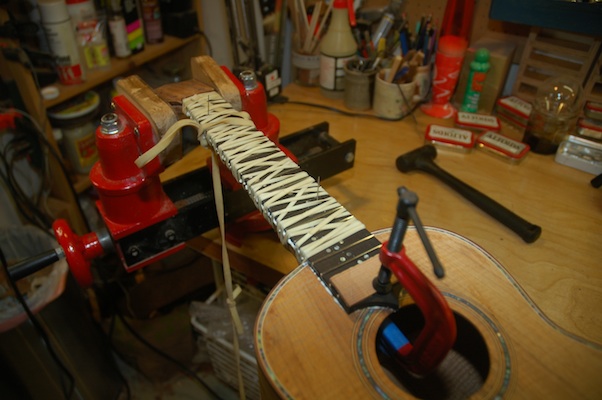
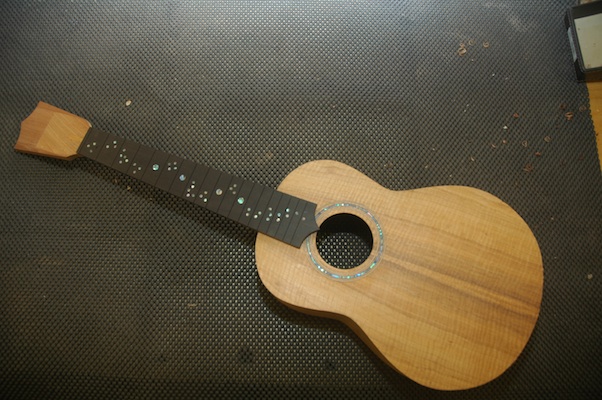
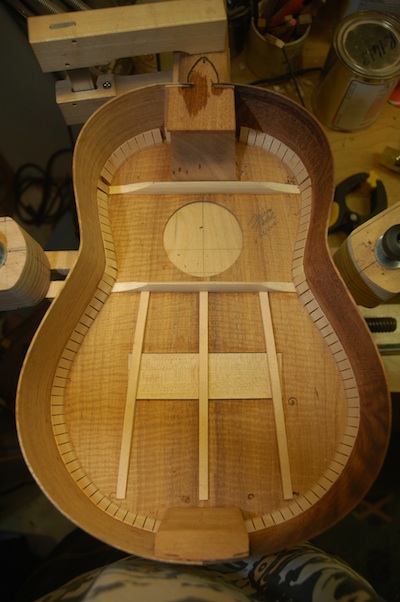
I’m so in love with my first uke.  I played it at camp and caught the bug.  The uke I’m working on now is really for me (so I’m differently motivated).  The top is braced, the tonebars are installed and the neck and top have been joined.

120826neckstabilizer

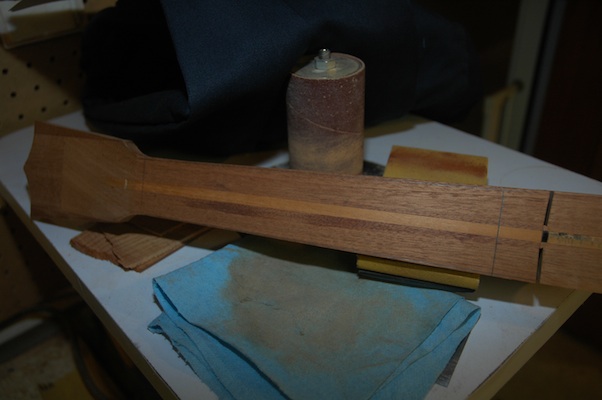
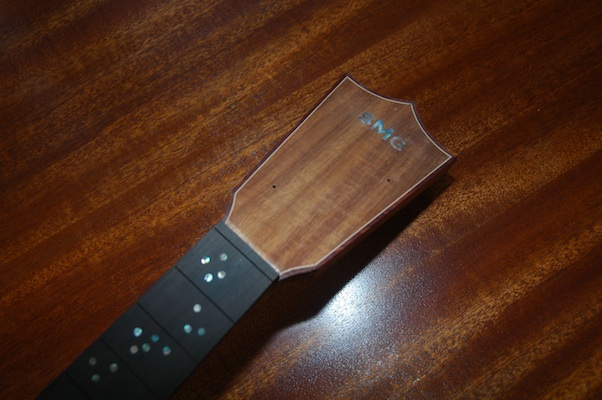
The neck has been stabilized with a graphite rod which lives under the mahogany strip in the center of the neck.

120826topbracing

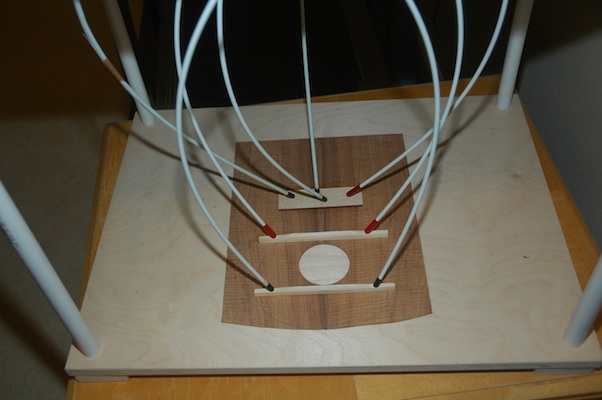
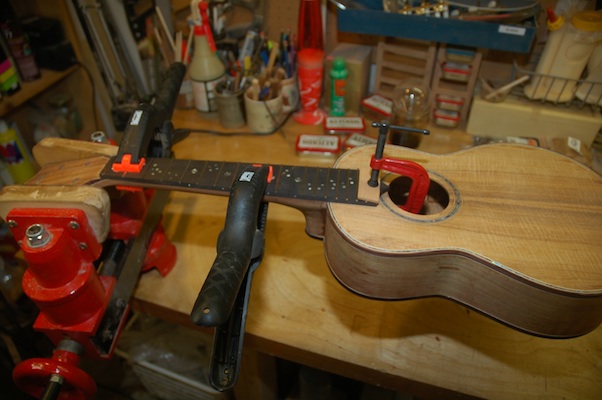
First the bracing and bridge plate were installed.
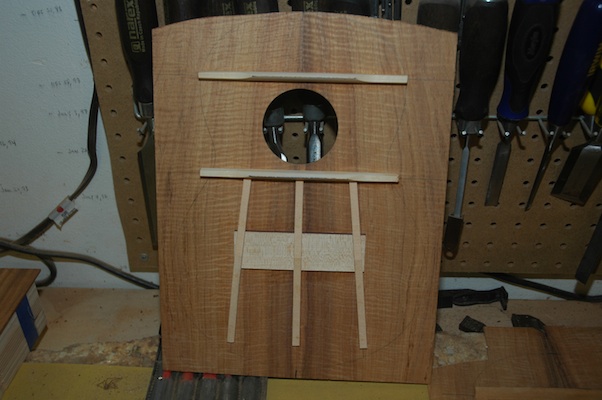
120826tonebars

Then the tone bars.

120826necktotopjoin

Finally, the neck and top can be joined.

Guitar 1002 – Ready for final sanding

July 11, 2012

Both guitar 1002 and the Girdis completion project are ready for final sanding.  This will be a 220 grit finish of every surface in preparation for the sanding sealer, pore filling, lacquer spraying.

120711readyfor220

In other news, I have been working inlays for Guitar 1202’s headstock and Uke 1201’s fretboard.

120711headplatewithshell

I spent a lot of time trying to place the fretboard shell in a random pattern.

120711neckandfretboard

Next »