Uke 1101 – Neck, Top, Sides Join

April 24, 2011

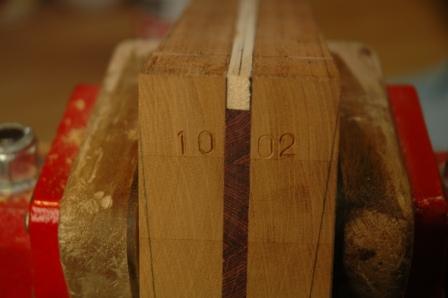
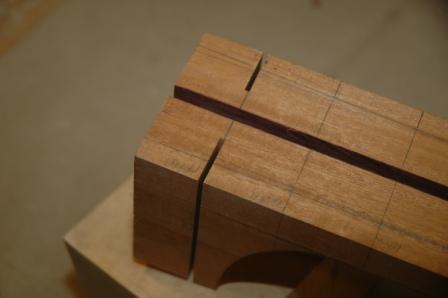
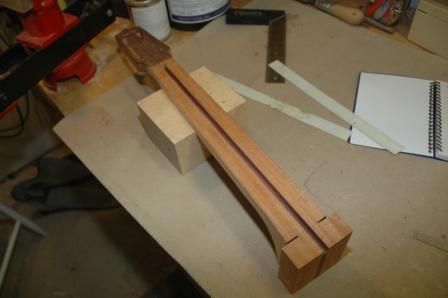
To recover from the wrong way heel slots, I filled with mahogany plates.

110424neckslotsfilled

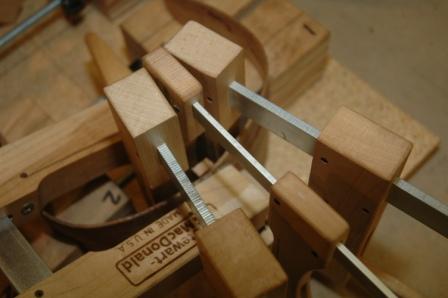
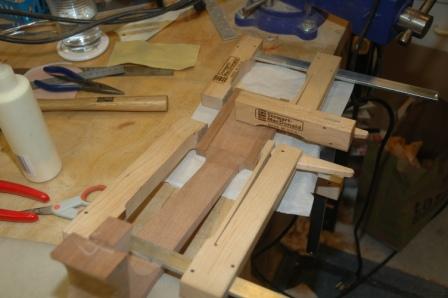
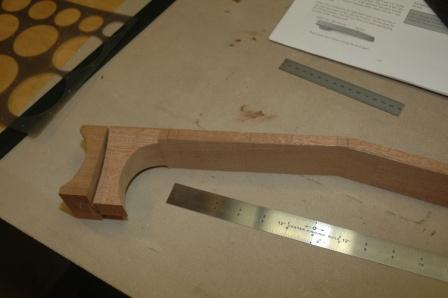
I had to carefully build a holding jig for the neck in the table saw which stabilized the neck while I drew it through the 5 degree angled blade.  Slots came out well, and I spent time shaping the heel in preparation for joining the top to the neck.

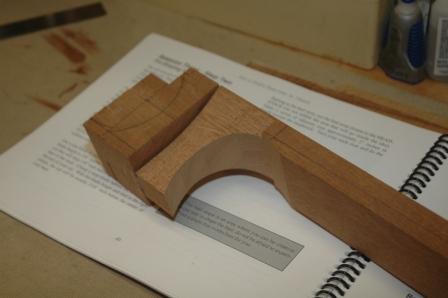
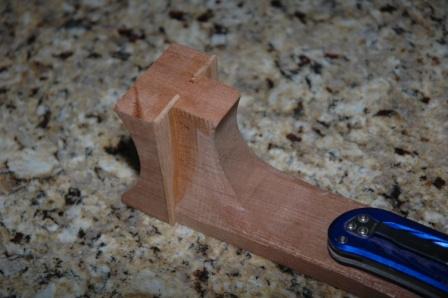
The top of the neck is routed out to accommodate the thickness of the top and ensure a flat transition from the top of the neck and the face of the top.  Center lines are matched, and the top is glued to the neck at the neck block portion of the neck.

110423necktopjoin

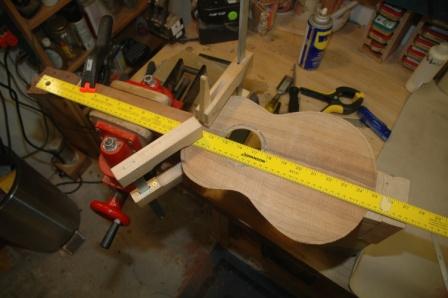
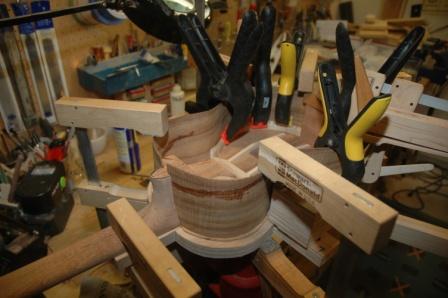
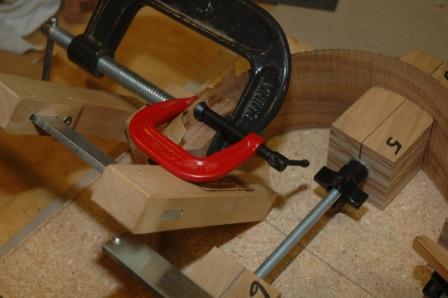
Once the joint is dry, it can be turned around and mounted onto the workboard.  After several dry fit attempts, everything lined up well, and glue was applied to the neck slots and the glue line along the inside of the top where the sides meet.  I probably should not have glued the slot, as I need to shim a wee bit of the sides to press against the heel for a tight fit.  So, there is a little gap between the heel and the sides which I may be able to shim out, but probably not.  The gap is very small, and will disappear when lacquered (or I can fill it).

The sides are clamped to the top, and while drying, the kerfing process can begin.

110423sidesandkerf

Uke 1101 – Dorky Day!

April 17, 2011

I always wanted to celebrate Dorky Day.  So today, I am.  See The Fan Man for more background.

Anyway, aside from Dorky Day, today was work on the uke day.  The mold for holding the sides is only that:  a holder of the sides until ready to mount to the top and neck.  I’m trying a little experiment, which may or may not prove worthwhile.  Since I experienced a bit of cracking of the sides when I was inserting into the mold, I wanted to ensure that further cracking wouldn’t occur.  I glued in the heel block and a “plug” on the neck end to hold the sides together as I pulled them from the mold to transfer to the workboard.  The plug on the neck side is smaller than the width of stock I’ll need to remove to fit into the spanish heel slots.

110417neckslot

110417neckplug

You can see the top of the plug insert sticking up between the clamps.  This is glued to the sides.  When I am ready to install the sides to the neck and top, I can use this plug as the guide for how much stock to remove before inserting into the spanish heel slots.  And, it will hold the sides in place as I remove them from the mold.

This holds true for the butt end as well.  In addition to gluing in the heel block, I added a plug (or patch) to the sides not covered by the heel block.

110417heelblock

To kill idle dry time, I installed the rosette for around the soundhole.  This is an example of using teflon strips which are removed after the glued purfling dries, then inserting abalam and flooding with CA glue.

110417rosetteteflon

110417rosetteflooded

I further tapered and shaped the neck in preparation for installing to the top, and added ears to the headstock to accomodate whatever shape I decide to put it in.

110417ears

Uke 1101 – Koa Tenor, Neck Construction

April 10, 2011

It’s time to take on the new uke.  The first uke is curing, and will be completed in about two weeks.  I’ve blocked up the neck, and sketched in the profile, taper, and heel cutouts.

110410necknibbled

This pic shows the cutouts for the side insertion and the heel shaped with a nibbling jig on the table saw.

110410necktapered

The heel block portion which is inside the uke has been shaped and trimmed.  The headstock and neck have been trimmed to approximate thickness.  Next step will be to taper.

Guitar 1002 – Fretboard Markers

March 20, 2011

We c0ncluded that paua diamonds would be the choice for fretboard markers after the experiment with wood dots went south.  The next decision point (as simple as it may seem) is whether to go with the single marker pattern or to fancy it up a bit with double markers on 5 and 12.

110320singlediamonds

This is the single diamond configuration with markers at 3 5 7 9 12 15 and 17.

110320doubleddiamonds

This configuration simply doubles the diamonds on 5 and 12.

I fully tapered the neck/neck block today using my taper jig and the table saw.  Before I remove any more stock from the cutaway side of the neck block, I’ll need to know the exact dimensional thickness of the sides coming out of the cutaway.  I added the serial number to the inside of the neck block.

110320serial

Guitar 1002 – Neck Work, Spanish Style

February 27, 2011

Took some time today to advance the work on 1002’s neck.  As it is a Spanish Style neck, slots need to be cut at the 14th fret for body side insertion.  Two slots are cut (perpendicular, as there is little body arch at the neck) on either side of the neck, leaving 1″ of stock between the bottoms of the slots.

110227spanishslots

The slot on the cutaway side will have a small blank inserted to meet the cutaway side at a 90 degree angle.  Thoughts of binding and purfling in this tight little area have me wondering.

The neck profile has been marked and cut off in the bandsaw, leaving the neck at the approximate width, tapering up from the nut toward the heel.

110227profiledfront

110227profiledback

The block piece of the neck which is inside the guitar body will be trimmed down to allow the cutaway to run under the fretboard and flush.  That cut will wait until the sides are bent and ready to be installed to the top and neck.

Guitar 1002 – Neck Heel Profiled

January 23, 2011

The heel profile and neck thickness have been cut using a band saw.

110123neckprofiled

Next, a slot will be cut at the 14th fret for the sides to be inserted into.  Then, the neck will be tapered to dimensions of a steel string neck profile.