Guitar 1002 – Binding Trimmed, Now the Tedious

April 9, 2012

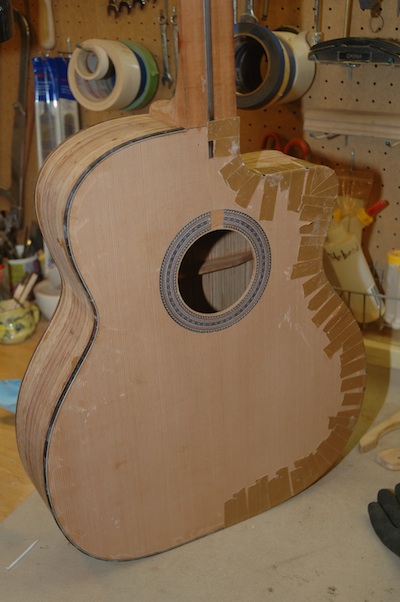
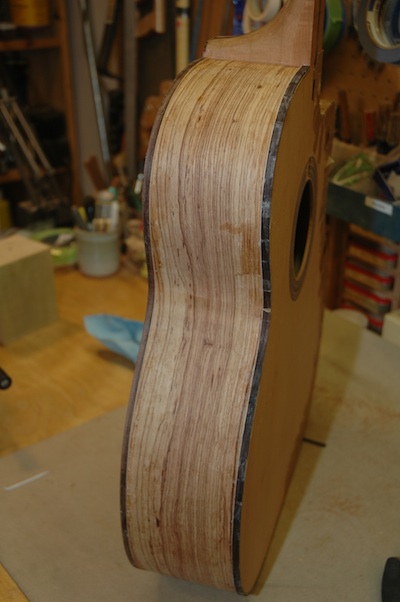
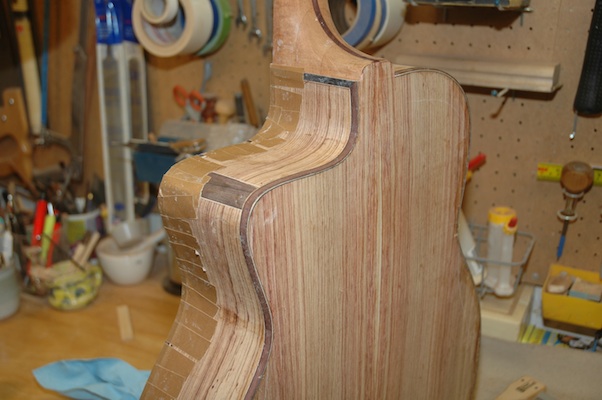
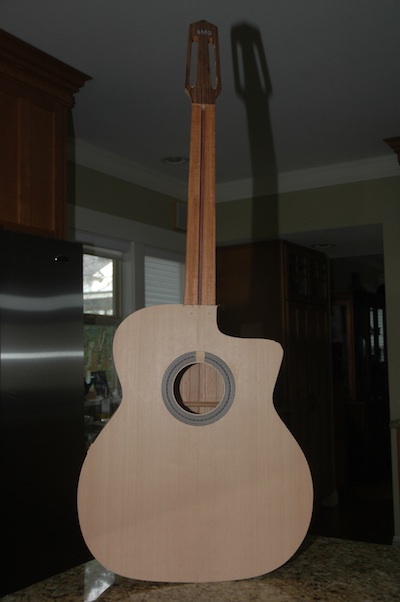
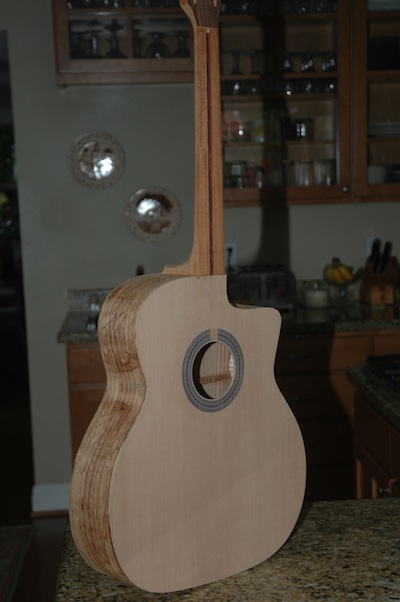
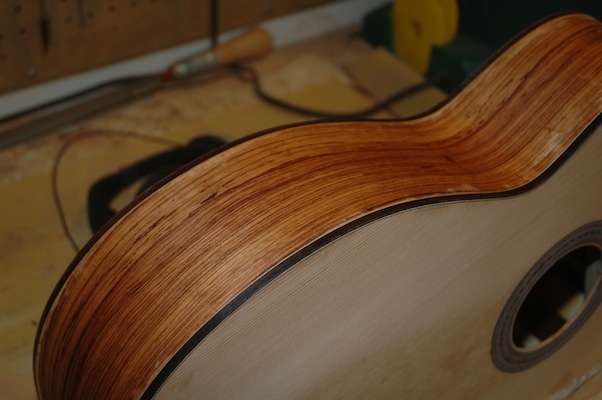
The binding is installed (save one small section on the neck heel).  It’s been trimmed close to the body and now the scraping begins.  Using a cabinet scraper, nicely burnished, I’ll draw down the binding flush to the sides, top and back.  I enjoy this process, yet it takes a long time to do it right.

120409roseandbind

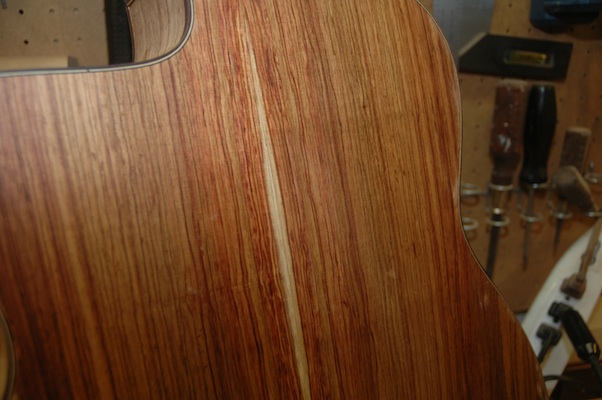
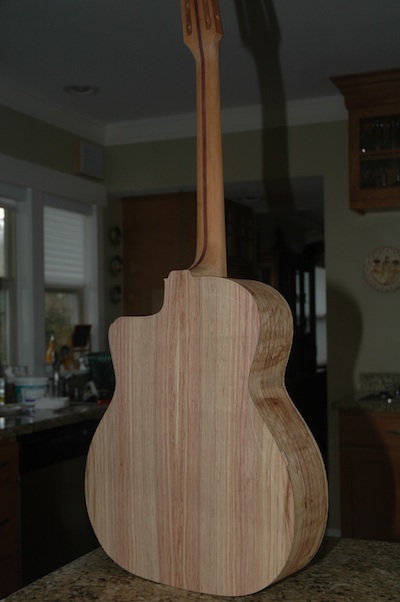
The Palo Escrito looks fine treated with naptha.  The blotchy parts still need further sanding to remove the glaze of wood glue still on the surface.

120409sidebind

120409fullback

120409back

An hour here, an hour there, then some more here and there, and the fretboard goes on.

Guitar 1002 – Binding continues

March 19, 2012

I’ve attached the cutaway side binding after hand bending.  I’m pleased with the process, and am no longer flummoxed by tight binding bends.  All went swimmingly, and installation was straightforward.  A few minor gaps which can be filled with rosewood shims.

120319frontbinding

120319sidebinding

I still need to install binding and purfling around the heel cap area.

120319cutawaybinding

Guitar 1002 – Box Constructed

February 12, 2012

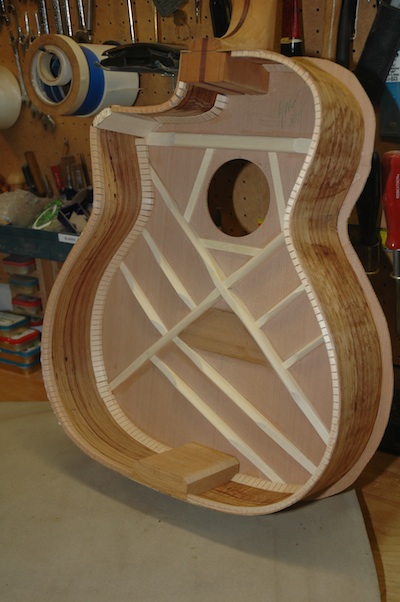
The top and back scarf was removed using a router.  It looks like a guitar and thumps like a guitar.  This is the first moment one can test the resonance of the box.  Thumb thumps on the lower bout, front and back, give a bold timpani like sound.

120212boxon

120212backview

120212frontview

Guitar 1002 – Sides Radiused, Back Installed

February 12, 2012

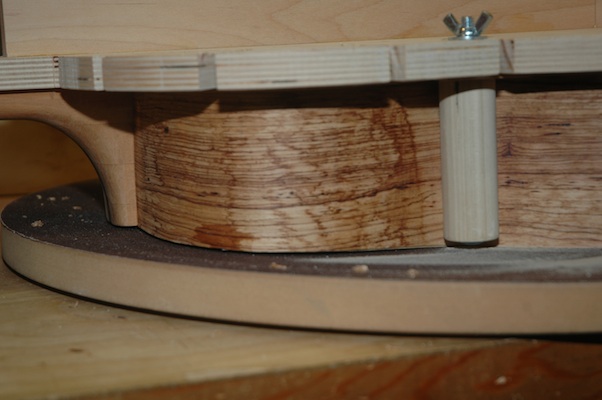
Before attaching the back to the sides, the sides need to be radiused to 15′.  This is done with a sandpaper covered dish.

120212preradius

The kerfed sides have been trimmed down to the approximate dimensions, then the box, still attached to the workboard is sanded by rotating through the center point of the dish until flush.

120212radiuscheck

A gap between the upper bout and the dish is shown.  The staining on the sides is from the bending process, and goes away after sanding.

Once the gaps have been closed, the back is dry fit on the sides to check for the location of the bracing, where the sides and kerf must be relieved so the bracing fits “under” the kerf.

120212fitprepback

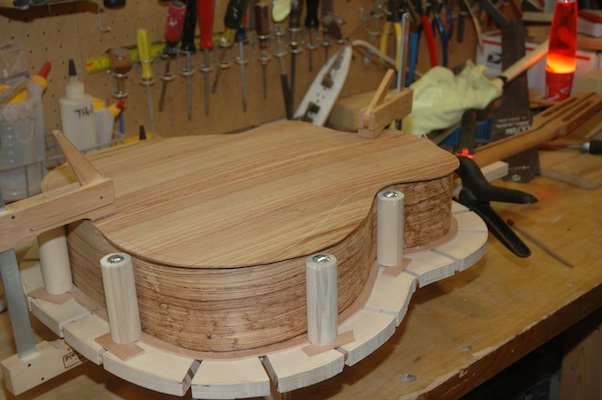
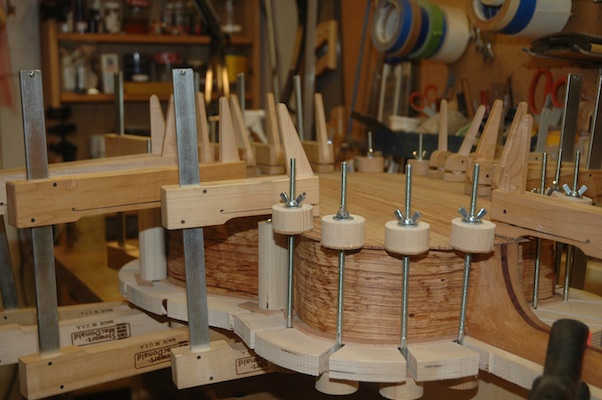
After a round of dry fitting the back to the sides with spool clamps, glue is applied to the kerf and the back is attached.

120212backdetail

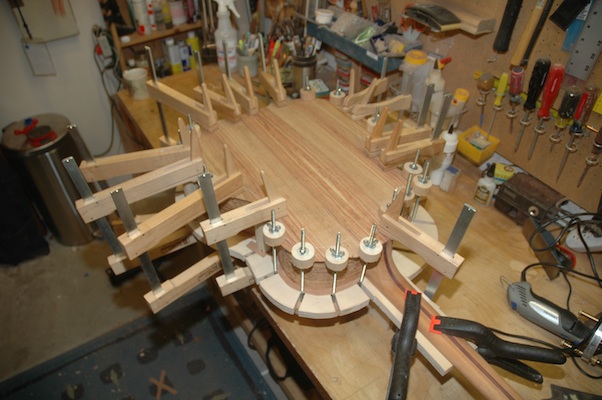
The clamps will stay for several hours before removed, then the scarf can be removed with a router using a bearing flush cut bit.

120212backclamped

Guitar 1002 – Plates

May 30, 2011

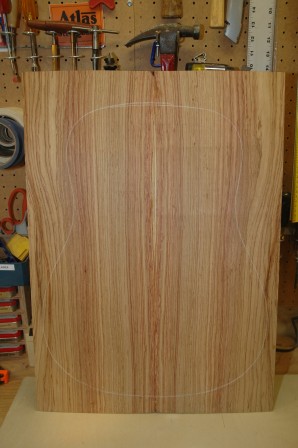
I used the drum sander to bring the back plates down to .090″ then jointed and joined in the spanish joiner jig.

110530joiningjig

After drying, the joint was sanded, a protective posterboard cover was taped to the outside, and the center strip was glued using the go-bar clamp.

110530backjoined

110530backstrip

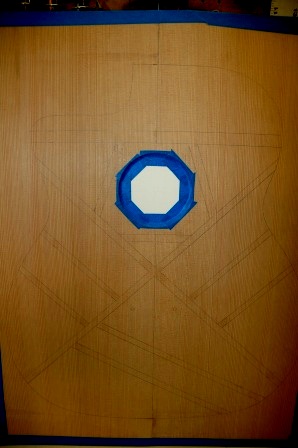
The top was similarly protected with posterboard (I’ve dinged too many top plates) and the bracing pattern was pencilled in.

110530bracingpattern

Guitar 1002 – Side Bending Progress

April 21, 2011

The first bent side is out of the bending machine.
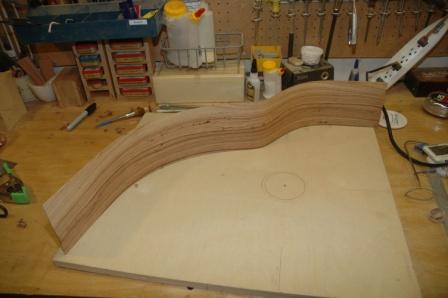
110421sidebent

The resulting bend is accurate yet not tight enough.  I’m resigned to the fact that I also need to apply more bend with the bending iron.
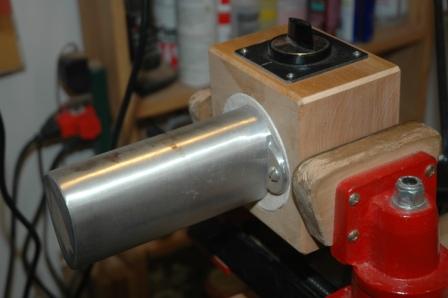
110421bendingiron

I’ve had limited success with the bending iron, mostly due to wood being too thick and preloaded with tiny cracks.  The machine bend of the first side did produce two minor cracks, which I filled with CA glue.  I took a first pass attempt at increasing the tightness of the bends with the bending iron, and found I could make some headway on tightening the bends and not introducing new or wider cracks:  all due to the nice .070″ thickness of the sides.

I will complete the hand bending just prior to installing the sides onto the work board, which is still under construction.
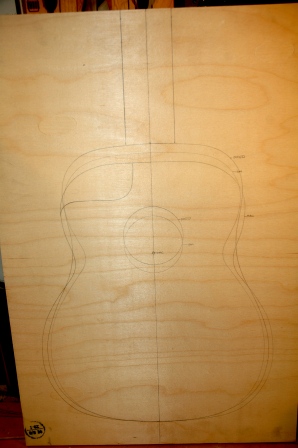
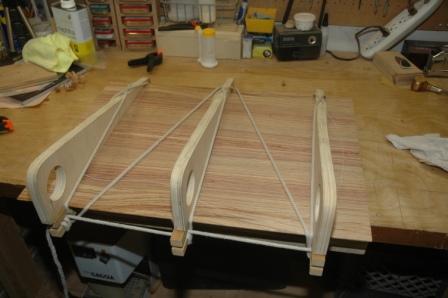
110421workboard

The workboard will be finished with sliding cauls along the outside border of the sides.  The sliding feature will allow me to use this workboard for dreadnoughts, OM’s and this Macaferri style body, along with others in between.

I usually build in a mold, which is only appropriate for guitars with dovetail or mortise/tenon bolt on necks.  The workboard is necessary for the spanish heel type construction.  This will all become obvious when I get to the step where the sides are glued to the top which has been attached to the neck.

I will have to provide a small radius bowl in the lower bout area of the workboard to accommodate radiussed X bracing.
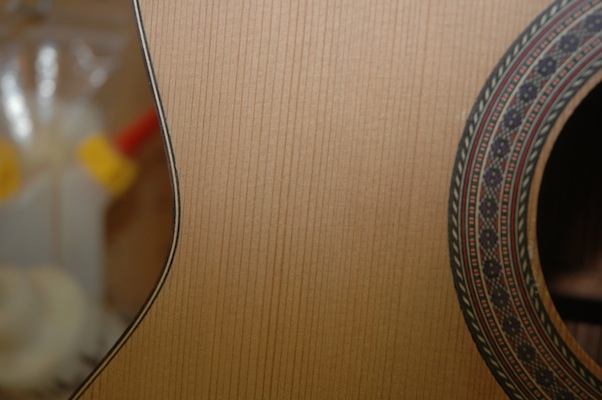
Guitar 1002 – Side Bending Underway

April 20, 2011

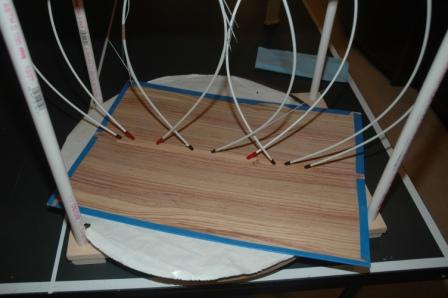
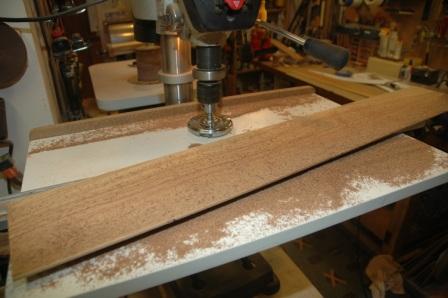
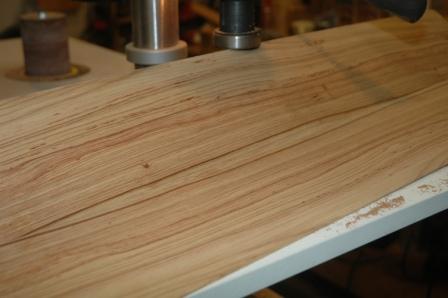
Palo Escrito is a pleasure to work with.  I first planed the sides down to about .075″ with the Safe-T-Planer then passed them through my newly repapered drum sander to smooth them and bring down to .070″.  This is very thin, but not so for a cutaway bend.  I bent the non-cutaway side first to practice bending this stuff for the first time.

110420prebend

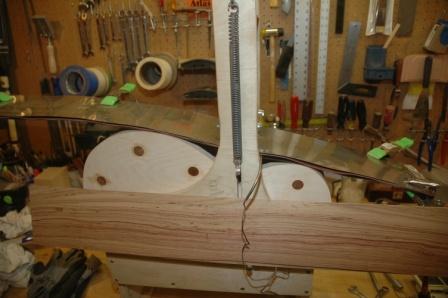
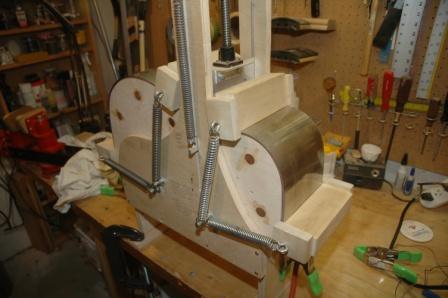
This photo shows the setup before plunging the waist press, then drawing the spring bars down across the bouts.

110420sidebend

I’ll let this sit for a couple of hours, reheat then let sit overnight.

Guitar 1002 – Sides Planed

April 16, 2011

Using the same setup for planing the uke sides, I brought these sides down to .070″ in preparation for bending.

110416sideplaning

110416sidesplaned

I’m tempted to thickness the cutaway side even more, as there is a sever bend in the upper bout.  Both sides will go through the drum sander tomorrow to clean up the planer marks left behind from the Safetee Planer.