Guitar 1002 – Sides Radiused, Back Installed
February 12, 2012
Before attaching the back to the sides, the sides need to be radiused to 15′. This is done with a sandpaper covered dish.
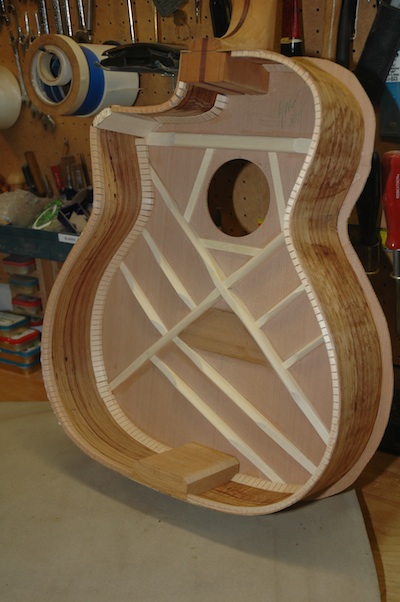
The kerfed sides have been trimmed down to the approximate dimensions, then the box, still attached to the workboard is sanded by rotating through the center point of the dish until flush.
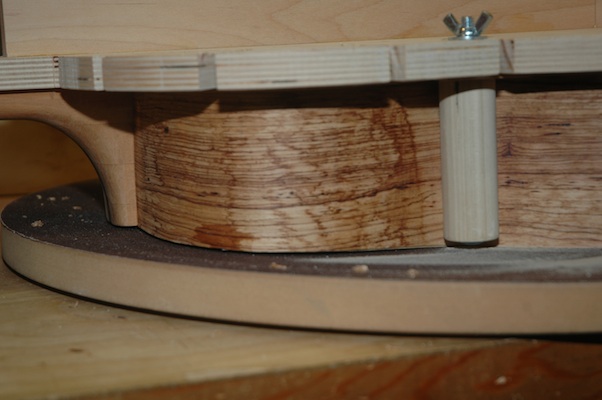
A gap between the upper bout and the dish is shown. The staining on the sides is from the bending process, and goes away after sanding.
Once the gaps have been closed, the back is dry fit on the sides to check for the location of the bracing, where the sides and kerf must be relieved so the bracing fits “under” the kerf.
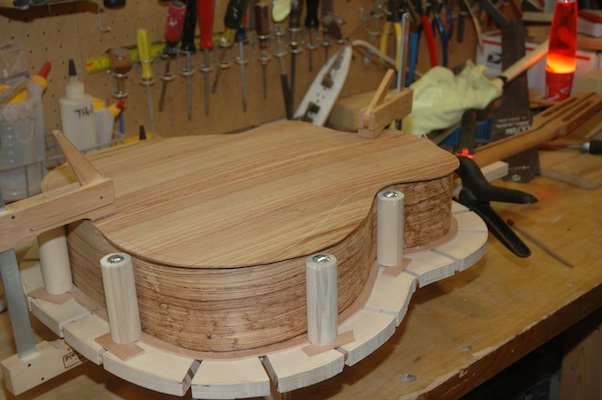
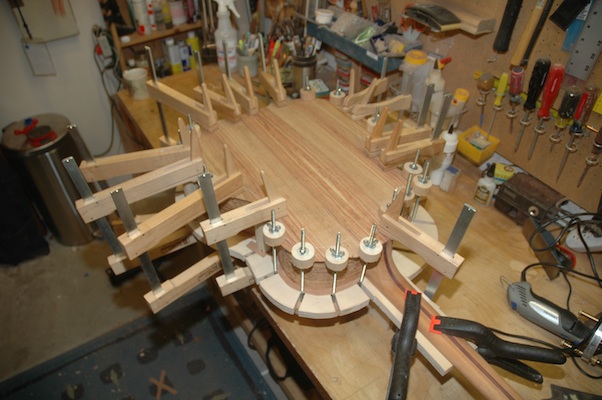
After a round of dry fitting the back to the sides with spool clamps, glue is applied to the kerf and the back is attached.
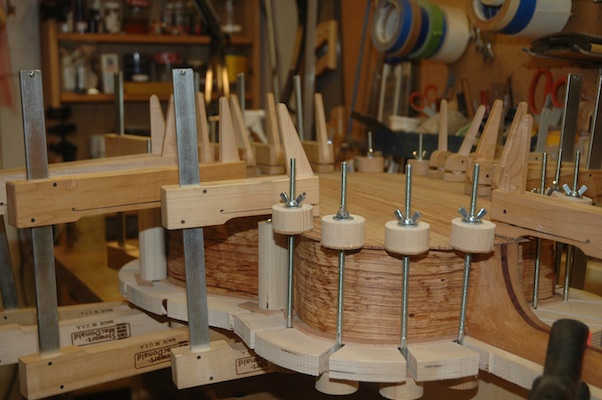
The clamps will stay for several hours before removed, then the scarf can be removed with a router using a bearing flush cut bit.
Jim on 12 Feb 2012 at 1:23 pm #
😉
Have any thoughts about the inlay at the cutaway bend? I have some exotic veneer that I got on eBay, but I wonder if something more in line with the woods already used might be better.
It’s looking really good.