Update: Uke Parlor Hybrid

August 26, 2012

Yeah, Guitar Camp was awesome, and now I’m home counting the days before I start back teaching.  I took a uke and an OM to camp, and as usual garnered a lot of interest from fellow campers who claim they “must have one”.  On the last day of camp advice is given to those of us returning to the non-camp world.  One bit of proper advice was, “Wait three weeks before accepting a proposal of marriage from a fellow camper.”  Same goes for committing to a new uke or guitar.

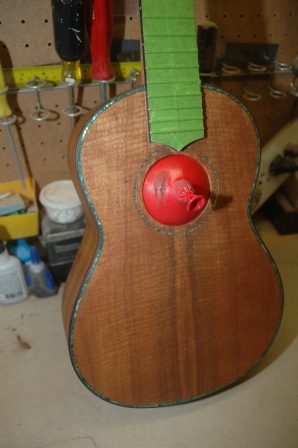
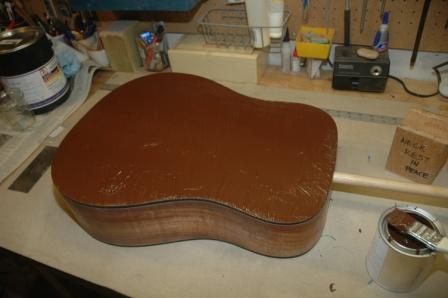
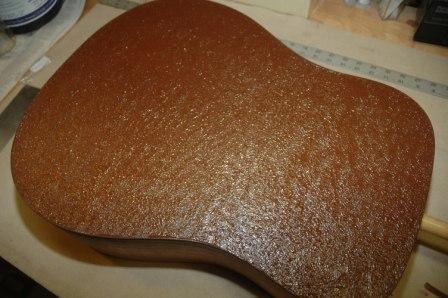
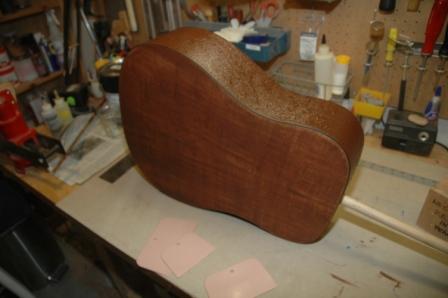
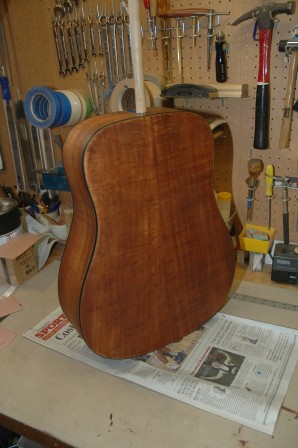
I’ve resumed where I left off before camp.  The Hybrid for Jim has a first coat of pore filler (an epoxy resin) and is lined up for the spray booth.
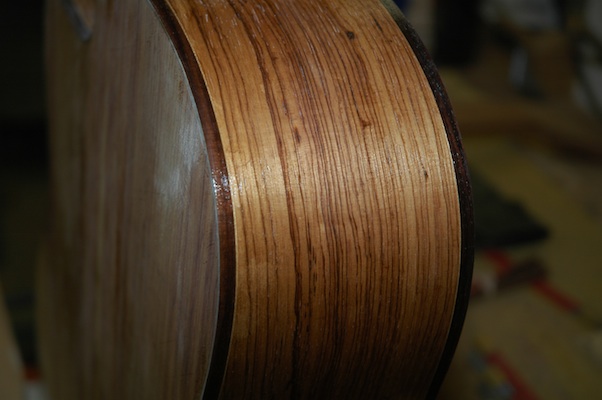
120826sidefinishing

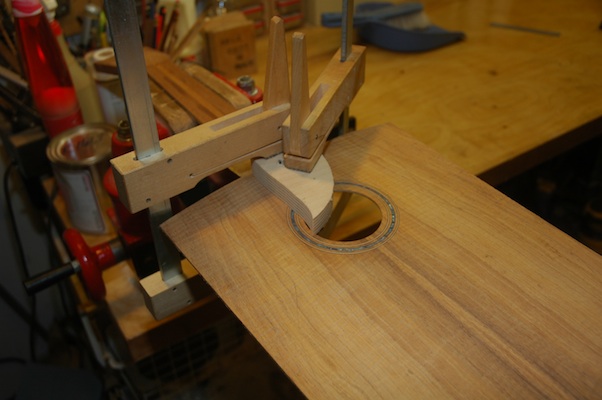
I’ve installed all binding on the Myrtle Parlor.
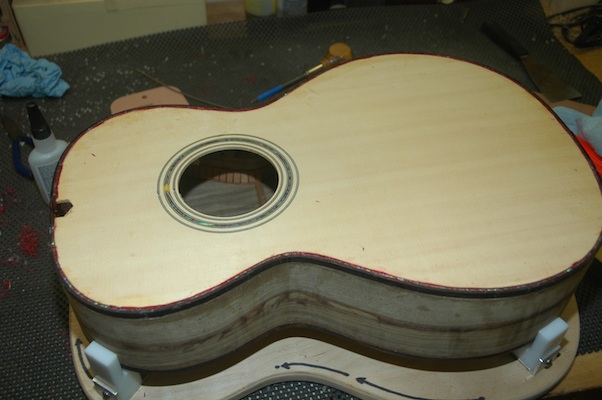
120826topbinding

I then did what all good builders should do, I burnished my cabinet scraper.  Ah, what a difference!  Several smooth strokes across the top, and the binding is trimmed flush with the top.
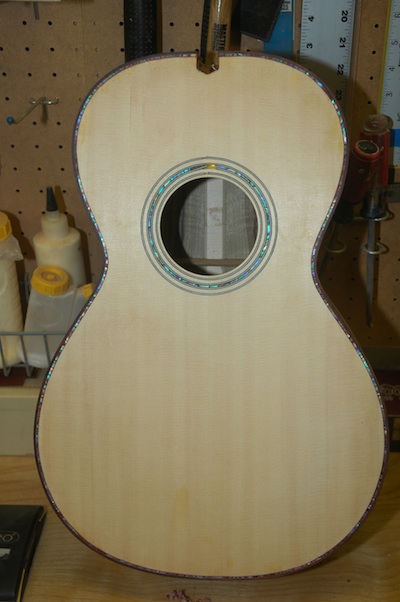
120826bindingscraped

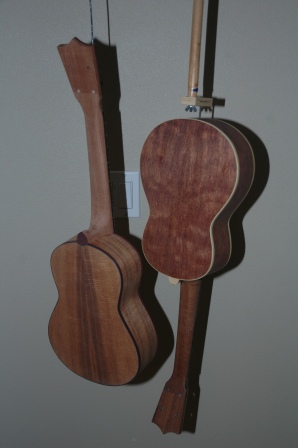
I’m so in love with my first uke.  I played it at camp and caught the bug.  The uke I’m working on now is really for me (so I’m differently motivated).  The top is braced, the tonebars are installed and the neck and top have been joined.
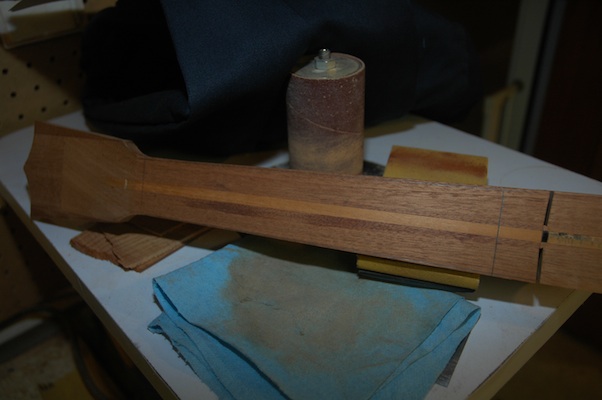
120826neckstabilizer

The neck has been stabilized with a graphite rod which lives under the mahogany strip in the center of the neck.
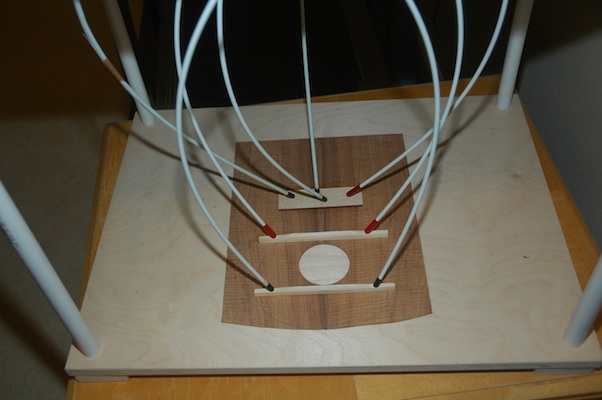
120826topbracing

First the bracing and bridge plate were installed.
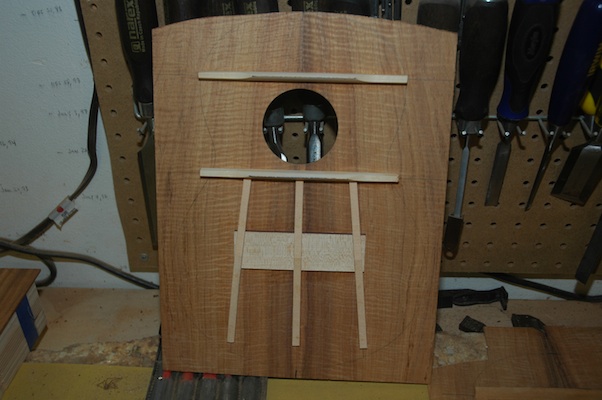
120826tonebars

Then the tone bars.

120826necktotopjoin

Finally, the neck and top can be joined.
Uke 1101 – Resumed

October 24, 2011

Teaching has been wiping me out.  I have been immersed in such a way that my building opportunity was minimal.  I will be visiting Salt Lake for Thanksgiving, and I would like to have my sister’s uke finished by then.  It is completely possible as I am at the finishing stages.

The original uke has been sitting waiting for additional lacquer coats, so it’s part of the deal.

111024ukestosprtay

The koa is ready to accept the first coat (sanding sealer) and the bubinga is ready for coat number 15.

111024porefiller

The pore filler is a brown base so initially alters the color.  After it is applied a squeegee is used to scrape it off, hopefully leaving behind a smooth surface.  It will be scuffed down to remove any haze on the surface of the wood/purfling/binding.  It may require a second application if the pores are not fully filled.

The koa with its first coat of sanding sealer.  After scuffing the finish smooth, pore filler is applied.


Guitar 1001 – Pores Filled, Ready for Lacquer

March 13, 2011

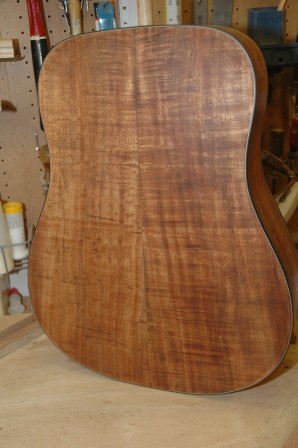
I knocked down the pore filler on the koa dreadnought.  After sanding and scraping the binding to clear off the pore filler haze, we’re ready to start the lacquer application regimen starting tomorrow.

110313backfilled

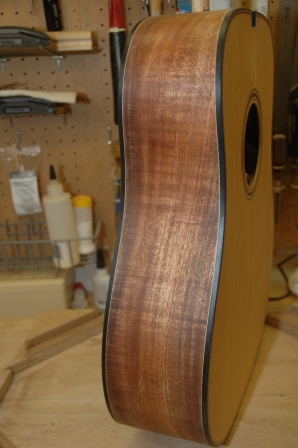
I must say, this pore filling process worked beautifully.  The surface is mirror smooth.

110313sidefilled


Guitar 1001 – Pore Filler Applied

March 11 , 2011

Well well well.  Dove on down to the shop, prepped the body for pore filling and dove in head first.  The back was tackled first, followed by side one then side two (A side and B side?).  First step was to apply a thick coat with a bristle brush.  Its’ consistency is somewhat like tahini.

110311backappl

Or maybe, fudge brownie mix.  Next, dapple with the brush to force filler into pores.

110311backdappled

Kind of reminds me of that textured ceiling spray.  I only let it sit for 5 minutes before taking the bondo scraper to it at a 45 degree angle.  It’s a bit of a messy process, and the filler tends to drool over the sides, and stray globs ended up on the top, but quick action removed the globs sufficiently.

110311sideporefill

Next the sides were filled, one at a time (A and B, remember?), as the filler dries quickly, and the guitar is resting on the opposite side while applying.  Once all sides and the back were scraped clean, there was still quite a bit of filler floating on the surface.  With a shop towel (like burlap), the guitar was buffed, which removed most of the surface filler, yet kept the filled pores filled.

110311porefilled

After several hours of setting, I will sand off the remaining filler that still coats the surface, resulting in a resumption of the koa golds, the white purfling, and mirror smooth surface (I hope).

I am NOT going to pore fill the mahogany neck.  Or am I?  Let me think on this one for a bit.

Guitar 1001 – Pore Filling

March 11, 2011

I have applied the first coat sanding sealer to Guitar 1001 in preparation for pore filling.  Today I will apply the pore filler first coat.  For the uke and the OM Walnut under construction, I used Z-Poxy as the pore filler with results that were not fully to my liking.  Although Z-Poxy is appropriate for pore filling, the application and knock down are difficult and time consuming.  Hearkening back to my lazy disposition, and not enjoying the whole knock down process, I will use a more traditional pore filling product, Chemcraft Pore Filler from LMI.

I ordered a pint of Chemcraft, colored Medium Brown, appropriate for koa, and it arrived earlier this week.  I have used Chemcraft on previous guitars with good results, but this time I’m determined to get exceptional results.  I learned from my previous forays with Chemcraft that one application is not enough:  the pores get semi-filled with one application, and two or more will be necessary to get mirror finish results (or full pore filling).

The online instructions from LMI are extensive for Chemcraft.  To gather my thoughts, I’ll recap here for you instruction geeks, and to set a roadmap for my work today.

1.  1 coat of sanding sealer (lacquer), thin.

2.  Apply with cheap bristle brush, across the grain.  “Hide” the wood under the filler.

3.  Blot or poke filler into pores with bristle brush at 90 degree angle.

4.  Wait until 70% of shine is gone and filler hazes over.  (Guess I’ll need my attenuated shine goggles for this measurement).  Instructions say 5 to 20 minutes.

5.  Remove excess with a squeegee into another jar (can be reused) at a 45 degree angle to the grain.  I have some bondo squeegees that I’ll give a try.  Some builders use old credit cards, etc.

6.  Any thin layer of filler left behind after using the squeegee can be removed with burlap or sanding after 12 – 24 hours of drying time.  Burlap can also be used 30 minutes after squeegeeing.  Rub across the grain.

Proper application can result in a one coat only experience.  If a second coat is necessary, it will be evident after sanding the dried pore filler.