Archive for February, 2012

Guitar 1002 – Box Constructed

February 12, 2012

The top and back scarf was removed using a router.  It looks like a guitar and thumps like a guitar.  This is the first moment one can test the resonance of the box.  Thumb thumps on the lower bout, front and back, give a bold timpani like sound.

120212boxon

120212backview

120212frontview

Guitar 1002 – Sides Radiused, Back Installed

February 12, 2012

Before attaching the back to the sides, the sides need to be radiused to 15′.  This is done with a sandpaper covered dish.

120212preradius

The kerfed sides have been trimmed down to the approximate dimensions, then the box, still attached to the workboard is sanded by rotating through the center point of the dish until flush.

120212radiuscheck

A gap between the upper bout and the dish is shown.  The staining on the sides is from the bending process, and goes away after sanding.

Once the gaps have been closed, the back is dry fit on the sides to check for the location of the bracing, where the sides and kerf must be relieved so the bracing fits “under” the kerf.

120212fitprepback

After a round of dry fitting the back to the sides with spool clamps, glue is applied to the kerf and the back is attached.

120212backdetail

The clamps will stay for several hours before removed, then the scarf can be removed with a router using a bearing flush cut bit.

120212backclamped

Guitar 1002 – Kerf, Side Supports, Ready to Radius

February 5, 2012

The sides have been trimmed down to the approximate height to simulate a 15′ radius.  I used my wee little finger planer which served well.  Before using the radius sanding dish, the kerf for the back was installed.

120205backkerf

Additionally, side supports were glued in.  These serve to keep the integrity of the sides and avoid cracks along the grain.

120205sidesupports

The box is ready to be radiussed.  Using a 15′ radius dish mounted with sandpaper, the kerfed sides are dimensioned to a dome shape, tapering down from the butt end to the neck end.  Once this is done, the back can be installed.  I will use spool clamps with the box on the workboard to secure the back to the sides.

Guitar 1002 – Adapt to the Crack, Kerf

February 4, 2012

Well, the repaired crack didn’t survive.  What I’ve done is attach the sides to the top and join the cracked section with a piece of engleman spruce backing.  After the box is constructed, with both the top and the back attached to the sides, I will trim out the ragged edges, down to the spruce backing, and insert a binding bordered patch.  Patch is the wrong word; inlay is better.  The binding will match the body binding and the inlay will mimic the end graft, which I believe is rosewood.

120204cracked

The kerf for the top is installed, and once this dries, along with the spruce backing on the cutaway, I can begin to trim the sides in preparation for installing the back.

120204kerf

120204morekerf

Guitar 1002 – Unpack the Sides, Glue to Top

February 4, 2012

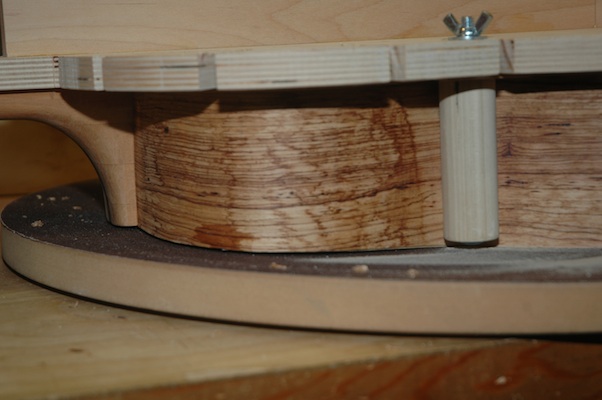
As mentioned previously, the cutaway bend probably cracked.  I let the bent sides sit in the bender overnight so as to allow the bends to settle, then opened the bender carefully.

120204openthebender

The underside of the sandwich was held in place with a bit of wire to keep it from springing up and pushing against the bent side.  After removing from the machine, the crack was evident.

120204seethecrack

Two cracks, on either side of the outer bend can be repaired with CA glue, then the bend can be rounded on the hand bending heater before attaching to the guitar top.  This piece is salvageable and will be fine.  After aggressive sanding and fairing, there should be no evidence of the crack.  I might consider gluing a small spruce caul into the inside of the bend to provide stability.

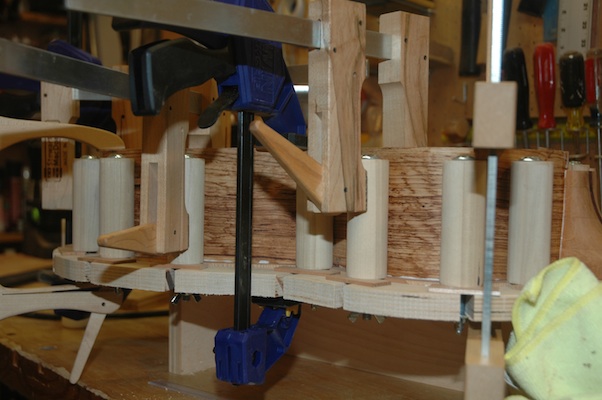
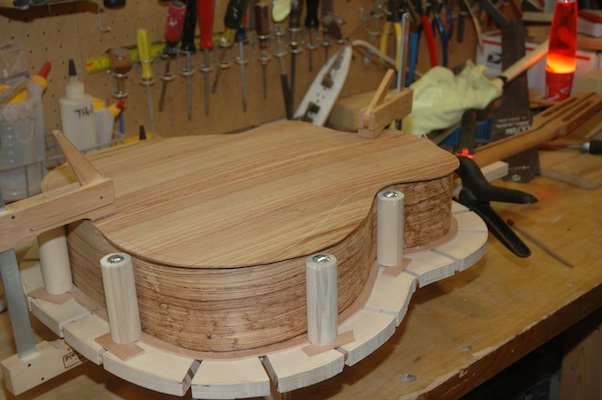
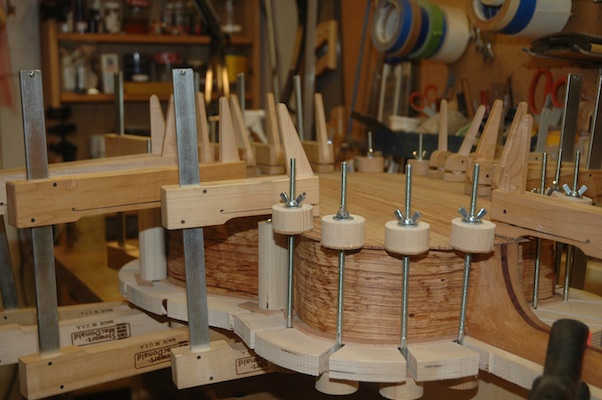
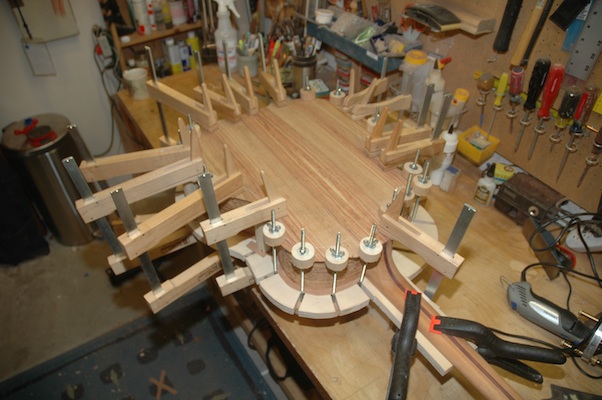
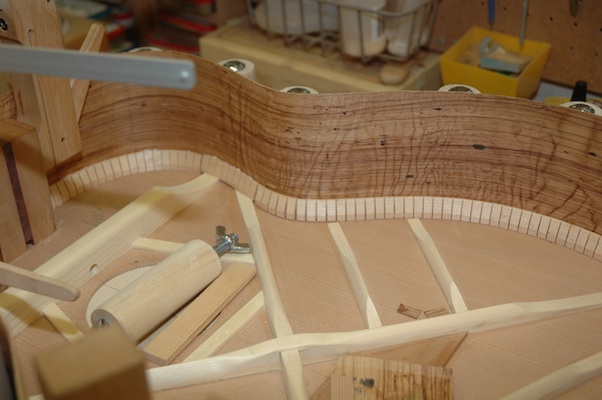
I began installing the non-cutaway side.  First I increased the bends on the hand bender, determined the position of the cut for each end to shorten the side piece, applied glue to the butt block, neck slot and joint between the side and the top.  It slipped into the workboard easily, and followed the trace of the joint nicely, so I was able, on the first pass, to clamp down.

120204sideinstall

120204sideinstall1