Guitar 1201 and 1202 Kerfing
June 8, 2012
Madly trimming/planing box sides down to 30′ and 15′ radius (top and back respectively) then adding kerf.
June 8, 2012
Madly trimming/planing box sides down to 30′ and 15′ radius (top and back respectively) then adding kerf.
February 5, 2012
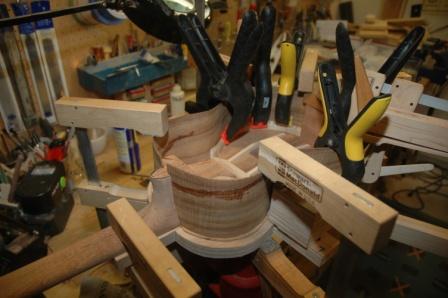
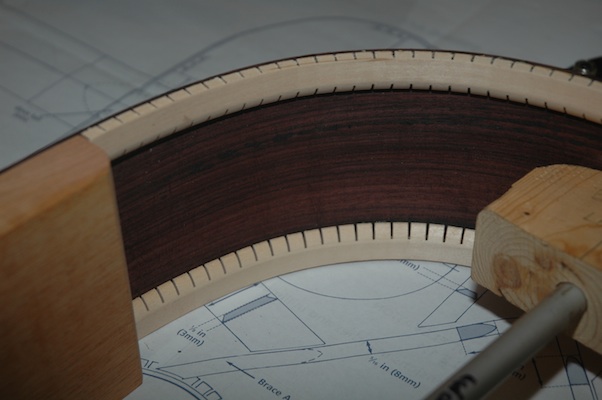
The sides have been trimmed down to the approximate height to simulate a 15′ radius. I used my wee little finger planer which served well. Before using the radius sanding dish, the kerf for the back was installed.

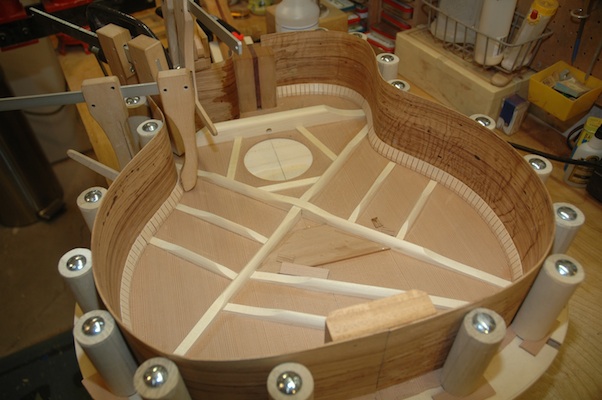
Additionally, side supports were glued in. These serve to keep the integrity of the sides and avoid cracks along the grain.
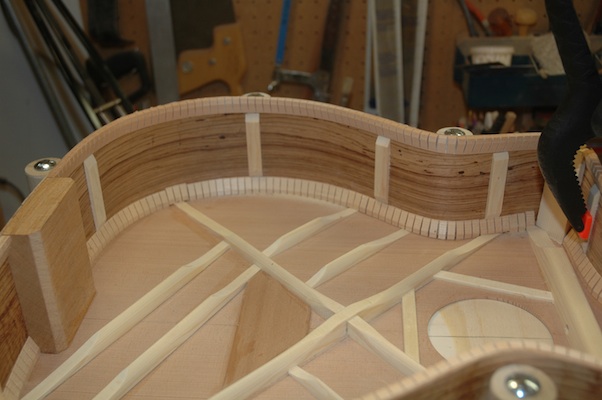
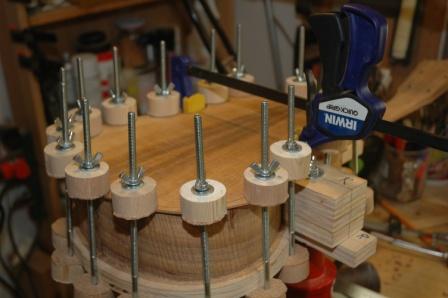
The box is ready to be radiussed. Using a 15′ radius dish mounted with sandpaper, the kerfed sides are dimensioned to a dome shape, tapering down from the butt end to the neck end. Once this is done, the back can be installed. I will use spool clamps with the box on the workboard to secure the back to the sides.
February 4, 2012
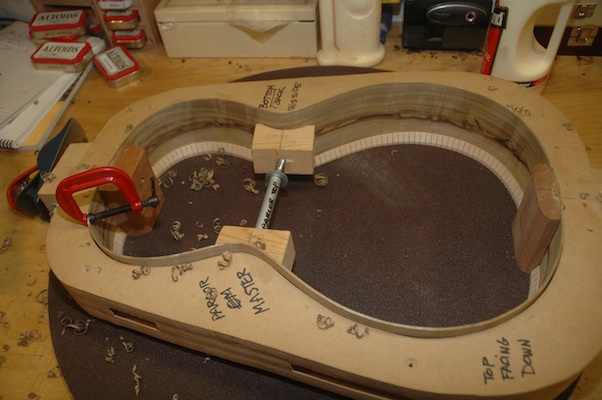
Well, the repaired crack didn’t survive. What I’ve done is attach the sides to the top and join the cracked section with a piece of engleman spruce backing. After the box is constructed, with both the top and the back attached to the sides, I will trim out the ragged edges, down to the spruce backing, and insert a binding bordered patch. Patch is the wrong word; inlay is better. The binding will match the body binding and the inlay will mimic the end graft, which I believe is rosewood.
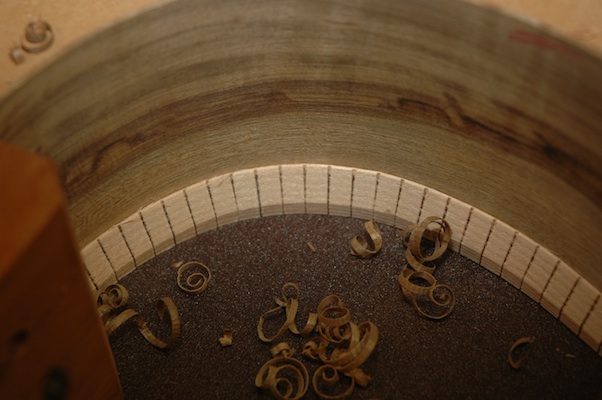
The kerf for the top is installed, and once this dries, along with the spruce backing on the cutaway, I can begin to trim the sides in preparation for installing the back.
April 26, 2011
Got a lot done today between printing lesson plans and teaching 9th graders how to divide exponents. I planed and radius sanded the back until it was in shape to accept kerfing.
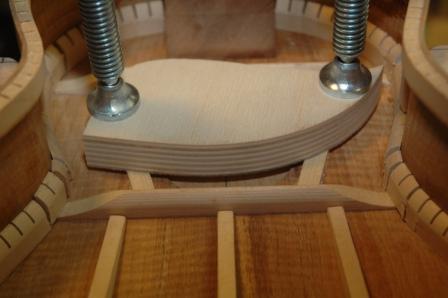
Lots to do on the inside before gluing on the back. Side reinforcements go in, three to a side.
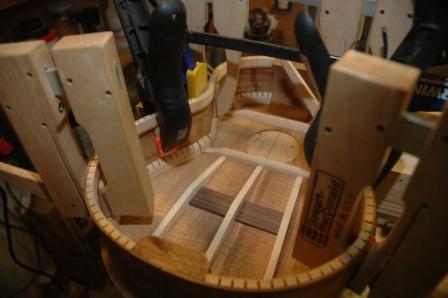
The soundhole needs to be reinforced with two spruce braces.
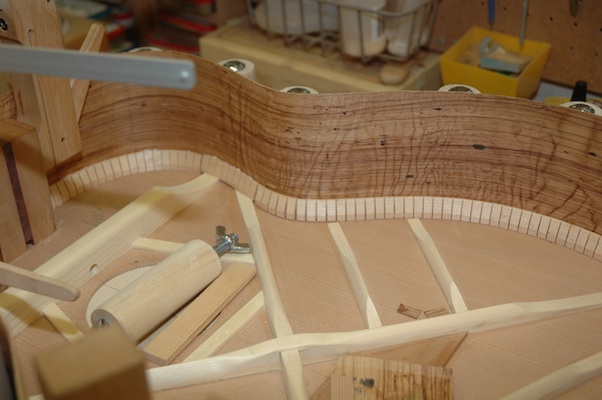
The ladder bracing on the back was trimmed back, and a label was secured to the back as well. The soundhole is too small to get my fat mitts into to glue in the label, which is what I usually do with guitars. The back was trimmed down at the waist to accomodate a clamp to press in against the side waist to square up the sides.
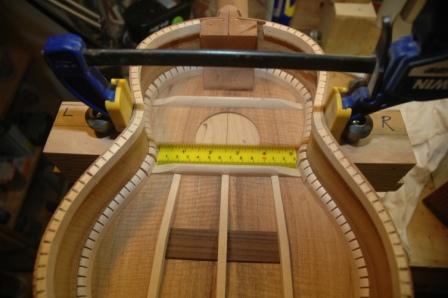
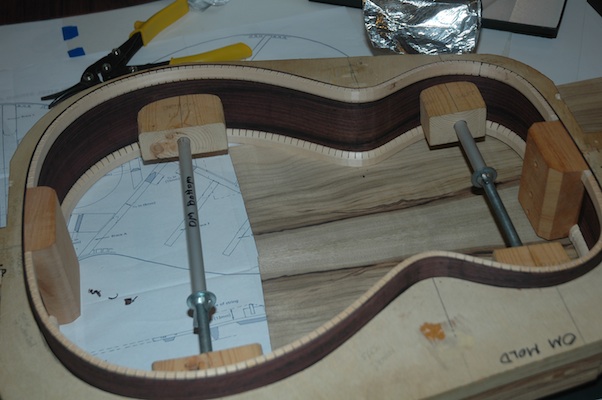
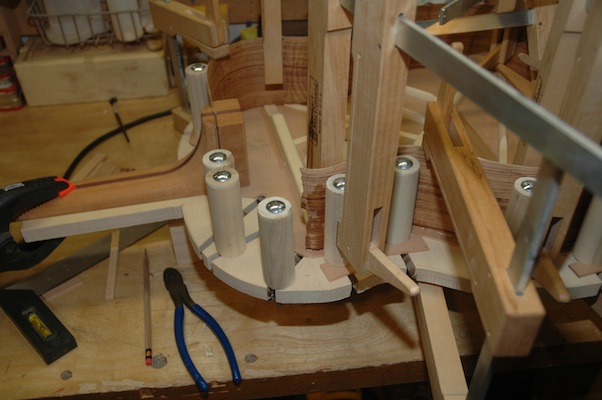
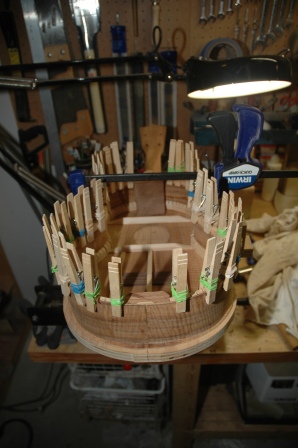
The back is glued to the kerf and held down with spool clamps.
Later tonight, after the glue dries, I’ll flush up the sides and it will appear to be a ukulele.
April 24, 2011
To recover from the wrong way heel slots, I filled with mahogany plates.
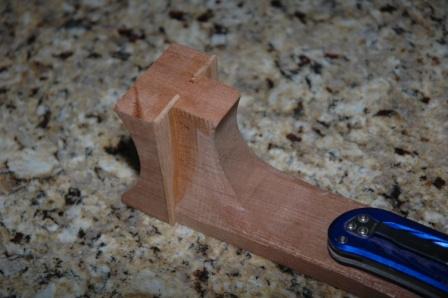
I had to carefully build a holding jig for the neck in the table saw which stabilized the neck while I drew it through the 5 degree angled blade. Slots came out well, and I spent time shaping the heel in preparation for joining the top to the neck.
The top of the neck is routed out to accommodate the thickness of the top and ensure a flat transition from the top of the neck and the face of the top. Center lines are matched, and the top is glued to the neck at the neck block portion of the neck.
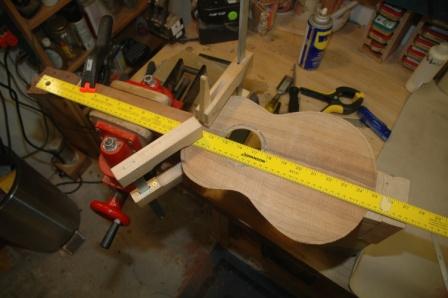
Once the joint is dry, it can be turned around and mounted onto the workboard. After several dry fit attempts, everything lined up well, and glue was applied to the neck slots and the glue line along the inside of the top where the sides meet. I probably should not have glued the slot, as I need to shim a wee bit of the sides to press against the heel for a tight fit. So, there is a little gap between the heel and the sides which I may be able to shim out, but probably not. The gap is very small, and will disappear when lacquered (or I can fill it).
The sides are clamped to the top, and while drying, the kerfing process can begin.