August 18, 2020

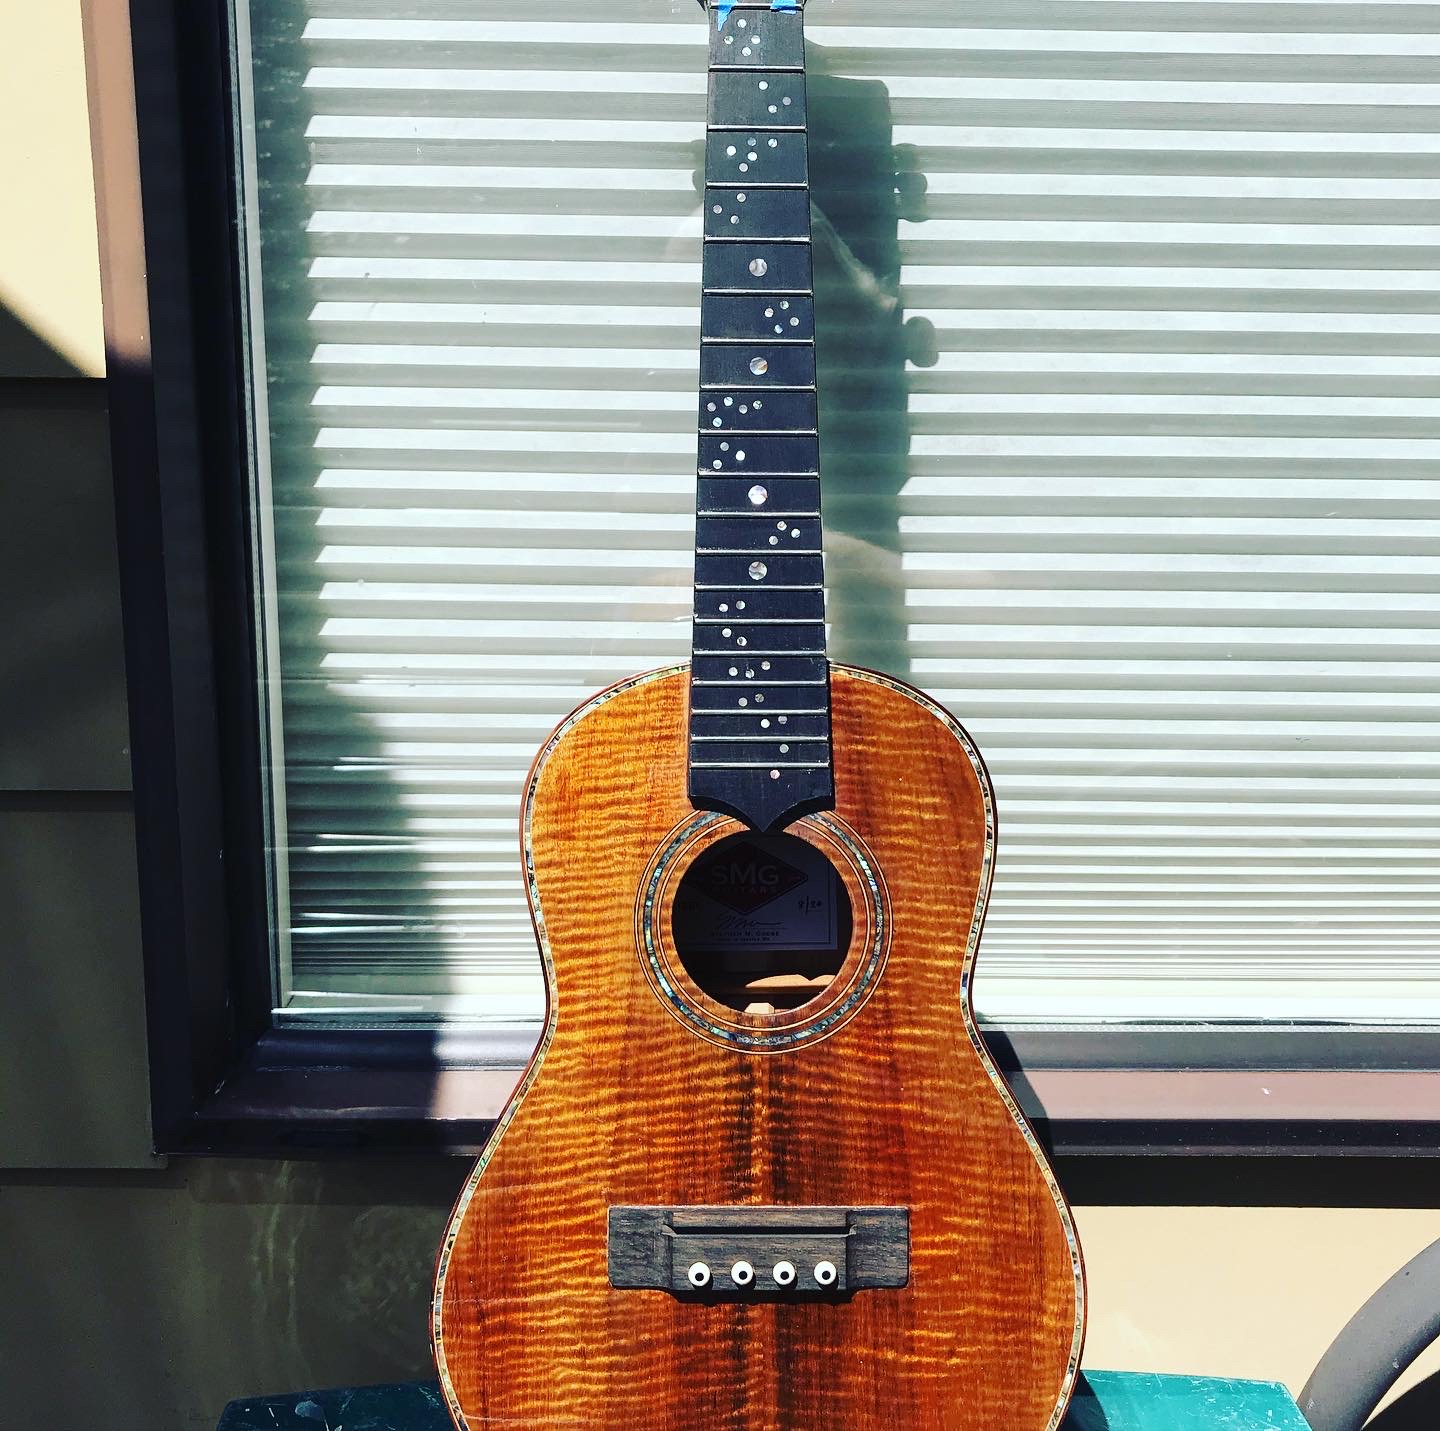
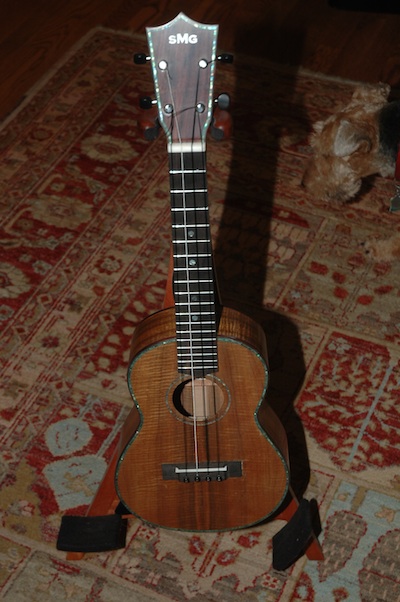
Yes, progress is crawling toward completion. The finish has been knocked down and buffed. The bridge has been installed. The saddle and nut are rough shaped and will be notched and installed after mail order strings arrive.
Published by Stephen on 18 Aug 2020 under Uke 1201 - Koa Tenor Redux
Tags: Koa, Uke
Comments: none
December 2, 2018
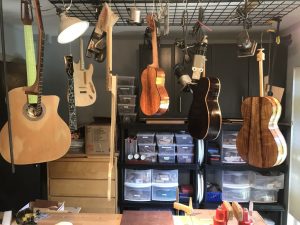
OK, it’s been a year since last post, and you can imagine that this lack of communication indicates lack of progress. You have a great imagination. All guitars (3) and a uke have slouched toward the wrap up step of lacquer application. Plans are in place for completion.
Published by Stephen on 02 Dec 2018 under Guitar 1002 - Hybrid Cutaway,Guitar 1201 - Myrtle Parlor,Guitar 1202 - Rosewood OM (Bob),Uke 1201 - Koa Tenor Redux
Tags: Hybrid, OM, Parlor, Spray Lacquer, Uke
Comments: none
November 18, 2012
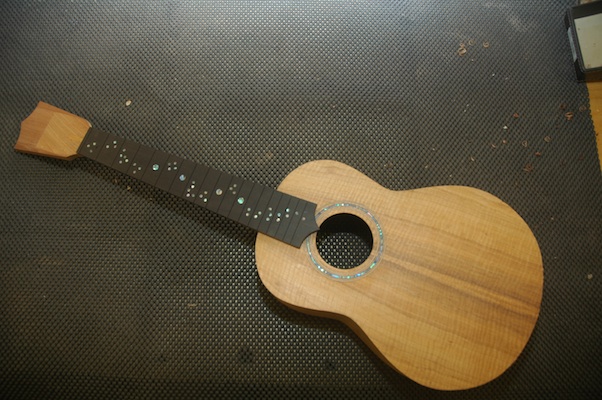
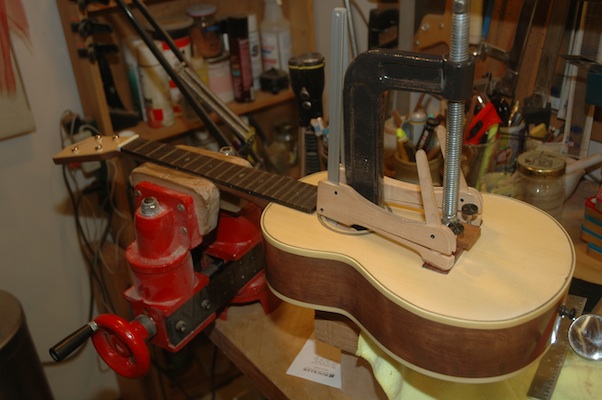
Uke 1201: Frets were radiussed then cut to length and placed in a holder. Except for fret 2 and 11, the frets were hammered into place.

The fretboard was dry fit to the neck, and index holes drilled into the 2nd and 11th fret slots to hold the board in place for gluing.
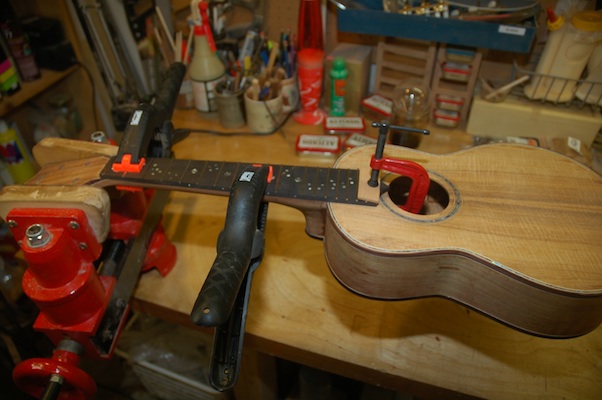
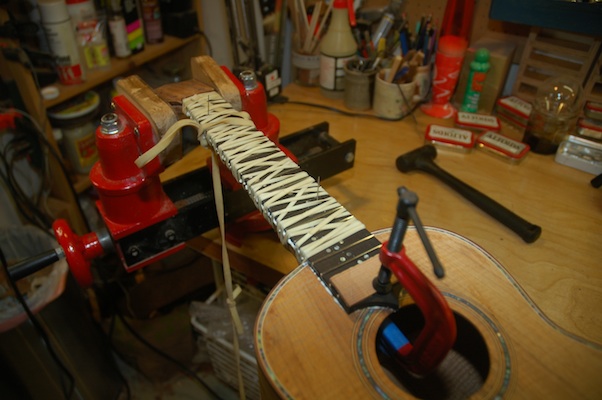
Glue was applied to both the fretboard back and neck, then pressed into place using index pins. The clamping is a big old rubber band wrapped around the neck several times. The fretboard extention over the body is clamped down with a simple C clamp.
Published by Stephen on 18 Nov 2012 under Uke 1201 - Koa Tenor Redux,Uke Building Logs
Tags: Fretboard, Koa, Uke
Comments: none
November 17, 2012
I’ve got this publishing plugin which supposedly posts my blog entries to Facebook. It craps out occasionally, so some of my posts go un-Facebooked. Today, I received a shipment of Uke parts needed to finish the uke. Bridge, tuners, nut, saddle and frets in the gift box, so I’m about to resume uke finishing.
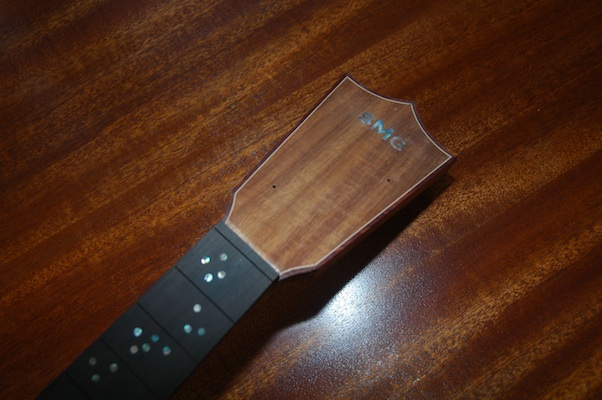

Published by Stephen on 17 Nov 2012 under Uke 1201 - Koa Tenor Redux,Uke Building Logs
Tags: Binding, Headplate, Uke
Comments: none
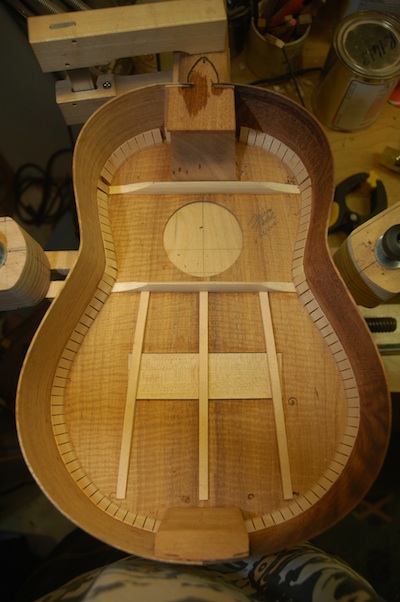
August 28, 2012
The box is constructed, and we have an intact uke. This morning I removed the kerf clamps.

The back was radiussed to 15′ in a sanding dish. The back was trimmed to outside the side line and the braces were finish sanded. Using the uke workboard, the back was glued on and held in place with spool clamps. It was allowed to dry for 2 hours, then the scarf was removed using a laminate router.

Before tackling the binding, I will install a butt graft. Still pondering the binding options. Remind self to bind before gluing on fretboard.
Published by Stephen on 28 Aug 2012 under Uke 1201 - Koa Tenor Redux,Uke Building Logs
Tags: Box Construction, Uke
Comments: none
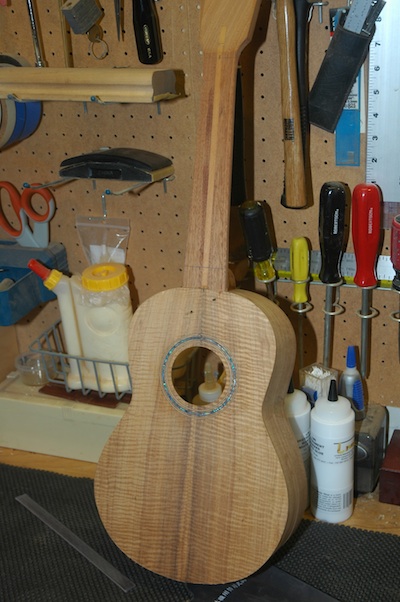
August 27, 2012
Finished attaching top and kerfing. Back bracing is clamped in and glued and home made back reinforcement strips have been glued in. I tapered the neck and profiled the soundhole end.
Published by Stephen on 27 Aug 2012 under Uke 1201 - Koa Tenor Redux,Uke Building Logs
Tags: Box Construction, Fretboard, Uke
Comments: none
July 5, 2012
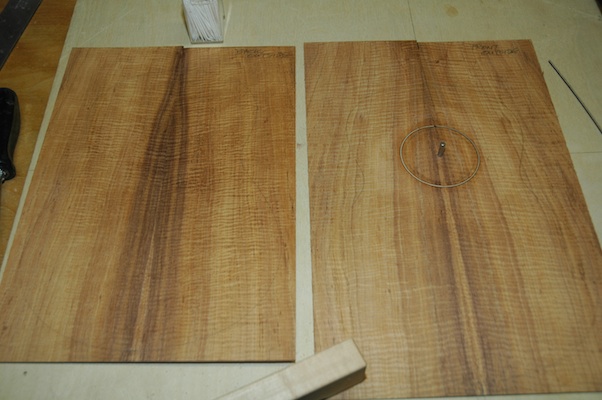
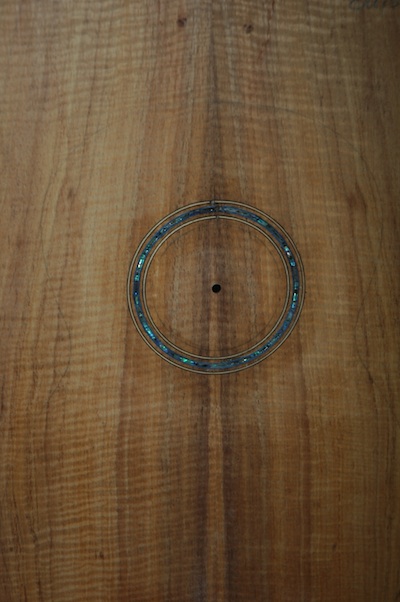
The top and back have been joined, and the rosette installed.
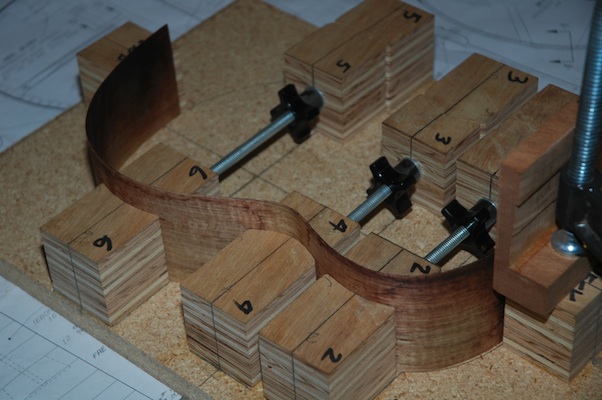
Sides have been bent (yes, koa burns easily), and installed into the holder.

Today, I expect to receive more graphite rods which will be inserted into the neck.
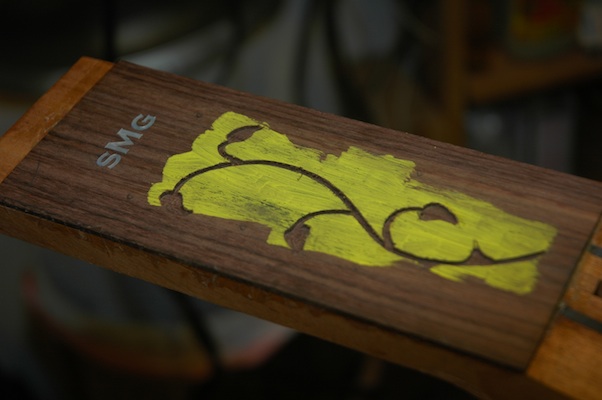
I also tackled routing out the channel for the shell for the headstock for Guitar 1202. The yellow tempera was painted on to show the scoring of the edge for an easy visual of how far to rout out.
Published by Stephen on 05 Jul 2012 under Guitar 1202 - Rosewood OM (Bob),Guitar Building Logs,Uke 1201 - Koa Tenor Redux,Uke Building Logs
Tags: Headplate, Koa, Rosette, Side Bender, Uke
Comments: 1
January 18, 2012
It’s a snow day, a day before my son’s 19th birthday, and the birth of my second uke. The finish is KTM9, a water based lacquer which I believe I will continue to use for future instrument finishes. I took several months to apply, knockdown and buff the finish, and I believe it improved the results. Also, 24 or more very thin coats proved to be the right approach. I avoided drips and orange peel effect, and the knockdown was more straightforward.
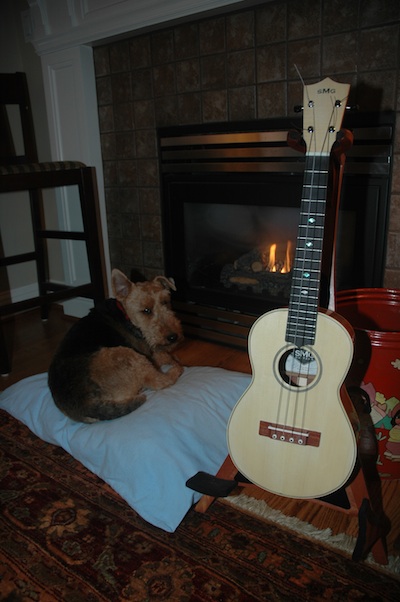
There’s nothing like a fire, dog and uke to complete a snow day at home.
Published by Stephen on 18 Jan 2012 under Uke 1001 - Bubinga Tenor,Uke Building Logs
Tags: Bubinga, Knockdown, Spray Lacquer, Uke
Comments: none
January 15, 2012
Tomorrow this uke will be making music. The finish is all knocked down and polished, and today I mounted the bridge. After setting overnight it will be a quick transition to get the strings installed.
Published by Stephen on 15 Jan 2012 under Uke 1001 - Bubinga Tenor,Uke Building Logs
Tags: Bridge, Bubinga, Uke
Comments: 1
November 20, 2011
It was May when I added the label, which is why it’s dated May 2011. Boy am I slow. The strings are on. It sounds lovely. Monday and Tuesday I will: Fill a few minor gaps with lacquer, remove the strings and tuning machines, lower the height of the nut and the saddle, clean up the fretboard, knockdown the sides and neck, wet sand the entire uke, buff it to a glorious sheen, glue in the nut, reinstall the tuning machines and strings, then play it until my fingers fall off.
Published by Stephen on 20 Nov 2011 under Uke 1101 - Koa Tenor,Uke Building Logs
Tags: Buffing, Knockdown, Nut, Saddle, Strings, Tuning Machines, Uke, Walnut
Comments: none
Next »