Archive for October, 2010

Guitar 1001 – Fret ravens installed

October 30, 2010

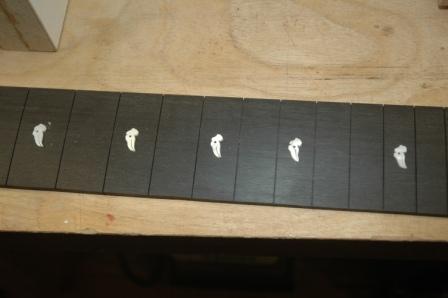
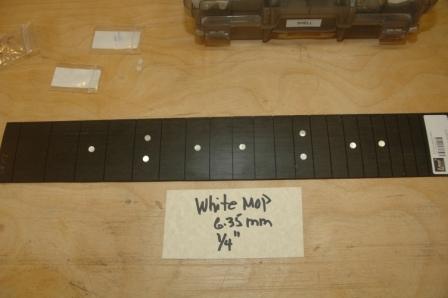
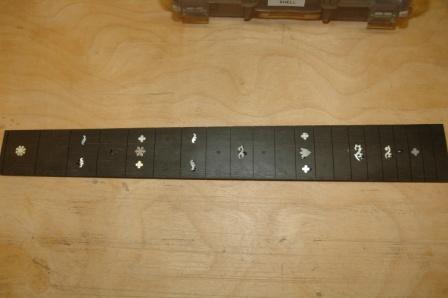
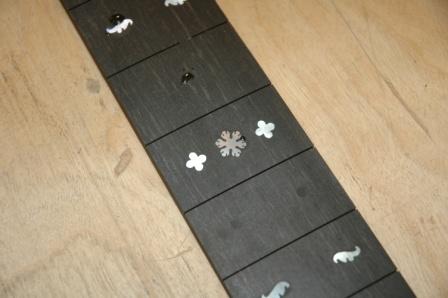
The ravens have been epoxied into the fretboard.  24 hours to dry before smoothing down.

101030fretboard

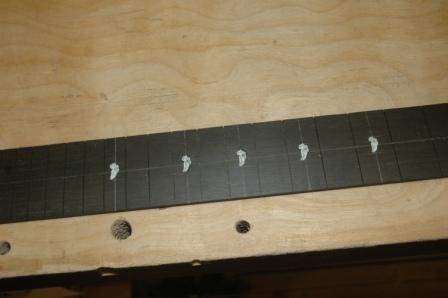
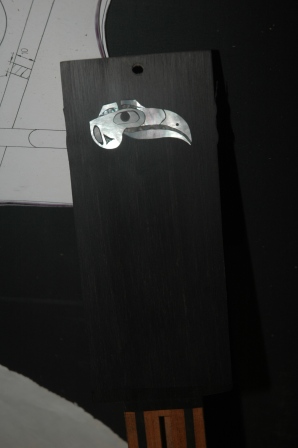
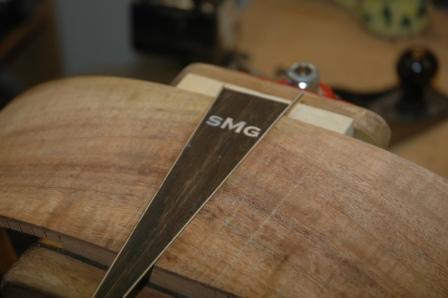
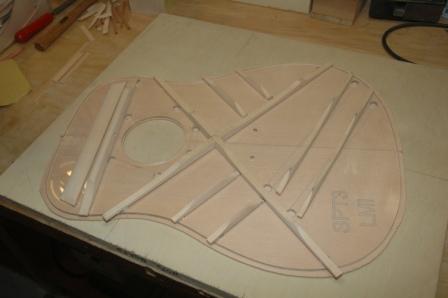
This picture shows the shell glued to the fretboard surface.  The pieces were traced with a scribe, then removed with a blade.  A dremel is used to chew out the recess, then the shell is installed with oodles of epoxy.

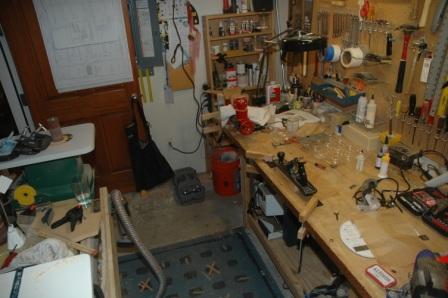
I’ve been flitting between working in the garage with power tools and the workshop, and I have been conducting myself in old ways.  The shop is a mess, and tomorrow is feng shue day.

101030mess

Ukes – Working Jigs and Rosette

October 30, 2010

Work work work, busy busy busy.  Mostly I’ve been finishing up work boards for uke construction.  Today I finished gluing up the holding board (to retain bent sides before installing).

101030holdingmold

I also thickness planed the spruce top and installed a herringbone rosette.

101030herringbone

Guitar 1001 – Bracing, Inlays and Headstock

October 28, 2010

I’ve cut MOP fretmarkers in the shape of the raven used in the headstock.  I shrunk the original tracing glued to MOP and sawed out.  Here’s the original headstock inlay.

101028ravenhead

The fret markers have been laid out on the fretboard (upside down) to check for visual spacing.

101028ravenfret

Bracing is complete, just need to do some detailed sanding and shaving with a wee bit of tap tuning before notching the sides to accept the back and top.

101028topwithbplate

Ukes – Uke 1001, Bubinga and Spruce

October 28, 2010

Uke work is underway!  I’ve designed the first uke to make use of some Waterfall Bubinga and an Engleman Spruce top.

101028backtop

I’ve got a design for work boards and have built the bending mold for the sides.  The neck is blocked out and the fretboard has markers installed.  I’m trying to balance work on the ukes with completing Guitar 1001.

Guitar 903 – The Resurrection

October 28, 2010

Guitar 903 started out a an Ovankol OM.  A tragic side bending accident put a damper on the progress of this guitar.  Since putting away a drawer full of the components originally collected for this guitar, I have taken a billet of walnut from the Berkshires and had it resawn.  I now have 4 bookmatched walnut plates, walnut sides in a mold, and my apprentice is taking responsibility for finishing the guitar.

101028walnutback

His first task was to install a rosette in a pre-joined spruce top.

101028rosette

Some problems were encountered, but recovery and rehabilitation were successful, and the rosette is ready for installation of the Paua Abalam.  Devin comes every Monday and Friday, and there are only a few items remaining to be procured to have the full inventory to finish the guitar.

Guitar 1001 – Butt Graft, Precursor to Top and Back Mount

October 22, 2010

Installed the butt graft today.  After trimming back I can install the back and top.

101022buttgraft

Guitar 1002 – Rosette and Fretmarker Choices

October 17, 2010

My friend Jim has commissioned this Hybrid Cutaway, and a few decisions still need to be made.  We’ll model it after the D-hole Macaferri, but use a round soundhole instead.

I have this real nice premade rosette for a classical guitar which might look divine on this guitar.

101017rosette2

This template is looking from the inside so it appears the cutaway is reversed.

101017rosette

Jim was going to provide maple or holly fretmarkers, but his lathe refused to cooperate.  Here are some options from my shell collection.

White MOP:

101017mop

Paua dots:

101017pauadots

Paua diamonds:

101017diamonds

And Chinese Turquoise:

101017turq

I also have a fancy MOP inlayed fretboard looking for a home.  It will clean up real nice once I use fretboard/ebony blackener (devised for the modern striped ebony).

101017finishedfretboard2

101017finishedfretboard

Guitar 1001 – Bracing

October 16, 2010

Bracing is underway.  Spruce for the top and mahogany for the back.  Using the table saw, all pieces were cut.  Those needing a radius were preshaped on the belt sander then finished in the radius dishes.  I used the oscillating drum sander to pre shape the end tapers and scallops, then the belt sander to round over.  Each brace is essentially its’ final shape.  I’ll use a chisel to bring each brace down to finish size and shape.

101016backbracing

The go bar clamping system is used to attach braces.  Note the plate is sitting in a radius dish.

101016toplayout

I use an acrylic template to layout my bracing before transferring to the top.

101016gobartop

Fiberglass rods provide plenty of clamping power.  Gloves are employed to avoid fiberglass splinters.

101016topbracing

The sides have been kerfed and radius sanded and are ready for back and top attachment.


Guitar 1001 – Progress on the box

October 8, 2010

I now have an apprentice.  Devin is learning while helping with construction.  Tonight we made good progress on the box construction.  Starting Wednesday we started with the side bending.

101008bend

After the sides spent sufficient time in the bender, they were removed, trimmed and inserted into the body mold.  The neck and butt block were glued in and clamped.

101008endblocks

Again, after sufficient drying time, the clamps were removed and kerf installed.

101008kerf

The back and top were futher sanded and scraped, the soundhole was cut from the top, and the backstrip installed.

101008backstrip

Finally, the back and top plates were trimmed in preparation for bracing.

101008backandtop

New Tonewood – Myrtle

October 7, 2010

Oooh, more wood to play with.  Just got this myrtle today.

101007myrtle

Next »