Archive for the 'Guitar 905 – The Auction Guitar' Category

Guitar 905 – Keep the customer satisfied

July 22, 2010

I’m enrolled in a program to get my secondary mathematics certification (Those who can, do, those who can’t, teach…yeah I know I’ve heard it all before).  It has taken away time from building guitars as the homework is oppressive and the reading is double secret oppressive.

I’m progressing on guitar 1001, but in niggles and bits.  John, customer of guitar 905 has sent me a few “baby pictures”.  Pictures with babies and guitars, that is.  The guitar was dedicated to his daughter Annabelle, and here she is.

annabelle-guitar-1

Yeah, babies are cute.  Get ’em started early, and they’ll be awesome guitarists.

Guitar 905 – Gallery

July 1, 2010

Guitar 905 photo gallery.  Headstock design came from client.

c69t1867

c69t1863

c69t1861

c69t1859

c69t1856

c69t1854

c69t1852

c69t1850

c69t1847

Guitar 905 & 906 – Ready for their closeup

June 24, 2010

Tomorrow, Tom does his photo documentation of these guitars as the final step before turning them over to their owners.  Carl picks up 906 on Saturday, and I ship 905 to John on Monday.  I have lots of time to play them before they go on their way.

100624done

100624done

100624readytoship

Sigh – Guitars 905 & 906 Complete

June 22, 2010

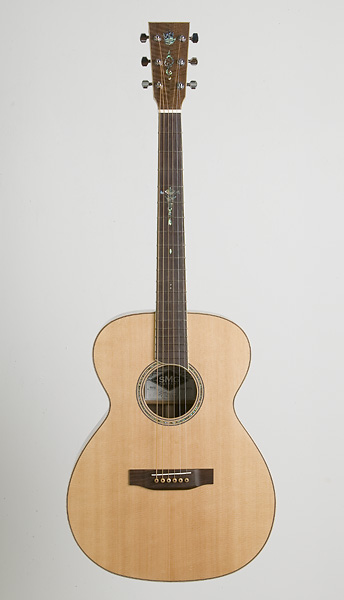
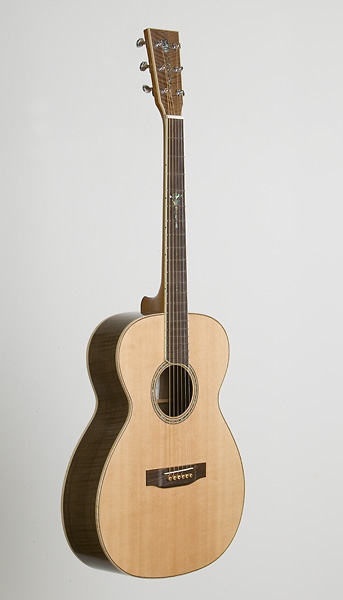
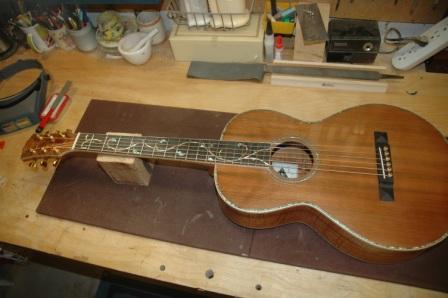
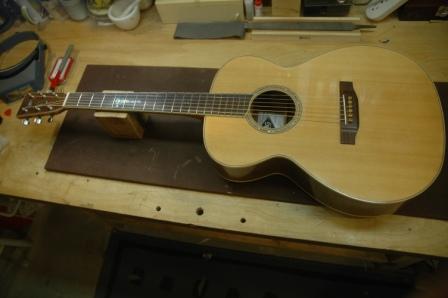
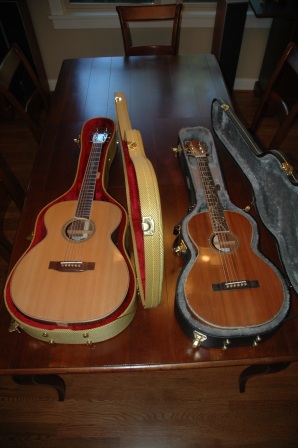
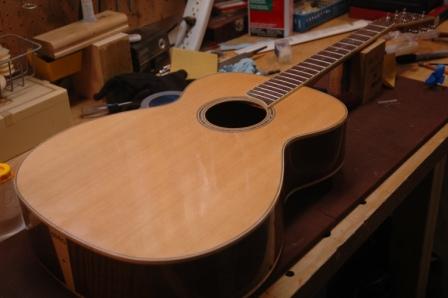
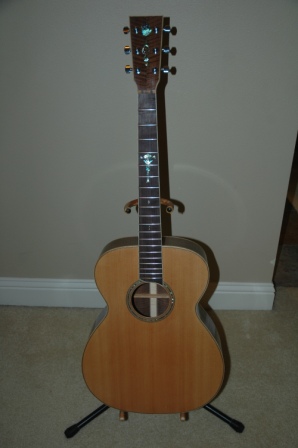
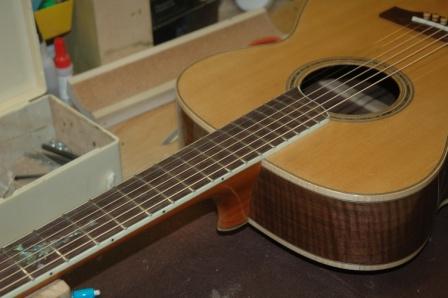
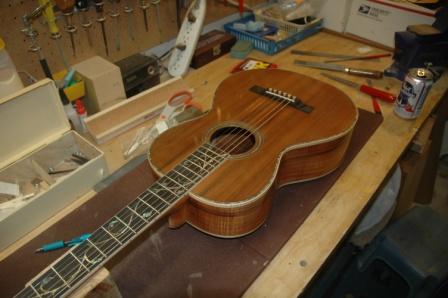
Well, nothing is ever really complete, but I can semi-safely say that guitars 905 and 906 are complete.  Of course there’s still that buff this and tweak that and maybe there’s a little buzz on the 7th fret second string that I could frizzle out, but oh my, they are done.

There’s a lot I can say about each, but essentially I’m very pleased with the sound.  That’s the one thing you don’t know until you finally string them up and play them.  Everything you do is directed toward how they will sound in the end (and of course how they play, but if they sound like crap, who cares how they play).  Both these guitars sound like heaven.  I’m still amazed, to this day, that you can get so much sweet sound out of a small box parlor.  It’s not a room filling volume of sound, but rather a resonant sweet tone.

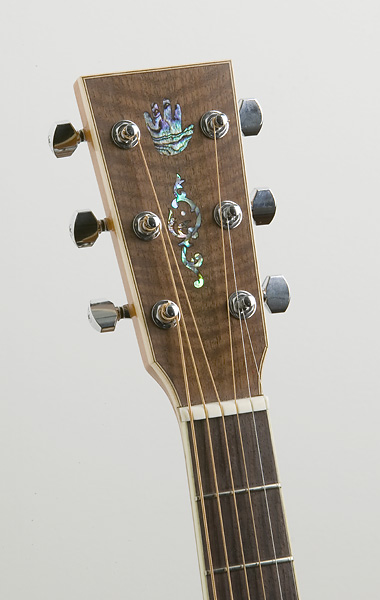
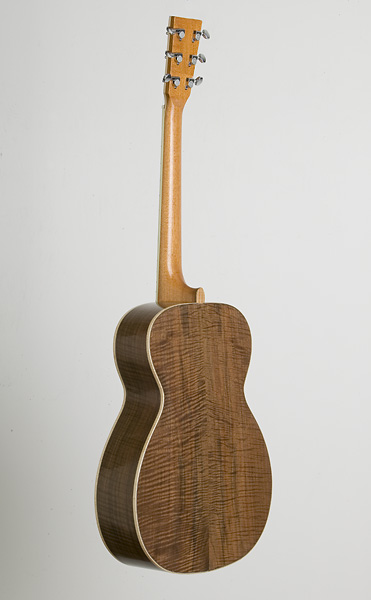
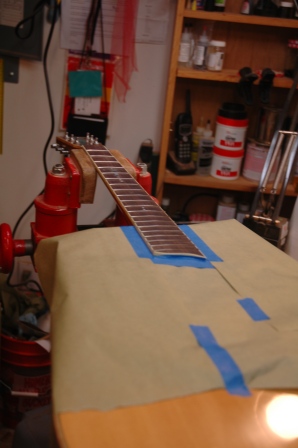
The OM continues to impress me with its’ fullness and subtlety.  This guitar was walnut, and I very much like the warmth and sustain that walnut gives.

100622stringson

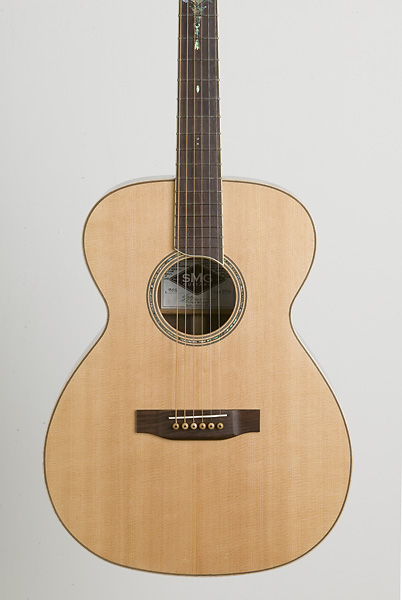
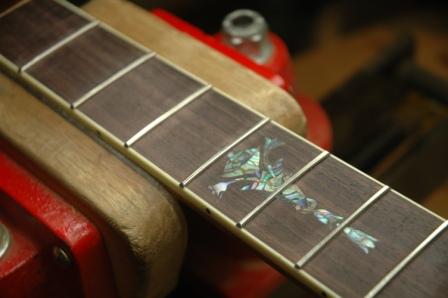
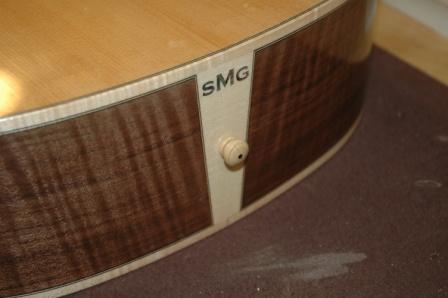
The parlor was my nth foray into Koa, and I am continually impressed with Koa as a guitar tonewood.  Not only does it have beautiful visual quality, but it really sings, especially in the smaller body guitars.

100622stringson

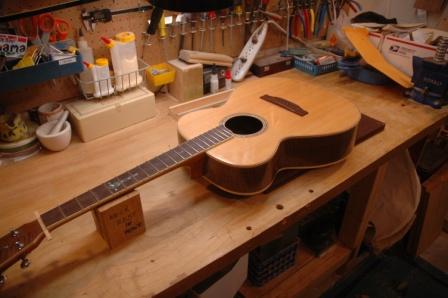
So next is to do some polishing, label installing, and playing before I send these off to their respective owners.

Oh, and some other news…..even though I build guitars, I have to support myself and my family through the concept of a day job.   I have been accepted into a program where I can get my secondary mathematics teaching certificate.  Soon, I will be a high school math teacher.

Guitar 905 – Saddle and Nut

June 15, 2010

Both the nut and saddle have been shaped in preparation for stringing up.  I need to slot the bridge pin holes for the string entrance and notch the nut for the strings.  Per the customer’s request, this is a very narrow neck at the nut.  I’m excited to see how this narrow neck feels/plays.

Guitar 905 – Fret dressing in progress

June 10, 2010

I masked off the guitar body to avoid getting fret shavings on the finish or in the soundhole.

100610maskbody

The first opportunity is to use a file to level the frets with each other.  Fret 5 and 14 were the highest, so I filed to and between them until I started to see filing marks on the frets in between.  Next I drew the file across all 20 frets attempting to create one continuous flat surface across all frets.  Once I was close, I bevelled the ends of the frets to a 45 degree angle and removed most of the overhang for each fret.  I went back and dressed more until the frets were essentially flat.  I still had a wee bit of clearance between the straightedge and frets 1 and 2.  A quick truss rod adjustment brought those into a tolerable distance.

100610firstfretdress

I’ll dry install the nut, saddle and strings before crowning and polishing the frets.  This will allow me to set the correct string height and check for any fretting problems which need further filing.  Once (and it’s usually two or three) I have the proper setup, I can go back and crown, dress and polish the frets and install the nut and strings permanently (don’t forget to install the label after blowing out all the crap in the box Stephen!).

Install the strap peg on the heel, give it one last polish on the buffer, and this guitar will be done!

Guitar 905 – Ready for fret dress

June 9, 2010

I’ve ordered a 3 degree reamer to properly set the bridge pins.  While waiting, I have shaped the nut and saddle and will dress (level) the frets, then install strings to do final setup adjustments.

Guitar 905 – Bridge installed, ready for setup

June 8, 2010

Well, the final steps are looming.  The neck is installed, the bridge is installed and the next step is to shape the saddle and nut and level the frets.

100608bridge

100608fendpin

Guitar 905 – Neck secured

May 25, 2010

Taped off the area where the lacquer needed removing for neck gluing.

100525mask

I use a lacquer stripper then scrape away with a razor blade.  This surface needs to be brought back down to raw wood for gluing the fretboard to the soundboard.

100525clamp

Once the surface is prepared, glue is applied, then the neck is bolted on and clamped.

100525necksecured

Next, position the bridge and similarly remove the lacquer to allow gluing.

Guitar 905 – Ready for neck install

May 18, 2010

Frets are installed and trimmed, tuning machines installed, and neck and body are buffed and polished.  Next step, fine adjust mortise and tenon, remove lacquer on body where fretboard meets, then glue/bolt on the neck.

100518readyforneckinstall_0

Next »