Guitar 905 – Fret dressing in progress
June 10, 2010
I masked off the guitar body to avoid getting fret shavings on the finish or in the soundhole.
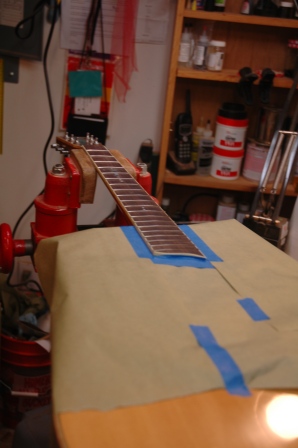
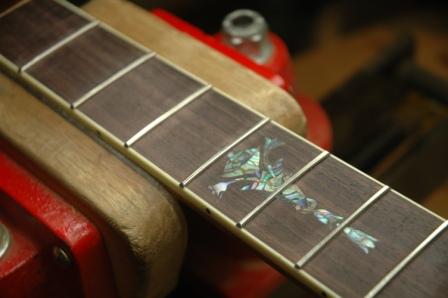
The first opportunity is to use a file to level the frets with each other. Fret 5 and 14 were the highest, so I filed to and between them until I started to see filing marks on the frets in between. Next I drew the file across all 20 frets attempting to create one continuous flat surface across all frets. Once I was close, I bevelled the ends of the frets to a 45 degree angle and removed most of the overhang for each fret. I went back and dressed more until the frets were essentially flat. I still had a wee bit of clearance between the straightedge and frets 1 and 2. A quick truss rod adjustment brought those into a tolerable distance.
I’ll dry install the nut, saddle and strings before crowning and polishing the frets. This will allow me to set the correct string height and check for any fretting problems which need further filing. Once (and it’s usually two or three) I have the proper setup, I can go back and crown, dress and polish the frets and install the nut and strings permanently (don’t forget to install the label after blowing out all the crap in the box Stephen!).
Install the strap peg on the heel, give it one last polish on the buffer, and this guitar will be done!