Happy New Year to All

December 30, 2012

This will be my last post of 2012.  Some things were accomplished in 2012, but all in all, the pace of this year’s building has ebbed in relation to previous years.  I could chalk that up to a new career teaching mathematics, but really it’s a case of shifting priorities.  I have endured a few crisis moments all around finishing with spray lacquer.  As reluctant as I was to put down the spray gun, it is for the better.  I cannot continue to subject my families health and my health to the lacquer fumes inherent with nitrocellulose lacquer application.  My options are twofold:  send guitars out for spray services ($500) or procure hard to find water based lacquer and spray with this less toxic alternative.  I’m still on the hunt for water based with mixed results.

I have been working diligently on my uke, Rachel’s parlor and Susan’s OM.  What follows is an except from recent work.

Rachel’s parlor has taken a step forward with neck shaping and fret dot design.
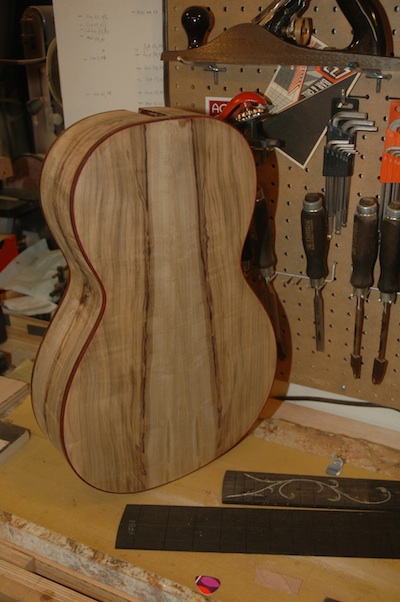
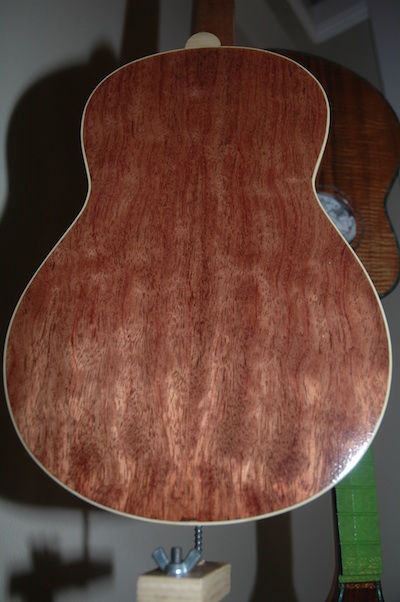
121230back

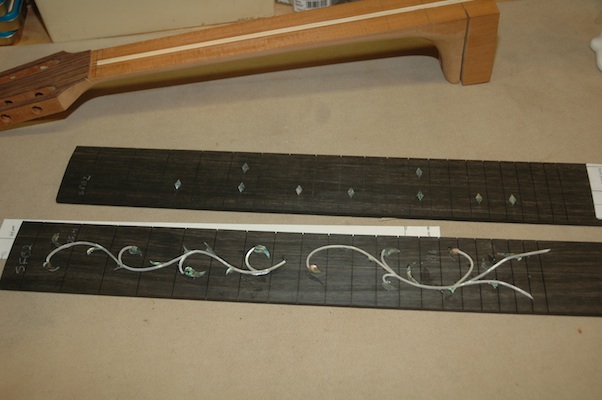
The fretboards for Rachel’s parlor and Susan’s OM are seen below the beautiful Myrtle back.
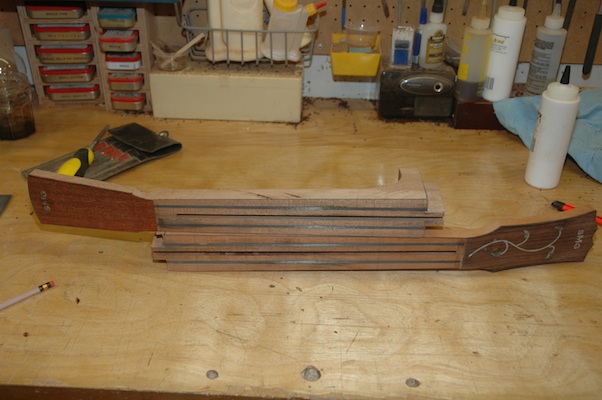
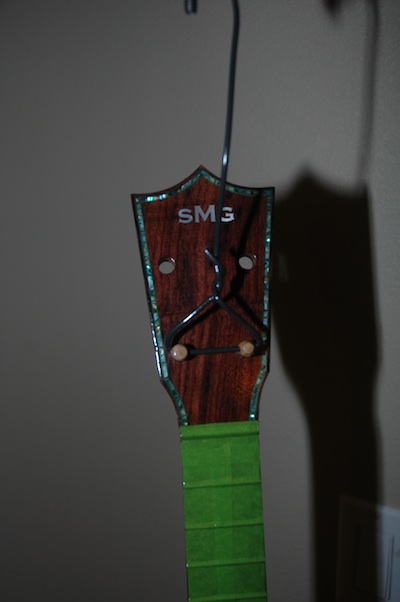
121230necks

The parlor neck is on top with the Cocobollo headplate.  The OM neck is shown with the rosewood headplate.

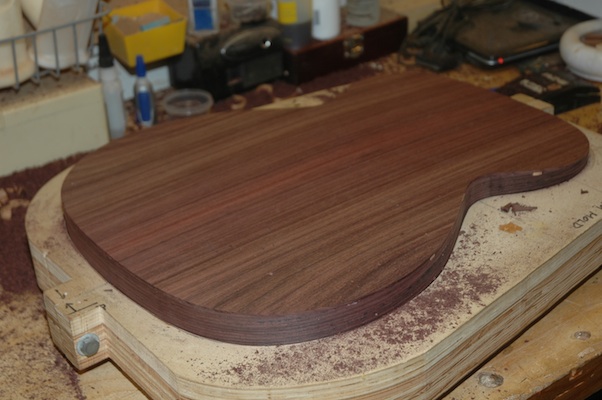
I’ve managed to shape bracing and install the back to the sides as well as lay down the top bracing for the OM.
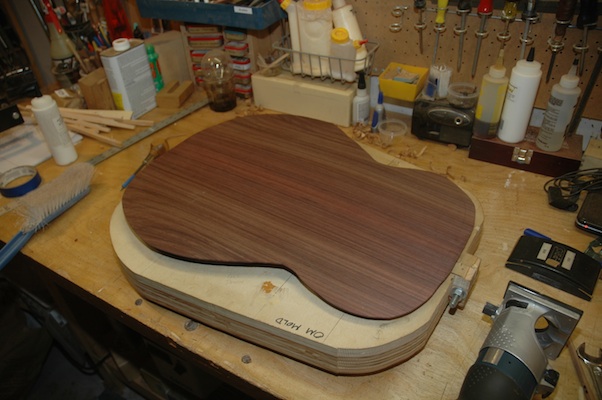
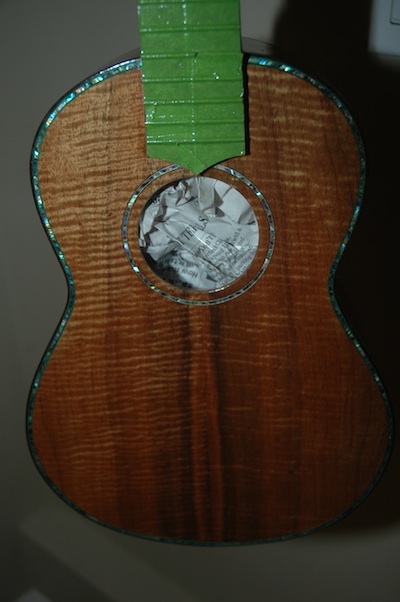
121230beforetrim

121230aftertrim

The second picture shows the back after the scarf has been trimmed.
121230topbracing

Guitar 1002 – Fretboard Binding Heel Cap

April 22, 2012

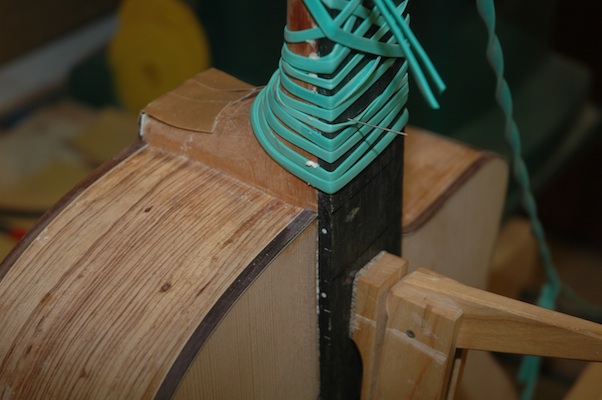
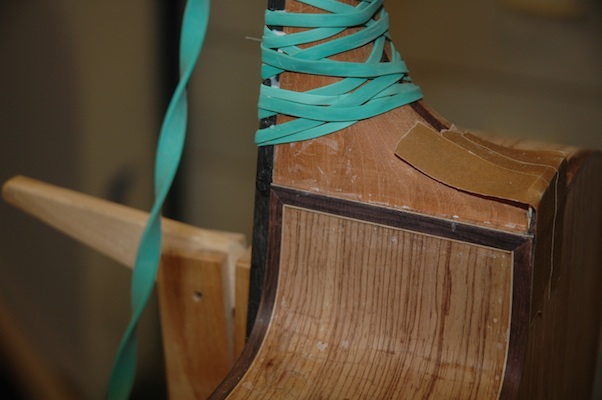
All binding is on and trimmed.  I decided to install a rosewood heel cap and did so by routing out the heel cap material to allow installation of a maple veneer topped with rosewood cap.  The heel cap will be flush with the body.

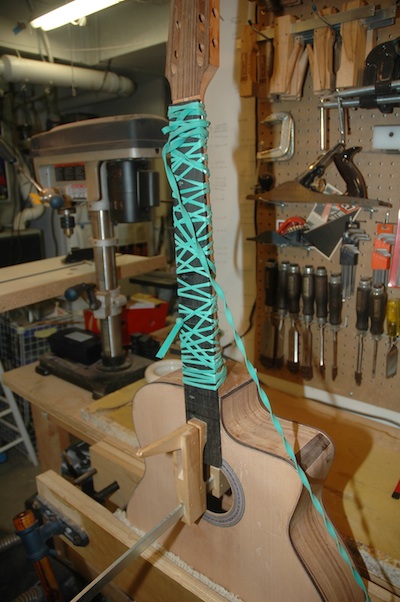
Side dots were inserted onto the fretboard, it was trimmed to match the profile of the neck, then indexing pins were located to hold the fretboard in position while it was glued and held in place with the amazing 40 foot rubber band.

120422fretboardmount

The binding, heel cap and fretboard all meet up in various spots around the guitar.  Next steps will be to flush up all the joints and prepare for detailed finishing of all the surfaces.

120422neckfretboard

120422cutawaybinding


Uke Lacquer – Fretboard Markers – Lava Light

November 30, 2011

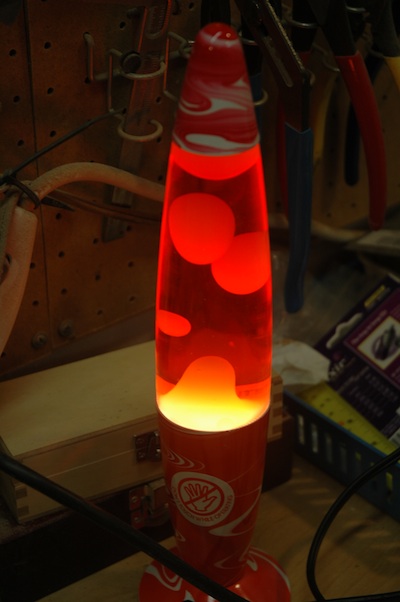
Let’s start with the Lava Light.

111030lavalight

After William left for UW, several items which I coveted were left behind.  Lava Light (or Lamp)!

I mapped out a schedule for the completion of Uke 1101, and it is possible to complete before I go to Salt Lake for Thanksgiving.  It will be a bit tricky to continue working on the uke while the lacquer is curing.  Today, I finished the 8th coat of lacquer, with an intention of putting on 20 coats.  Tomorrow I’ll add 4 more coats.  Coincidentally, I am adding coats to the Bubinga uke, and after tomorrow’s application, it will have 24 coats.

111030backlacquer

This is the back of the Bubinga.

111030toplacquered

111030headlacquer

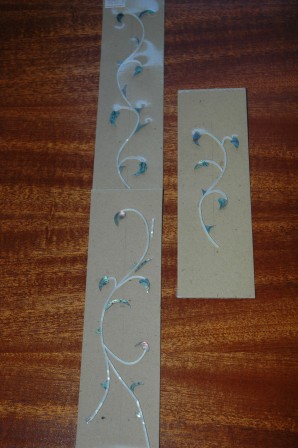
Between coats I attached the fret markers to the Hybrid’s fretboard and the Thorn and Vine to 1202 (Bob).  The shell is glued to the surface with white glue.  I will score a border around the glued shell, then pop off the shell in preparation for routing a channel.

111030thornandvine

Guitar 1202 – New Rosewood OM

September 4, 2011

I received a deposit to get this guitar started.  This will be an Indian Rosewood OM with fancy shellwork.  The fretboard will be inlaid with a thorn and vine MOP and paua.

110904thornandvine

Guitar 1002 – More Fretmarker Options

March 27, 2011

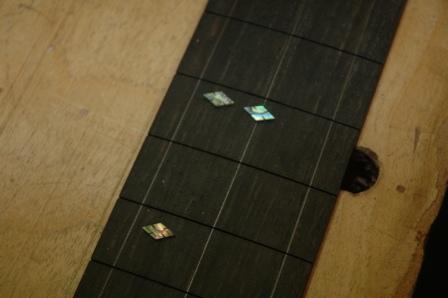
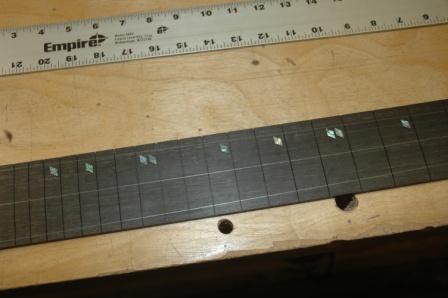
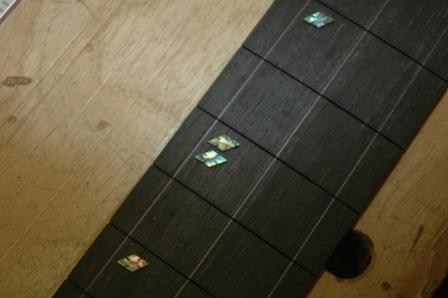
Jim asked if I could tend the fretmarkers toward the bass side.  Here are a few options.

First, markers moved left and up.

110327offsetmrk4

110327offsetmrk3

Second option is to skew the diamonds and double up on 5 and 12.

110327offsetmrk2

110327offsetmark1


Guitar 1002 – Fretboard Markers

March 20, 2011

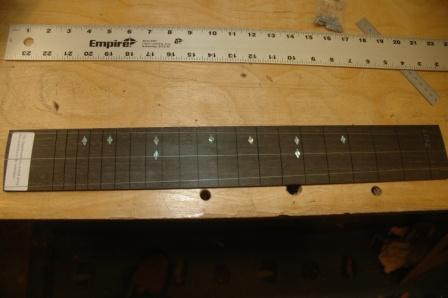
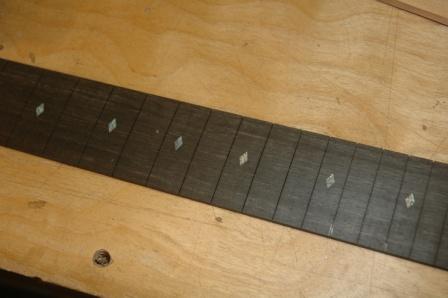
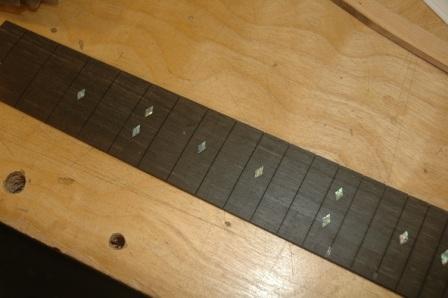
We c0ncluded that paua diamonds would be the choice for fretboard markers after the experiment with wood dots went south.  The next decision point (as simple as it may seem) is whether to go with the single marker pattern or to fancy it up a bit with double markers on 5 and 12.

110320singlediamonds

This is the single diamond configuration with markers at 3 5 7 9 12 15 and 17.

110320doubleddiamonds

This configuration simply doubles the diamonds on 5 and 12.

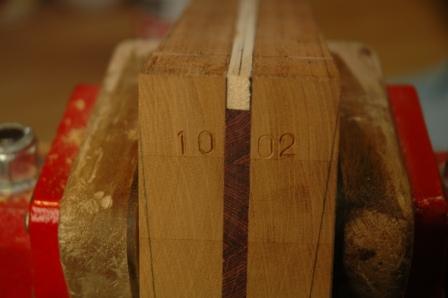
I fully tapered the neck/neck block today using my taper jig and the table saw.  Before I remove any more stock from the cutaway side of the neck block, I’ll need to know the exact dimensional thickness of the sides coming out of the cutaway.  I added the serial number to the inside of the neck block.

110320serial