Happy New Year to All

December 30, 2012

This will be my last post of 2012.  Some things were accomplished in 2012, but all in all, the pace of this year’s building has ebbed in relation to previous years.  I could chalk that up to a new career teaching mathematics, but really it’s a case of shifting priorities.  I have endured a few crisis moments all around finishing with spray lacquer.  As reluctant as I was to put down the spray gun, it is for the better.  I cannot continue to subject my families health and my health to the lacquer fumes inherent with nitrocellulose lacquer application.  My options are twofold:  send guitars out for spray services ($500) or procure hard to find water based lacquer and spray with this less toxic alternative.  I’m still on the hunt for water based with mixed results.

I have been working diligently on my uke, Rachel’s parlor and Susan’s OM.  What follows is an except from recent work.

Rachel’s parlor has taken a step forward with neck shaping and fret dot design.
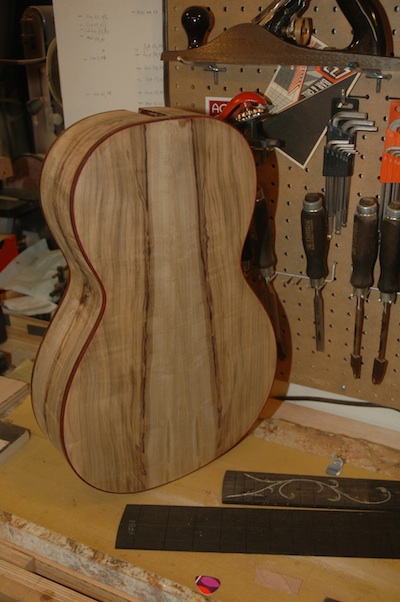
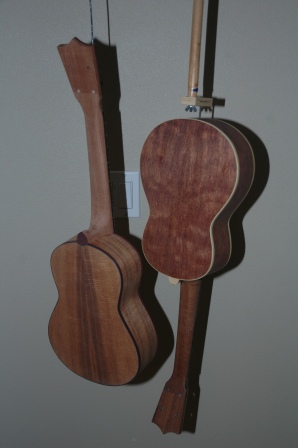
121230back

The fretboards for Rachel’s parlor and Susan’s OM are seen below the beautiful Myrtle back.
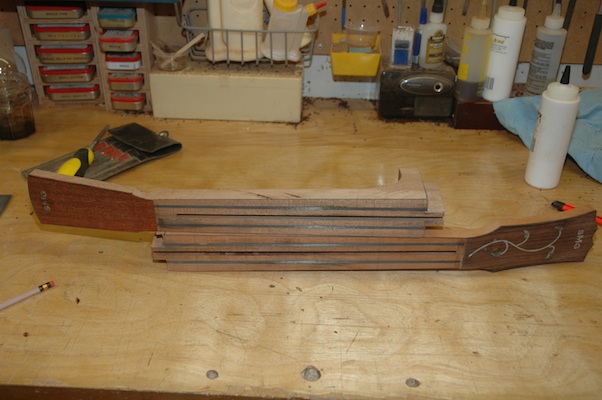
121230necks

The parlor neck is on top with the Cocobollo headplate.  The OM neck is shown with the rosewood headplate.

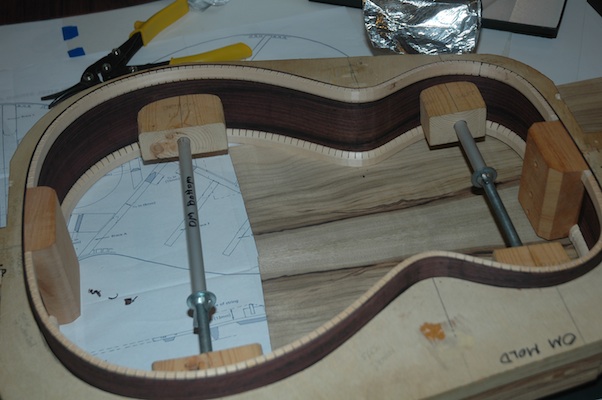
I’ve managed to shape bracing and install the back to the sides as well as lay down the top bracing for the OM.
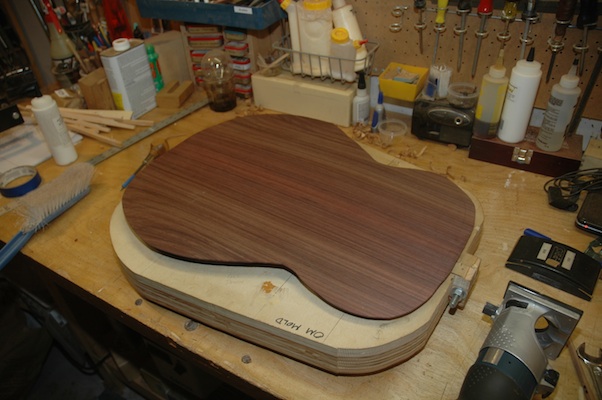
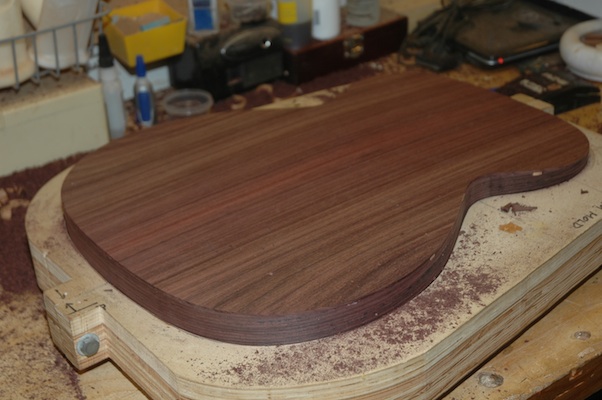
121230beforetrim

121230aftertrim

The second picture shows the back after the scarf has been trimmed.
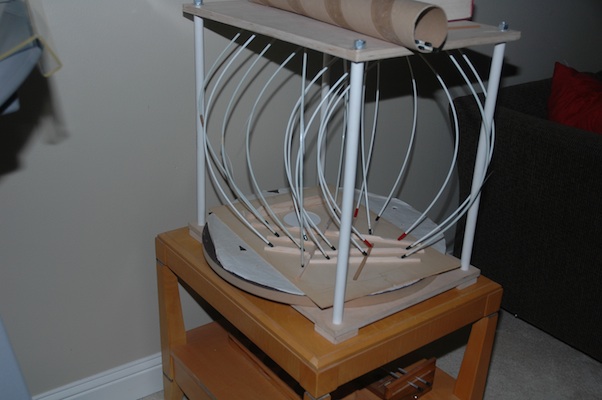
121230topbracing

Guitar 1201 and 1202 Kerfing

June 8, 2012

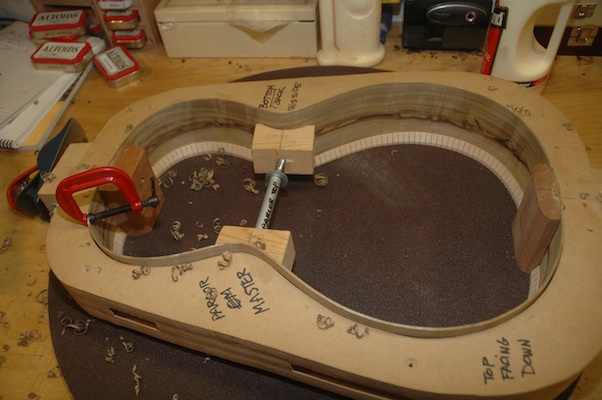
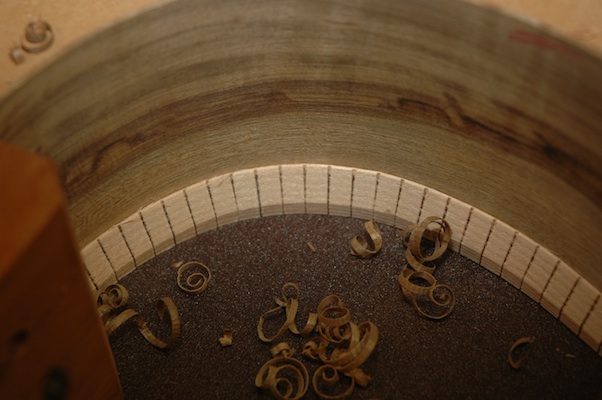
Madly trimming/planing box sides down to 30′ and 15′ radius (top and back respectively) then adding kerf.

120608kerftop

120608kerfdetail

120608kerfedbody

120608kerfdetail

Guitars 1201 1202 1203

June 1, 2012

I’m madly working on 5 guitars at a time right now.  As I attend to finishing Guitar 1102 and the Girdis Parlor, I’m building necks and boxes for Guitar 1201 (Rachel’s Myrtle Parlor), Guitar 1202 (Susan’s Rosewood OM), and Guitar 1203 (Em’s Walnut Double Cutaway Parlor).  This appeals to my desire to make recognizable progress.  The sanding and prepping of an almost finished guitar is slow going and the progress seems snail-like.

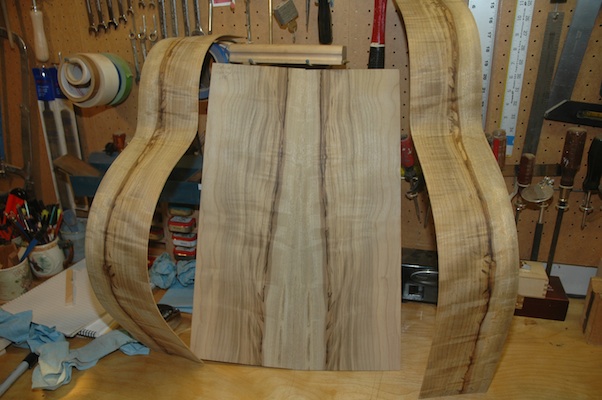
The myrtle parlor wood is spectacular.  It’s in the mold, with butt block and neck block attached.

120601backandsides

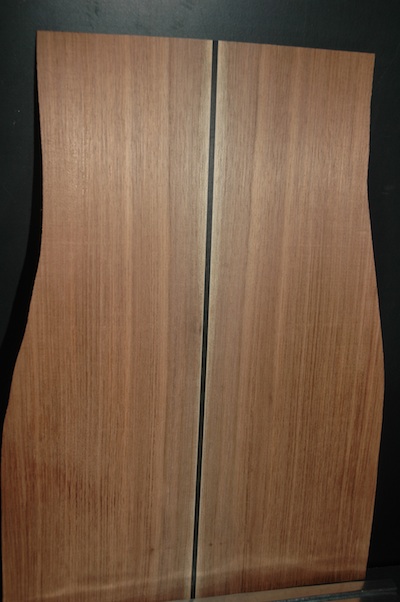
The rosewood OM too is a fine hunk of wood, very red/purple, with excellent grain lines.

120601backandsides

The walnut double cutaway parlor is understated.  The sides will be thicknessed and bent once the myrtle comes out of the mold.

120601backjoined

Uke 1101 – Resumed

October 24, 2011

Teaching has been wiping me out.  I have been immersed in such a way that my building opportunity was minimal.  I will be visiting Salt Lake for Thanksgiving, and I would like to have my sister’s uke finished by then.  It is completely possible as I am at the finishing stages.

The original uke has been sitting waiting for additional lacquer coats, so it’s part of the deal.

111024ukestosprtay

The koa is ready to accept the first coat (sanding sealer) and the bubinga is ready for coat number 15.

111024porefiller

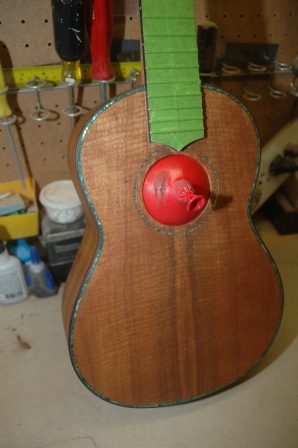
The pore filler is a brown base so initially alters the color.  After it is applied a squeegee is used to scrape it off, hopefully leaving behind a smooth surface.  It will be scuffed down to remove any haze on the surface of the wood/purfling/binding.  It may require a second application if the pores are not fully filled.

The koa with its first coat of sanding sealer.  After scuffing the finish smooth, pore filler is applied.


Guitar 1202 – New Rosewood OM

September 4, 2011

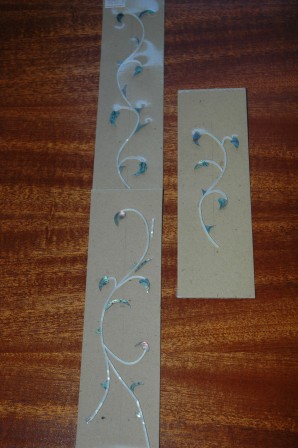
I received a deposit to get this guitar started.  This will be an Indian Rosewood OM with fancy shellwork.  The fretboard will be inlaid with a thorn and vine MOP and paua.

110904thornandvine

Uke 1101 – Paua Purfling for the Headstock

April 30, 2011

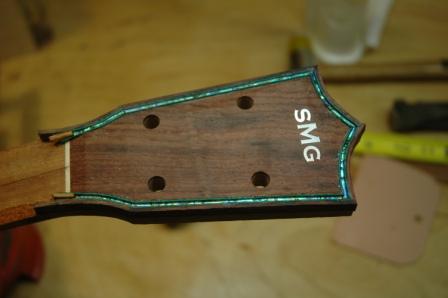
This is one of my favorite parts of building:  Paua purfling.  I use abalam from the Duke of Pearl (apparently he invented abalam, which is appropriately laminated abalone).  I’ve settled on rosewood for the binding, and have prepared all the binding with red accent strips, then thinning it down to around .080″.  Four strips are sitting in the side bender overnight.  I’ll pull them out tomorrow and add more curve with the bending iron.  The channels are already cut into the body to accept the binding and purfling.  I do, however, still need to chisel out the channels where the body meets the neck.  The router bit can’t be taken too close to the neck so as to avoid putting big inappropriate divots in the neck, hence the need to chisel.

In the meantime, while the binding cures in the bender, I tackled the headstock.

110430headpurfling