Girdis Guitar Finish Work Complete
March 29, 2013
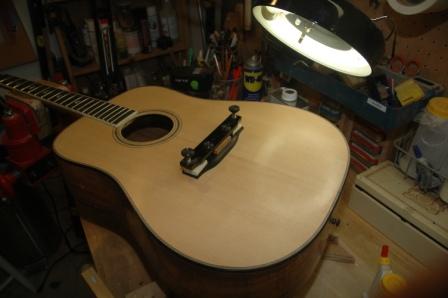
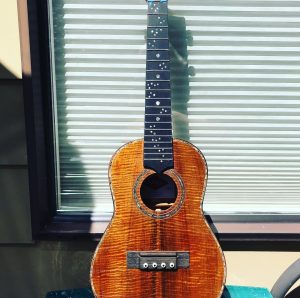
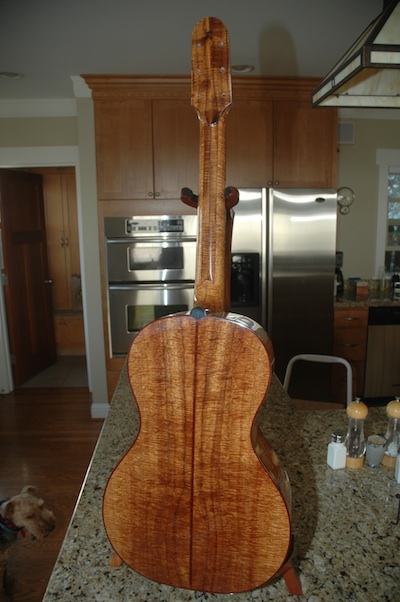
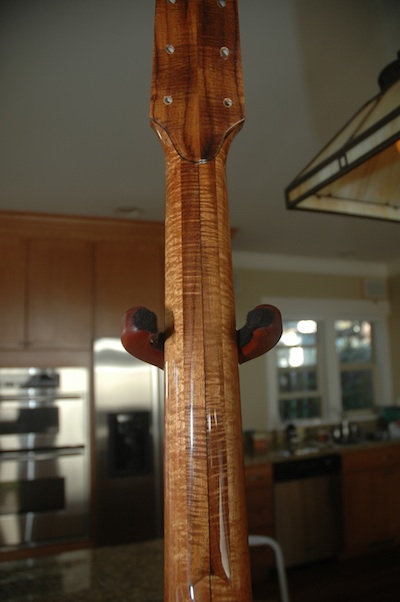
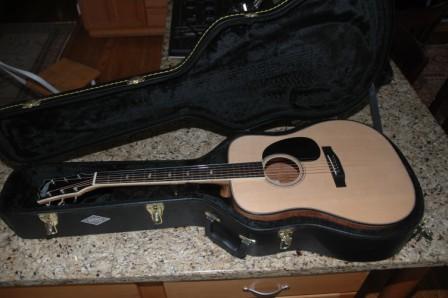
After considerable wait time, the finish work on the Girdis guitar is complete and the box arrived yesterday. Very nice finish, very nice guitar.
Uke 1201 – Fretboard Installed
November 18, 2012
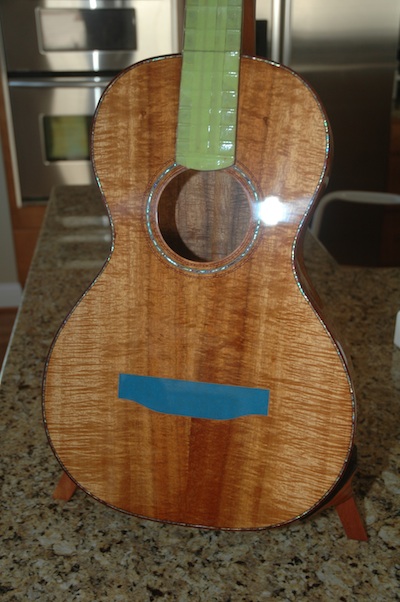
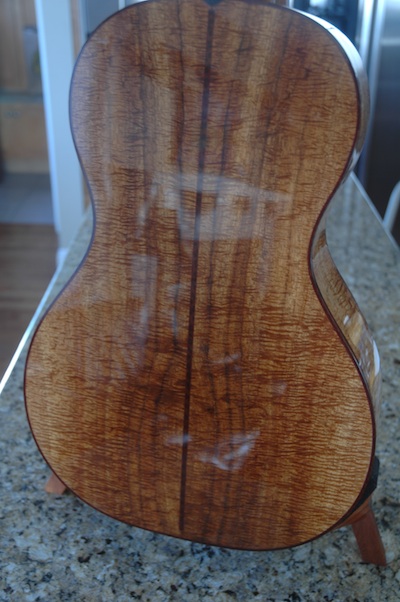
Uke 1201: Frets were radiussed then cut to length and placed in a holder. Except for fret 2 and 11, the frets were hammered into place.
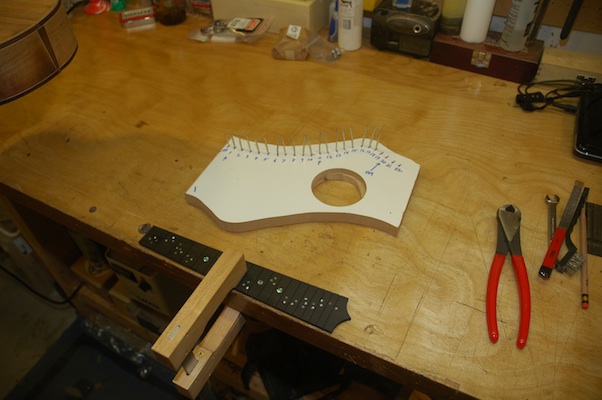
The fretboard was dry fit to the neck, and index holes drilled into the 2nd and 11th fret slots to hold the board in place for gluing.
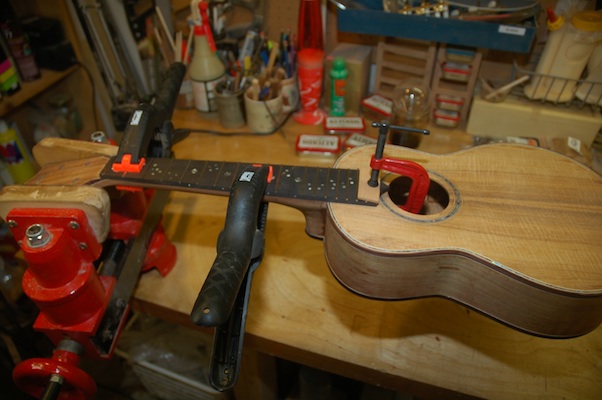
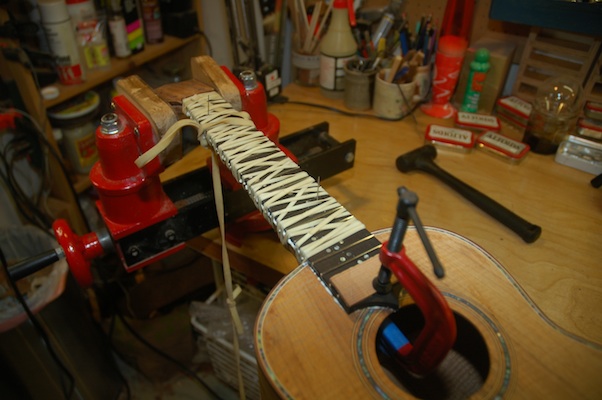
Glue was applied to both the fretboard back and neck, then pressed into place using index pins. The clamping is a big old rubber band wrapped around the neck several times. The fretboard extention over the body is clamped down with a simple C clamp.
Uke 1201 – Sides Bent, Top and Back Joined
July 5, 2012
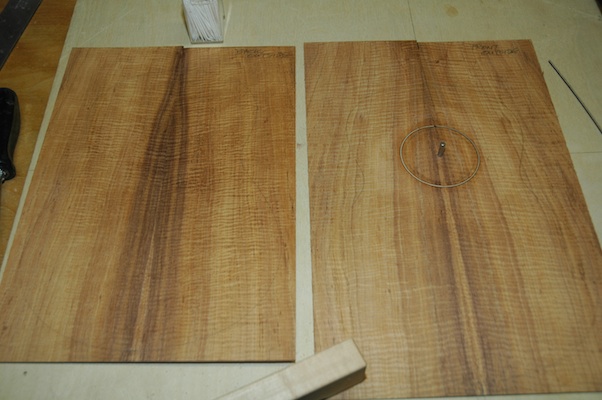
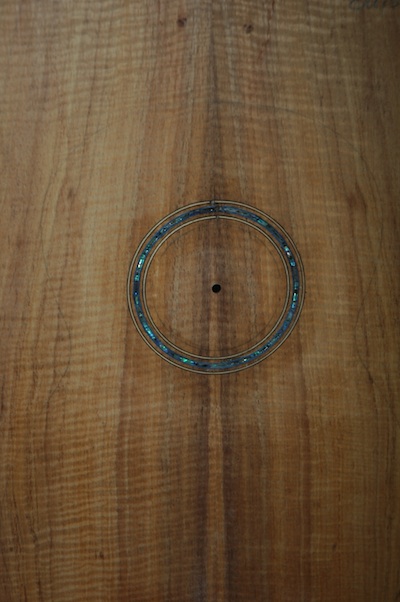
The top and back have been joined, and the rosette installed.
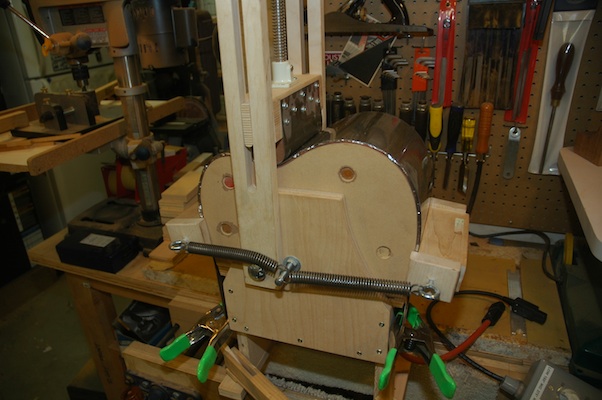
Sides have been bent (yes, koa burns easily), and installed into the holder.
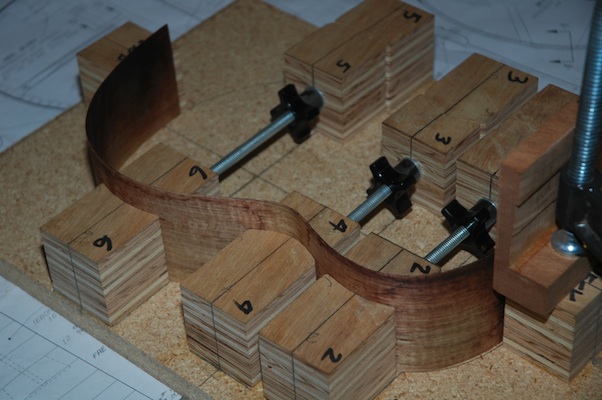
Today, I expect to receive more graphite rods which will be inserted into the neck.
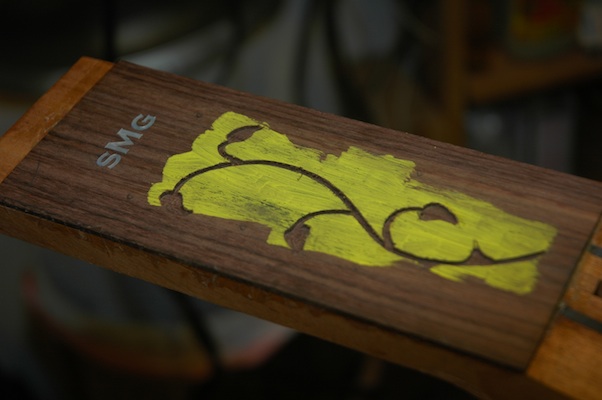
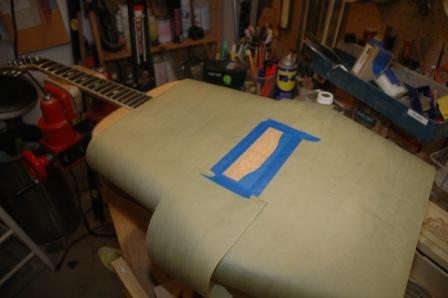
I also tackled routing out the channel for the shell for the headstock for Guitar 1202. The yellow tempera was painted on to show the scoring of the edge for an easy visual of how far to rout out.
Stunning Myrtle and Koa Uke Nears Finish
November 19, 2011
After joining the myrtle back for Rachel’s parlor:
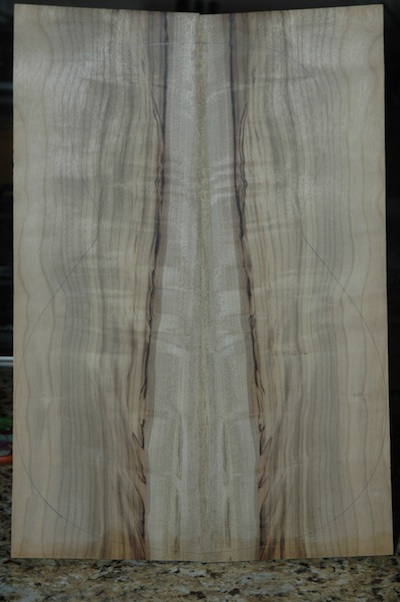
Yum.
Four more days before we load the dog in the car and trek to SLC for family Thanksgiving. I’ve finished applying the lacquer and have started knockdown.
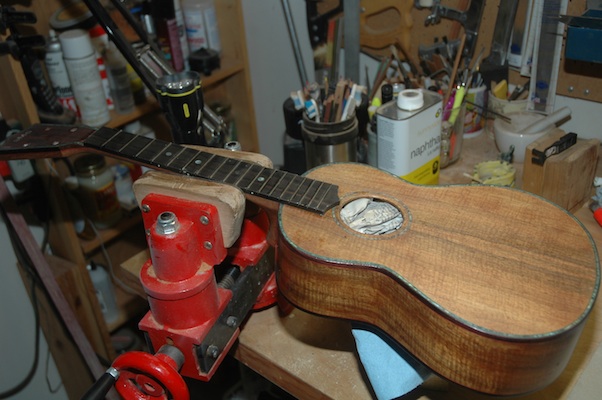
The lacquer is still a wee rubbery, but hell, I can’t let that stop me. 440, then 800 grit on a sanding block, and I have the top and the headstock knocked down. I finished with 1200 grit wet sanding, then buffed (top only) in preparation to mount the bridge. I figure I can mount the bridge, and while it is clamped up, I can proceed to knockdown the rest, clean up the fretboard, and start to shape the nut and saddle.
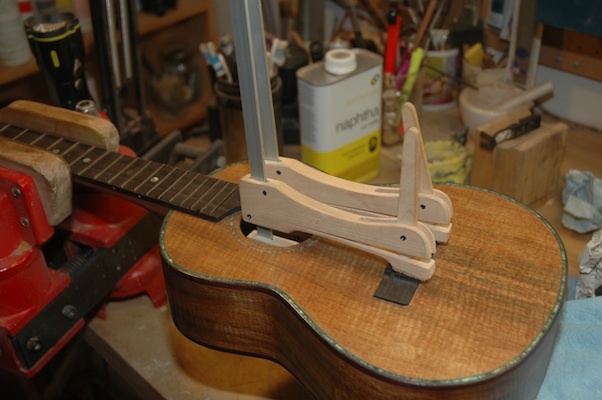
I’m absolutely sure this will be a playable uke by Tuesday, and it will ride with us to SLC.
Uke Lacquer – Uke Cure – Myrtle Join
November 6, 2011
Devin dropped by today and we polished up his frets, nut, saddle, and installed a pickguard. Looks like it’s really done.
I’ve been applying lacquer to the Bubinga Uke and the Koa Uke. The Bubinga is fully lacquered and is sitting in cure mode for a couple of more weeks.
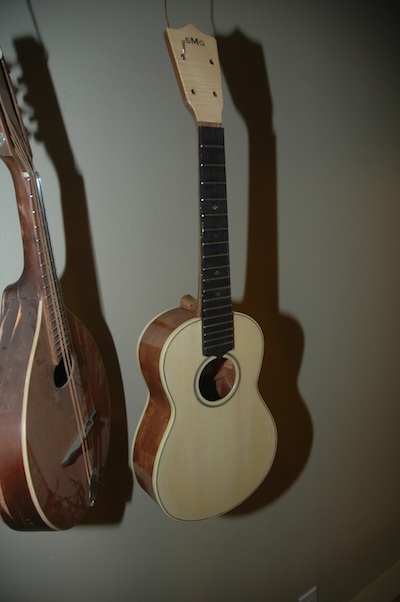
The Koa uke has 16 coats, and I think 24 will be the cat’s pajamas. I should be able to get the 24 applied by Tuesday evening.
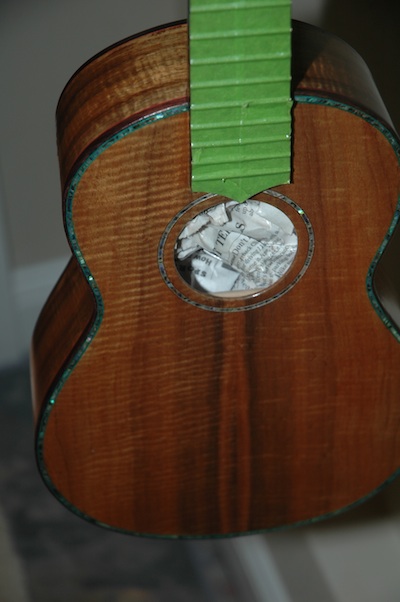
Between lacquer applications (wait one hour please) I’ve been bracing the Myrtle Parlor (for Rachel) and I joined the back plates.
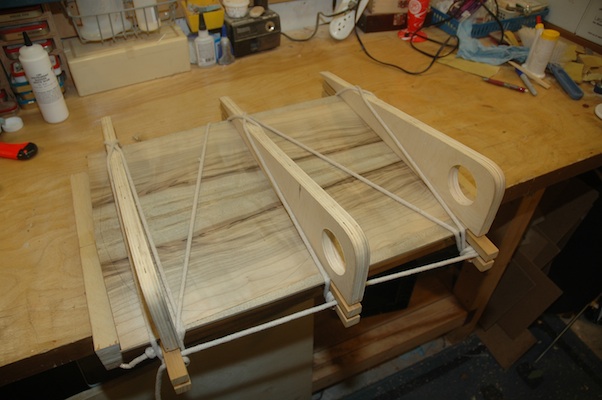
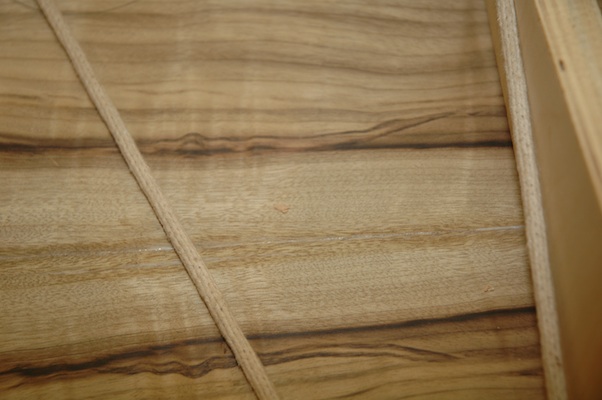
I’m liking this myrtle, and it seems like it will be nice to work on. It planed easily while preparing the plate joint.
Uke Lacquer – Fretboard Markers – Lava Light
November 30, 2011
Let’s start with the Lava Light.
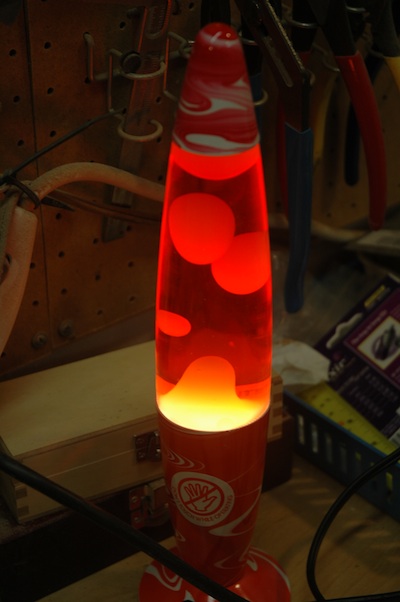
After William left for UW, several items which I coveted were left behind. Lava Light (or Lamp)!
I mapped out a schedule for the completion of Uke 1101, and it is possible to complete before I go to Salt Lake for Thanksgiving. It will be a bit tricky to continue working on the uke while the lacquer is curing. Today, I finished the 8th coat of lacquer, with an intention of putting on 20 coats. Tomorrow I’ll add 4 more coats. Coincidentally, I am adding coats to the Bubinga uke, and after tomorrow’s application, it will have 24 coats.
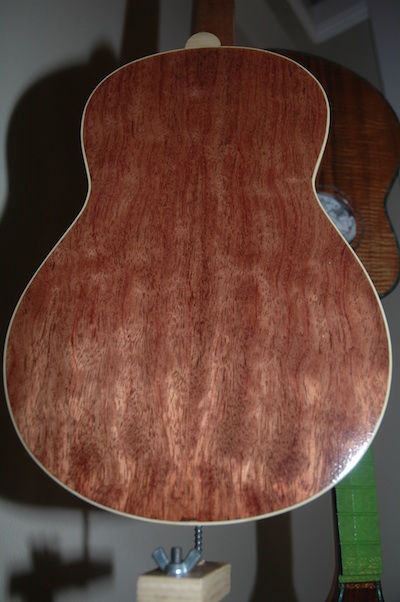
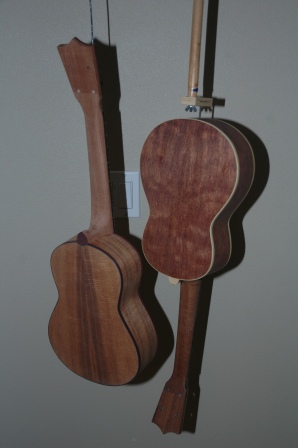
This is the back of the Bubinga.
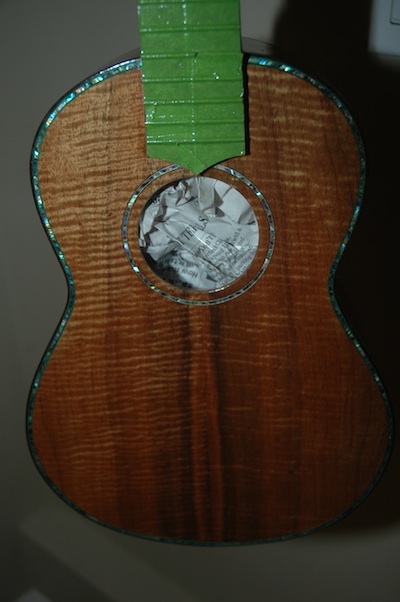
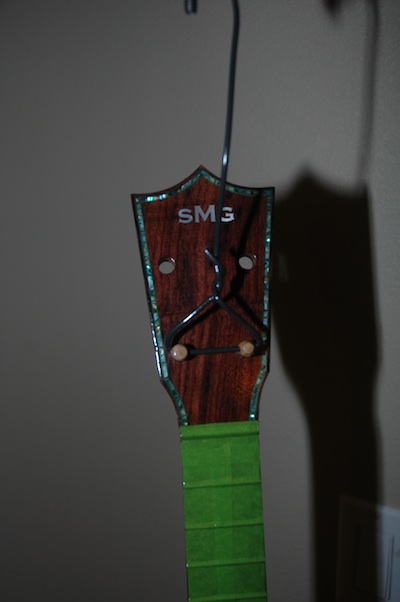
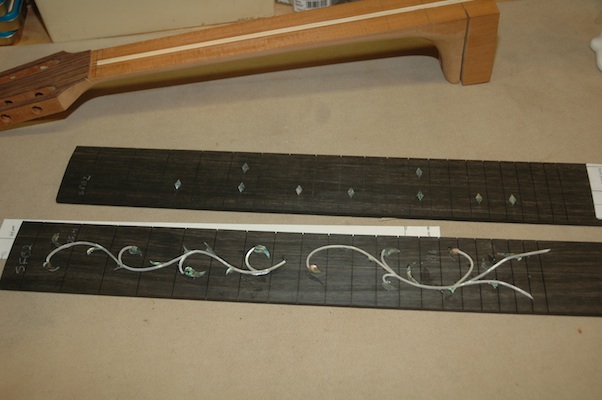
Between coats I attached the fret markers to the Hybrid’s fretboard and the Thorn and Vine to 1202 (Bob). The shell is glued to the surface with white glue. I will score a border around the glued shell, then pop off the shell in preparation for routing a channel.
Uke 1101 – Resumed
October 24, 2011
Teaching has been wiping me out. I have been immersed in such a way that my building opportunity was minimal. I will be visiting Salt Lake for Thanksgiving, and I would like to have my sister’s uke finished by then. It is completely possible as I am at the finishing stages.
The original uke has been sitting waiting for additional lacquer coats, so it’s part of the deal.
The koa is ready to accept the first coat (sanding sealer) and the bubinga is ready for coat number 15.
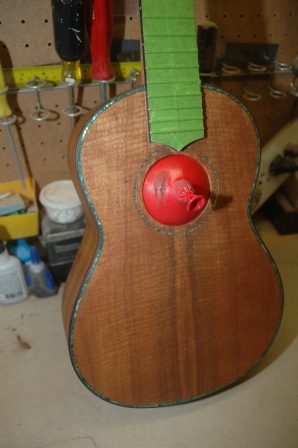
The pore filler is a brown base so initially alters the color. After it is applied a squeegee is used to scrape it off, hopefully leaving behind a smooth surface. It will be scuffed down to remove any haze on the surface of the wood/purfling/binding. It may require a second application if the pores are not fully filled.
The koa with its first coat of sanding sealer. After scuffing the finish smooth, pore filler is applied.
Guitar 1001 – Ready for Delivery
May 14, 2011
What with going to school and learning to teach, and actually then teaching, I have seen serious erosion of my time available to devote to building. So it has been almost a year in elapsed time since I started this Koa Dreadnought.
Today, it is finished. I have contacted the client to arrange pickup. He can take his time, as I will get to play it more the longer he waits. It’s hard to give up these guitars, I want to keep them all, but I have too many anyway to begin with.
Today I crept down into the shop, trying not to wake my sleeping son who was crashed in the basement after his night out at the prom. Dress the frets, polish the saddle and nut, oil the fretboard, install the pickguard, put the strings back on, whoops, clean out the ort from inside the box, install the label, then put the strings back on. Tune it, play it, smile, weep, move on.
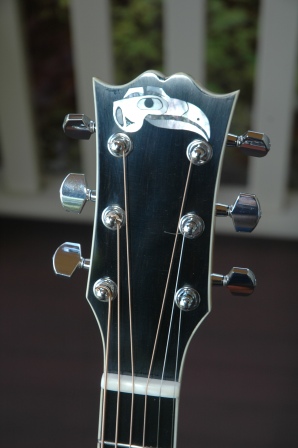
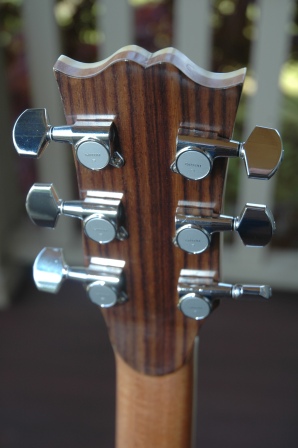
I like this little rosewood veneer backing.
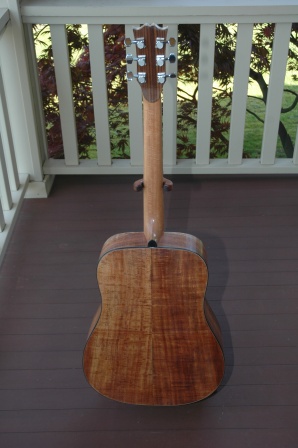
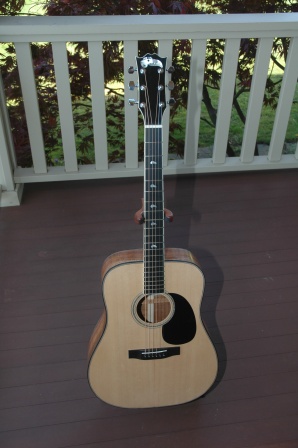
Guitar 1001 – Knocked Down and Buffed Up
May 7, 2011
Happy Birthday Sister Cyndy! In honor of your birthday, I did NOT work on your uke. Rather, I finished knocking down and buffing the Koa Dreadnought.
The finish will get another buff after setup to bring on a real shine. The lacquer under the fretboard extension was stripped off, and the neck was glued and bolted on.
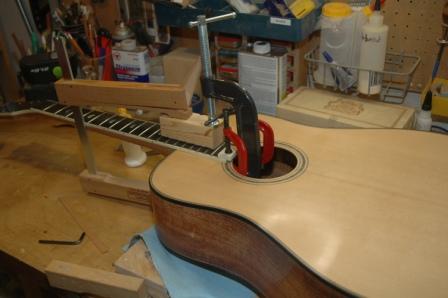
After setting, the end pin hole was drilled and the tuning machines were installed.
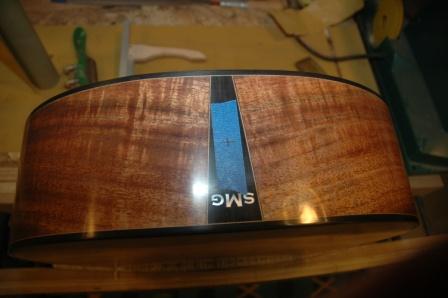
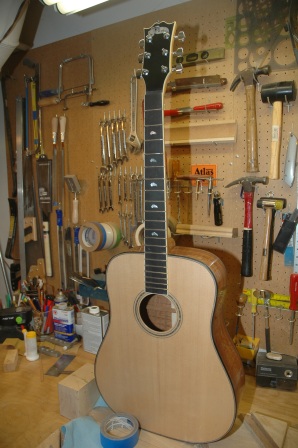
The bridge location was determined using MATH! The lacquer under the bridge was stripped in preparation for gluing.
The bridge was glued and clamped with the fancy bridge clamp from LMI.
