Guitar 1001 – Pore Filler Applied
March 11 , 2011
Well well well. Dove on down to the shop, prepped the body for pore filling and dove in head first. The back was tackled first, followed by side one then side two (A side and B side?). First step was to apply a thick coat with a bristle brush. Its’ consistency is somewhat like tahini.
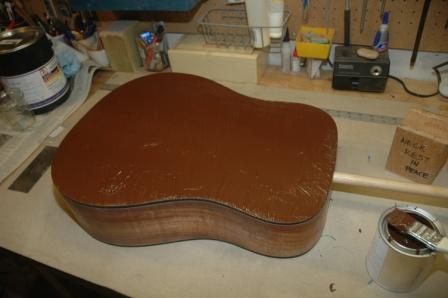
Or maybe, fudge brownie mix. Next, dapple with the brush to force filler into pores.
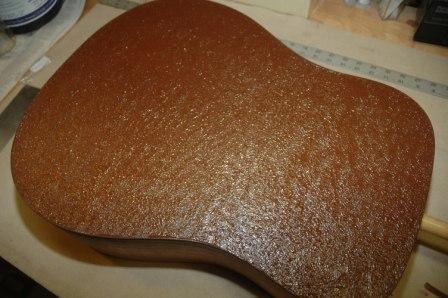
Kind of reminds me of that textured ceiling spray. I only let it sit for 5 minutes before taking the bondo scraper to it at a 45 degree angle. It’s a bit of a messy process, and the filler tends to drool over the sides, and stray globs ended up on the top, but quick action removed the globs sufficiently.
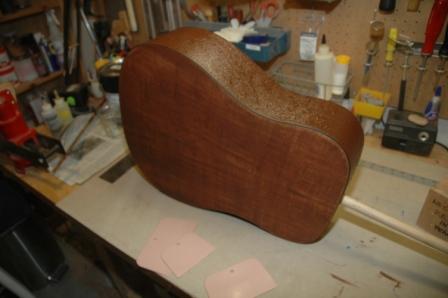
Next the sides were filled, one at a time (A and B, remember?), as the filler dries quickly, and the guitar is resting on the opposite side while applying. Once all sides and the back were scraped clean, there was still quite a bit of filler floating on the surface. With a shop towel (like burlap), the guitar was buffed, which removed most of the surface filler, yet kept the filled pores filled.
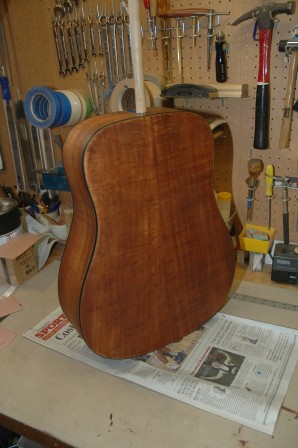
After several hours of setting, I will sand off the remaining filler that still coats the surface, resulting in a resumption of the koa golds, the white purfling, and mirror smooth surface (I hope).
I am NOT going to pore fill the mahogany neck. Or am I? Let me think on this one for a bit.
Jim on 11 Mar 2011 at 5:18 pm #
I’ll have to look through my notes and see what they recommended as a pore filler for French polish. It seems to me it was a finely ground pumice, but I was not ever able to get it right. Of course, that last comment applies to most of the things in my shop.