Guitar 802 – Level frets, locate bridge, glue down
August 14, 2008
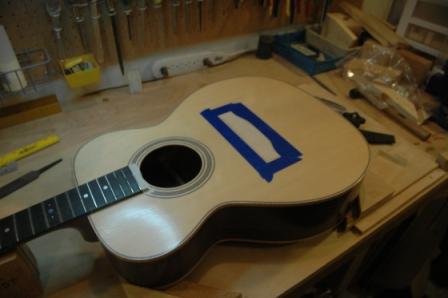
After fret levelling, carefully measured and positioned bridge. Held bridge tightly against top while scoring line around perimeter with Xacto knife. Laid down several layers of tape to create bed for the bridge.
Received a Fox Bridge Clamp from LMI today. After clamping bridge in place with newly minted caul underneath, drilled out the two outside pin holes, through bridge plate. Removed clamps, and caul, sanded and roughed cavity inside tape lines, then removed the tape. Applied glue to top and back of bridge and set in place over newly drilled holes. Attached bridge clamp, and removed glue squeeze out.
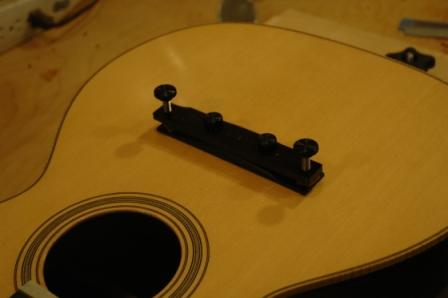
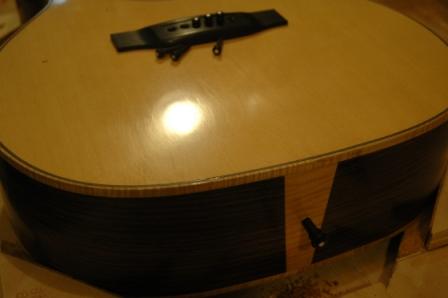
Waited 20 minutes then scraped remaining glue squeeze out as it turned harder and more like leather. After several hours of drying, removed the clamp, reinstalled and clamped the under bridge plate caul, and drilled out the remaining string peg holes. Measured center on the butt block and drilled for the end pin.
Tomorrow I will ream out the pin holes, saw string grooves in the bridge and install new high saddle (neck set is a little “down”). I’ll crown the levelled frets, shape the nut, slot for strings, install tuners and take a first check of the action/string height.
I still need to go back and do one more round of wet sanding and buffing after the first round of string install. The headstock should be cured enough to sand and buff.