Archive for the 'Guitar 802 – OM Rosewood' Category

Guitar 0208 – Finish implies finish

July 8, 2008

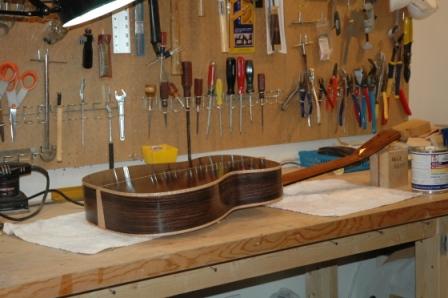
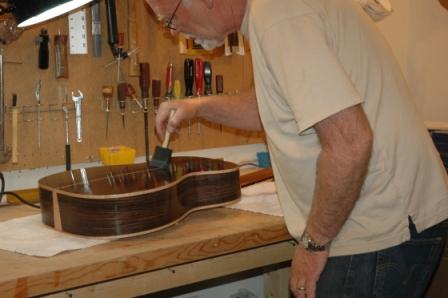
Getting this guitar finished (completed) is drawing out longer and longer. Because I used a brush on water based finish, I have a surface texture full of brush lines. I don’t think it’s because of my technique, but rather the inherent issues with brushing, regardless of the claims of the product to dry smooth. I may continue using the water based lacquer, but only if I spray. I also will finish the body and the neck separately, as doing so joined, I have created a zone of undesirability in the areas where the fretboard meets the top, and the neck meets the body.

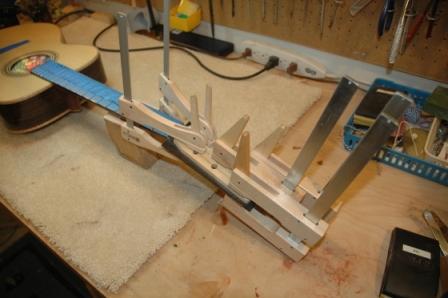
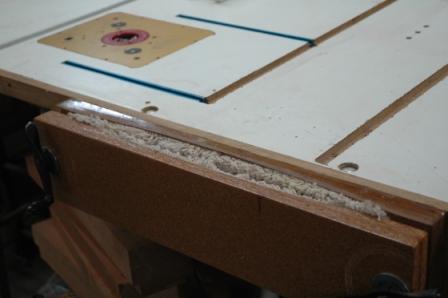
I built an adjustable workboard to hold the guitar to the workbench. This will allow me to work vigorously on the top, back, and neck as I continue to sand out the brush lines, then progressively work through finer sandpaper to arrive back at a gloss finish. I dread working the sides, as they contain the most brush lines, and I don’t yet have a proper method to secure the guitar to the workbench to address the side sanding and buffing. I’ll either work on my lap, or build a vise like the one shown here.

dsc_0866.jpg

I still have the issue of the chip out on the headstock to resolve, but haven’t come to a good conclusion.

Here’s where I resist my desire to cut corners or give up. I need to work in phases, making small accomplishments in the finishing process, and get to the point where I can move on to the mounting of the bridge and the string setup. I’m so close.
Guitar 0208 – Final coats of lacquer

June 18, 2008

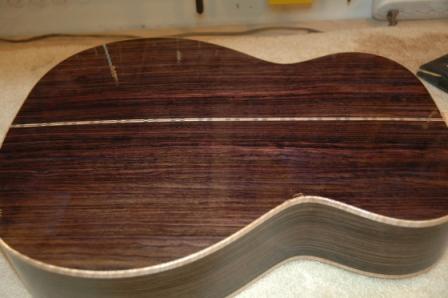
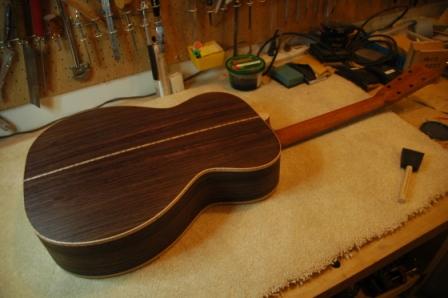
9 coats of lacquer throughout.   It’s really looking good.  Before I run off to the workshop next week, I’ll 440 sand and then decide if I need to do 3 more coats or proceed with the progressive finer sanding then buffing.

Guitar 0208 – The longer I wait, the less I know

June 15, 2008

I’ve been reluctantly finishing my second guitar. Not that I don’t want to get the strings on and see how it sounds, but I’m doing my first brush on finish using KTM-9. The good thing, no odor, the bad thing, I’m not applying it well. So, my theory is that if I ignore it, it will heal. Well, it hasn’t healed. But, I did put a lot of time today toward sanding out the imperfections.

I found myself thinking I needed to abandon the brush technique halfway through, and invest in spray guns, compressors, and spray booths. I convinced myself to wait for the investment until after I’ve taken my class next week. I could learn something that sets me on an alternate path.

The results of my sanding session today were so good, I decided to continue with the brush method. So, three more coats before I once again decide to change direction, or stay the path.

0806157coats.jpg

080615finish2.jpg

080615finish.jpg

Guitar 0208 – It’s Headstock

June 3, 2008

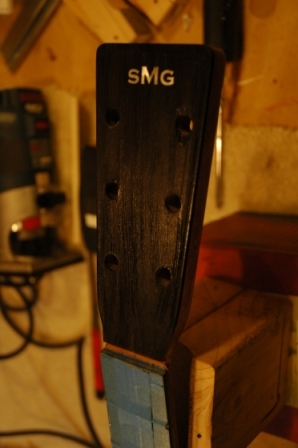
No, it’s not Woodstock, it’s Headstock.  Free music, people gathered for love and music and everything is OK.  Whoops, headstock.  I have successfully removed the headstock veneer on number 2 and replaced with my sMg headstock logo, and I couldn’t be more proud.  Every guitar from now on will be branded with the new logo/inlay.  I’m like a new father.

080603smg.jpg

Guitar 0208 – Out with the old, in with the new

June 2, 2008

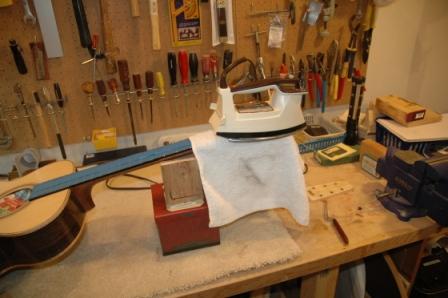
Off goes the old headstcock veneer (generic ebony no frills) and on goes the new SMG logo headstock veneer.  I used the old “put an iron on the guitar” method which I have employed before to remove a fretboard/neck from an old Stella that needed a neck reset.  Iron on a cloth on the headstock, far enough away from the fretboard to avoid it coming loose.  About 35 minutes total heating time on high, and it came off nicely.  Did have some issues with the maple veneer getting annihilated and a small gouge in the mahogany headstock, but not something I can’t fill and hide.  Decided to glue on the new headstock plate without a veneer sandwich piece.  The original was a wee bit thick for the tuning machines, which is resolved without taking any stock off  the mahogany headstock.  Glued it up, clamped it up and it will sit overnight.

080602iron.jpg

080602gluenewheadstock.jpg

Guitar 0208 – This weekend I’ll phase through the finish

May 31, 2008

This weekend, I’ll tear myself away from the OM Maple and apply lacquer finish to the OM Rosewood.  It already has 3 coats on the back, 3 on the top, and I’ll apply the third to the sides and neck.  After the third coat, it’s a progressive sand back to smooth, then 3 more coats.  I’m advised that even though the sanding process is tedious, I should not phone it in, as a good job here pays off down the line.  Yeah yeah yeah.  I just need to get my head around sanding, and do it, and do it right.  I’m really very close to wrapping up the second guitar, and I’m looking forward to how it sounds.

Guitar 0208 – Finish

May 27, 2008

I am proceeding with the brush on lacquer process and have applied 2 coats on the entire guitar.  I got sloppy, I made streaks, I left globules, all due to haste.  I sanded back these first two coats on the back only, then applied a coat of lacquer with only a few smooth brushstrokes, applied a bit thicker than the last applications, and did the back only.  This is a test to see the results of this technique.  If appropriate, I will then do the sides, wait until dry, then repeat for the top and the neck, in that order.

080527backlacquer.jpg

Guitar 0208 – Grain pore filling

May 20, 2008

I think I’ve got it down. My second attempt at filling the grain pores came out quite nice. I applied less, scraped more, and worked smaller sections. I must have thought this through in my head for most of the day and was able to carry the ideas into the shop as the application went very nicely, with a dry surface that will require little scuff sanding before i start the repeated lacquer coats.

Even though this is the second application, the pores don’t seem to be fully filled. Do I do it again, or is it acceptable? Will the lacquer coats eventually smooth out without leaving any pore indentations?

aftergrainfill.jpg

topsealed.jpg

Guitar 0208 – Finishing

May 19, 2008

I’ve embarked on an alternative finishing approach for my second guitar.  First guitar, I used a spray on nitrocellulose lacquer which forced me outside and reeked of banana souffle.  I was introduced to a brush on lacquer (water based) called KT9, which I got from LMI. 

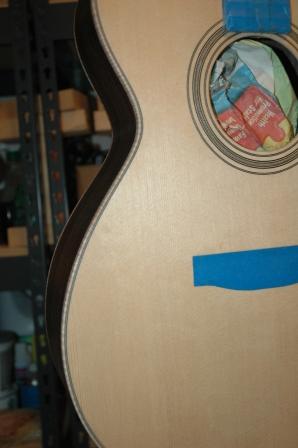
I sanded the guitar in preparation for finishing and applied a sanding sealer coat of KT9 diluted to 50%.  Amazingly, this stuff has NO odor.  The sealer coat went on marvelously, and I only created a few unsightly dribbles across the waist.  Before sealing, I applied a 5 part tobacco to 1 part red stain to the mahogany neck.  As careful as I was to mask, I bled through slightly onto the maple veneer on the headstock.

The next step after sanding sealer is the grain pore filler.  I botched it terribly.  It’s hard to work with, leaves streaks on the surface, and I over did it on application.  I slept poorly last night obsessing on what I did wrong.  Books suggest the pore sealer usually takes two coats, and I think I know what to do to improve this process for the second coat.  I will apply in stages, back, sides, top, neck, with significant wait time between each stage, and apply very thin amounts, carefully scraping off all surfaces before it dries to leave only sealed pores, allowing light sanding to get back to the wood surface.  As it is, I have left myself a monster sanding job to get the grain sealer off the surface of the wood.

Even though I practiced on scrap, it doesn’t give you the pacing practice for larger surfaces, which only comes with applying to the real thing. 

Guitar 0208 – Nut

May 17, 2008

Today I will finish trimming up the frets, filing down the fret ends flush with the fretboard, and bevelling the fret ends.  Even though the neck is pretty straight and most of the frets are straight along the neck length, I will do a tiny bit of fret levelling with a mill file.

Once that is complete, I will begin the finish process:  clean, clean, clean, sand, scrape, sand, sand, sand, clean.

The topic “nut” refers to the bone nut between the headstock and the end of the fretboard.  I’m using a preshaped bone nut which has a bevel on the bottom whereas my channel is flat.  I inserted and glued a small piece of mahogany to bring the channel up flush with the nut.

fretson6.jpg

« Prev - Next »