Guitar 905 – Bending Walnut Guitar Sides
August 22, 2009
Earlier today John emailed and asked how I bent the sides for his walnut OM. I responded with a quick description, but thought it might be interesting to you, my dear readers, to demonstrate with a little storyboard.
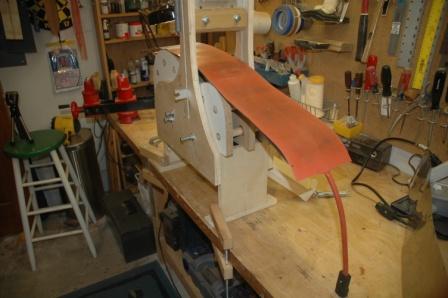
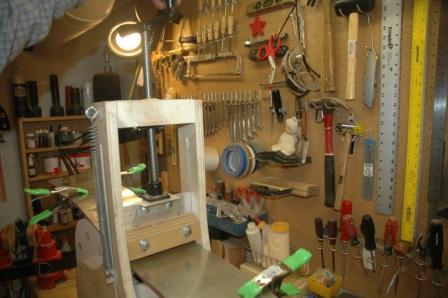
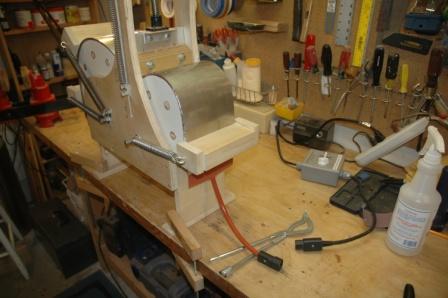
I use a side bending machine which I constructed, modelled after the Fox Side Bending Machine devised by Charles Fox. I have various forms for the different body sizes I build. First step is to insert the proper form into the bending frame and clamp down to the workbench. Next I lay out the beginnings of the sandwich, which is (from the bottom up) stainless steel, heating blanket, wood, stainless steel.
The magic silicon heating blanket (developed by rocket scientists as NASA) is the same dimension as the stainless steel plates. It’s layered onto the first stainless steel plate.
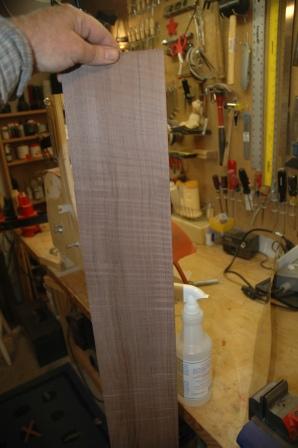
The side plates have been thicknessed down to at least .110″, and the outside, waist location, and neck end have been marked.
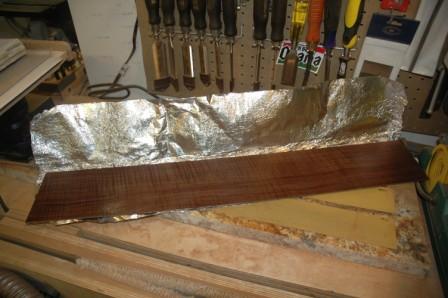
One side is bent at a time. This side is the “left” side, and the waist mark will be at the back of the bender as you face it from the workbench side. I spritz it lightly with distilled water and wrap in foil.
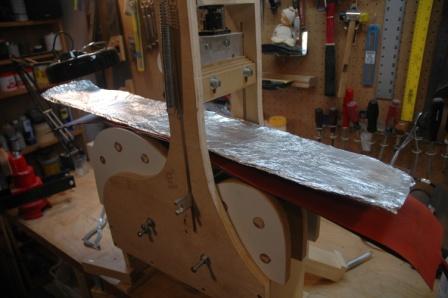
The wrapped plate is then placed on top of the heating blanket. This is very important, as regulating the temperature is very tricky, and if the wood were to burn slightly, it would do so only on the inside, protecting the outside from telltale burn markings.
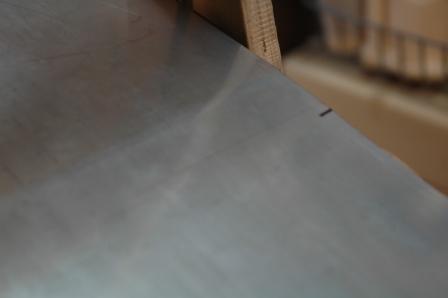
To complete the sandwich, the second stainless steel plate is placed on top. I mark the top piece of stainless with the waist location for alignment with the waist clamp.
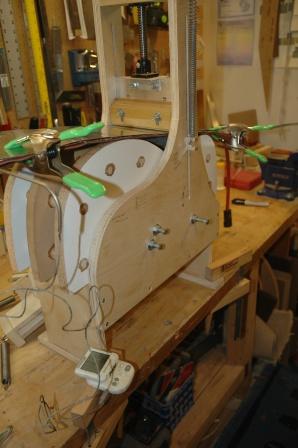
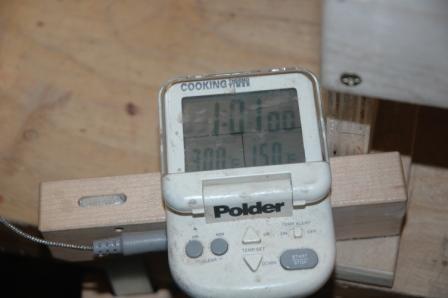
An aluminum bar under the sandwich is spring loaded against the waist clamp, and the sandwich is held together with simple spring clamps. I use an electronic meat thermometer to measure the temperature of the heating blanket.
Once the sandwich is in place, and the waist clamp is brought down to where the sandwich is just touching the upper and lower bout edges, the blanket is plugged in to a timer/variable set switch and turned on.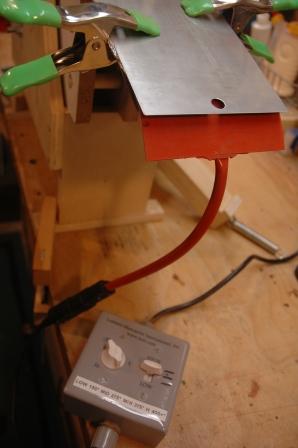
I watch the temperature gauge, and when it gets to 300 degrees, I begin advancing the screw press on the waist clamp slowly until it is within 1/16″ of being fully screwed down.
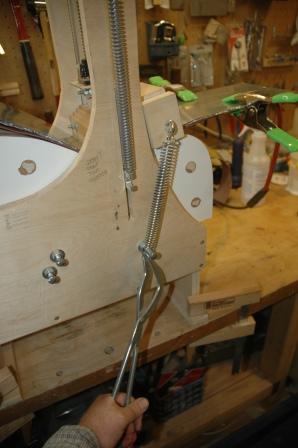
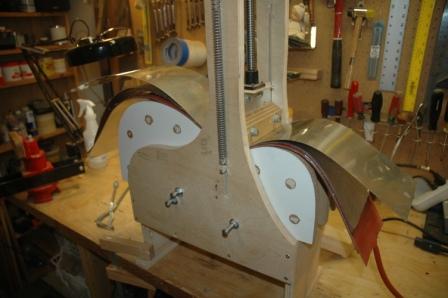
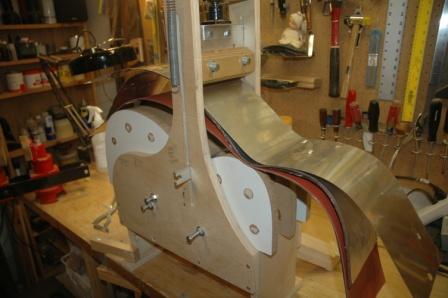
By the time the waist clamp is fully screwed down, the temperature will have risen to 350 degrees. (These temps work for me, and are relative to this setup. The actual temps may be higher or lower, I really don’t know). I ramp back the adjuster on the timer slightly then pull the spring loaded presser bars over the top of the side. I use an automotive brake spring tool to pull the springs over the posts.
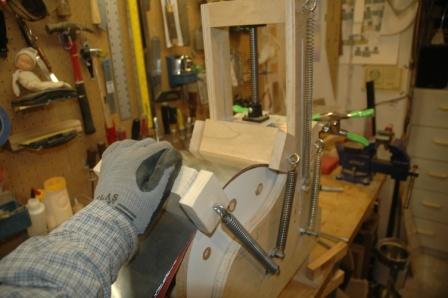
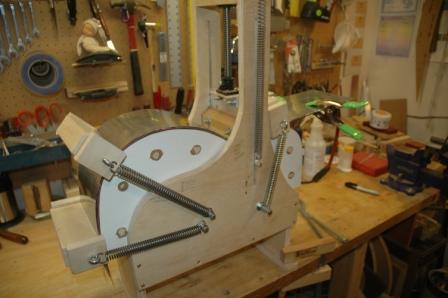
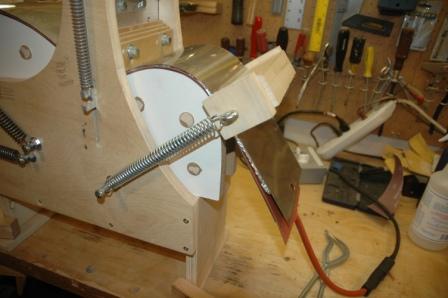
The spring loaded presser bars are drawn slowly over the sandwich toward the ends. I pull the lower bout pressers first, followed by the upper bout to allow the tighter bends to sit under heat longer.
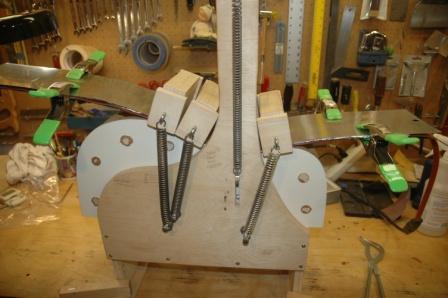
I wear heat resistant gloves during the process as the thing is damn hot.
There are two bars on the lower bout end to help keep bulges from arising.
The upper bout bend must be taken very slowly, as this tight bend is prone to cracking.
Once the bends are complete, the timer is unplugged and the side can sit in the bender overnight.
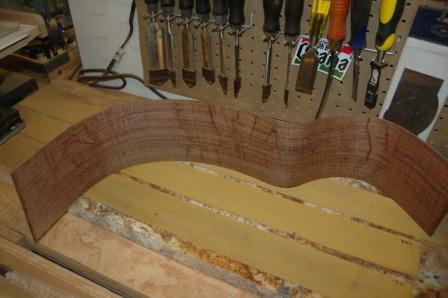
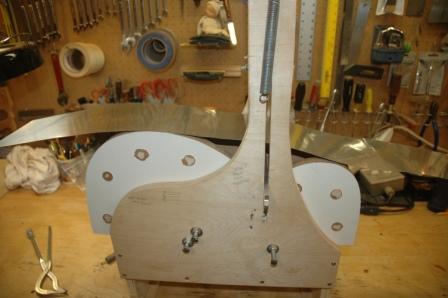
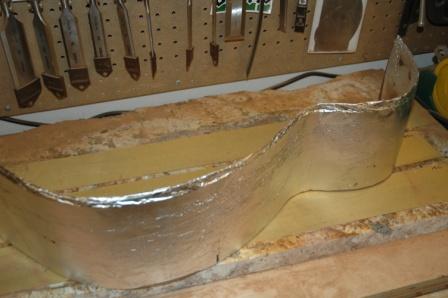
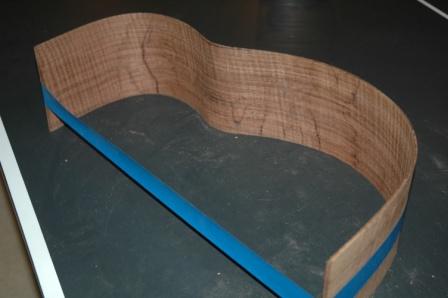
Once the side is removed from the bender, it should be placed immediately in a mold. If a mold is not available, the side can be taped to prevent the bend from self straightening, which is what it really wants to do. The pictures below show the progress of removing and taping. Note the slight burn discolorations on the inside of the side. This is minor (AND on the inside), and can be sanded off.
Bob on 30 Dec 2009 at 9:18 am #
Wow… Great tutorial with wonderful tips and detail. Thanks. Very helpful.