Guitar 905 – Neck construction and bracing top
August 26, 2009
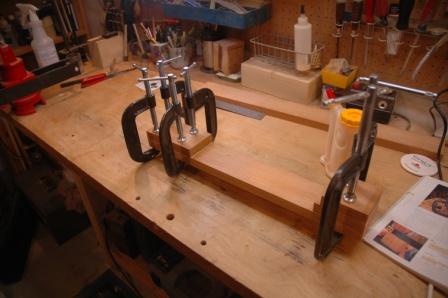
Between back bracing clamp and glue drying and constructing braces for the top, I built the rough neck using a 3″ x 1″ mahogany neck blank and the stack method. The neck blank is cut into 5 pieces, one for the headstock, one for the neck, and three for the stacking heel block. The neck blank is marked before cutting to ensure that all pieces are aligned. I planed the gluing surfaces before cutting to create a perfectly flat surface for invisible glue lines.
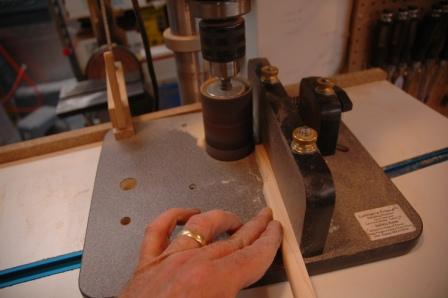
While this sucker dries, I profiled all the top braces prior to gluing.
Profiling brings the brace down to it’s approximate shape and size. Final shaping and sizing is done with a chisel and plane after the braces have been glued to the soundboard.
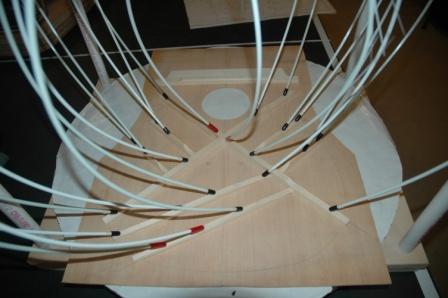
Prior to installing the braces, the soundboard is marked to show exact locations for each brace.
The only brace which is radiussed for the top is the X Brace, at 15′. This is just enough to give spherical support to the bridge, and still be close to flat. The X Brace is installed first, followed by the remaining braces.


