Guitar 1001 – Grand Progress, it’s a Box
November 7, 2010
Wow, that extra hour of sleep really helped. I’ve made excellent progress on the koa dreadnought today, and it’s just a few steps away from being a real guitar.
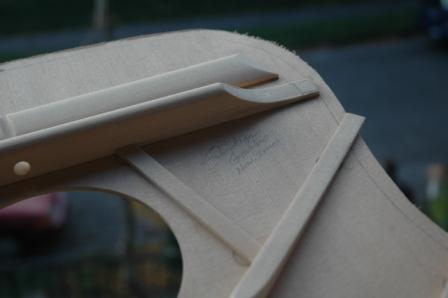
I finished up the brace shaping, sanding and cleaning up both the top and the back before installing. It’s tradition to sign the inside of the top before gluing.
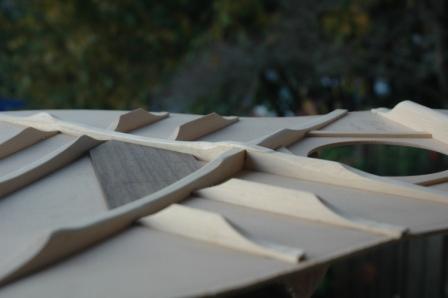
The dreadnought employs scalloped top bracing, as shown here.
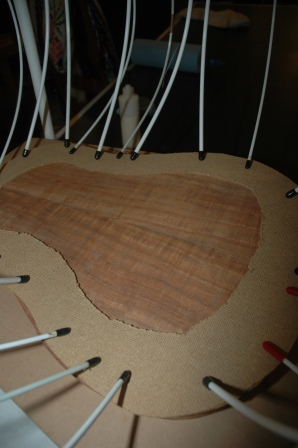
The first step before installing the top and the back is to notch the sides where the bracing and tone bars pass through the kerf. Much care is taken to keep the plates centered while marking the notches for the braces. After notching, renotching, checking and rechecking, both the top and back are fitted and ready for installation.
First, the back is glued on, then side grafts are added to ensure the sides resist cracking along the grain lines (over time).
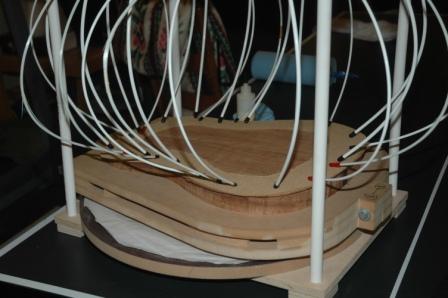
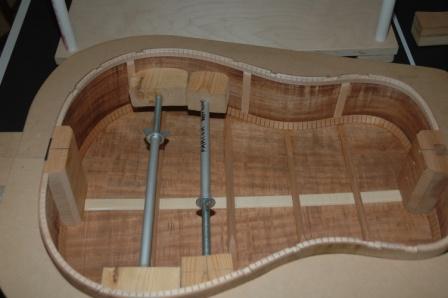
The spreaders are removed and the side grafts are glued in. One of those spreaders remained (the smaller one) as the sides came in a wee bit when all spreaders were removed. The small spreader can be removed through the soundhole after the top is on.
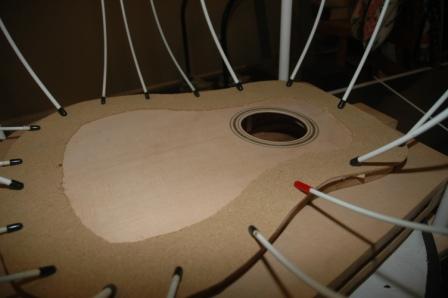
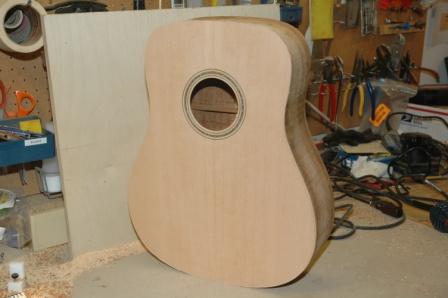
After a few hours curing, the body is removed from the gobar clamping system and the overhang from the top and back can be removed with a router using a bearing bit.
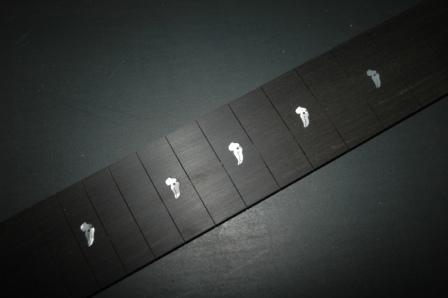
I’m continuing the slow process of radius sanding the fretboard. As soon as I have shimmery MOP throughout, I’ll finish off with fine paper and a buff before cutting the taper.
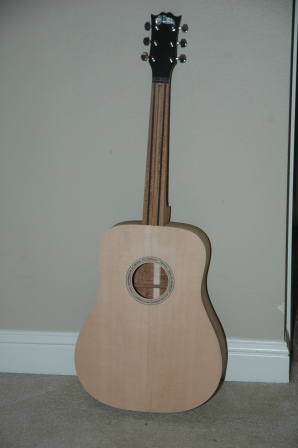
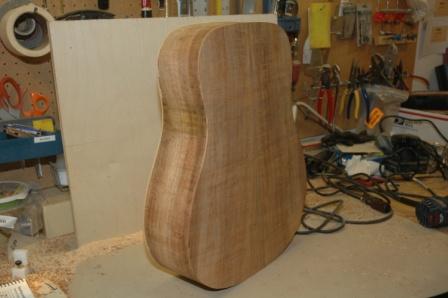
Finally, a little preview of the guitar before installing the binding.