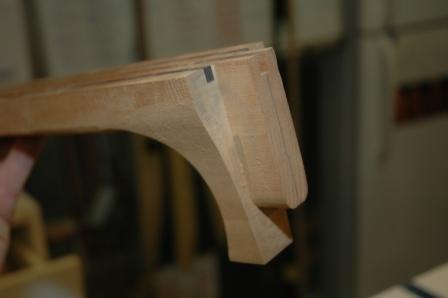
Guitar 1001 – Fair and Square, Neck Angle Measured
December 22, 2010
Spent several uninterrupted hours trimming down the binding flush to the body. I used an orbital sander to start the finish sanding in preparation for determining the neck angle. The binding and purfling is fit to the body very nicely, and I won’t have any gap repairs.
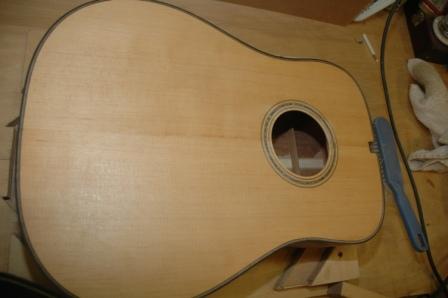
The top was getting a little ragged due to all the handling and the sanding brought it right back to perfect.
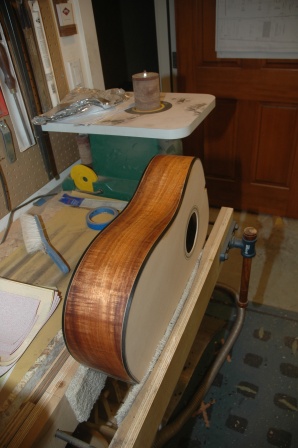
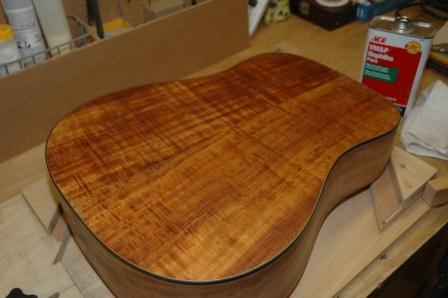
The back and sides have been cleaned with naptha, which brings out the color and shine that the lacquer finish will provide.
The neck angle on a guitar with a radiussed top is not exactly 90 degrees. The neck angle needs to be determined to properly route out the tenon on the neck so the fretboard will lie flat on the upper body once attached. I transfer the measured neck angle to the tenon routing jig and secure the neck into the jig.
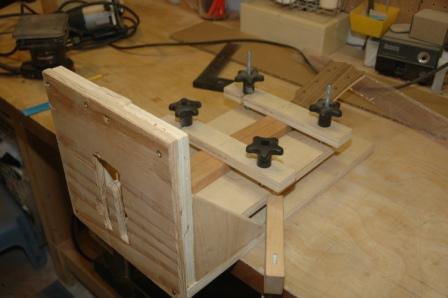
Using a bearing mounted flush cut router bit, I cut the tenon at the proper neck angle out of the neck.
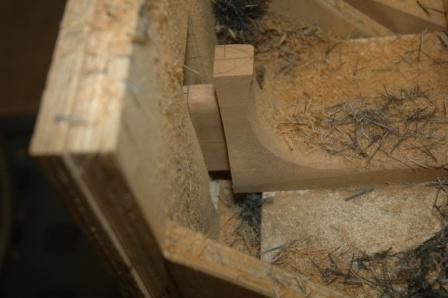
The tenon will need to be trimmed a bit, and any adjustments to the neck angle can be done with a chisel. Once the neck set is finalized, I can install the neck bolt inserts and work on the final shaping of the neck. After the first pass of shaping, the fretboard will be glued on, then final shaping, and I can start applying the lacquer.
