Guitar 905 and 906 – Fair and Square
January 15, 2010
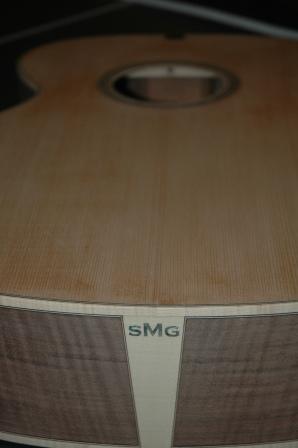
I don’t like to fair and square, but I do like the end result. The fair and square step is to bring the box down to its final shape/dimension after the binding has been installed and before the neck angle is determined. The binding and top, sides and back need to be flush, free from any gaps and squared up. Most important is the upper bout area of the top. Between the soundhole and neck joint, you need to establish absolute flatness. This assures a clean transition between neck and guitar to avoid a 14th fret hump (or worse, dip).
Both guitars had a shellac coating on the tops to protect and reduce grain pullout from the binding tape. It’s a pain in the ass to sand back down through the shellac, and I’m rethinking the use of shellac in future construction. That means I will have to rethink using binding tape for securing the binding during installation. Some luthiers use a fabric wrap or rope wrap while installing binding, which I’m going to look into for the next guitar.
I’m ready to measure the neck angles and use my tenon jig to route out the tenon on each neck, in advance of final neck shaping, fretboard installation and hammering in the frets. There’s very little left before diving into the new spray booth and spritzing away. It’s been raining constantly for the past week, and the garage is swimming in drips.
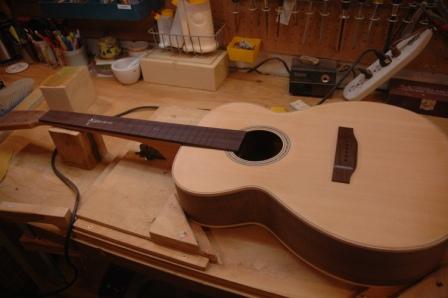
Here’s 905, ready for cutting out the neck tenon:
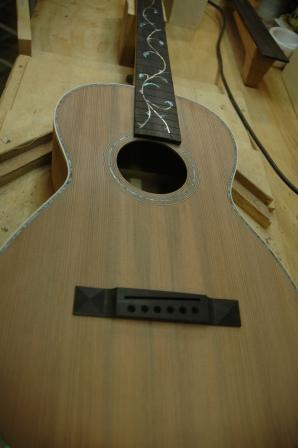
And 906 in a similar state:


