Guitar 1002 – Soundhole Reposted
May 30, 2011
I am having problems with Linksalpha. This is a test to see if it posts to facebook.
May 30, 2011
I am having problems with Linksalpha. This is a test to see if it posts to facebook.
May 30, 2011
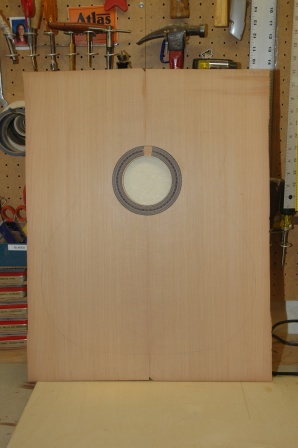
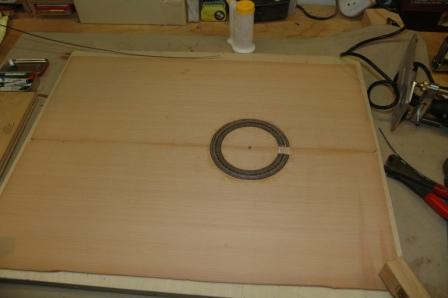
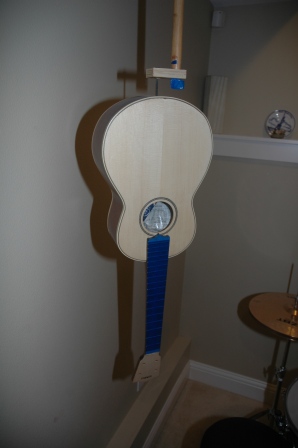
After installing the rosette and sanding it down flush, the soundhole has been opened.
May 29, 2011
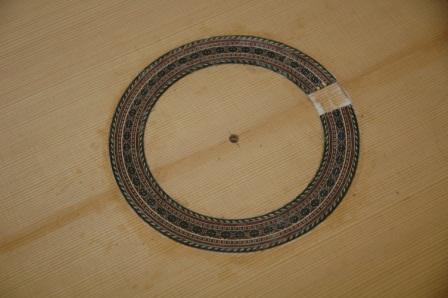
Planed the top plates down to .115″, jointed, then joined. Routed for the rosette, then proceeded to glue it in upside down. Really? Pulled it out quickly, reversed it, and pushed it back in right side up. Everything looks a bit wonky from all the glue about, but experience shows that scraping and sanding cleans it all up beautifully.
April 21, 2011
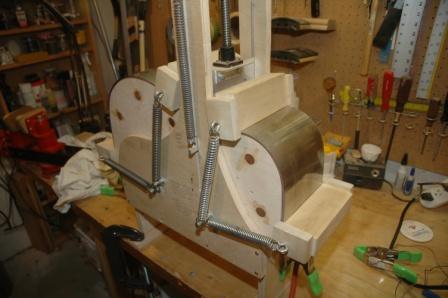
The first bent side is out of the bending machine.
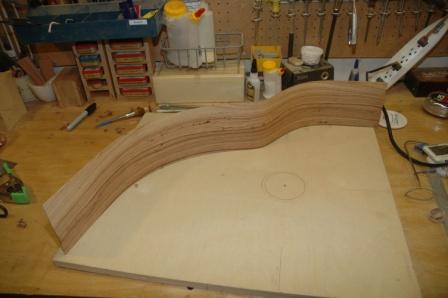
The resulting bend is accurate yet not tight enough. I’m resigned to the fact that I also need to apply more bend with the bending iron.
I’ve had limited success with the bending iron, mostly due to wood being too thick and preloaded with tiny cracks. The machine bend of the first side did produce two minor cracks, which I filled with CA glue. I took a first pass attempt at increasing the tightness of the bends with the bending iron, and found I could make some headway on tightening the bends and not introducing new or wider cracks: all due to the nice .070″ thickness of the sides.
I will complete the hand bending just prior to installing the sides onto the work board, which is still under construction.
The workboard will be finished with sliding cauls along the outside border of the sides. The sliding feature will allow me to use this workboard for dreadnoughts, OM’s and this Macaferri style body, along with others in between.
I usually build in a mold, which is only appropriate for guitars with dovetail or mortise/tenon bolt on necks. The workboard is necessary for the spanish heel type construction. This will all become obvious when I get to the step where the sides are glued to the top which has been attached to the neck.
I will have to provide a small radius bowl in the lower bout area of the workboard to accommodate radiussed X bracing.
April 20, 2011
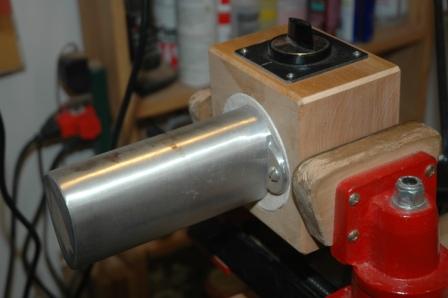
Palo Escrito is a pleasure to work with. I first planed the sides down to about .075″ with the Safe-T-Planer then passed them through my newly repapered drum sander to smooth them and bring down to .070″. This is very thin, but not so for a cutaway bend. I bent the non-cutaway side first to practice bending this stuff for the first time.
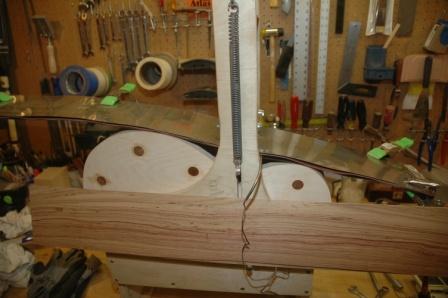
This photo shows the setup before plunging the waist press, then drawing the spring bars down across the bouts.
I’ll let this sit for a couple of hours, reheat then let sit overnight.
April 16, 2011
Using the same setup for planing the uke sides, I brought these sides down to .070″ in preparation for bending.
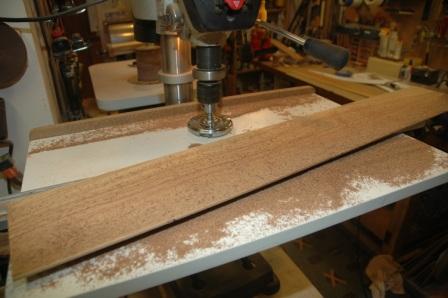
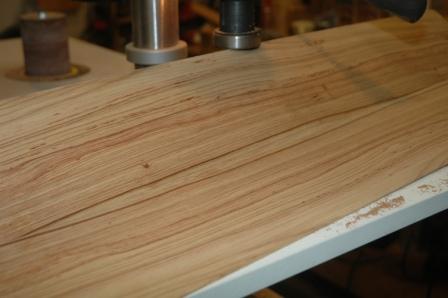
I’m tempted to thickness the cutaway side even more, as there is a sever bend in the upper bout. Both sides will go through the drum sander tomorrow to clean up the planer marks left behind from the Safetee Planer.
March 27, 2011
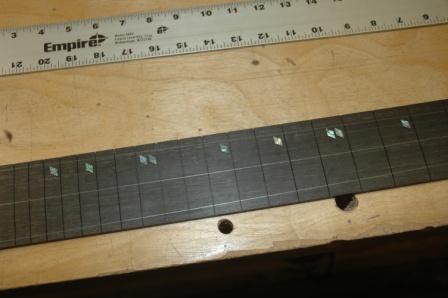
Jim asked if I could tend the fretmarkers toward the bass side. Here are a few options.
First, markers moved left and up.
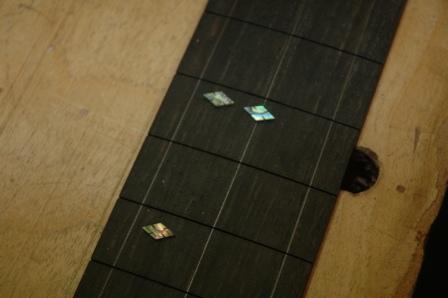
Second option is to skew the diamonds and double up on 5 and 12.

March 20, 2011
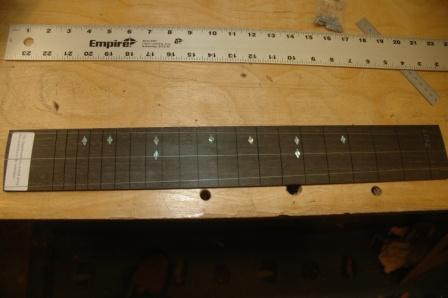
We c0ncluded that paua diamonds would be the choice for fretboard markers after the experiment with wood dots went south. The next decision point (as simple as it may seem) is whether to go with the single marker pattern or to fancy it up a bit with double markers on 5 and 12.

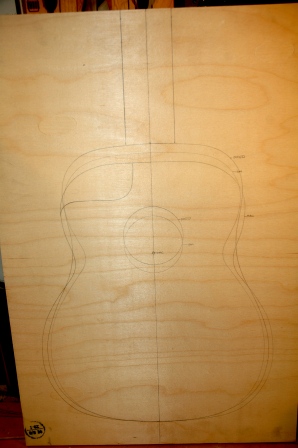
This is the single diamond configuration with markers at 3 5 7 9 12 15 and 17.
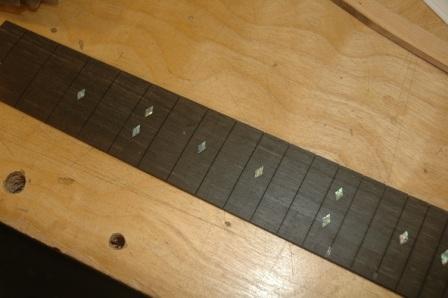
This configuration simply doubles the diamonds on 5 and 12.
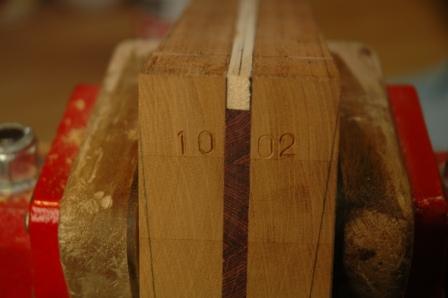
I fully tapered the neck/neck block today using my taper jig and the table saw. Before I remove any more stock from the cutaway side of the neck block, I’ll need to know the exact dimensional thickness of the sides coming out of the cutaway. I added the serial number to the inside of the neck block.
March 11, 2011
Spray day today. Added 3 more coats to Guitar 903, and Uke 1001 bringing them to 6. Striving for 12.
Applied the first three coats to the neck for Guitar 1001 while the pore filler dries on the box.
Between coats, I spent a wee bit of time inserting a temporary piece in the truss rod channel for Guitar 1002. This is to assist in finding the centerline for the neck as I work on the taper.

March 11, 2010
Yesterday, a customer came into the shop for a truss rod adjustment. His guitar, an Ibanez cutaway, is an example of the approximate construction for Guitar 1002. I took a few pics to document how the binding and fretboard and heel all come together. This will give me some reference as I start to dimension the heel and the heel block.
Note that the side comes in and under the edge of the fretboard.

The heel is square and meets the body flush with the binding.
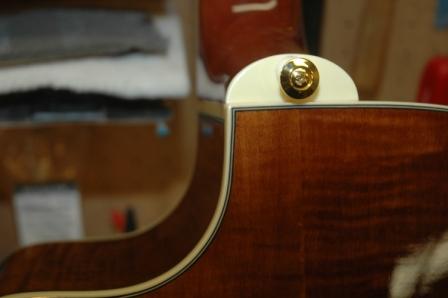
I may take that approach, but I may also consider tapering the heel. I understand the squared heel aesthetic, as it also creates a smooth transition for the hand where the body and heel meet, rather than having an abrupt corner where the heel tapers back from the body.
This also informs me as to the width of the heel block inside the guitar. What it also does is scare the shit out of me when it comes to creating nice binding channels around the cutaway/fretboard/heel junction. I’ll need to carefully consider the whole binding channel preparation sequence given the spanish heel construction calls for attaching the top to the neck before inserting the sides. I think I’ll have to get some mad chiseling skills in place.
