Guitar 1002 – Rosette and Fretmarker Choices
October 17, 2010
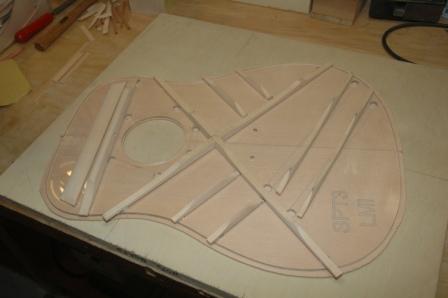
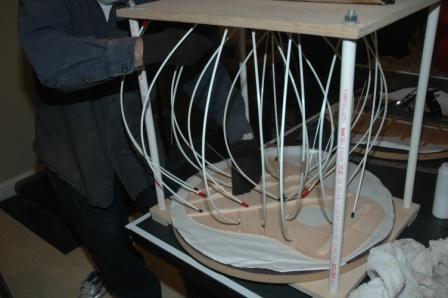
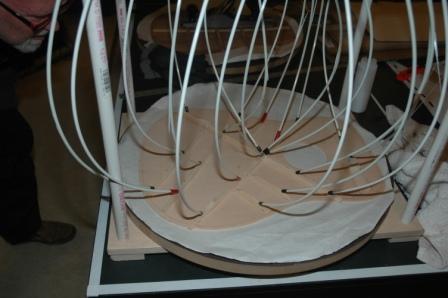
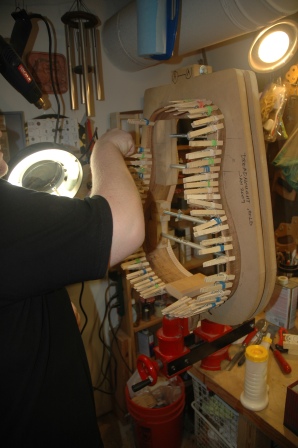
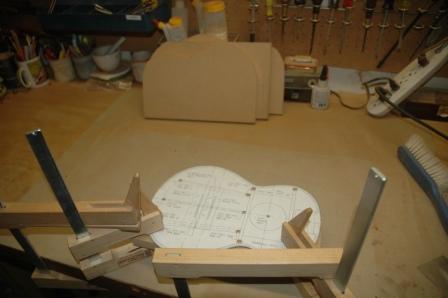
My friend Jim has commissioned this Hybrid Cutaway, and a few decisions still need to be made. We’ll model it after the D-hole Macaferri, but use a round soundhole instead.
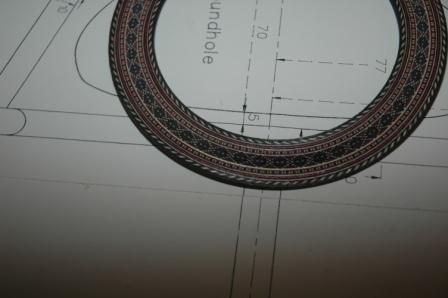
I have this real nice premade rosette for a classical guitar which might look divine on this guitar.
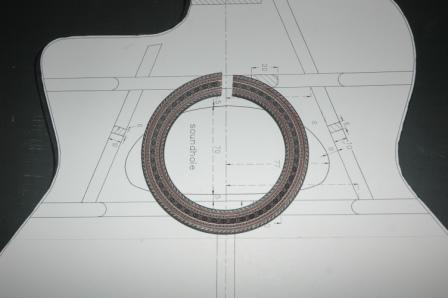
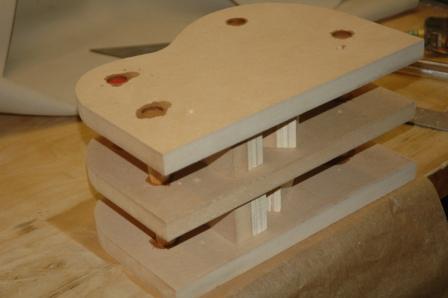
This template is looking from the inside so it appears the cutaway is reversed.
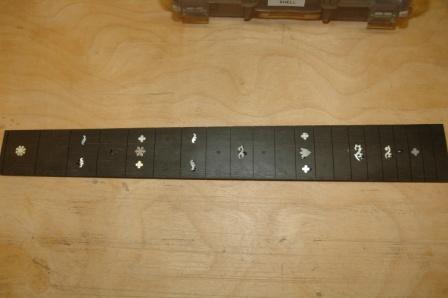
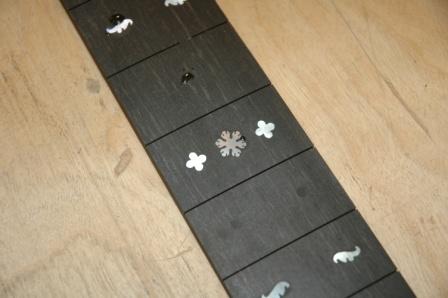
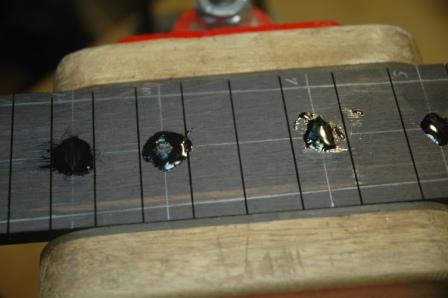
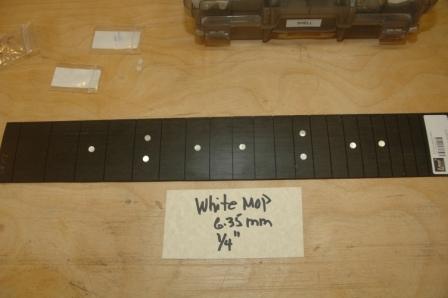
Jim was going to provide maple or holly fretmarkers, but his lathe refused to cooperate. Here are some options from my shell collection.
White MOP:
Paua dots:
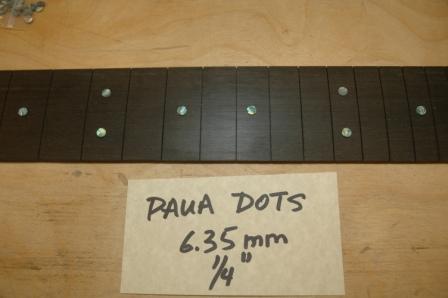
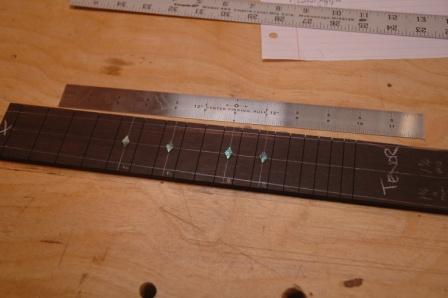
Paua diamonds:

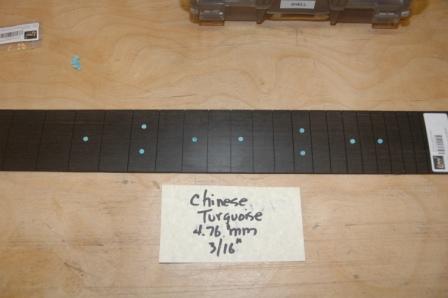
And Chinese Turquoise:
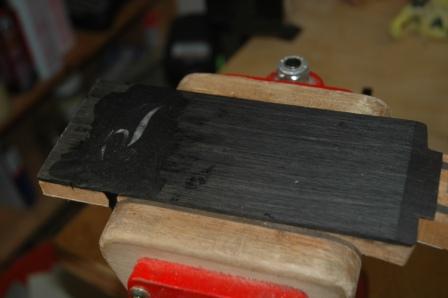
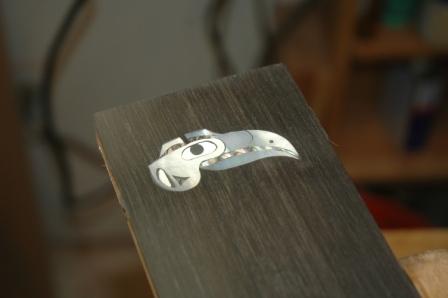
I also have a fancy MOP inlayed fretboard looking for a home. It will clean up real nice once I use fretboard/ebony blackener (devised for the modern striped ebony).