Archive for November, 2010

Guitar 1002 – Hybrid tonewood arrives

November 21, 2010

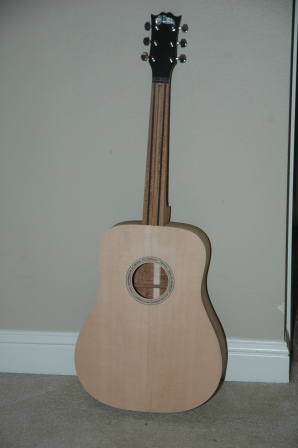
Yesterday, Jim turned over cedar plates for the top, Palo Escrito back and sides, some kerf, fret wire and tuners for guitar 1002.  I took this as a challenge to get started working.

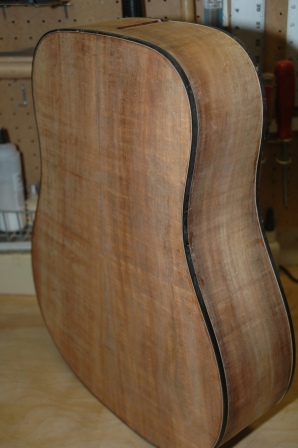
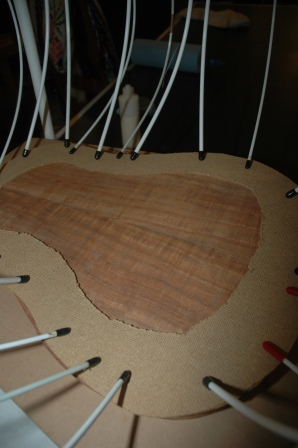
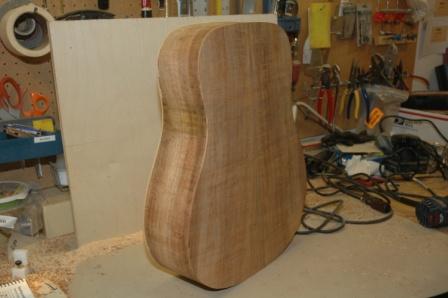
Jim got the wood from LMI.  I haven’t worked with cedar nor Palo Escrito.  Here’s what they have to say about Palo Escrito: Palo Escrito is the premiere native back and side wood used by the luthiers in Paracho, Mexico. It is a true Rosewood, but differs from Indian Rosewood visually with slightly wider grain, more figure, and lighter color. It is also lighter in weight. Although Palo Escrito is a natural for flamenco guitars, classical builders like Kenny Hill and Dake Traphagen have enjoyed using it, and steel string builder James Goodall has been very enthusiastic about the tone of the guitars he’s used it on. Moderately priced and plentiful, each set is unique.

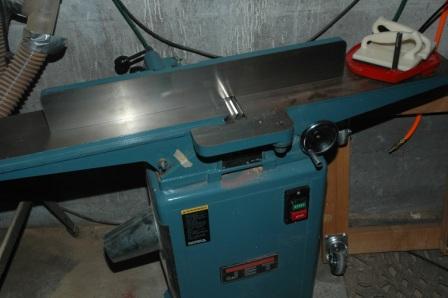
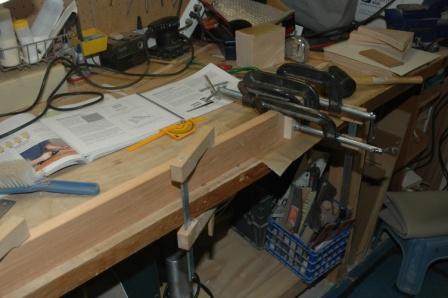
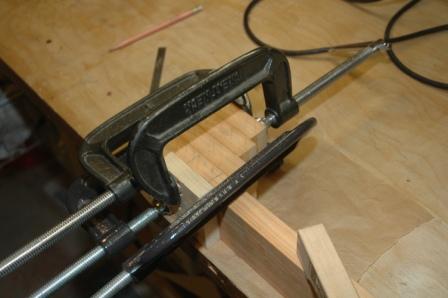
I’m working on the neck this weekend.  A first for me, using Cedar for the neck wood.  I measured the blank for cutting the 10 degree headstock angle, then used my bandsaw jig to cut.  After truing with a hand planer, the headstock piece was rotated and glued.

101121headat10

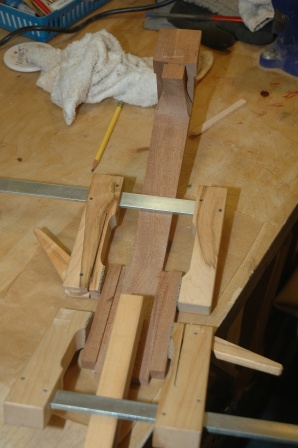
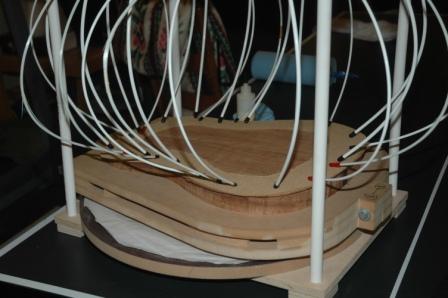
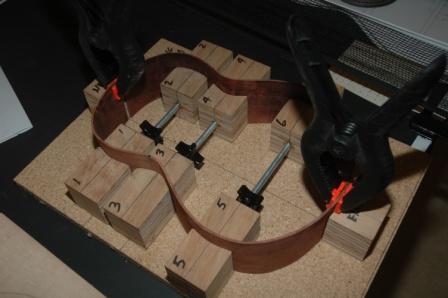
This guitar will have the Spanish Heel, so that was taken into account when measuring and cutting the heel block stack.

101121heelblock

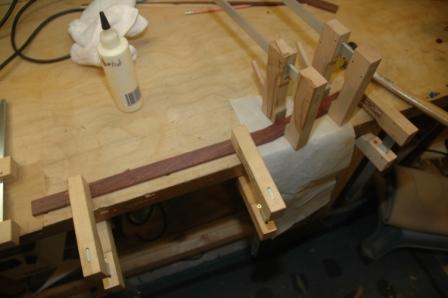
It’s had a couple of hours to cure, so I removed it from the clamps in order to measure for the camatillo center strip construction.

101121neckstacked

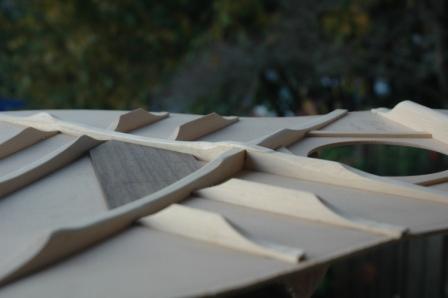
Jim wants a tri-laminate neck, for stability and decoration.  I’m constructing a 3/16″ wide camatillo center strip which mimics the blocked out neck.

101121camatillostrip

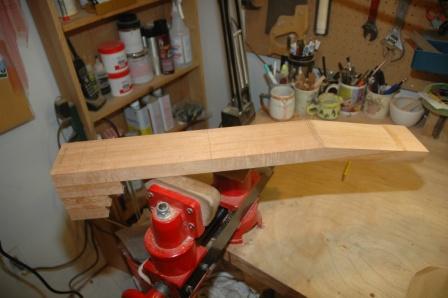
After everything comes out of the clamps tomorrow, I’ll put my new planer to work getting square sides on the neck and the camatillo, then I’ll slice the neck down the center on the table saw, then laminate the three pieces.

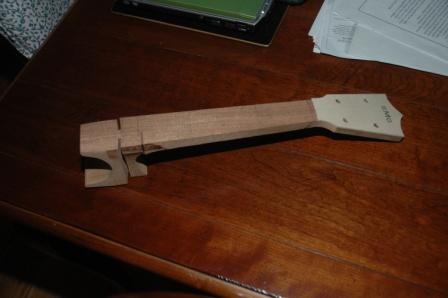
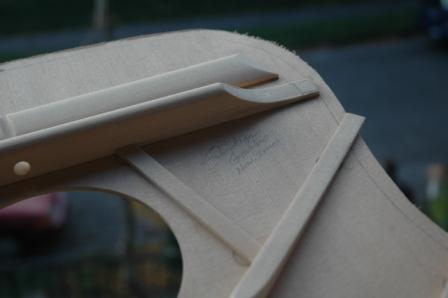
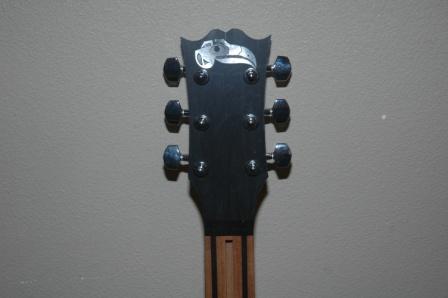
Jim likes the headstock design from the Macaferri plans.

101121headstocktemplate

I lined up the tuning machines, and noted that due to the narrowing of the headstock toward the top, the tuning barrels will be too long and need to be trimmed back slightly to keep from jamming.

New Toy – Planer

November 21, 2010

New toy purchased this weekend.  I found, at a very reasonable price, a used planer for my shop.

101121planer

Uke 1001 – Progress on neck

November 16, 2010

Neck nibbling, tapering, shaping and installing of the headstock veneer.

101116necknibble

101116ears

101116headclamp

101116neckwithheadstock

Guitar 903 – Top bracing, back joining

November 11, 2010

Devin, my apprentice, has been working on Guitar 903.  This guitar started out months ago, and got only as far as bent sides and preliminary neck shaping.  Devin has taken the reins and has been working on bracing the top.

101116topbracing

We’ve taken the walnut I procured last year in the Berkshires and thickness sanded and joined.  Next step, back bracing.

101116backjoin

Guitar 1001 – Binding done, scraping begins

November 16, 2010

The binding has been installed.

101116bindingback

101116bindingtop

Now the scraping and shaping.

Guitar 1001 – Binding and Purfling

November 11, 2010

Routed the channels in the body back and top for the binding and purfling.  Used a rubber band wrap to pull bindings in and hold secure.

101111bindingback

101111bindingtop

Guitar 1001 – Grand Progress, it’s a Box

November 7, 2010

Wow, that extra hour of sleep really helped.  I’ve made excellent progress on the koa dreadnought today, and it’s just a few steps away from being a real guitar.

I finished up the brace shaping, sanding and cleaning up both the top and the back before installing.  It’s tradition to sign the inside of the top before gluing.

101107signedtop

The dreadnought employs scalloped top bracing, as shown here.

101107scalloped

The first step before installing the top and the back is to notch the sides where the bracing and tone bars pass through the kerf.  Much care is taken to keep the plates centered while marking the notches for the braces.  After notching, renotching, checking and rechecking, both the top and back are fitted and ready for installation.

First, the back is glued on, then side grafts are added to ensure the sides resist cracking along the grain lines (over time).

101107mousetrap

101107gobarback

101107inside

The spreaders are removed and the side grafts are glued in.  One of those spreaders remained (the smaller one) as the sides came in a wee bit when all spreaders were removed.  The small spreader can be removed through the soundhole after the top is on.

101107gobartop

After a few hours curing, the body is removed from the gobar clamping system and the overhang from the top and back can be removed with a router using a bearing bit.

101107back

101107top

I’m continuing the slow process of radius sanding the fretboard.  As soon as I have shimmery MOP throughout, I’ll finish off with fine paper and a buff before cutting the taper.

101107fretravens

Finally, a little preview of the guitar before installing the binding.

101107almostaguitar

Guitar 1001 – Headstock shape installed

November 5, 2010

I settled on a shape for the headstock and cut it out on the bandsaw.  Also drilled tuning machine holes, then dry fit tuners for a look see.

101005headstock

Uke 1001 – Rosette

November 5, 2010

Time to fall back.  Since I’m gaining an hour this weekend, I’m sure I’ll get a lot done.  The uke sides are sitting in a mold, the back is waiting to be thicknessed, and the top is ready for bracing.

101005rosette

Uke 1001 – Bent sides into the Holding Form

November 1, 2010

Side bending went swimmingly.   Did a little cleaning up of a few minor flat spots from the bending which are a result of the sides being a wee bit thicker than ideal.  The holding frame works really well and I’m considering building for guitars as well.

101101ukeholdingform

« Prev